


What is aperture and ISO in photography?
Apr 22, 2019
Shooting night sky is no longer fun of professional photographers. High-quality images today can also be made using more low-cost digital devices or mirrorless cameras and even smartphones. The main thing is to be able to use the maximum wide-angle lens. Well, of course, in addition to photographic equipment, there should be basic knowledge - what exactly to go to shoot; as well as desire to be alone with nature from dusk to dawn and enjoy the "scene" in all its glory. To make high-quality shots even at night, it does not hurt to find out a couple of golden rules for such shooting and to prepare a little before heading on a road.
When people see night sky photography with those thousands of stars, everyone immediately wants to learn how to shoot the same way. There are few things you can do for a good shot and it turned out to be much easier than I thought. Here there will be some simple tips that will help happy owners of DSLRs to understand the issue. Get a clear idea of what exactly you want to shoot. Whether it's a moon in the sky, silhouettes of objects in the foreground, or the Milky Way. Or maybe planets of our amazing galaxy. To determine the direction of celestial bodies or control their visibility, there are excellent applications and computer software, where you can see the state of celestial bodies at the time you are interested in and in a specific place. At night, being in nature, you can determine the right direction using a compass, smart device and applications for smartphones.

Every landscape photo always begins with a choice of location and time-lapse. Everything is very simple: you need a cloudless night. If it is summer or winter outside, there is no difference. Of course, with temperature below 0, the camera matrix at slow shutter speed heats up less, the image has less noise. But the photographer freezes at the same time too quickly. As a result, there is no priority for either summer or winter.
The place should not only look spectacular but also be as far away as possible from towns and cities lit by lanterns. They give a flare, against which stars are simply not visible. So it’s best to take such filming somewhere in the suburbs.

Standard iPhone camera software does a good job of capturing nighttime pictures. But still, it does not have all functionality necessary for high-quality shooting in the dark. Therefore, if you are going to get high-quality photos at night, first of all, you need to download a third-party camera application that supports manual settings to your iPhone. Use software available online, as well as editing application to retouch finished pictures. The main advantage of such shooting is that it allows you to manually set exposure parameters. You get an opportunity to use a wide aperture or slow shutter speed for shooting night scenes. You can also observe in real-time on a smartphone screen how changing exposure settings affect the image. That is, choosing a wider aperture, you will notice that the image of the Moon on a display becomes brighter. This feature will do you a good job of finding the best settings for shooting at night.

It is better to choose a DSLR. Canon or Nikon option is perfect and has to be mirrorless. You can achieve good results, face problems of focusing in dark. Sophisticated cameras often need a wide-angle lens. Use 14mm and 16mm full-frame lenses. There is no way to succeed without a tripod. Long exposures need your camera to be securely locked. Trigger cable will not be superfluous. Although for the first time it will be possible to do without it. It is enough to use shutter lag so that the camera vibrations from touching have time to calm down by the time the shutter opens. Do not forget to dress according to weather, and also get a flash, the more powerful, the better.

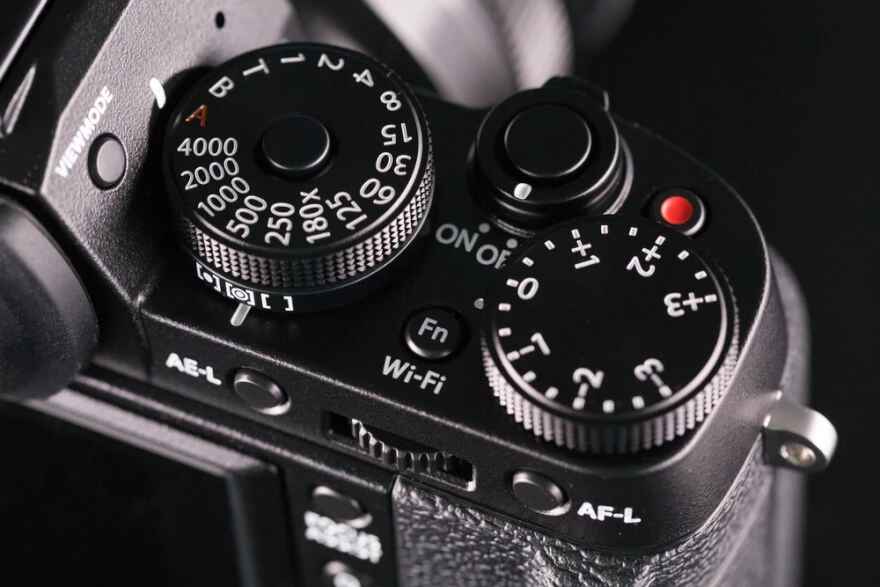
Let's start with the simplest case - shooting a landscape on a cloudless moonlit night. We put the camera on a tripod, lower the ISO to 200 units (most often this is just enough). Try not to close aperture too much, not stronger than f / 4-f / 5.6. And select the shutter speed manually in an experimental way, so that brightness of a photo matches your creative idea. Shutter speeds may be too long! If your camera cannot handle such a slow shutter speed in manual mode (in some models, shutter speed is limited to 30 seconds), carefully increase the ISO.

The next problem is focusing on. It is automatically impossible to focus on the black sky at night. And in a viewfinder, most likely, nothing is visible at all. Find distant lights on a horizon (they are almost always and everywhere) and try to manually focus on them. You can take a few control shots and, if necessary, correct focusing. If the foreground appears in a frame, then it makes sense to focus on it, having previously lit it with light.

There is an empirical rule that allows you to determine the shutter speed at which stars in a frame begin to turn due to planet rotation. It is called "six hundred rule." Divide a number 600 by the equivalent focal length of your lens. Get the length of corresponding shutter speed in seconds. For a 16 mm fisheye, for example, shutter speeds of up to 37s can be used. And for a wide-angle lens of 18 mm, it is better not to exceed the value of 20s.

In some cases, we manage to get so far from civilization that the light of cities is not visible at all in the sky. In this case, we have a chance to capture the spectacular milky way. Feel free to set the maximum allowable shutter speed, open the aperture a little wider and try to increase the ISO. Where the human eye sees just a dark sky, the camera sees much more!
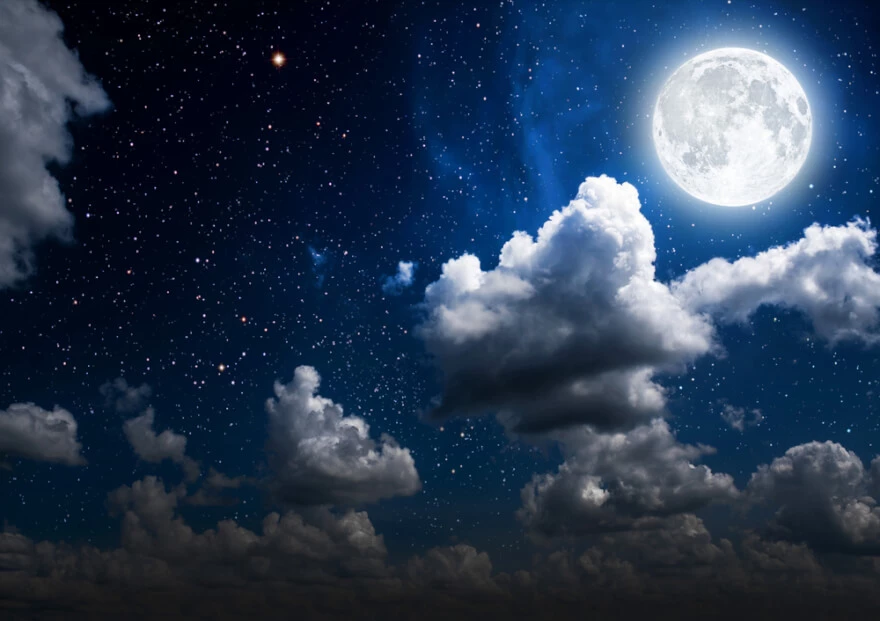
But not only cities create flare, but there is also another “enemy” for milky way lovers. The moon itself. The fact is that the moon is such a bright source of light that it "illuminates" the milky way. Therefore, the best time to shoot is the new moon, plus or minus a week (when the moon most of the night is below the horizon).

The following things are optional, but will make your life pretty easy:

Arriving at the scene, give yourself a break. It is advisable to arrive before dark, to study the area a bit. When it gets dark, try not to use bright light sources. Keep the backlight on a phone and camera screen to a minimum. Do not turn on the flashlight. Let your eyes get used to dark (usually, it takes about 20 minutes), then your pupils will expand and become more sensitive, you can easily notice small details and choose the brightest area for shooting.
Set the camera to fully manual control. Set the file saving format to RAW, all accumulated data will remain intact in it, in addition, it will allow you to change the white balance when processing photos on your computer. Turn off automatic noise reduction, if any.

There are several ways to do this. Switch to manual mode and use the focus ring to set the value on a lens scale to infinity, indicated by ∞. This is where the headlamp and duct tape helps, which fixes the ring from further accidental displacement. If your lens does not have a distance scale, don’t worry, ask one of your friends to walk away at least thirty meters from you and shine a flashlight. Using a camera’s autofocus, focus on this light, and then turn off autofocus. Mount the camera on a tripod and compose the frame. Try to have in a field of view some attractive ground objects, so your picture will look more interesting.
If you are not using a remote control, set the shutter to delayed mode (as when you are shooting yourself with friends by placing the camera on a tripod) so that vibration from pressing the shutter button can be extinguished before the exposure starts.

If the histogram is strongly shifted to the right, and the image itself is overexposed, most likely you are in a zone of strong light pollution. Try looking for a darker place.
Subsequently, using a professional editing app or photoshop filter, the image can be further processed. To process such shots, use applications that are easy and intuitive. Adjust white balance, achieving more natural colors. Generally, good value is around 3900 K. Correct exposure and add some sharp settings. Do not use too large values for these parameters (more than 50 units) so that the image does not look “burnt out”. You can also slightly crop or increase speedlights color saturation values.


Well-done homework simplifies shooting and gives you a great idea of what awaits you. It does not make sense to look for a milky way in winter at 3 a.m. just like looking for Venus in the sky in early evening hours. Whether it’s a starfall, planets or satellites - knowing the right time and place, they are very easy to catch in a frame.
He started his career as a professional photo designer and retoucher. Professional commercial photographer with 20 years of experience. He is a leading advertising photographer and has worked as a food photographer with Michelin-starred chefs. His work with models can be seen on the calendars of many leading companies in Ukraine. He was the owner of the photo studio and photo school "Happy Duck".


