


Beautiful Bokeh Photography - Step by Step Guide
Sep 19, 2019
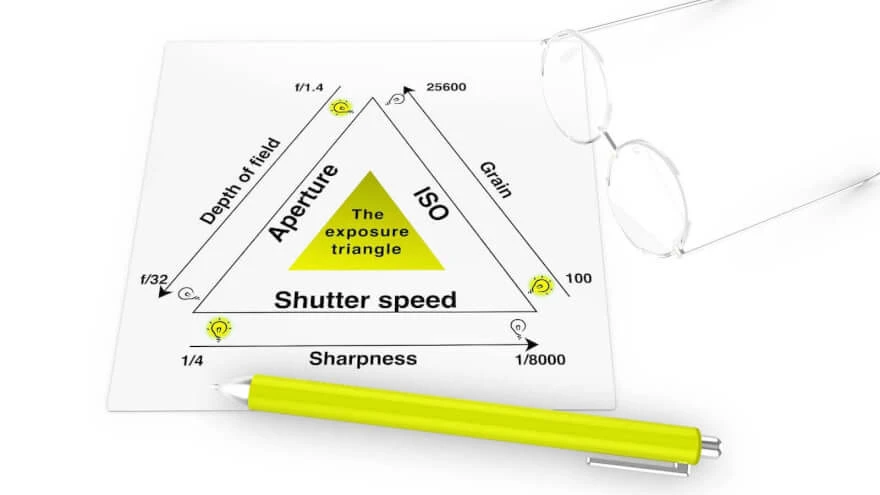
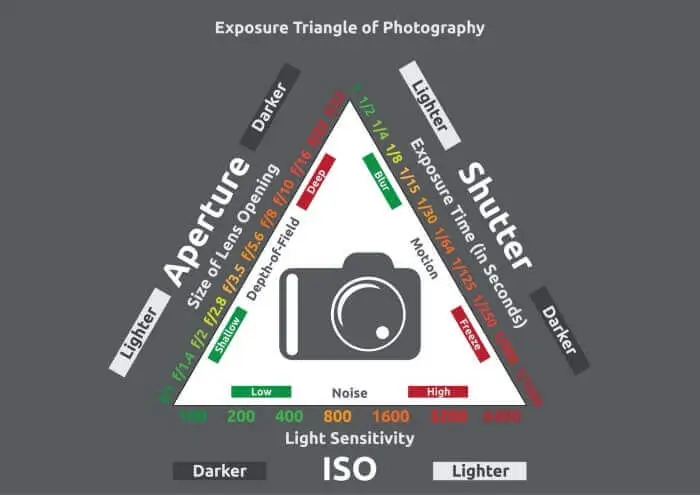
Most amateur photographers, most likely, have heard the concept of "exposure triangle" at least once. This metaphor carries with it the fundamental concept of constructing light in the shot. Below we will find out what is the exposure triangle and how it works, what parameters it consists of, and how to correctly combine its values to obtain the optimal luminance of the scene.
Each of the triangle elements interacts with light and affects exposure. These three elements are:
Shutter speed, aperture, and ISO are the three main elements to consider when adjusting exposure. This is the so-called "exposure triangle photography". The exposure is obtained by the interaction and simultaneous cooperation of these three elements, and is located in the middle of the triangle. The most important thing is that all these parts are in close interaction with each other, and you can never select the only element which will be the key.


Many people use simple examples to understand the balance of ISO, shutter speed and aperture, so understanding the exposure triangle becomes less difficult. We will share with you two options for better understanding.
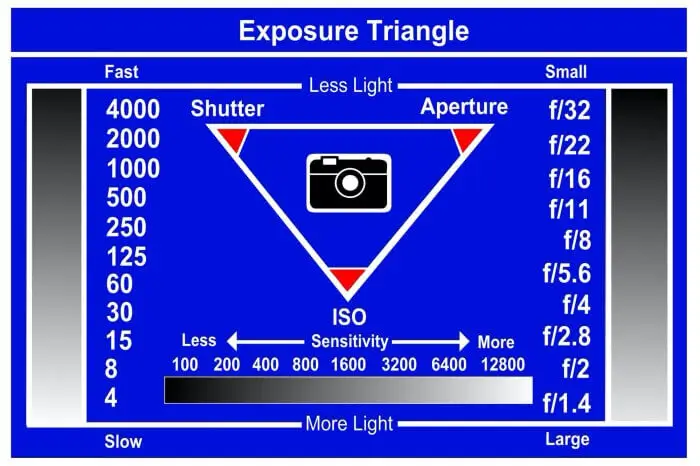
Dynamic range is present in any photograph. This is the difference between the lightest and darkest areas in the frame. Usually, a good photograph is considered to be one with the correct dynamic range intensity, that is, the lightest area is well detailed and not overexposed, and the darkest one also does not lose detail and does not turn out to be grainy. It is this task that the exposure triangle rule is designed to solve.
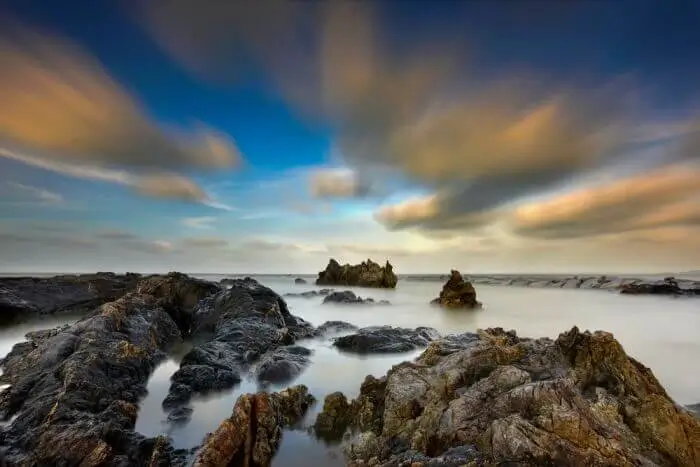
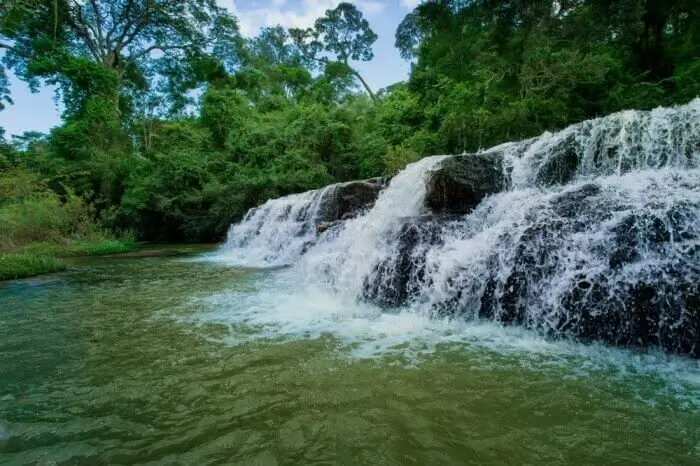
Let's consider one more source of problems with a moving object. For example, you want to focus your picture on a waterfall or fountain, but here the task is not to “freeze” the flow of water, but rather to show a smooth slow transition (milky effect). Then, based on the exposure triangle diagram, you need to increase the exposure time, which, as we already know, will allow the light to penetrate the camera sensor for a longer time, due to which the photo will be brighter. And from the above, you can understand that in this case, the aperture and ISO values will depend on how good the illumination is at the shooting landscape. If there is much white light, then the ISO can be set to minimum values, and the aperture can be closed to obtain optimal exposure. If the place is dark enough, then it's better to experiment, open the aperture more and possibly increase the ISO, but not forgetting the risk of getting a grainy photo.
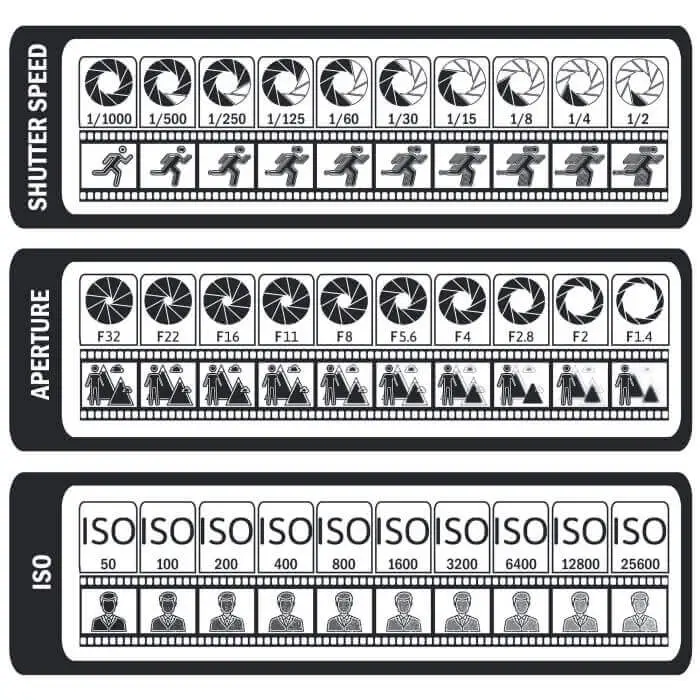
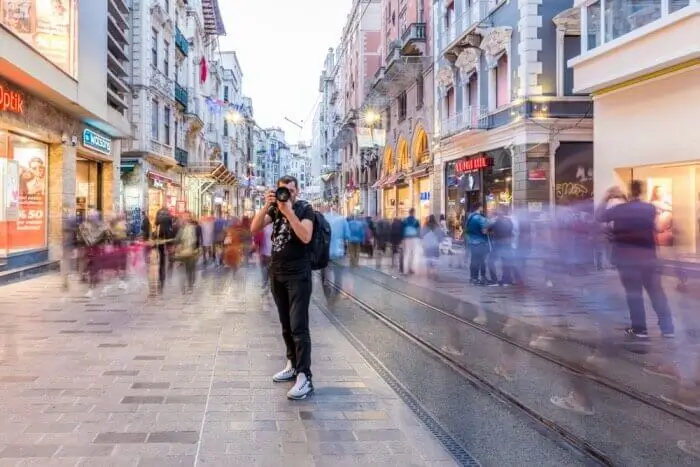
Understanding the interaction of shutter speed, aperture and ISO takes constant practice. In many ways, it is based on intuition and luck, and even the most experienced photographers can tune their camera at random without always considering all options. Note that changing each element not only affects the change in the exposure of the image, but also other points in the photo. For example, changing the aperture will change the depth of field. The smaller the hole, the greater the depth of field; high ISO will add noise to the picture, and too slow shutter speed, when shooting handheld, will lead to blur effect.
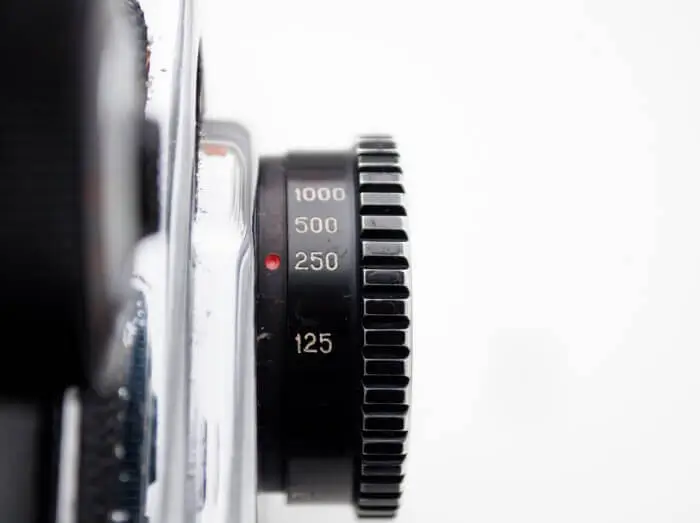
Interaction of aperture and shutter speed is of high importance. Suppose a photographer wants to take a portrait. Shooting takes place under standard conditions: good illumination, the subject is static. In this case, the main task is to separate the person in the photo from the background. To get a good exposure, the average values of all three parameters of the photography exposure triangle will work here. For example, ISO 200, since there is enough light to capture due to the maximum open aperture of the camera, without getting a grainy photo, and the shutter speed can be 1:100, because the subject does not move. In this case, the maximum open aperture will fulfill its task of “separating” the subject from the background.
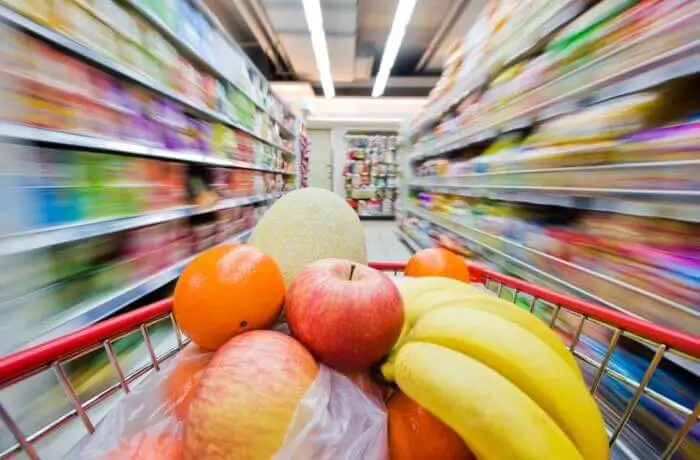
It all depends on the situation. For example, under the same conditions, you need to photograph a moving train. In this case, the object should be clear, as if it were standing still. In this situation, it is necessary to significantly reduce the exposure time, but the photo may come out dark. Therefore, you will have to open the diaphragm as much as possible. But if this is not enough and the photo does not turn out as bright as we would like, then the ISO value will also have to be increased, at the risk of getting noise in the photo. It will definitely decrease the quality of the image. You should always be ready, because there are situations when it is difficult to make a beautiful and high-quality photo at the same time, even with the use of a photo exposure triangle, and sometimes even impossible. In this case, only you can decide how to compensate errors for a good result.
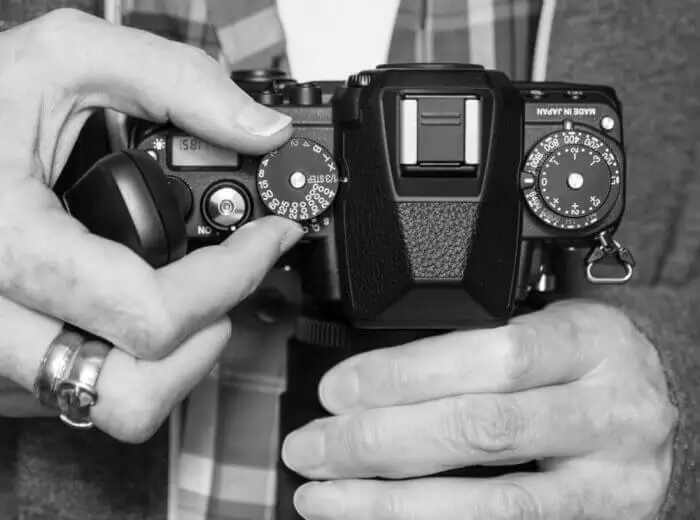
The great thing about a digital camera is that it is ideal for studying how to correctly expose. You can take a large number of photos, with different values and modes. Remember that you don't always have to shoot in auto, there is also a manual mode and a semi-auto mode, in which you can choose aperture priority or shutter priority. In this case, you adjust your camera manually by setting the value of one of these components, and the camera automatically selects the required value for the other.
In the past, when photographic film reigned supreme, there was no flexibility in opening and closing as we have now, controlling light sensitivity. We can say that the exposure triangle was a triangle with a fixed side of the ISO of the film. It seems a narrow way to capture shots, but quite an effective one. It would be possible to control the light sensitivity by changing the film that was used in the DSLR, but once the roll is installed in the camera, it is not changed until it ends. Currently, we can control the sensitivity of the sensor on the fly, although technically we do not control the sensitivity. Actually controlled by the post-image gain applied to the signal, you interpret this as a sensitivity.
At the point when you are capturing a wedding in an old church, you will face a problem of calculating the right balance. For this situation, we need to choose, on the off chance that we are more content with marginally overexposed, or underexposed photos. Advanced sensors have more issues to catch the subtleties in features, than in obscurity zones. This implies that you can underexpose a photo frequently by multiple stops. In the event that you overexpose there will be too bright parts in photos, for instance, the sun out of sight, windows with solid normal light. For this situation, there may be white spots and no option to recuperate these shots with editors. The data of every image and pixel is just simpler lost in features than in the shadows. That is why it is smarter to marginally underexpose the image.
Now you know that the exposure triangle in photography means the optimal ratio of three whales, the most important components of photography: shutter speed, aperture and ISO. To get a beautiful and high-quality photograph, you need to balance a ratio of these elements. Depending on the situation and idea, it can be different, the main thing to remember is that it all depends on the amount of transmitted light. The best way to learn how to apply this measure, as in any business, is with practice. Don't be afraid to try new guides, distance, side and tonal shades. In this way the desired photo will definitely turn out to be sharp. And having learned to mechanically adjust the values described above, you will be able to relate the required amount of light in the frame for a long time without hesitation and without wasting time and effort.

The built-in exposure meter in a modern camera allows you to accurately determine the exposure parameters, provided that the metering is performed on a so-called medium-sized object, which can be human skin, dry asphalt, etc. It is very important to learn how to use metering correctly. In the days of film photography, the rule of sixteen was very popular, which made it possible to determine the necessary exposure without an exposure meter. Its essence is as follows: when shooting on a bright sunny day, a normal exposure for a scene with an average reflectivity is achieved at an aperture of f/16 and a shutter speed whose denominator is equal to the ISO value. That is, for ISO 200, the shutter speed will be 1/200 sec. For cloudy weather, the aperture will be f/11, for cloudy f/8, for very cloudy f/5.6. At dusk, the aperture will be f/4. Using this rule and the law of reciprocity, you can already set the necessary exposure settings in advance.
If the topic still seems to be too complicated, find online various tools which help to calculate and simulate different values on the same picture. This will help to understand the difference and effects. Use applications to apply to your pictures and create a new look without getting too much inside the details of this art.
Co-founder of RetouchMe. In addition to business, he is passionate about travel photography and videography. His photos can be viewed on Instagram (over 1 million followers), and his films can be found on his YouTube channel.
Moreover, his profile is featured on the most popular and authoritative resource in the film industry — IMDb. He has received 51 international awards and 18 nominations at film festivals worldwide.


