What is white balance photography?
- How does white balance work?
- Remember the difference between light sources
- How to set white balance without errors?
- How to adjust white balance manually and get a great shot?
- Set WB to grey card or white sheet
- How to white balance automatically using important tips?
- Connect WB and creativity
- How to calibrate white balance on a camera?
- Get a perfect WB combination for a city landscape
- How to use white balance on Nikon?
- Learn advanced techniques by experts
- How to change white balance and improve photographic skills?
- How to correct white balance when it is necessary?
Despite the fact that the human eye can easily distinguish between the temperature of light emitted by an incandescent lamp and a fluorescent lamp, the human brain redefines colors in such a way that in any light you can distinguish white. Human vision (both eyes and human image processing centers) miraculously knows how to constantly adapt to changing external light sources, thereby making it possible to correct what we see. If you look at someone wearing a white T-shirt, then in any light, both from incandescent lamps and from rays of the rising sun, and from fluorescent lamps, due to the fact that our consciousness automatically adjusts to current lighting conditions, you can easily determine that the T-shirt is white.
Unlike the human eye, a digital camera does not have this wonderful auto-adjustment capability. To determine the color temperature, digital cameras must use their algorithms in order to most accurately determine the neutral tones (white, grey and black), and then adjust the entire image to the color temperature of the found neutral tones of the image. As you can imagine, this work is quite difficult to make it perfect. The development of a pentaprism technology, including image processing, has made it possible to increase the accuracy of determining white/neutral tones by modern digital cameras, but in some cases the camera is still mistaken. The automatic white balance of your camera works without errors most of the time, which allows you to create the illusion of complete protection, but in the end, looking at photographs at home, you may find people depicted on them with excessively ruddy or excessively pale skin.

As an analogy for the system for determining what is white balance in a digital camera, we can check an example of the system of grammatical checking of modern word processors. The word processor does not exactly know the language, as a person knows it, but the program has an algorithm thanks to which it can make comments and corrections. By analogy, the camera algorithm cannot 100% know how a specific scene should look like, as a person sees it. Just as the grammar checking system analyzes photos and decides if it needs any adjustment. Responding to the question, what is white balance in photography, it is possible to say that it is an editing that is necessary to ensure correct color reproduction in a photo. You've probably noticed that photos taken without a flash at home by the light of a chandelier often noticeably turn orange, and photos on a bright sunny day, on the contrary, turn blue. You can very clearly see the difference in the color shade during sunset and after sunset.
How does white balance work?
It is not an independent physical quantity, it is something like color tone compensation, just like exposure compensation changes the exposure level of a picture. It is closely related to the color temperature of a light source. Have you ever tried bringing a needle up to a gas stove flame? The needle heats up and starts to glow. At first this blackbody light is barely noticeable and has a dark red tint, then the needle becomes bright red, orange. If the temperature is raised even further, the light turns yellow, then white, and finally blue. It is unlikely that it will be possible to bring the needle to "white heat" on a gas stove, nevertheless, the principle is clear. When heated to different temperatures, the body glows in different colors. This is the "color temperature", and it is measured in Kelvin.

Remember the difference between light sources
Each light source has a different temperature. You have probably noticed that energy-saving lamps have labels like two thousand and seven hundred K ("warm light"), four thousand and two hundred K ("daylight"), or five thousand and five hundred K ("cold light").
The temperature range of light that we see around us ranges from one thousand K to ten thousand K.
The light emitted from the burning of a candle, incandescent lamps and early rays of the sun is very warm, shifts to red/yellow tones and is at the very beginning of the scale one thousand to three thousand K. The midday sun and the light from the camera flash have neutral, close to white tones four thousand to five thousand K. Sources that emit light with a color temperature above five thousand K are mainly fluorescent lamps, most often used in office buildings.
How to set white balance without errors?
To ensure "neutral" color rendition, we must edit settings of our camera such that would match the color temperature of the light source as much as possible. Typically, the necessary mode has several presets: sunny, cloudy, shade, incandescent, and so on. Each preset has a specific color temperature. The only problem is that one preset cannot cover all the subtleties and nuances of these weather conditions. For example, the setting "incandescent lamp" will give an acceptable color rendering if the lamp power is one hundred W, but if it is different, the picture will noticeably go into yellowness.
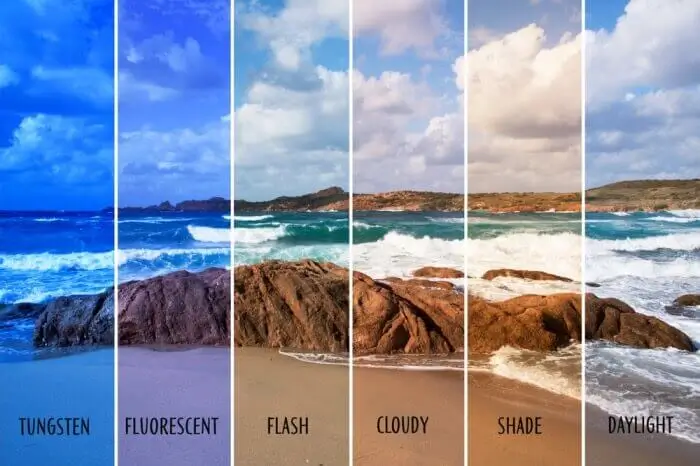
How to adjust white balance manually and get a great shot?
If the room is lit with five thousand and five hundred K lamps, set the white balance in the camera to five thousand and five hundred K and get an "unbiased" color rendering, in which colors in the photo will be as close to reality as possible, when shooting outdoors during the day.
By setting the exact WB when shooting, we save much time in RAW processing if the photos were taken under the same conditions. A photographer will have the opportunity to focus on the shade. For example, to emphasize the warmth of sunset lighting, shooting in the evening with "daytime" settings, or, conversely, make colors slightly colder. Manual installation of WB reduces the efficiency of shooting (but also reduces the amount of time spent for photoshop processing). It is difficult to accurately determine the temperature by eye, especially for a beginner. You have to focus on the picture that is displayed on the camera screen, but the screen does not always accurately display colors. You know how to "see the frame until the shutter clicks" and you know which shade should prevail in the photo only with experience. The cost of an error in this case is almost zero, if you shoot in RAW, you can easily fix the error without losing quality.
Set WB to grey card or white sheet
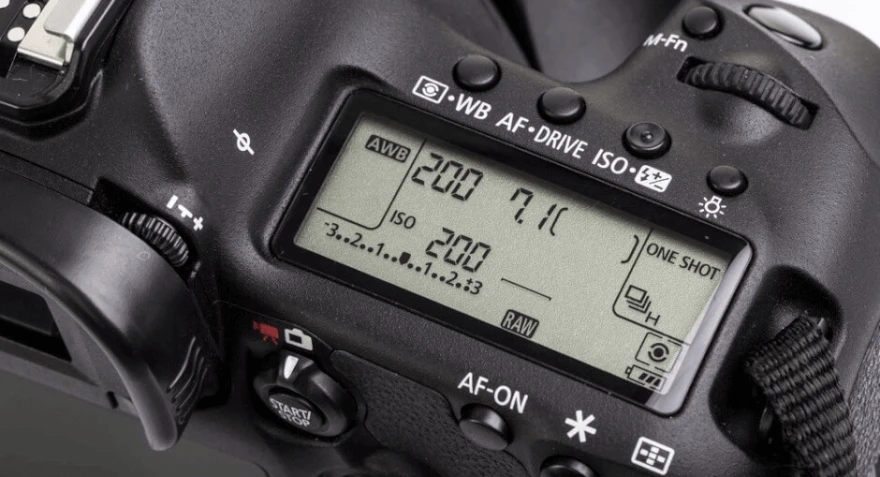
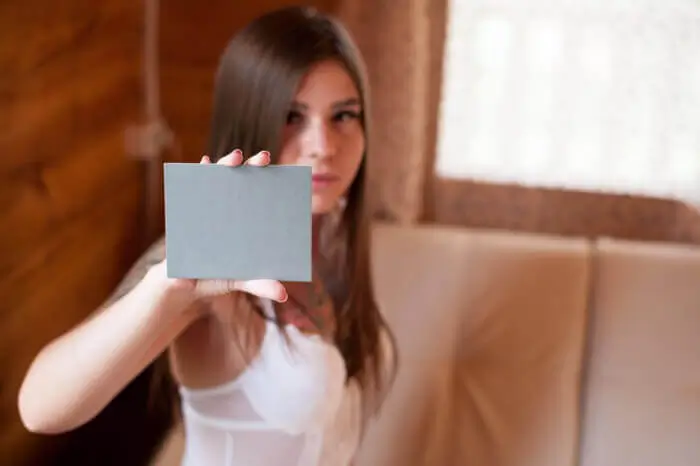
There is another quite suitable option for a manual setting of WB, using a grey card. A grey card is a piece of cardboard or plastic in a neutral grey color. If you put it in specific shooting conditions and take a picture of it, then you can easily edit the "custom" WB of a photo. The grey card is often replaced with a plain white sheet of paper, the effect is the same. After that, select the "Custom WB'' setting and the camera asks you to specify a "grey card" image. Having a canon item, select a picture with a grey card and, following the instructions on the screen, press the SET button. It is important that the sheet of paper is illuminated with an evenly dominant light source. The custom WB is set, all that remains is to select it among the presets. You can set the WB quickly and accurately, without any hassle with numbers.
A feature of this rule is that you need to figure out how it works specifically on your camera. Install it on other objects like white walls, clothing items, but the accuracy will be noticeably lower.

How to white balance automatically using important tips?
Under "normal" lighting conditions, this method is fine for both amateur and professional photography. By "normal" conditions, we mean, shooting outdoors during the day or shooting with a flash. In this case, the automation of any camera will perfectly cope with the task of setting the WB. If the lighting conditions have changed noticeably, getting indoors, the camera should be given some time to set the desired WB. As soon as the excess of yellowness/blue is gone, you can make a further natural shot.
Mixed lighting is a real disaster for an automatic WB sensor! If the room is illuminated by the light from the window, and even the lamp is on, the device with all its natural dullness will set something in between. It means that some objects will be slightly yellowish from the lamp, and others will be slightly blue from the window.

Connect WB and creativity
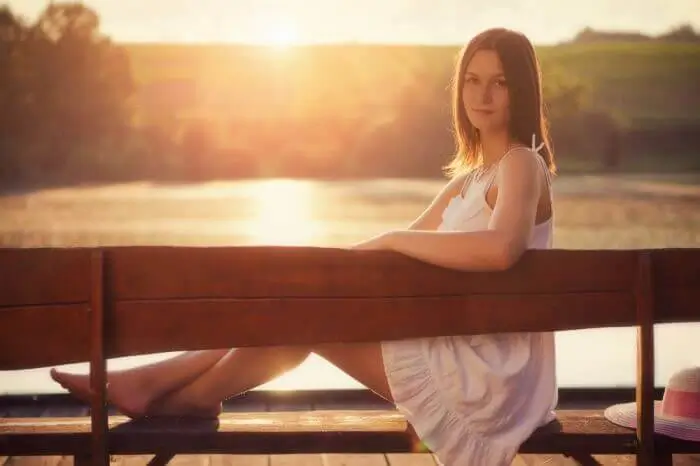
Do not forget that photography is a creative activity. Not always absolutely accurate WB setting is beneficial for the frame. Sometimes an image with a slightly disturbed WB will look more expressive. Winter and foggy footage sometimes looks good, being a little bluish. And pictures taken at dusk or dawn are best done a little warmer, more yellow. It all depends on you and your creativity. Experiment with your own rules and techniques! Take shots with different WB settings! However, you shouldn't overuse creativity, because absolutely blue or yellow frames are unlikely to be interesting.

How to calibrate white balance on a camera?
Using various methods, either shoot with a flash (it will crush all light sources with its light), or use a manual WB and set it to a higher priority source. The automatic WB does not work well if the color temperature of the light sources is less than 3000K. The picture will turn yellow or even red. Automatic WB does not work well if the light source has a clear blue tint. Presetting WB cannot take into account all the specifics of lighting sources: the power of incandescent lamps, the color temperature of energy-saving and LED lamps. Even the sun shines differently at different latitudes, so with a 99% probability you will have to correct all the scenes with filters and Lightroom effects.

Get a perfect WB combination for a city landscape
Shooting in a night city is a rather difficult task for the automation And when shooting at night, it is better to pay more attention to adjusting the WB. There are a lot of energy-saving lanterns that shine with a greenish or bluish light. Therefore, in order to correctly fix the WB when shooting at night, pay attention to which lamps are installed in your scene. Select the WB setting by trial.

How to use white balance on Nikon?
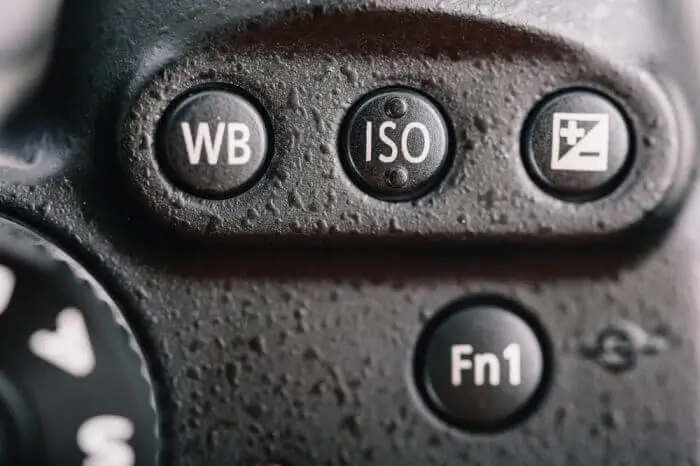
Just press the WB button and use the multi selector to choose a preset option. Alternatively, select the PRE option, press the WB button again, point the camera at a white object and take a picture. The photo will not be recorded on the card, but information about the color, which is considered white, will be taken from it. After successfully installing the BB, the camera will write Good, but if the camera could not read the WB correctly, the message No Good will appear, and you will have to repeat the procedure again. Also, you can store WB samples in the camera's memory and turn them on as needed. Only the manual for the camera will help you in more detail. If you have an advanced camera and you can choose to set the color temperature manually.
Learn advanced techniques by experts
Advanced photographers sometimes do not pay attention to WB at all when shooting. They do not forget about WB, but simply adjust it not before shooting, but after. The fact is that they shoot in RAW format (Nikon cameras call it NEF). This format allows you to set the required setting already on your computer at the stage of converting a RAW file without any loss in quality. But if we try to change the colors of the JPEG file during processing, the result may be disastrous.
How to change white balance and improve photographic skills?
Tell the camera what exactly is considered white. To do this, you need to take a test shot in a special mode (reference file), placing a white object in the center. This is the best option. When there is much time and there is a desire to make the most "correct" scene, then the WB is an irreplaceable thing. But if scenes and compositions change with great speed, then it is better to choose Auto icon. Modern cameras, especially digital SLR cameras, do an excellent job with this task. However, in low light conditions, it will be difficult to find the right color temperature. For most people, automatic WB is sufficient, since it is sometimes very difficult to distinguish between pictures with different WBs.

How to correct white balance when it is necessary?
If the WB was not set correctly, the image can still be saved. To do this, you need to use a photo and video editor, which can perfectly correct and cut all the errors. For professional cameras, the WB is rendered with a separate button for quick adjustment, just like ISO or image quality. That is, the manufacturers themselves place great emphasis on setting the correct color temperature. In almost all cases, when adjusting the WB, you can rely on the automatic mode. In extreme cases, you can correct it with the editor. Ideally, WB is best set using a preset on a white sheet or area. WB can be seen as one of the creative techniques. If we want to create a "warm and lamp-like" atmosphere in the frame, we can safely shift the WB by two hundred to 5 hundred K towards yellowness. This is usually enough to feel warm and at the same time yellowness will not hit eyes. On the contrary, to create a sense of anxiety and drama, you can slightly shift to cold tones. "Technically correct" WB and "creative" WB are not always the same! Aamteur photographers need to remember that there are no rigid rules and dogmas in photography. On the contrary, coolest photographic work is often done with a “wrong” exposure, diaphragm aperture, lens or color-balance disturbances. But before moving on to an artistic environment, master the basic section. It is important to work with WB under different conditions and light degrees, and check how well the automation works on the camera. A manual setting or a reference shot must be taken each time the shooting conditions change. Professional photo editor is a universal assistant that is able to measure all necessary levels of light and eliminate traces of mistakes.
He started his career as a professional photo designer and retoucher. Professional commercial photographer with 20 years of experience. He is a leading advertising photographer and has worked as a food photographer with Michelin-starred chefs. His work with models can be seen on the calendars of many leading companies in Ukraine. He was the owner of the photo studio and photo school "Happy Duck".

with RetouchMe


