


Guide to Smartphone Photography
Oct 28, 2021

Sharpness describes the legibility of a detail image, and it can be used as an important creative tool for highlighting texture. Appropriate photography and post-processing techniques can dramatically improve sharpness, although it is certainly limited by your camera's capabilities, image magnification, and viewing distance. The perceived sharpness of an image is influenced by two fundamental factors: resolution and clarity.
Resolution describes the ability of a camera to separate closely spaced elements from one another, using the closely spaced vertical lines. Resolution of digital cameras is limited by their digital sensors, while clarity depends on both the quality of the lens used and the type of post-processing. Sharpness is the only aspect that is still within your control after the picture is taken, and it is the sharpness that increases when the image is clearer.

It also depends on other factors that influence our perception of resolution and clarity. Visual noise (or film grain) is usually detrimental to the image, but a small amount of noise can actually increase the perception of sharpness. Clarity also depends on the viewing distance. Images intended to be viewed from a distance, such as posters or billboards, may be of a much lower resolution than art gallery prints, but may appear clearer due to viewing distance. Keep this property in mind when making photos clearer, as optimal sharpness is not necessarily the one that looks best on your screen.
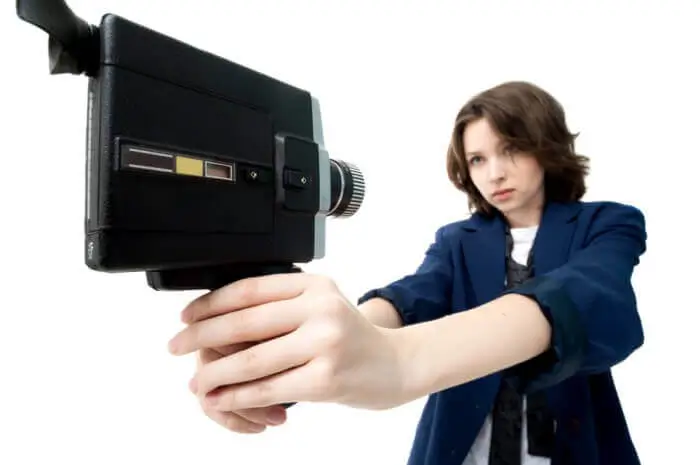
In addition, the sharpness depends greatly on how you handle the camera. Even the smallest camera shake can tragically reduce image clarity. Using the right shutter speeds, a good tripod, and mirror lockups can also significantly impact the shot.
Sometimes a zoomed-down photo looks sharp, but looking at it at a higher magnification, you will notice that some outlines and details look blurry. If you find yourself in a similar situation, don't be upset. The reason for that is hidden in the movement of the photo camera at the time of shooting. Almost everyone shoots without a tripod, but not everyone can hold the camera still. This doesn't mean you can't capture a clear photo with hands. The correct techniques are important, and the skill is developed. Avoid filming while walking or in any other movement (for example, from a car window). If possible, it is better to make photos clear while standing still.

It is common to think that a sharp photo allows you to see everything, down to the smallest detail, clearly, as in nature. They soften on a blurry outline, and details are completely impossible to distinguish. But when we look at what is in front of us, do we see everything at once? The eye is not capable of this. A snapshot is the same gaze, fixed on something specific. While filming, we did not even have time to notice the rest. The lens manages to do more, it conveys everything that was in front of it, just as clearly as we saw. Sometimes this is necessary, but more often it is completely unnecessary.

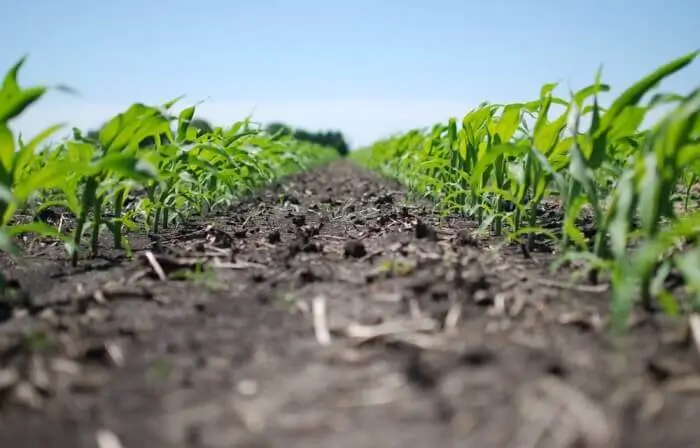
Sharpness focuses on the background; moreover, the eye is not able to see all objects located near and far at the same time. Therefore, when objects in the foreground are visible against a less sharp background, the difference in sharpness immediately suggests that the background was far away. The snapshot always remains flat, but here, at first glance, an involuntary impression is created that the space seen in it extends in depth. It is such an image that looks more like reality than others.
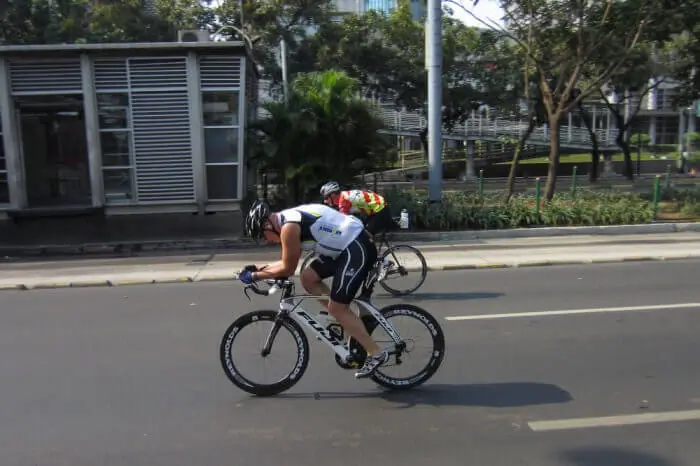
There is another kind of blurring that is not a disadvantage: less clarity in the image of what is moving. Everything that moves quickly cannot be seen in detail, the eye can catch only general outlines. The blurred image of the moving person becomes a defect only when the object or part of it turns into a shapeless spot, that is, when the object can no longer be recognized.
Unsharpness can improve the image, convey reality more naturally. The contrast between sharp and unsharp gives at the same time the opportunity to make the picture more expressive, to highlight the main thing in it.
Depth of field is a very important characteristic for photographers. In simple terms, depth of field is the distance between the closest and farthest objects in a focus. The greater the distance from the camera to objects and the smaller the aperture opening, the more space is depicted sharply. In addition, the depth depends on the focal length of the len, but in everyday practice it remains constant.
Focused photos where depth of field plays a critical role is in portrait photography. By varying it, you can get very interesting effects. For example, blurring the background can draw attention to the subject's face. When the background details are not essential, you can try by "softening" it to highlight the subject for the viewer.
If the depth is not enough or too deep, it can be changed in the following ways:
The most common cause of blurry photos is a camera shake. Of course, the most sensible solution is to take a tripod, but there are times when this is simply not possible. To stabilize the image, take the camera with both hands and lean on some surface to create a kind of "human tripod".

The lower the ISO, the less noise there will be in the picture. The standard ISO four hundred is recommended for daylight shooting, however, if you lower it even lower, most pictures become less grainy. A higher level will allow you to use faster shutter speeds and shoot moving subjects, but there will also be more noise.

The next most obvious reason is endurance. There is a golden rule for determining the optimal shutter speed for a lens. The shutter speed must be at least 1 / focal length. For example, for a 100mm lens, you need to choose a shutter speed of 1/100 or faster. Keep it in mind thinking how to make photos clearer.

In terms of image clarity, the aperture is everything. Smaller apertures will soften the image, while wider ones will reduce the depth of field. This is why it is so important to know the limitations of your lens and find a sweet spot. Focusing on this option will help you to understand the basic requirement for clean images.

Many current camera models are equipped with an Image Stabilization option that eliminates camera shake and helps to make photo clear. Keep in mind, however, that it removes camera movement and allows a slower shutter speed, but does not affect the movement of the subject in any way.

You cannot rely on autofocus all the time. No technical tip can help you get perfect sharpness like manual focus pictures. Especially in low light situations. Use manual focus and then zoom in and you will see how clear the details are. To avoid shooting out of focus photographers pay much attention to manual settings.
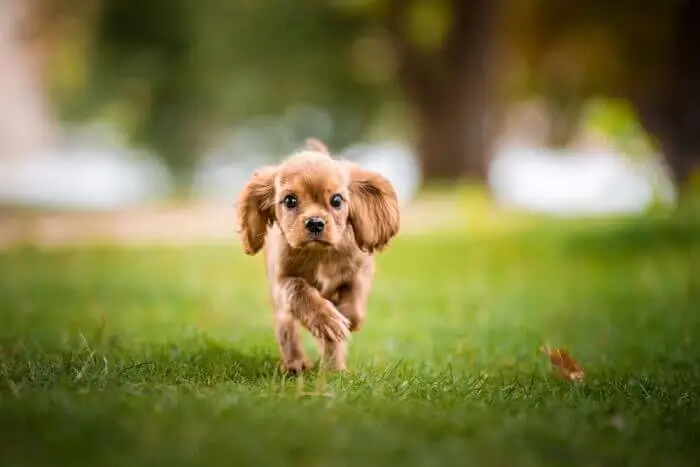
Use a fast shutter speed. person - 1/60, 1/100, walking person or child - 1/200; 1/300, bicycle, passing car - 1/500 and shorter.
In this case, the object will "freeze". It is not a fact that movement will be shown, but it will make pictures clearer. Most importantly, try to prevent the jumping or running person from sticking to anything in the background.
The shorter the shutter speed, the larger its numerical designation.
For example, a shutter speed of 1/50 (indicated as 50) is slower than a shutter speed of 1/100 (indicated as 100).

There will be a sharp object and a blurry background, as a result - the movement in the frame will be very effectively transmitted. This technique requires certain skills but it shows best how to make a picture clearer. Find a suitable place from which you can clearly see passing cars or even people passing by, set the aperture to 5.6 or 8, let the shutter speed be 1/40, 1/60.
In order for you to understand what the autofocus is aiming at, there are illuminated dots (squares) in the viewfinder or on the monitor (in LiveView mode).
It is more convenient when your camera is in a mode when one point is active and it can be moved using the joystick. Then you know exactly where you are focused. There is a "tracking autofocus", it is convenient to enable it for moving objects.
It is clear that when shooting a portrait, sharpness should be focused on the closest eye of the person being portrayed, when shooting an insect, on its head and eyes, and in general on the most important thing in the frame.
If you still don't get the results you want, you may need a new lens. Lenses can also be responsible for the clarity of the picture, but certainly this is the last resort. And only after you have tried absolutely all the tips in the list above.
Getting the sharpness you want isn't really difficult. You just need to practice and be careful. Beauty and artistic sense are another matter. Those who still have interesting ideas in stock, but cannot achieve sharpness in photos, should stop blaming the equipment. As a rule, it is not its fault, but the negligence of the photographer himself. Modern cameras have a fairly high resolution, and a large number of megapixels allows you to detail the smallest details of the image. This should be taken into account, the higher the resolution of the camera matrix, the less chances for mistakes and inaccuracy for the photographer.
He started his career as a professional photo designer and retoucher. Professional commercial photographer with 20 years of experience. He is a leading advertising photographer and has worked as a food photographer with Michelin-starred chefs. His work with models can be seen on the calendars of many leading companies in Ukraine. He was the owner of the photo studio and photo school "Happy Duck".


