


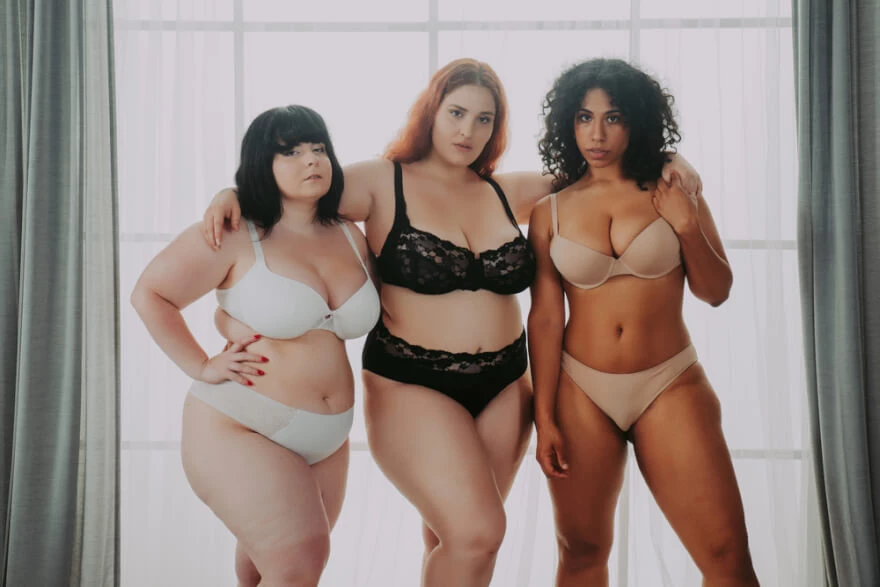
Plus size boudoir photography
Jun 9, 2020
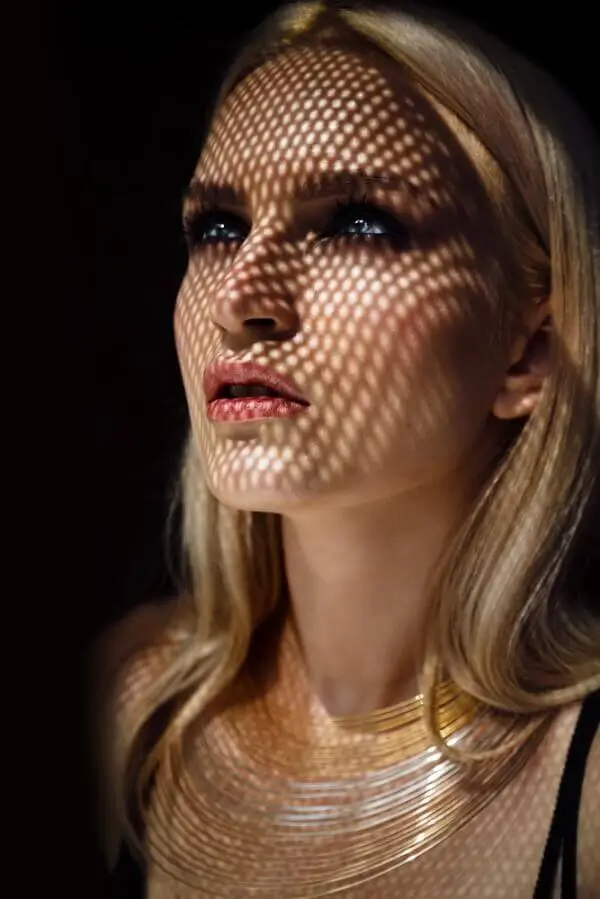
Typically, the term "Gobo" is used to define lens filters and templates that are attached to theater spotlights. You can use anything between the light and the subject. The main thing is that these objects do not block all the light. This is how you can create more stylized shadows. You can use almost any opaque material such as cardboard, foam, or poster board by cutting or drilling holes there. You can use regular foil or cloth suspended in strips. It is important to be able to move the gobo lighting in all directions. This technique is more about gobo in studio photography. It is an object that is placed between the light and the subject. So what can be used to make the gobo? To create a stylized shadow, use an opaque gobo. You can use almost any opaque material like cardboard or thick paper.
The most convenient material is thick foil. It is very easy to form any shape from it and make cuts. It is lightweight and easily attaches to any rack or surface. At the same time, there is a drawback to such a foil. It will not last you long due to the complexity of storage, since the delicate structure is easily damaged.
You will appreciate the portability of an instrument as gobo patterns as soon as you start using it. The most difficult part of the work is not only to create the background of the desired size and shape, but also to find the best place between the gobo source and the model, since a change of a few centimeters will transform the scale and nature of the shadow.
A closer distance between all the participants in lighting gobos will give harder shadows with sharp edges. By changing the nature of the light source and its distance, you can adjust the density that suits your idea.
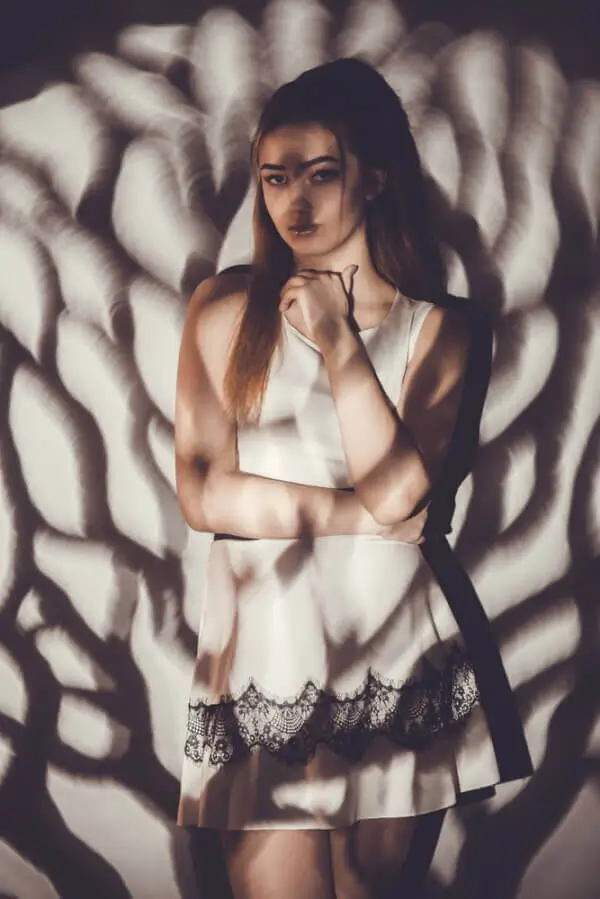
The gobo light must be large enough to cover the entire frame with its shadow and only light through the slits. Side flares usually don't look pretty. To further complicate the drawn shadow, you can position the gobo at an angle. This way one end of the modifier will be closer to the light source and the other further away. This will give a different character from different angles.
Angling will also change the work area of the slots. Not only the character will change, but also the shape of the patterns projected onto the wall.
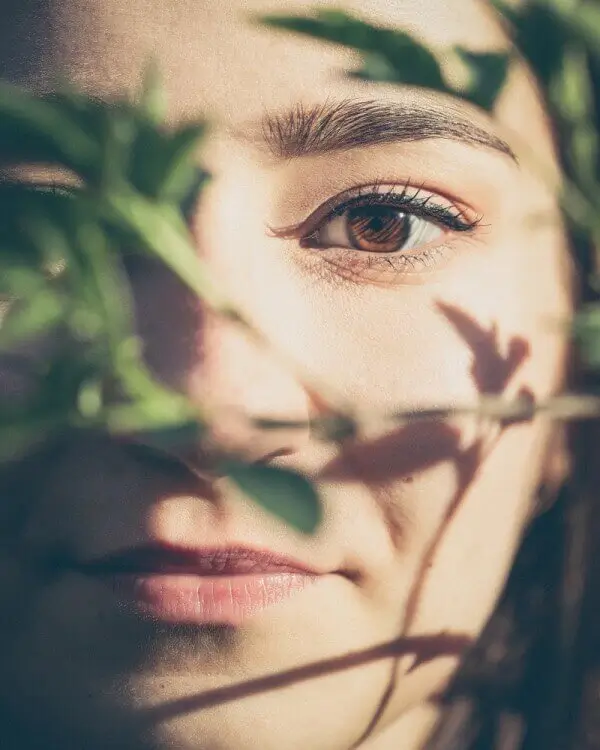
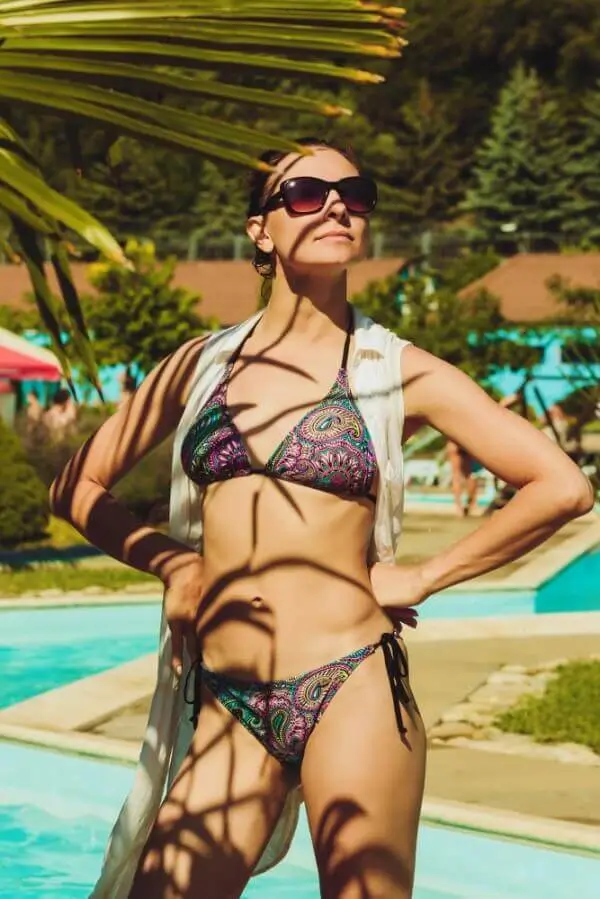
As mentioned earlier, anything between the light source and the model can act as a gobo. You don't have to work in a studio. There are a lot of light modifiers around us. You can use objects and plants found on the street and look for the desired angle in which the shadow will fall in a special way.
The simplest diy gobo is in the fence construction. It is especially common in stadiums.
You don't have to try a shot with the sun on a hot afternoon, as this is when the shadows are at their hardest. Due to the lack of the ability to work with a lighting source, creativity will be limited. You can take an external flash on a stand and use it outdoors.
More often diy gobos create a dramatic effect. You can also use leaves from trees and shrubs. By adjusting the position of the light source, you can place the shadow so that it harmoniously falls on the subject and the background. Houseplants in pots can also be used as a light gobo. This will allow you to move and zoom not only the light source, but the plant itself. When you start working with gobos, you will see the world around you differently. You will notice modifiers around you. Even household appliances can be modifiers for light. Even a home fan can become not only a modifier, but also create the effect of flying hair and scattering clothes. Increasing the flash distance makes shadows harder. Changing the focal length of the flash also affects the character of the scene. Pictures taken in this style are usually processed to make them more dramatic. Adding contrast, decreasing brightness, saturation are the main manipulations. You can experiment endlessly with gobo photography, because it is a very interesting area for studying the behavior of light and shadow.
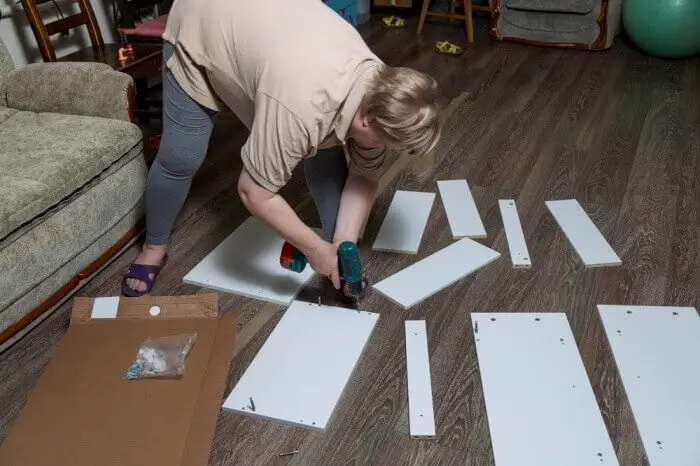
Such inventions as light gobos are quite easy to use. But one may say that it can be relatively expensive, especially if you are an amateur photographer. There is always a need of studio lights to work and create necessary effects. But there is also good news, because these accessories can be created by yourself! The most usual and simple way is to cut out some shapes out of industrial foam. Among the most important things to use for such a diy creation, there are a knife or scissors, light source or big window, foam panel or thick paper, and a pen or pencil to draw holes you need to cut.
It is considered that the black foam is the best for such games with lights and shadows. Because white color usually reflects back light and can easily create distracting spots. When you have everything ready for the project, you need to draw the pattern with a pencil or colored pen. Everything else to do is to carefully cut the gobo with. As soon as you have your shape and form you need, it's time to place it in front of the light source. Keep in mind that not all lights are good enough for the special type of gobo. Sometimes you will never see any patterns if you place it in front of a regular light source. If you want to create hard light and crispy shadows, you will need a small source. That is why using direct sunlight or even a flash is the best solution for a gobo. When everything is ready to make your gobo work, take it and place it in front of the window or another light source. From this moment you will see patterns appear. But do not forget that the more close you get to the source of light, the larger will be the shape or pattern on a model and in the frame. Do not be afraid to get closer or further from the light or flash until you find a perfect point to shoot. This process is a question of a great skill to set the lens for a real gobo.

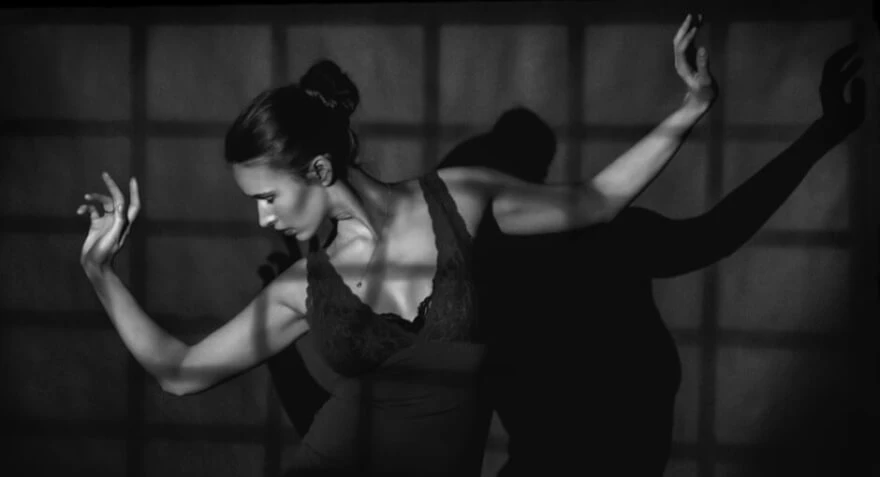
The light is about a meter from the gobo, which is about a meter from the subject. Proximity creates crisp shadows. When working with gobos, you will need to use the knowledge of shading. Remember that the closer an object or person is to the background, the more clearly the shadow is created. This information is important because you not only create shadows in the background, but also play with shadows that hit the object.
To improve using this technique you need to turn on the light source and move it to the area you want to illuminate. Do not be surprised to discover that this or that pattern starts to look blurry at first glance. It means that there is a need to set the lens lever. Watch the screen and notice when the pattern appears. After that everything will become clear and ready for a fruitful shooting. As you can understand every photographer can create and invent characteristic light at various distances. Even one foot can make the difference.
Such shots are usually similar in style to film noir, so it makes sense to convert the photo to black and white, add grain and use the dehaze function to restore file details in highlights. In addition to the normal curve adjustments and tint sliders, you can use the other post-processing function to stretch details in highlights. Gradient shading at the bottom will add depth.
Since gobos extend designs, it is always better to utilize a steady light source. This way you'll be able to see what you need to capture. Gobos cannot be utilized with conventional domestic lamps or standard lighting since they don't have focal points to shape the light. The issue with such bulbs is that they do not have much power. Utilizing them for gobos may require you to moderate shutter speed or increment ISO to urge the correct exposure. Utilize a flash that's exponentially more strongly than anything that comes from LEDs. A monoblock regularly incorporates a modeling light that will permit you to see the preparatory result immediately. If you do not know what is modeling light, this can be a light with a flash. It radiates persistent light so you'll see which part of the scene will be lit. Keep in mind that the light source can overheat, this happens indeed more after you interface a closed gadget such as a gobo.
Do not keep it on when you work, especially if the shooting time is extended. Give it some time to cool down. It will help you to avoid accidental fire. If you don't have artificial light, you can always use direct sunlight.

With more practice in studio photography, you will discover lighting not as perfect and comfortable as it was always before. Sometimes it will also seem flat and boring to continue. That is why you can always use gobo accessories to make the scene more vivid and sharp, looking alive. Everyone knows that gobo is an artificially created shadow pattern. This effect can make the image more natural and beautiful, creating an artistic look for portraits. Use it wisely and it will become your best friend in all photography styles.
He started his career as a professional photo designer and retoucher. Professional commercial photographer with 20 years of experience. He is a leading advertising photographer and has worked as a food photographer with Michelin-starred chefs. His work with models can be seen on the calendars of many leading companies in Ukraine. He was the owner of the photo studio and photo school "Happy Duck".