


Texture in Photography
May 17, 2019
For those who don't know what portrait mode is, it is a camera function that keeps the subject in focus and slightly blurs the background, in photographic terminology, it is also called "bokeh". Thanks to this feature, Apple’s phone photos are very similar to those captured with high-quality DSLR cameras.
This image option has become so popular that Apple and Google Android (Pixel 2 and 2 XL) in their latest smartphones added it not only to the main cameras but also to the front cameras, which means that now you can take pictures and selfies, with a simple cam swipe.
Although the tool is intuitive, it is not enough to simply point the camera at the subject to get a beautiful shot. There is a helpful guide that tells how to use portrait mode on iPhone. While the Android guide is geared towards Pixel 2 users, general guidelines apply to all smartphones.
iPhone photo effect allows you to capture stunning bokeh (depth of field) shots. Shooting is extremely easy, however, to achieve a truly high-quality result, you need to know some "tricks". It is better to learn how to turn on Portrait mode iPhone, and remember valuable tips from professional photographers.

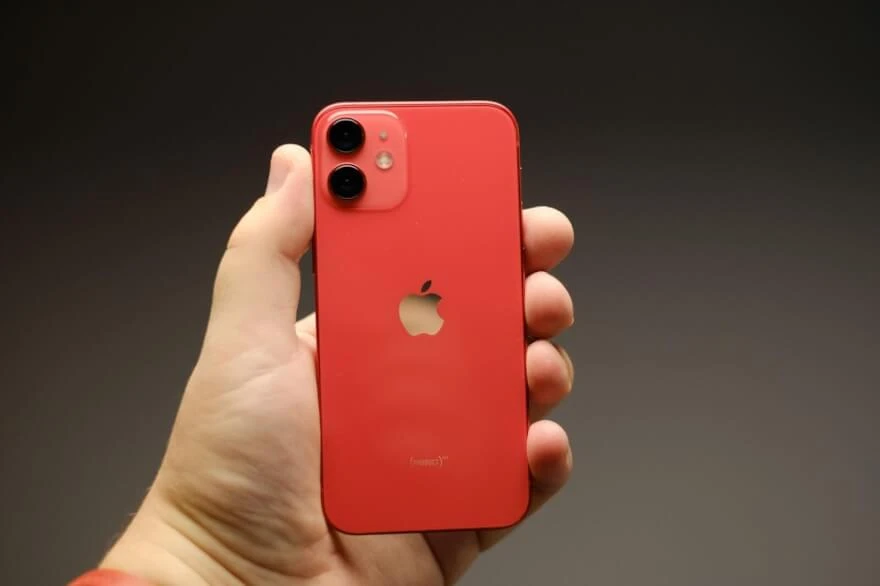
When the camera decides to change the background and bring the subject into sharp focus while blurring beautifully everything else, it means that you are using a portrait mode button. Remember that not all devices are able to provide this mode of shooting. If you are a lucky iPhone 8, 8 Plus, 7 Plus, 11, 11 Pro, 11 Pro Max, XR, XS, and XS Max, then you will play with the new selfie-style. It allows you to take photos with simulated studio lighting in almost any condition. Only iPhones with dual or triple cameras support portrait mode. On a single-camera iPhone, depth-of-field shooting is also possible, but only using third-party apps from the App Store. Their main disadvantage is that the bokeh effect is available in the software. Because of this, it is not as "lively" and deep as the hardware effect created by the iPhone's dual and triple cameras.


iPhone supports a variety of preset filters. To select them, you must click on the icon with three overlapping circles in the upper right corner of the interface. It is important to clarify that when you select a filter, you will only be able to shoot with natural light applied (selected by default).
There are five effects that let you shoot with different types of light. The difference between the effects is significant, each of them is best suited for specific shooting scenarios.
Natural light. Focus on the subject's face, blurred background. Allows you to create the highest quality close-ups of a person's face with a bokeh effect.
Contour light. Halftones with dark and light areas. Used to emphasize the face in low or artificial lighting conditions.
Studio light. The subject's face is brightly lit, the image is as clear as possible. When shooting with such light, it is recommended to lower the exposure in order not to light up the frame.
Stage light. The subject's face is as if illuminated by a spotlight, a rich black background.
Stage Light-Mono. Similar to the previous effect, but in black and white.

There are special artistic effects that you can add and should experiment with. However, there are still some rules for taking high-quality photos. In order to achieve the highest quality, you need to be close enough to the subject, up to 2.5 meters. On the contrary, the background behind the object should be as far away as possible.
The further the distance between the subject and the background, the stronger the effect of depth will be. If your subject is against a wall, then there will be practically no noticeable effect.
In artificial lighting conditions, the result is far from ideal. In natural light, the mode opens up to its fullest, allowing you to create gorgeous pictures, so it is recommended to “catch” good light. If you want to capture as many good depth-of-field shots as possible, be sure to use manual focus. To do this, you just need to touch the subject on a monitor while shooting. The camera will immediately activate the focus on it.
When shooting on the iPhone (as well as on any other camera), try to avoid small objects in the frame that are at the same level as the subject. Such objects can break the depth effect and completely ruin the photo.

Photographers appreciated the development of Apple and provided valuable tips on how to create high-quality results.

Download professional apps available online to edit images and add features to personalize the picture. Modern technologies permit to cancel all possible photographing mistakes including people and items disturbing the viewer eye, as well as style and color choice. Choose professional retouching apps which will help to improve the photo without asking too much money and time.

Co-founder of RetouchMe. In addition to business, he is passionate about travel photography and videography. His photos can be viewed on Instagram (over 1 million followers), and his films can be found on his YouTube channel.
Moreover, his profile is featured on the most popular and authoritative resource in the film industry — IMDb. He has received 51 international awards and 18 nominations at film festivals worldwide.


