Beginning film photography
- Definition of film photography
- How to get started with film photography
- How does the film camera work
- Film choice and differences
- Loading the Film
- Developing the film
These days, film cameras are a thing of the past and digital cameras have replaced them everywhere. However, film cameras have a number of advantages similar to vinyl records in terms of quality, authentic color, and power consumption that are worth mentioning.
Today we are going to do a step-by-step beginners guide to film photography. We cover everything from choosing the right camera to loading the film and shooting.
Definition of film photography
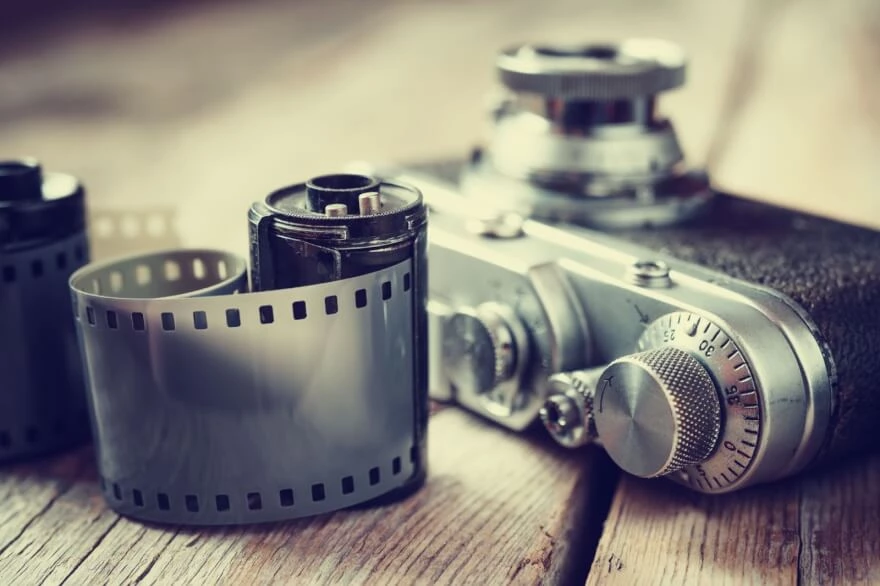
Before getting into cameras and films, it is a good idea to get a basic understanding of how does film photography work. A core part here is the film, which makes a crucial difference between modern digital cameras and old fashioned film cameras. The film is covered in a plastic roll with a mix of chemicals on it that are sensitive to light. When the roll of film is inside the camera, it is in complete darkness. Every time you shoot a photo, you are essentially letting in light through your lens and that then hits the film. That light sort of burns the chemicals that are on the film in a way that shapes and colors are reflected on the material. So after developing, you can then look at your photos on the film and see how the material was burned by the light. That is more or less how I feel photography works.
How to get started with film photography
Let us start our film photography guide with camera types and their differences.
There are three main types of film cameras, you can choose the one that best suits you. Basically, you have a choice between an SLR Rangefinder and a point & shoot. Let us briefly go over each one.

An SLR camera gives you the option to change lenses and shoot manually. What you see when looking through the viewfinder is very close to the actual image thanks to the internal mirror mechanism.
A rangefinder camera on the other hand has a different type of viewfinder, which is the most significant difference. What you see in the viewfinder of a rangefinder is not exactly what you get. Instead, you have frame lines, which can assist you when composing. This could be especially tricky when you decide to shoot with longer focal lengths, seeing as the image through the viewfinder will not change. Whereas the SLR camera will show you the view through the lens. Something worth mentioning when it comes to rangefinders is that not all of them allow you to change your lens, and when it is possible, that usually means the camera is more expensive. However, if you like compact small sizes, rangefinders can usually offer you a smaller setup than SLRs.

Lastly, point-and-shoot cameras are, as the name suggests, automatic cameras that only require you to point the camera and shoot the photo. You do not need to set the exposure yourself, and often you do not need to focus, but this depends on the camera, most of them have autofocus and set ISO. Having all that said, point & shoot cameras are an optimal choice for film photography for beginners.

So, these are the three types of cameras that you will mostly come across, and it fully depends on you and your situation which type of camera you should choose. Here are two examples. You are interested in photography and even practice it digitally already, but now you want to get into film photography. You value precision when composing, and you want to be able to freely change lenses anytime. In that case, an SLR is probably the best fit for you. But let us say you are more interested in easily capturing moments in your everyday life or while traveling at the moment and emotions are more important to you. Then maybe a point & shoot is better for you because with an SLR you want to take your time when shooting. One more thing to consider is the following, SLRs and many rangefinders are fully mechanical cameras, whereas most point & shoot cameras are electronic. This means that mechanical cameras do not require a battery to shoot, whereas, for point & shoot cameras, you are going to have to find the right battery for the camera.
How does the film camera work
If you have never held a film camera before, it might seem a bit overwhelming at first sight. Here is a comprehensive breakdown of the basic things that will apply to almost all film cameras.
There are usually 4 to 5 mechanisms you need to know about to work with your film camera.
Let us discover it with an example of a Pentax K1000 film camera.
On the top right, we can see the shutter button to shoot a photo, and this placeholder is usually for most cameras. But before you can shoot a photo, you need to advance the film. To do that, you pull the lever. The lever pulls the film over sideways to allow a new empty frame to be exposed. Once it is in position, the lever will no longer go further and the camera will now allow you to press the shutter. On top of the film lever, you can see the shot counter that shows you how many shots are left in the roll.

The knob right next to the lever and shutter speed button is like on digital cameras, simply the shutter speed. On the Pentax, you can pull up the outside ring and turn it to change the ISO rating. The ISO rating could be set automatically as the roll has specific silver-black pattern markers on it for the camera to read it. In other cases you can set it manually on your camera, considering what your film exposure is. When shooting a digital camera it is often advantageous to slightly under-expose the photograph to retain details in the highlights which are much harder to recover than the details in the shadows. With film, it is exactly the opposite. Details are hard to recover from the shadows and easier to recover from the highlights. Therefore, when we are shooting the film, it is best to expose it correctly or slightly overexpose using manual settings.
In the top left corner of the camera, we can see a foldable lever and a knob to wind the film back into its canister after shooting the whole roll. Many SLRs also use this to open the back of the camera. So you simply pull it up and the back will pop open.
All these things are similar interfaces that you can find on most of the SLRs.
Film choice and differences

Now that we have understood the basics of the camera, it is time to get a roll of film.
Here we have a wonderful choice of all sorts of films which differ in characteristics such as color and contrast. One thing to be careful with is to buy the right format. A 35 mm is the most common format, which is the case for our today’s examples shown as well. However, many photographers also like to shoot in medium format, which is simply a bigger size of the film. When buying film, you just want to make sure that you are buying 35 mm film, not 120 mm or something because that one will not fit into your 35 mm camera. To check the format you just need to read the packaging, and it will be written on there somewhere.
When choosing your film, there are basically two variables that you need to consider. Firstly, what style do you want, and secondly, are you willing to pay? Film photography nowadays has become very expensive. It varies in price from 20 to 30 Euros per roll on average.

For a beginner, we recommend going with Kodak gold 200, which is the cheapest color film, so that you do not spend too much money on a film that might suffer from many mistakes that happen when starting out.

For black & white, we would recommend AGFA APX 400, which is also quite affordable.
Loading the Film

Now you have got a camera and a roll of film, it is time to load the film and prepare your camera to shoot. This is a unique process depending on each camera, so it is best to search for your specific camera on Google or YouTube. But most of the time, it is quite a similar way to load the roll into your camera. Point & shoot cameras can be quite different from SLRs’ rangefinders. In point & shoot cameras, you simply put the roll in, and it does everything on its own. But with an SLR camera, you must do everything manually most of the time. To begin with, we need to open the back of our camera using the top left knob as it was explained above in the ‘how does film camera work’ paragraph. Now we can see there is a slot for our roll, push the roll down into the slot, and usually, it makes a click if it is done.

After setting up the roll, we have to pull the film tail and insert it on the right side slot between the rollers on the right side. Keep in mind that pulling out the tail of your film from the roll will expose the film to light, and you will not be able to use it. So, make sure to pull out only the necessary amount of film to plug it into its slot.

After plugging the film into its slot, you need to use the lever to advance it deeper and make a stretch. By pulling the lever and pressing the shutter button, you advance the film until you are certain that it is working. Once you are sure that the film is in, you can close the back. To make sure that the advance is working, you can keep an eye on the left knob that we use to open the back. If you loaded your film correctly, then this knob should turn every time you advance the film with the right lever.

If it does not turn, that could mean that the film is not being advanced properly, and you should try inserting it again. Sometimes, however, it only does not turn at first because of the way the canisters work. So before advancing, you can turn the knob back until it does not let you go further. Then advancing should start working as intended.
After closing the back of your camera, it is important to remember that you must not open this back until you have shot all the film and put it back into its canister. Because if you open it, the light comes in and exposes the film and ruins it. Anyway, once you have closed the back you can advance once more because the film that is currently behind the shutter has already been exposed to light, so of course, you will not be able to photograph anything with that. Once you have moved once or twice, you might get a half-burnt shot which is typical, but after that, all your photographs should be good.
Developing the film

When you finish the roll of film, you will notice that because the lever will no longer turn. Now it is time to wind the film back into its canister before getting it out of the camera. To do that, we need to release the roll inside first. Each camera has its own button for it, which is usually placed somewhere at the bottom, as it works for Pentax. After getting the roll released now we can wind the film back into its canister by using the right knob. While turning this knob, you will feel the tension of the film that you are pulling back. At some point, that tension will suddenly loosen, and the turning will be much easier. That means the film is now fully rolled back into the canister and safe to extract. With your first roll of the film now exposed, you can choose to either develop and scan it yourself to make the color correction and edit in general or bring it to a lab and let them do it for you. For beginners, it is recommended to hand it to a lab. After handing the film to a lab, they will scan it, edit and develop it, then send your digital files or print on photo paper if there is such an option there, which is usually expensive.
That is all the film photography tips for beginners we have for today.
He started his career as a professional photo designer and retoucher. Professional commercial photographer with 20 years of experience. He is a leading advertising photographer and has worked as a food photographer with Michelin-starred chefs. His work with models can be seen on the calendars of many leading companies in Ukraine. He was the owner of the photo studio and photo school "Happy Duck".

with RetouchMe


