


What is a viewfinder on a camera?
Mar 16, 2021
Real estate, architecture, interior design, restaurants, and tourism industry, hotels and theaters, exhibitions and galleries – everyone needs great indoor photos to attract an audience.
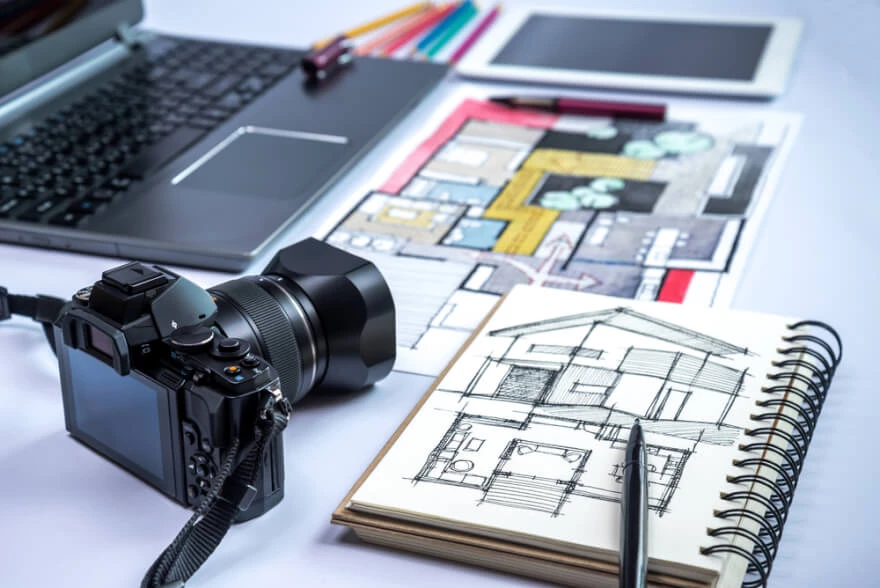
For photographers involved in picturing architecture and interior the ability to correctly and effectively present the subject is an almost mandatory requirement for career growth even if you are using a phone instead complicated digital camera.
Once you have a built-in camera or DSLR in your hand, you strive to make a career out of photography, and one of the profitable areas of commercial photography is interior photography. Interior photos are used for websites, in magazines, and on portals, so this type of shooting has a lot of potentials.
There is nothing complicated in taking a couple of dozen photographs of an apartment or a house. However, in real estate and press, the quality of images is fundamentally important, because it is the first look at a product. A high-quality photo is already harder to make. But nothing is impossible, so we suggest you discover some crucial interior photography tips that will help you create really beautiful interior photos.

Tripod serves to avoid the shaking of a camera. In case of a photograph in a location where the interior will be the main object, the most important thing is to keep a level horizon and perspective. This is where the tripod will help you.
Also, the fact that indoor light is usually less than outside is important, so for a successful photo shot, you will need to set a high ISO. With this option, the problem of additional noise will appear, which will be solved with the help of a tripod. Set a slower shutter speed, which will allow you to get high-quality photos in low light.
Interior design photography requires observing horizon and perspective, in order not to be confused, it is also best to use a tripod. It will allow you to correctly build a frame and calmly move away from the camera to remove an excess object from the field of view of the lens.
Some tripod models are made of a special aluminum alloy. Due to this, it is light and is great for shooting interiors. If the maximum working height of a tripod is about 150 cm, it allows you to comfortably shoot rooms with ceilings up to 3m.

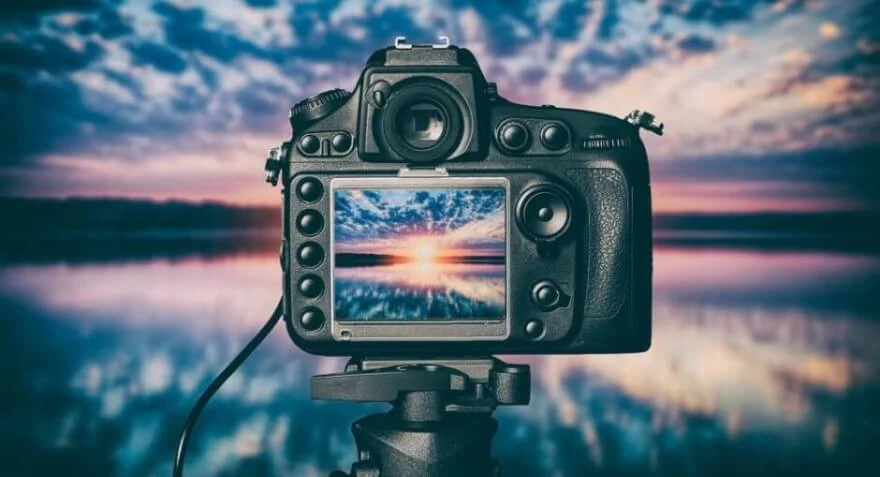
LiveView may or may not be the favorite feature of professional photographers, but interior architectural photography is incredibly convenient. It allows you to see and evaluate the frame before shooting, to make sure of composition and that all objects are in their places, as well as to evaluate the color scheme. Color plays a huge role in the real estate image.
For the interior picture the screen should be rotated, so you can see what you are shooting. You don’t have to bend to the level of tripod height. In a word, do not forget to consider this moment when choosing a suitable camera.

...and be careful. A wide-angle can visually increase the space, and this is very important precisely for shooting interiors. However, observing the correct proportions of furniture and premises is equally important. One of the most common options for interior photography lens is 16-24mm. Such a lens is more than enough to capture part of the space that will allow you to judge the room as a whole. Do not try to put the whole room and all the elements in one frame, because sometimes one detail says a lot.

In a standard room, as a rule, you can take pictures from more than one point perspective. With one point, the photo was taken parallel to the wall. You capture two walls in a frame: a straight and perpendicular, building a frame. The second, or two-perspective, is shooting from a corner where walls diverge from a corner in two rays.
When shooting the same room, it is better to try both perspectives, and then choose which photo best conveys the atmosphere and styling. In most cases, the customer determines the shooting task and you don’t have to choose a particular angle, but the photographer always has the opportunity to correctly realize the goal and capture from the most successful angle.

Professional recommendations are as following: use the lowest ISO, an aperture of f16 or f22, slow shutter speeds and a tripod. All these “simple tools" help to get the best quality photographs.
Exposure depends on the amount of light available. It is usually necessary to photograph the interior using f16 aperture, the shutter speed will approximately be 1/60 on a bright and sunny day. Depth of field depends on the aim. If the goal is to show the entire interior completely, it presets the depth of field to the maximum. To emphasize one element or to focus the viewer's attention on a specific piece of furniture, create a shallow depth of field and the image in your picture will sparkle. It will easily create a Lightroom effect without using complicated equipment.

Talking about the height from which it is most convenient to capture a room. If you are not shooting a huge hall with four-meter ceilings, then the most advantageous height for the camera is about the middle of height from floor to ceiling. This height most correctly conveys the scale and allows you to get flat lines of perspective. Of course, they can be fixed during post-production, but it is better to avoid such a need. Tripod comes to rescue the situation again. It is with its help that you can correctly set the height and observe it, regardless of movements.

Some cameras, but not all, are equipped with an electronic level. True, even the built-in level often shows only a horizon line. Some tripods are also equipped with a bubble level, but if none of your devices has a level, you should buy one.
In the interior photography tutorial, a bubble level is an excellent assistant. It allows to align the horizon during the shooting, and it costs relatively low for everyone. The most convenient option is made of durable plastic. It does not take up much space and performs two functions at once, leveling the horizon and a plug for camera shoe, which prevents contacts from getting dirty.

When shooting restaurants, office or other locations, we do not always come across evenly lit rooms. On the contrary, such cases are extremely rare. If you look at any room, you will notice that areas near the window and around the lamps are more illuminated. The rest of the room may be complete without lighting. To prevent overexposed areas in a photo, it is best to take several frames. One should be with normal exposure, another has to be underexposed in 2 steps, and one – overexposed. After that, you can combine frames in the application for merging HDR photos. Thus, we get a frame where both dark and illuminated areas will be displayed.
Note that when shooting in a room with no windows, you must turn on all available lamps, chandeliers, and shades. In such a situation, excess light does not hurt, the main thing is to balance it correctly. As in portrait photography, when shooting interiors, soft light will help to get the best results. In rooms where there are large windows or even showcases, the optimal time for a photo shoot will be early morning or late evening, it all depends which side windows face.

Another way to illuminate a room is to use a flash. The built-in flash of a camera will not be enough for this since we will need to reflect it so that the light fills the space. If you direct the flash at a wall or ceiling (the latter is best, since walls are often dark or bright), the light will be scattered across the room. This can also be done by removing the flash from the camera and directing it to the ceiling. Flash can also be used with external remote control, in which case you can just put it where you need it. It is compatible with most cameras from leading manufacturers. Fans of studio shooting will be pleased with the wide synchronization capabilities of remote flash, but for interior photographers, its power will be ideal.

Considering interior photography camera settings, it is always useful to consider which format it is more advantageous for a viewer and client. For example, it is better to shoot a room with a sofa and a coffee table horizontally, but a staircase, on the contrary, most often looks better in a vertical frame. Practice various techniques to capture different figures. This is especially useful in case you plan to shoot for decor magazines or Instagram. It will be useful to learn how to build vertical frames where necessary or it is worth choosing a horizontal composition. The most common trick is to capture part of a scene in a frame.

Processing is a rather important and almost integral part of interior photography. Of course, in some frames, you will need to stretch the exposure, play with aperture, revise shadows and lights, and so on. If you still decide to work without a tripod, or still just master the composition, it is acceptable to crop photos. For interior photography, it is not forbidden and make colors a little brighter. The main indicator in this genre is presentability, so the task of photographers is to do everything to make the shot success with present equipment.

For external architecture, vertical lines tend to connect providing a visual perspective. For indoor photography, this technique is not suitable. Parallel lines must be straight. Start by aligning the camera. If the lens is tilted, the walls will begin to “fall”. Try shooting from a high point. How high a photographer can climb depends directly on a place of shooting. Make sure that the point is not too high, otherwise, you can only get a part of the room.

Even if you have perfect stability in hands, there is no reason to take a risk of getting blurry images as a result. Do you want your interior photos to be of excellent quality and sharpness? Do not forget to use a tripod and as an additional measure for stabilization, use a camera shutter timer.

Think about what you want to show in a picture and put things in order. Add accessories that create an atmosphere: magazines folded on a coffee table, an open laptop on a smooth wooden surface. In other cases, you may need to remove furniture or move it to emphasize or hide certain parts of a room.

Ideas for interior photography can vary greatly depending on the size of space, as well as objects located in it, and the goals of photo shoot play an important role. Interior photography can be different. Do not be afraid of experiments, try all sorts of approaches like tilt-shift or vignette.

To achieve movement in a frame, to make complete composition lively and interesting is a joint task of photographer and stylist. That is why some essential rules of composition are highly important for a successful shot.
When grouping objects crowded along sides of a frame you should include secondary objects: curtains, corners of paintings, the side of a plate. This is important not only for the depth of the frame but also to achieve the effect of movement. The eye will move in a circle as if feeling the objects from main to secondary and then returning to the first point.
The best proportion would be 2:3 or 4:3. A square orientation is also suitable, however, it will not have such a visual impact as in rectangular orientations. Since the diagonal composition is the most complex, it is important not to overdo. Recent trends in interior photography encourage mess and slight negligence. Use the diagonal method to consider the edges of the frame. Objects that go beyond the frame, especially on one of the unused diagonals, will strengthen the eye's attraction to the main subject. Moreover, the frame will not lose the depth of space.

Perhaps the easiest way to get started is to get inspired by the work of others. Look through design magazines, visit a couple of sites, and start training. Friends' houses and apartments, exhibition houses, and interior exhibitions are suitable for rehearsal shots.
Co-founder of RetouchMe. In addition to business, he is passionate about travel photography and videography. His photos can be viewed on Instagram (over 1 million followers), and his films can be found on his YouTube channel.
Moreover, his profile is featured on the most popular and authoritative resource in the film industry — IMDb. He has received 51 international awards and 18 nominations at film festivals worldwide.


