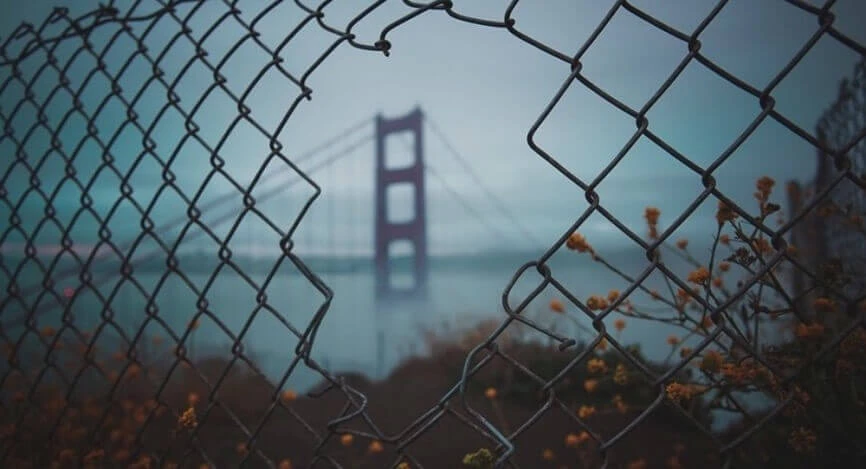
What is perspective in photography?

- What is perspective photography
- Perspective photography TIPS
- Choose lens viewpoints
- Fix the eye on vantage points
- Emphasize foreground that goes away
- Frame the landscape
- Shoot vertically
- Use the contrast
Photo art is a way to transfer three-dimensional space into 2D using visualization. To keep the picture realistic, you should emphasize the depth and volume. You can control this with various types of tools and depth of field. Try learning basic steps for successful shooting.
What is perspective photography
Perspective photography is quite a common phenomenon. First of all, it is the technique that guarantees volume and expressiveness of the image. In other words, it is a perception of depth. It happens due to the presence of large and small objects in a frame.
Let us start with more detailed examination and perspective photography definition.
There are three possible answers. Just choose the one you understand better:
- Graphic distortion of proportions and shape of real bodies in their visual perception. For example, two parallel rails seem to converge at one point in the horizon.
- The way to show the image of volumetric bodies, transmitting their own spatial structure and location.
- It is an image of perception by our eyes of spatial separation of objects and their relationship with each other. Simply saying, objects appear smaller, the farther away from us.
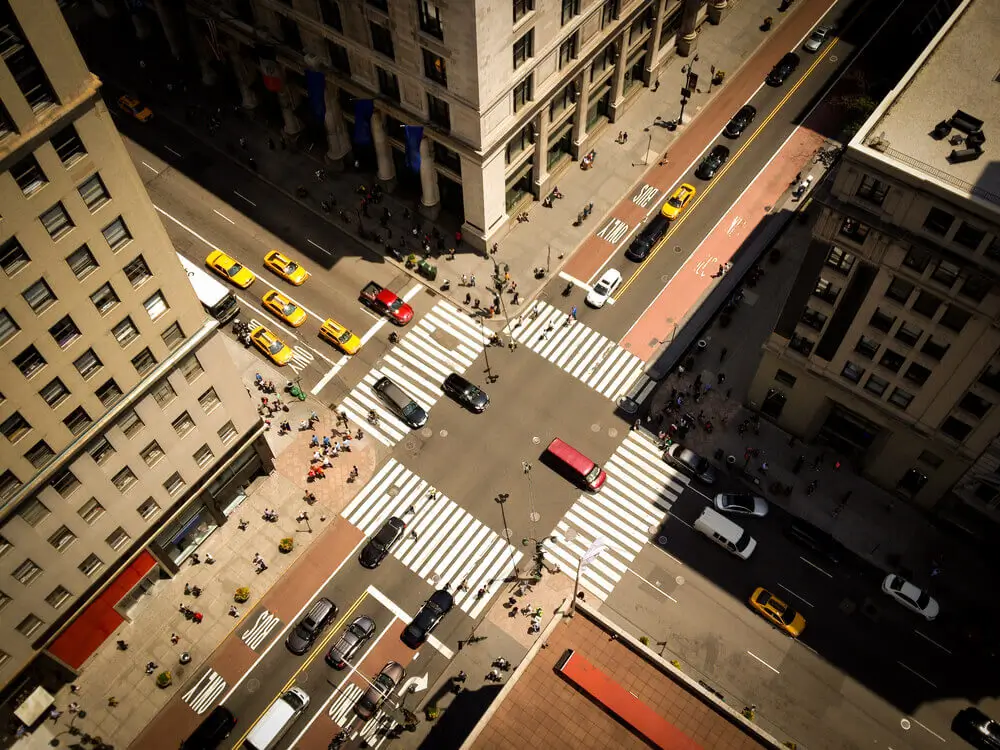
No matter how transparent the air may seem, it is not, in fact. Air consists of molecules that have their own density and weight. It is air that gives us number of interesting tonal perspectives. The farther the subject is located, the less clear its contours, and the shades are lighter. The most usual types of this effect are frequently found on foggy, windy and rainy pictures.
A person, perceiving the distance of objects, perceives not only large-scale changes, but also notices that the space is filled with air. The thickness of the air layer, the degree of its transparency depends on many factors.
Let's think about the space that we reproduce in our photographs. This space is always filled with air, blowing winds can add smallest particles of dust, rain and evaporation of water from the surface of the earth saturates this space with moisture. People make a significant contribution – industrial, transport and other technological emissions decrease air transparency level. It turns out that the space between distant objects of shooting is not as invisible as it seems to us.
The feeling of space illusion is further enhanced when the foreground objects are showed in a natural color, while those in the background are demonstrated in shades of blue.
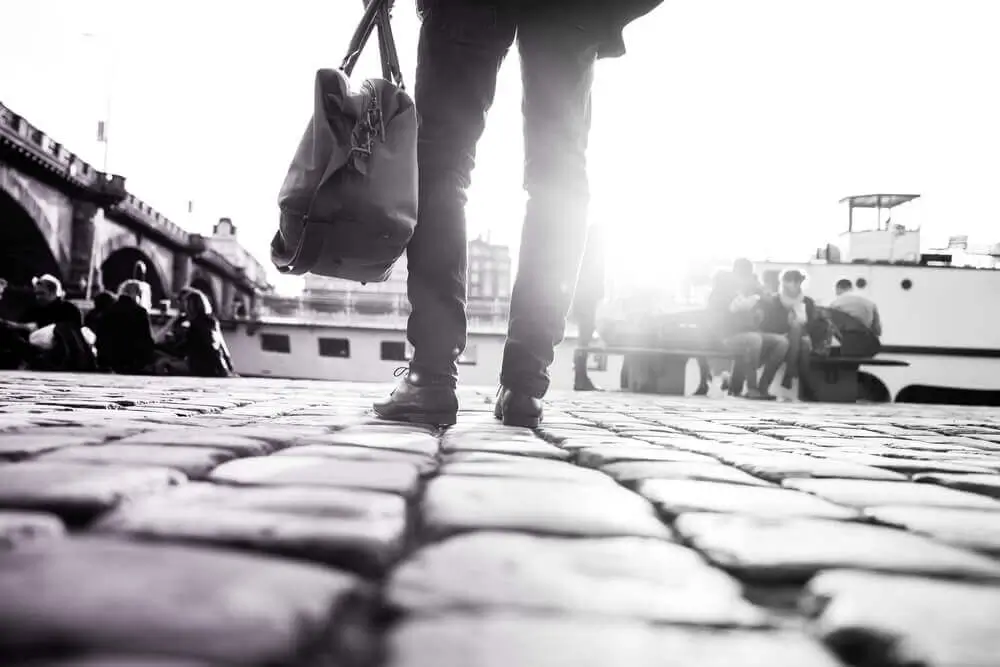
Leonardo da Vinci has thoroughly indicated the main regularities:
- the further location of object from observers, the lower clarity of its outlines;
- when object is moved into the depth, its color saturation decreases, the farther it is, the more blurred color shades are obtained;
- objects, which are located far away from the observer appear brighter than those that are in close proximity;
- the cut-off contrast decreases with distance.
What is necessary for capturing this magic effect? Sleep less and want more. It is absolutely important to be at a right time and place, in order to take advantage of tonal perspective, courtesy of nature, and show the remoteness of medium and long-range objects with the best tool of each photographer – depth of field.
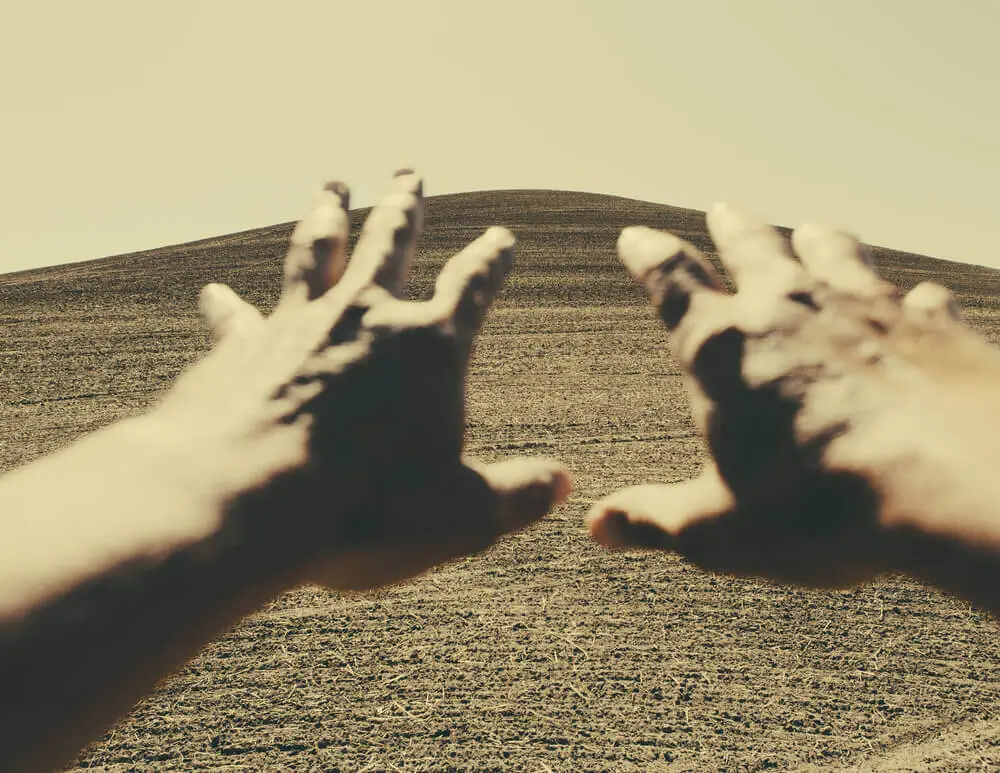
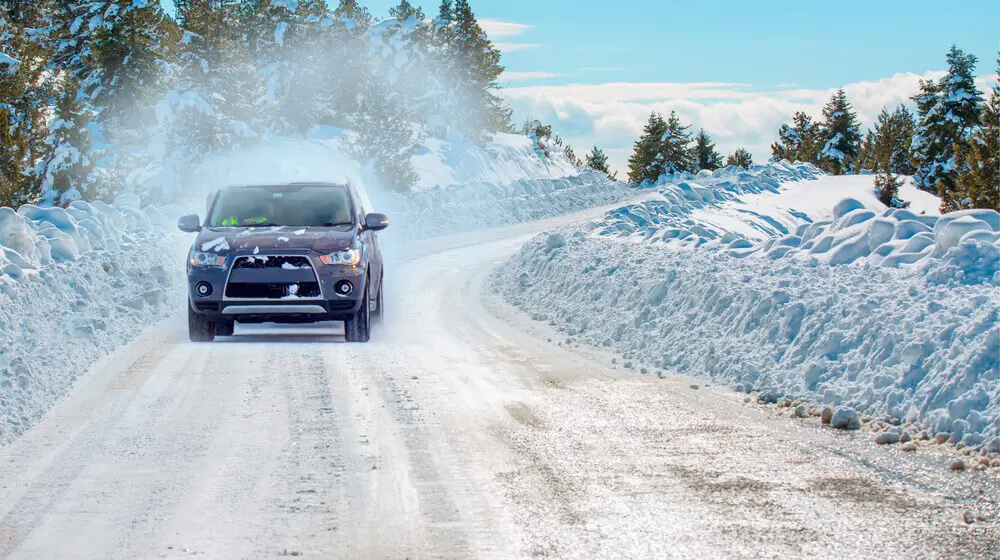
Linear perspective photos are frequently used, when we can see lines that go straight at first, but as a result tend to converge at some point. Examples of such an interesting effect are better observed, when looking at a long road, a row of trees, fences, etc. This technique is an excellent illustration of a frame with a rhythm, movement and dynamics.
In addition to these options, you can find also a panoramic perspective. This is an elongated image, covering surrounding environment as much as possible. In relation to human eyes, a perceptual view is also distinguished, combining several options at once.
If the above mentioned part helped us to define this tool, now we are going to find out what to do to make it happen. More precisely, what should we take into account to make annoying buildings seem more dynamic and different from classic shots.

Observation. Environment is full of various angles and views which are not noticed in our everyday life. Include an independent object in the frame, which will be strengthened by the plot of a photo. It is appropriate to place the thing at the end of converging straight lines.
Diversity. Place the model in a portrait or shoot natural objects so that the foreground, mid and backdrops are clearly distinguishable. It would be nice to have some background present. Natural haze will perfectly cope with this goal, because it will make the image more complex and interesting.
Combination. Actively play with different scales (small and large) in order to emphasize what you need and set an additional task to analyze and compare depicted objects.
Lighting. It is well-known that the side and diagonal light is the best to highlight the subject. Frontal light will not be able to emphasize the volume and create any cut-off pattern. Lighter objects appear more distant. This is due to the fact that we see distant objects through the thickness of diffusing light; distant mountains seem lighter.
To identify the volume of objects of different sizes different light options are needed. In general, both strong and shadow light do not work well for all cases. Only careful choice of tools and necessary approaches can create a magnificent result.
Perspective photography TIPS
Choose lens viewpoints
Photography perspective is felt more or less, depending on the difference in the scale of foreground and background images. When the scale of the closest and furthest objects is great, then the idea of an image is strongly expressed. If the difference in scale of foreground and background is insignificant, the picture has a poor expression.
The resulting difference in the scale cannot be changed by a subsequent increase or cropping, since the ratio of distant objects remains unchanged.
If you want to try photographing with different lenses, then the size of images will be proportional to the focal length of the lens. An object captured with a short-focus lens will be small and a long-focus lens will make it larger.
More or less strongly pronounced perspective depends not only on focal length, but also on distance between the object and the point of shooting. This explains the fact that images of very distant objects of background, such as a landscape, look like a flat background with no dynamics.

Fix the eye on vantage points
The foreground is something that is close to the lens and is clearly distinguishable (but the foreground may be blurred). In most cases, the beauty and details of the foreground is very important, both for depth and expressiveness of the frame as a whole.
The midground is smaller and less detailed. It is possible to describe it as a basis, the body of the frame, which is not too far away, but not too close as well. There are various combinations of spots and lines (accents and backgrounds) in the frame that can change the perception. It is impossible to bring everything under one rule and unique standard, but one should not ignore the norms of the human eye.

Emphasize foreground that goes away
Another way to convey the depth is to demonstrate the foreground in an infinite way. It can be a bridge, a road, a fence or any other object that extends a view across the entire depth. Finding a good point of shooting, the front of this object will grab attention. Thanks to this method, you can create a dramatic picture with a distinct sense of distance. Using a wide-angle lens will help to enhance the effect of this technique. Try it to get interesting shots.
Frame the landscape
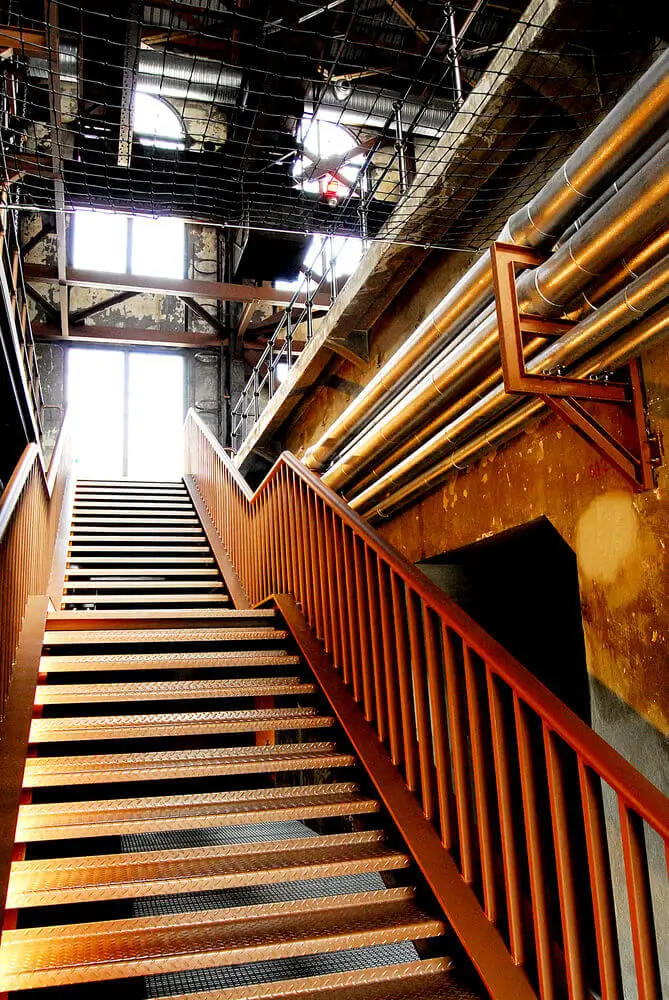
Framing is also a good way to show depth. Look for elements that could frame your landscape, and include them in the frame. It can be fence, wall, tree, and anything else that attracts attention and translates it into your composition.
Shoot vertically
Most landscapes are shot horizontally, and it’s understandable, because it is absolutely natural. Horizontal composition gives a greater viewing angle, which allows you to capture wide mountain views and hills. And sometimes composition can look amazing in a vertical layout. Vertical layout will allow you to include more items and attractive details in a frame.
Use the contrast
This is the strongest factor for visual perception. Reduce the contrast of distant objects, increase the contrast of the foreground, and the image will become convex. This method is suitable not only for landscapes and genre photography, but also for a studio portrait: increase the contrast of the front and reduce the contrast on hair and cheekbones, clothes. Portrait filters make something similar, blurring skin of a model and leaving eyes and lips sharp.
It is the easiest way of three-dimensional post-processing of the image. Unlike other processes, the viewer hardly notices changes, which will preserve maximum natural effect.
Modern digital devices have led to the fact that most photographers do not know what perspective is in photography and how to emphasize it in every single shot. Many people prefer to take advantage of zooming and snapshot a small part of composition. At the same time, they pay attention to the size of objects and forget about the space between them. It is essential to learn and develop important skills, if you are looking to increase your professional level. That is why try these few steps to practice and train:
- Take a picture of a group of objects from different distances, without changing the focal length.
- Capture the same objects with different focal lengths from one point.
- Photograph the same subjects at different focal lengths, varying point of installation of the camera to maintain the scale of selected objects in the foreground.
Remember the main features of your camera after these lessons and you will discover new horizons in this art. Otherwise choosing different shooting points (low or high) and optics with various characteristics, you risk getting a huge nose for a model, short legs and a big head or vice versa, etc. But with a little practice and much patience, there is a great possibility to succeed. Do not be upset! Thoughtful approach and smart post-processing applications will save the situation!
Co-founder of RetouchMe. In addition to business, he is passionate about travel photography and videography. His photos can be viewed on Instagram (over 1 million followers), and his films can be found on his YouTube channel.
Moreover, his profile is featured on the most popular and authoritative resource in the film industry — IMDb. He has received 51 international awards and 18 nominations at film festivals worldwide.

with RetouchMe


