


Guide for Female Hand Poses in Photography
Apr 8, 2019
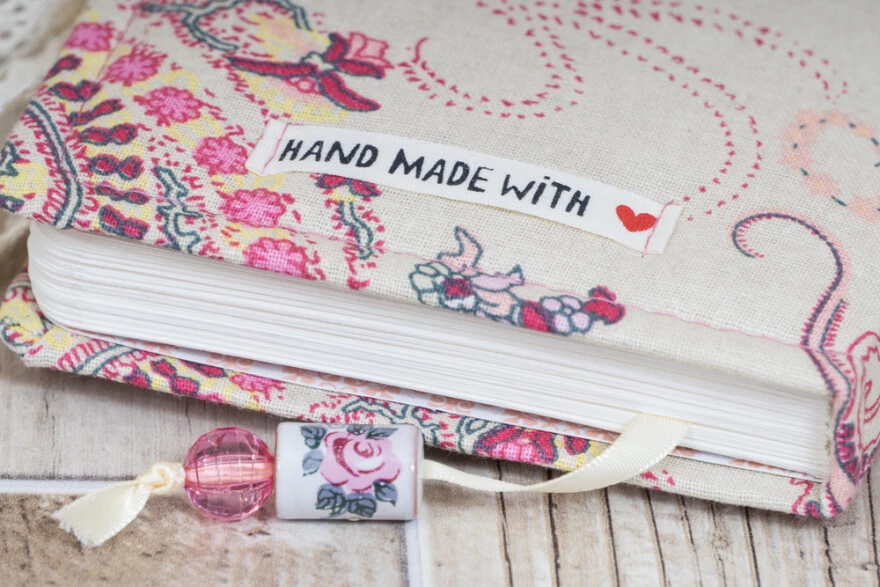
Amazing gifts are usually made with your own hands, because it is the easiest way to transmit to people we love a part of our soul. It is nice to know that there is someone who really cares about us and considers us to be an important part of one's life. If you want to make a special gift for a loved one, company of friends, business colleague or relative, a creative photo album made by your hands would be a great option.
Main steps to make make a photo album:
First of all, you need to decide on the theme and size of the creation: a wedding day, birthday party with all the family and friends, traveling memories all over the world, newborn greetings and lovely stories.
Choose the color, which is going to follow all pages and decoration materials. Pick up carefully and print a quality photo collection of a suitable format, following detailed advice and various diy photo album ideas. Further, it is necessary to prepare additional elements, such as:
Then you obviously need to paste photos and personalize each page. And the final step is to seal the album and add image collage or a logo to the cover.

So to create photo album you need to prepare:
Following our step by step instructions amazing diy photo albums can be realized for everyone and everywhere in a simple and nice way.

The gift may be appropriate for every occasion, but if you want to personalize it as much as possible, choose a specific subject for a future fashion item. After that it is important to determine its size and color design of the background. This will help us to understand which size and style of good captions will suit the handmade gift best.

Do not hurry up in a local store or supermarket to buy some items which will be missing. Think in advance on all details and place them close to you, to grab immediately when needed. Put close all photographs, paper, paints, pencils, pens, scissors, glue, tape and other necessary things on a working surface.

Cut paper pages of desired size and shape, if necessary, paint them with paints or pencils. Play with colors and tones to decorate your gift and discover your own cool photo album ideas. Create your own style to add individuality to the gift.

With the help of double-sided tape or glue, stick chosen pictures onto ready-made pages. Print images of high quality, using good cameras. Still modern technologies permit high ISO standards for most famous Android smartphones and digital devices like iPad and iPhone. Do not overload the page with a large number of pictures and images, use a rule of maximum 2-4 items, depending on the size.
Tip: If you stick photos with a glue, then do not put too much of it, otherwise dark spots may destroy not only the picture but the whole page itself.

With the help of inspiration and paints, pencils or markers make small drawings on each page with a picture, if necessary, decorated with stickers or other decorative elements. Make sure that all colors dry well, without marking other materials and only after that continue to work with them. Otherwise your photography work may remain damaged with glue or colorful paint.

Use a pen or marker to sign your images. Why not to accept the challenge, creating an interesting story, adding wishes and quotes, downloading professional apps for editing.

Make the cover in the same style and features as all albums, using the same colors, landscapes and frames. Write or draw a beautiful title, decorate with snapshots, ribbons, stickers and prints, motivation phrases, if it is necessary.
Photo album ideas tip: for the cover page, take a tighter paper, which will make it solid and extend its lifetime period.

Each page, including the cover, should be punched with a hole puncher, creating holes for fastening ready products.
Tip: check that holes of all pages match with each other, this is important for a perfect and accurate assembly.

Fasten all pages with a tape or decorative rope, threaded through holes. Ensure that all pages are in logic or age order and contain right information with corresponding personalized interests.
Tip: remember that sheets are securely fastened, otherwise nodes can untie and the product will become a total disorder.
It is unbelievable how easy and funny the process can be with small inspiration and creativity. Another great advantage is a low cost and easy materials used by one's own hands. In case of a lack of decorative materials, paints or ribbons, our online instruction with picture album ideas will help you step by step to create your own lifestyle scrapbooking gift.
Free your imagination, add hashtags, be inspired and create unique items that will become a perfect gift for beloved ones!
He started his career as a professional photo designer and retoucher. Professional commercial photographer with 20 years of experience. He is a leading advertising photographer and has worked as a food photographer with Michelin-starred chefs. His work with models can be seen on the calendars of many leading companies in Ukraine. He was the owner of the photo studio and photo school "Happy Duck".


