


Lens Flare Photography
May 20, 2019
Before going any deep into airbrush photography, we would like to discover how it becomes into existence.
The term airbrushing appeared long before the advent of digital photography. If we dive deeper into the history of the emergence of this concept, we can track the evolution of this term. Initially, airbrushing was carried out by manually processing the physical canvas of a photograph or painting. The essence of the concept is to correct the shortcomings of the image and bring it to an acceptable alternative that differs from the original in higher quality.
Various techniques and tools were used for that matter, ranging from brushes to airbrushes.
Airbrushing has its origins in 1890 when the demand for photo correction began to rise. At that time, there was still no color photo printing, but photo correction for mole scars and other skin imperfections was already in great demand.
The continuation of airbrushing can be observed during the Stalinist regime in Russia in the 30s of the last century.
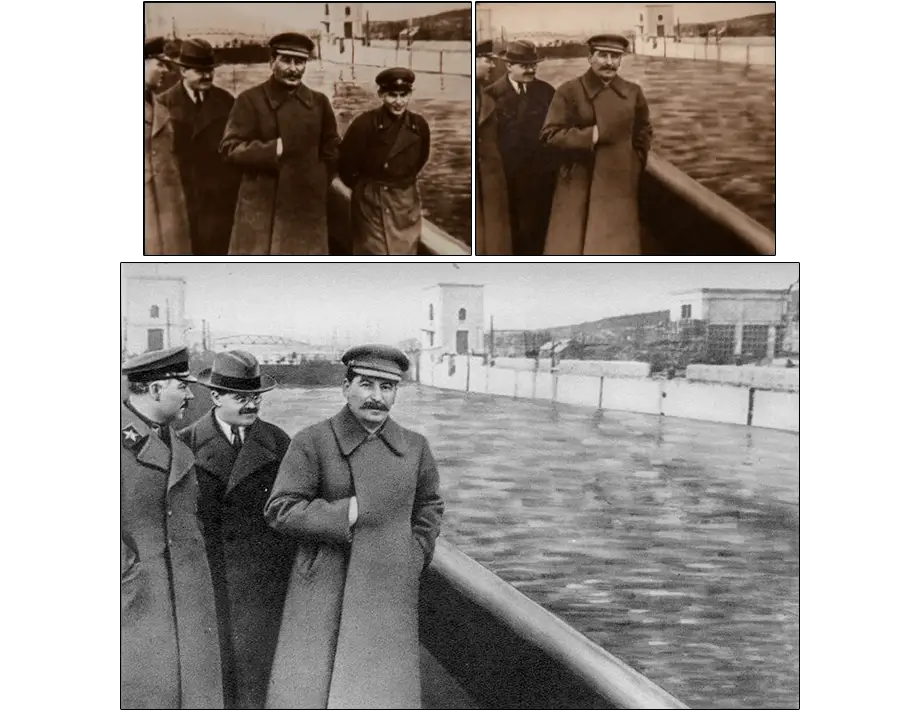
The need to literally remove "uncomfortable" people from the photo required a professional approach from the airbrushes. Work was carried out both with film and paper until the advent of digital photography.
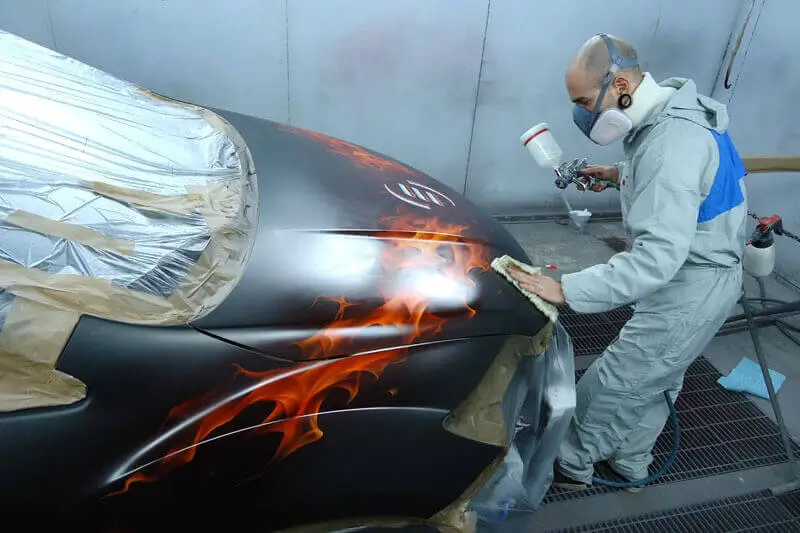
Nowadays, airbrushing as handmade has still the place to be, in particular automotive airbrushing. These works are carried out using a hand-held airbrush tool, the principle of which is based on the injection of paint under air pressure in the airbrush chamber. This allows you to achieve soft image processing and achieve beautiful gradients and color overflows on any surface from any material.
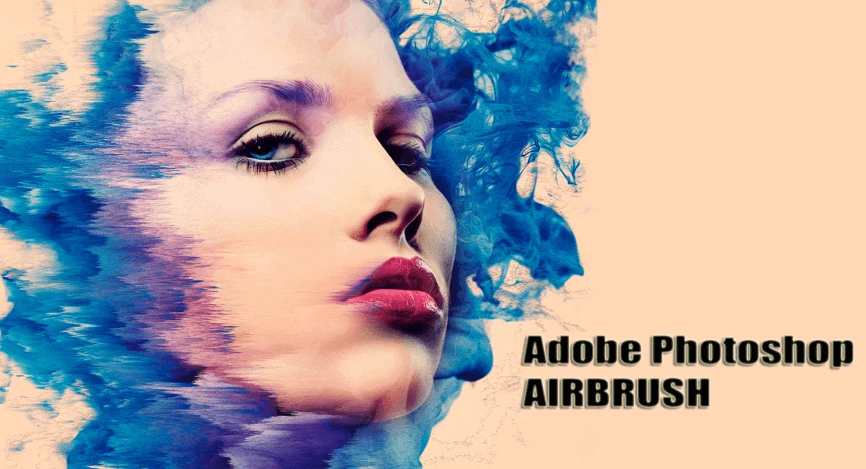
Subsequently, airbrushing as a term is replaced by retouching, which translates airbrushing more and more into the digital space. Today we commonly say “Photoshopped” instead of retouching and airbrushing, but the old concepts are still the tools of the program up to this day. Therefore, we are going to discover how to airbrush pictures in Adobe Photoshop.
Today we are going to talk about how do you airbrush a photo via Photoshop and break it down with certain examples and tips. Nowadays, if someone says “airbrush my photo” it usually means to do some face makeup, remove the background or increase the image quality overall. It is better to have a photo saved in RAW file format to work with. The RAW is more flexible, has a better definition to operate with shortcomings, and masks it with different tools.
The best way to airbrush a photo is by having your image saved in RAW format, which is the best quality possible.
Press f7 to see the layers bar if it was unavailable, and copy your original layer, with the image named ‘Background’ to be able to see your work in comparison in case you do a mistake or need any reference to it later on. Use command or CTRL+J to duplicate the selected layer and switch your background layer off for now.
Zoom in to your image and grab the heal brush tool.
Look for imperfections on the skin, like moles, spots, acne, freckles, and anything else that you are going against. To fix a chosen area while using the heal brush tool just hold the ALT key to sample an area of skin that you are happy with (little crosshair appears), left-click to sample it, and just left-click and drag over the area that you would like to remove or replace with it. You can do this as many times as you like, and it is up to you to determine what is imperfection and what is just part of someone’s face. This would be already a basic way to airbrush image without anything special done yet.
So when you are happy and you have tided up any imperfections on your image, what you can do then is press command or CTRL + J again to duplicate this layer a second time and just change the blending mode from normal to overlay. This option is right above the layers, right next to opacity settings on the left side of it (look for the word ‘Normal’ to guide yourself). Next, go up to filters at the top of the window go down to ‘Other and select ‘High Pass’ there. Depending on your image size and resolution, adjust the ‘Radius’ there. Usually, the value is around 10 to 20 here. The point is to make your image look quite grainy, which will help photoshop to address the area to work with.
Select our last copied layer with applied ‘High Pass’ filter on it, and press command or CTRL + I to revert the effect. You will notice that the image goes from looking very grainy to being very blurry. Then ALT and left-click on the add layer mask option at the bottom of the frame where we are working with layers . This will add a new black mask
After making the mask, we are going to start airbrushing process. Select white as your foreground color , select your brush tool (or by pressing ‘B’ button), and grab there a nice feathered brush with set ‘Hardness’ to zero. You will see the tool is active with a circle appearing on your screen. You can adjust the size of that circle to work with big and smaller areas by using the left and right square brackets on your keyboard. Now, when everything is set, you can just left-click on the image to see the effect. You will notice how skin becomes smoother at the area of effect you were dragging it on. What it is doing, is pulling your mask through the parts of the image you select and dragging on it. That way, you are controlling the effect of your mask, making it appear in certain areas only with the brush. Make sure to avoid areas with emphasized geometries and shadow gradient spots on the skin with the tool. Like the spots with smile line or where the skull transfers to the neck if you are working with a portrait image, otherwise it will make it look odd, artificial, and fake.
Working with the brush make sure to compare your work with the original image by enabling and disabling our original background layer, it will help you to see if the picture looks natural, or you overused the mask’s effect.
After the job is done, and you compare the original layer with it, you can do two things to either increase the value of your retouch or decrease it instead. You can duplicate the mask layer, and it will double the value. Then you can also choose the opacity option on any of those masks and bring that down a little to get the perfect image. And that is a quick way how to airbrush a photo.

If you would like to do airbrush, but you want to stay mobile and do not have that much time for editing, you can use your smartphone for it instead of a PC. The market is filled with different Apps for any type of retouching. Usually, those apps have simple tools to operate with, but they still get the job done to a certain point. RetouchMe — is an app that has a big variety of filters inside that will allow you to change skin color and tone, make a smile appear on the face with simple geometry adjustments. Definitely would recommend checking it out.
Another good app is Beauty Editor. Most of the apps have the same tools but in a different package. Make sure to find one that you like, typically, it is a matter of interface and maybe one or two different tools inside. So here is the list of all Apps for you to check-in.
All the apps are available on iOS and you can also check them for your Android device.
Co-founder of RetouchMe. In addition to business, he is passionate about travel photography and videography. His photos can be viewed on Instagram (over 1 million followers), and his films can be found on his YouTube channel.
Moreover, his profile is featured on the most popular and authoritative resource in the film industry — IMDb. He has received 51 international awards and 18 nominations at film festivals worldwide.


