


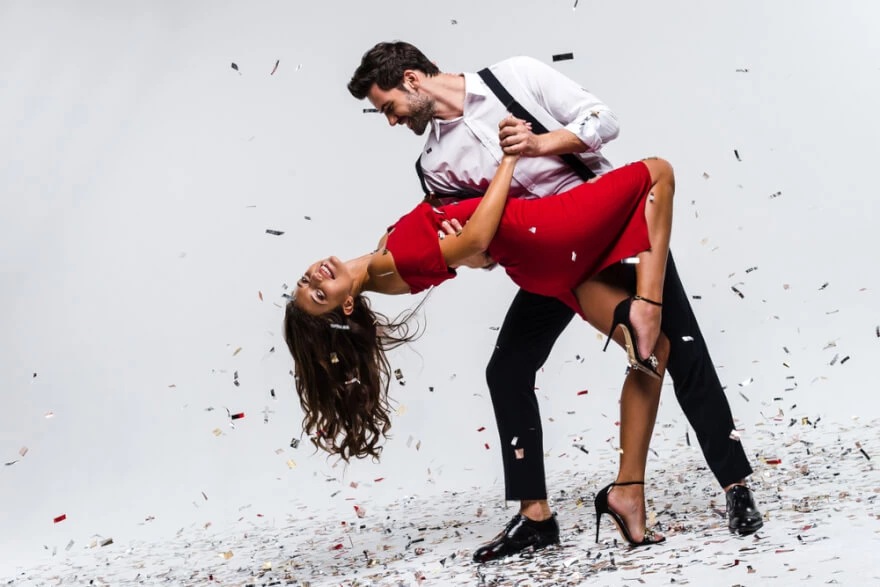
How to shoot dance photography?
Apr 3, 2020

There are many situations when everything you need is just a right backdrop for the perfect snapshot. Nowadays having so many software apps and additional materials to help in realization of the image, there is always a need for easy solutions.
So, let us see how to get a black background in photos:
The general idea of obtaining necessary results can be formulated as follows: the object needs to be exposed normally, and the backdrop has to be underexposed so as not to be fixed on the sensor (or other photosensitive material). In short, you need to illuminate the subject, but do not illuminate everything that is located behind your model.
Of course, if you have dark paper or fabrics, and even better, natural velvet (velvet absorbs light very well, without giving reflections), this greatly simplifies the task.
Every professional has moments when the chosen landscape did not suit the moment or was ruined by distracting details and shadows. In such cases, absence of colors is better than presence. Frames are not always successful, and the only solution is cropping. Dark wall can improve the final result adding expression to the item close to the digital camera. Even iPhones and Androids are able to give more satisfaction, when there is a possibility of post-editing.

Sometimes plenty of tools and modes are not required. Because everything you need to do is to look around and to watch the world. Some successful portraits were made thanks to a great moment and preparation. Open doors without windows inside and empty houses will definitely have lack of sunshine or daylight inside, creating a great diy option for a beautiful shot.
Forests and city landscapes located far away will become a necessary accessory, looking for an ideal black background photography. If you find a bright object in front of your model, then the profile will be shiny and sharp.

It is necessary to determine the exposure to get the dark background. Next, you need to choose the flash power. It is better to understand that this method is not suitable for shooting with a built-in flash or an external flash that is installed on the camera. It is very important to place the softbox as close as possible to the subject, without increasing the flash power.

Distance between the model and black portrait background must significantly exceed the distance between the model and your light source! Use the method of inverse squares. For example use a 30 cm for distance between softbox and model, and more than 2 meters between the wall and the model.
Among many tips there is another one, like a dark cover in front of the softbox. This effect will give you a darker result in the image without tiring preparations.

In case you are not sure if images have enough contrast, there is another creative tool to use. Squint your eyes, watching the frame at the same time. This method permits to delete all disturbing details from a look and concentrate on important headshots or silhouettes. Previewing the photograph this way it will be easier to imagine the final look. This is almost one of those unique cool ideas, which help to improve noticeable contrast.

The accurate calculation of necessary light is of high importance for this shooting mode. It is impossible to realize a portrait of a person without light on its face. Making pictures indoors just try the option of turning off additional lights, leaving only a small source in front of the face of a model. Be careful not to blind the model.

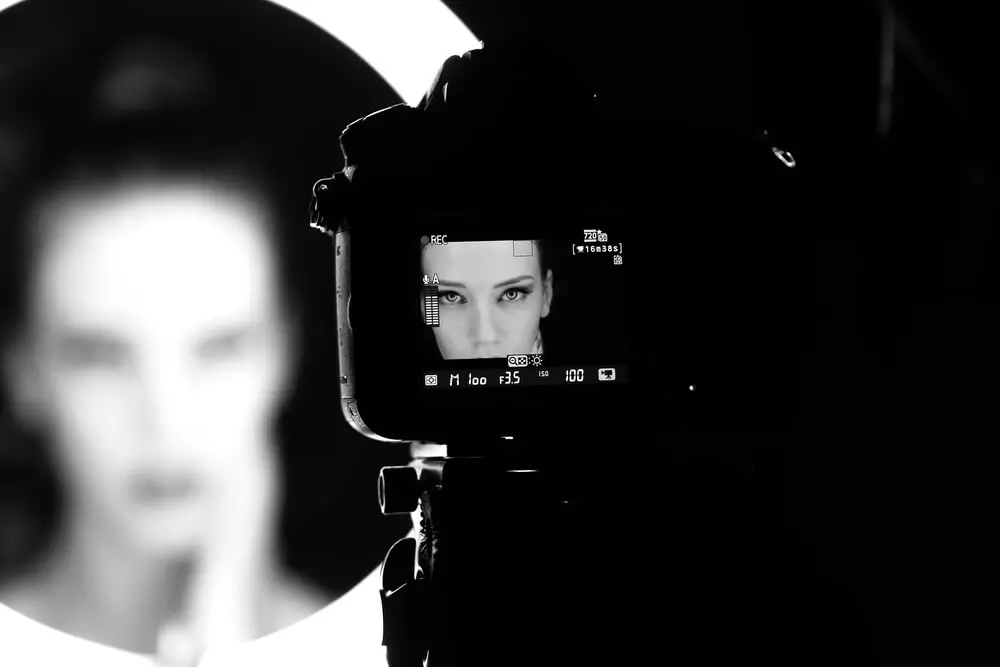
Adjust necessary settings on your camera in the moment of capturing the image. There is no way to guess in advance which parameters have to be applied in this or that landscape to create invisible black background photos. For example, a shutter speed equal can be 1/250 sec. Checking shots every time you make it, will give a clear understanding, what has to be changed.

Measurement of these characteristics shows how the camera seems less powerful, compared to the eyes of every human. The design and functionality of every digital device is limited by its capabilities. It cannot distinguish bright and dark parts of the frame at the same time, losing important effects. Significant details of the model clearly seen by yourself, will become blurred and blocked by endless shadows. That is why it is important to learn the dynamic range of the camera.

Talking of nature, flowers and people, it is required to stay as simple as possible in post-processing work. Of course, there is no such error, which can not be retouched, but it is better to be accurate in the original file, not to spend hours and days, improving images. One of those effective assistants, available in classic editors, is the burning tool. These services are usually used, when original pictures were made with a very low exposure (10%). This percentage is not to be neglected, because higher levels will make your editing work harder and longer. Working with dark portrait photography, this tool should be set to shadow range, in mode to affect the darker element of the image. Better to avoid extremely darkened or lighted parts with the help of any equipment. Excessive editing will attract attention only to the low quality of the picture, not to its plot.
Summing up all useful information described above, it is possible to conclude that the ideal result is obtained only with experience and patience. Black background for photography is widely used by both professionals and amateurs all over the world. Choose your own path and enjoy working with various scenes. Phone images can surprise even the most sophisticated DSLR owner. Create own video-lessons and publish online, sharing knowledge with others.
He started his career as a professional photo designer and retoucher. Professional commercial photographer with 20 years of experience. He is a leading advertising photographer and has worked as a food photographer with Michelin-starred chefs. His work with models can be seen on the calendars of many leading companies in Ukraine. He was the owner of the photo studio and photo school "Happy Duck".


