
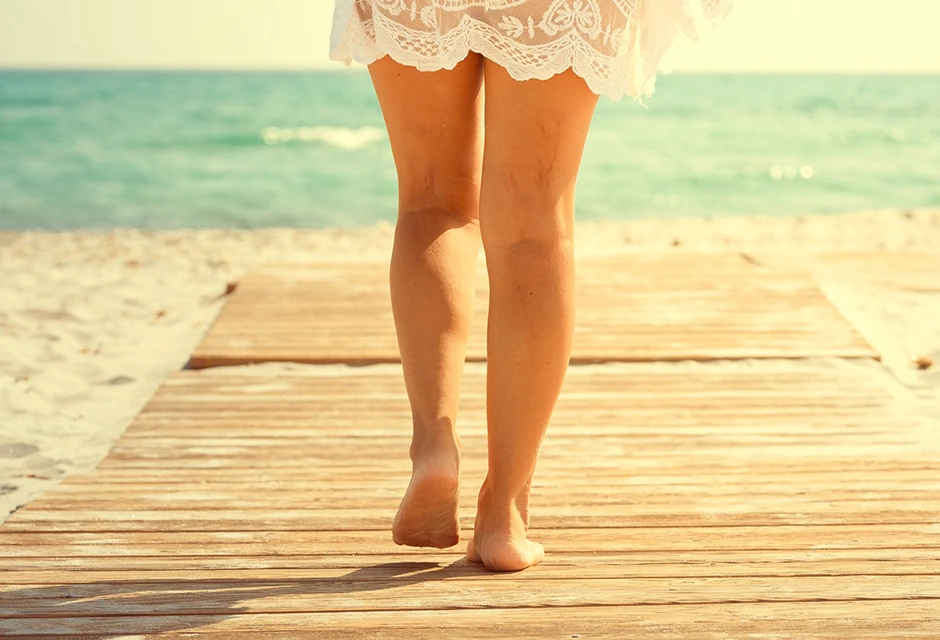


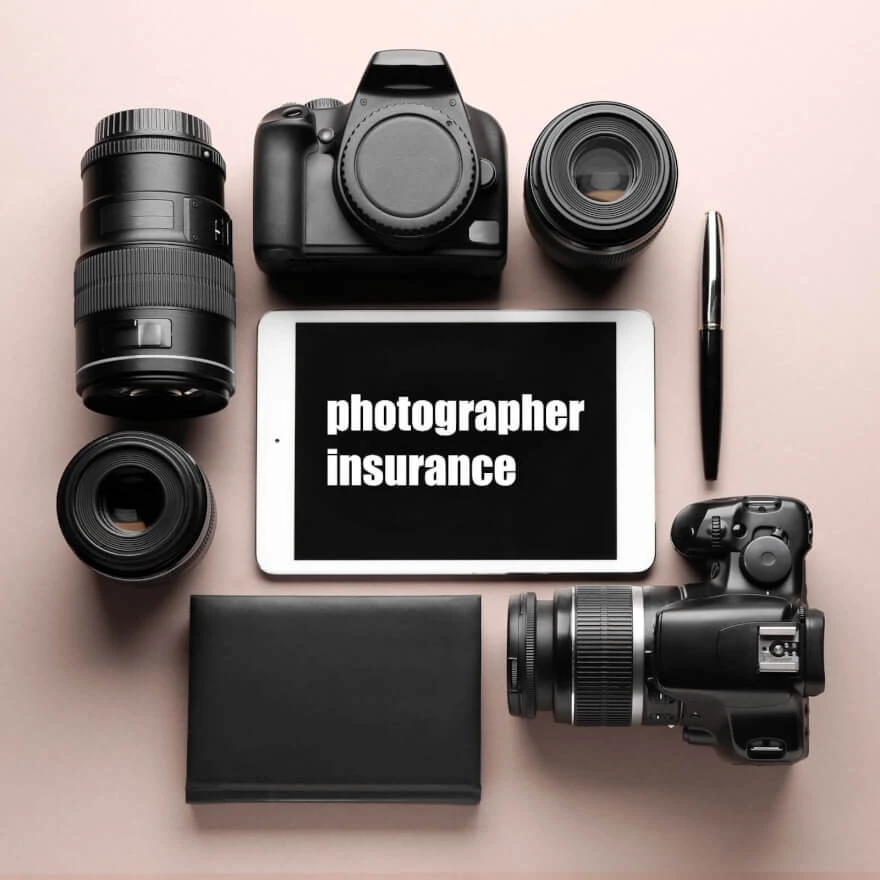
Why do you need camera insurance?
Mar 5, 2024
A vignette in photography is where an image fades into its background without a definite border. The word itself is derived from the French and apparently, it was first used in English in the mid-18th century to describe a design or illustration that ran along the blank border of a page or mark the beginning or end of a chapter. Today's vignette normally means a fade into darker areas away from the center of a photograph.
Vignetting is a process of creating these vignette effects either through natural lighting and shadows or artificially from camera gear or software. Today we are going to look at various types of vignetting and suggest some techniques for applying vignettes to various kinds of digital images in a more artsy way.

Vignettes of course are nothing new in the art world. Painters used vignetting techniques long before the introduction of photography, and the master painters used these techniques to create a more three-dimensional pop to their portraits or a more subtle way of framing their compositions. Painters such as Titian (1488-1576) in Italy, Velazquez (1500-1660) in Spain and Frans Hals (1582-1666) in the Netherlands were all honing the skills of vignetting. One artist who was especially skilled at using light and shadows was Joseph Wright (1734-1797) of Derby England.

His vignettes were very bold including compositions that focused the eyes on a group of people in the center of a dark vignette. Indeed this painting looks like it could have been made using modern post-processing software with a strong fade to darkness around the frame.
Another artist such as Rembrandt similarly used light and shadows. He also applied vignetting differently with an off-center light source providing an interesting set of light and dark contrasts and shadows.

This is controversial that some of these effects are not vignettes at all but there is a definite sense of dark vignetting at least part of the canvas. This off-center placement of the light source provides a more creative opportunity for using vignettes that we are going to discuss later.

Turning to photography. Photographers as far back as 150 years ago were using a range of artistic vignetting techniques for their photographs which you may notice if you ever watched old photo albums of your ancestors. Looking at these photographs we see a lot of light vignetting ranging from very subtle to extremely bold and aggressive and we definitely can learn some lessons from these age-old techniques.

Within the realm of photography, the phenomenon of vignetting manifests diversely. Vignetting in photography embraces various forms, each tethered to distinct origins. Natural vignetting emerges organically as light and shadows interplay, yielding a picturesque vignette within the image. Optical vignetting, contrarily, stems from the intricate design of the lens itself, shaping the trajectory of light as it traverses the glass elements onto the film or sensor. Pixel vignetting, an inherent trait within digital sensors, influences how light is captured, notably diverging towards the periphery vis-à-vis the center.
Additionally, mechanical and accessory vignetting, exemplified by instances such as a lens hood encroaching upon the image edges, engender shadows that encircle the periphery. Lastly, artificial vignetting, a product of post-processing software manipulation, adeptly tailors the original image, imparting an artificial vignette. In essence, the lens, as the gateway for light to permeate, orchestrates diverse vignetting types, each delineating unique contours within the photographic frame.
Natural vignetting is where the subject or scene and composition create a vignette. The most obvious example of this is where a light is shining on a subject and this causes a fade to darkness. This photo, for example, looks like it could have had some vignetting applied but it is straight out of the camera and the shadows are natural.

Sometimes the natural vignetting is so dramatic as is the case with this spotlight that it almost ends up with a definite border but still, there is enough of a fade to create a vignette photo here.

A similar but more subtle effect can be seen outdoors when the shaft of sunlight lights upon part of an image. A natural vignette look can also be seen in photos taken in woods and forests, where the trees and shadows form a natural frame to the image.

Vignetting, whether optical or mechanical, transpires when the lens or its adjuncts fashion a vignette within the image. Pinhole cameras, an illustrative example, adeptly craft a vignette, akin to filters affixed to the lens's facade. Notably, the utilization of a crop sensor lens on a full-frame camera often begets optical vignettes. The inherent mismatch in coverage precipitates these vignettes, as the lens designed for a crop sensor fails to fully encompass the expansive canvas of the full frame. This incongruity births distinctive vignettes, punctuating the periphery of the resultant image.

Here are three examples at three focal lengths from a crop sensor zoom lens.
A common type of mechanical vignetting is created by lens hoods.
A 10 to 17 mm fisheye zoom designed for a crop sensor that has a fixed hood.
You may also find that old-film era lenses designed for 35 mm film cameras i.e. full-frame equivalent, you may find they can vignette on today’s full-frame cameras even when no hood is used. There are several reviews of specific film-era lenses online that test vignettes. To select just one example of a popular highly rated old lens, take the Carl Zeiss Jena 35 mm F/2.4 Flektogon, there is an excellent review of this lens by Philip Reeve on his website, including a test of how this lens vignettes on a full-frame Sony mirrorless camera. This is not always a huge problem, you can crop off the edges, although then you will lose that wider perspective. It is worth doing some research to find out if anyone mentions a lens vignette if you think you are buying a more expensive old lens and you use a full-frame camera.
The final type of vignetting is where the vignette is added in editing. We saw some of the artificial effects in those 150-year-old photographs, but today, digital files and post-processing software give us far more options to apply different vignettes and styles. So here are ideas and tips for post-processing images with vignetting.

Not everyone is keen on the excessive use of vignetting and some people think that in this digital era, artificial vignettes applied by processing software are becoming an overused photographic technique. If you are watching a beautifully shot film or say wildlife documentary, you do not want to see vignettes on the corner of the shots. And if you look at the highest rate of professional photographs from National Geographic, for example, not many have obvious vignettes unless there are natural shadows in the scene. However, used properly with the right subjects and the right compositions vignetting can add value to the overall visual impact of an image. It can be a more artistic way of processing photographs and it can be a fun technique to jazz up images.

Vignettes can add something more visually appealing or dramatic or an artsy look to an image. For example, vignettes can give informal portraits more pop and a more 3d look. It can also help to change background appearance by reducing distracting clout from it by introducing a shadow effect, a more natural look, and aggressive blurring. Close-up shots of objects or flowers can benefit from vignetting where vignetting and darker shadows help to isolate the subject in focus. Some colorful flower shots can look particularly attractive with a fade to darkness as same as for macro photography shots.
Landscape shots can benefit from vignetting to give the outer edges a feeling of depth and darken vignettes can help to cover the weak edges of an image, especially if you are using old film-era lenses for landscapes where the edges lack sharpness or contrast.

Vignetting can also be a good way of producing high-key photographs, using a bold fade to white as shown in this example. Here it can work very effectively with the right composition.

In terms of specific software, there are many different software packages you can use to apply vignettes, some are more clunky than others. It is more about your personal preference, budget, and skills, especially if you end up using layering techniques.
For instance, you can try using the NIK Collection for Color Efex Pro 4.
There are various choices for applying a vignette. These choices are not software-dependent, and we are talking about artistic choices rather than the specific filters a software package can produce. The best approach is to decide what kind of look you want your images and find a software package that makes it easy to produce that look.
The most basic choice is whether to fade an image into a darker background or fade into a lighter background. But a vignette can also be tinted because you can fade an image into a colored background.

Once you have decided on darker, lighter, or colored vignettes, there are various choices for how you process that vignette.

The first choice is the shape of the vignette. And we saw some alternatives in those vintage photos. You can apply a round vignette, an oval vignette, or a more rectangular shape to the vignette. Or indeed any shape you want as long it provides some sort of framing to the image.

The second choice is how bold you want the vignette to be. Do you want it bold or subtle? In terms of processing a bold approach is where the vignette is quite obvious while a subtle approach involves a much smoother transition without visibly showing any kind of framing.

The third choice is whether to fade or blur the edges. The conventional way of producing a vignette is to fade the image towards the edges using light or dark transitions. But you can also blur the edges of an image if you have a suitable composition. Blurring can create a vignette look.
Fourthly, learning a lesson from old portrait paintings the vignette does not need to be centered. It can be off-center, giving a more dramatic look to the image.

Taken together, this gives you a variety of options for vignetting but let us pick a few to discuss.
Let us begin with a fade to dark that is centered. This type of vignette can give 3d popped images and a great sense of depth. Vignetting could be done with a very bold approach to highlight the subject more. Try to avoid a circular vignette with most of the vignette in the four corners and little or no vignette along the edges because that can look rather fake.

The only time that is good for circular vignettes is when you are deliberately trying to create a rounded dark frame around the central image, especially if the subject itself is round. Or if you are trying to create a tunnel effect on an image in a landscape in some avenue of threes.
Or if you want to accentuate the swirls in an image, you will find a more circular vignette helps bring out the most swirly look.

Otherwise, if you are going to use a bold vignette, you want to apply a more rectangular shape that goes all around the edges of the image rather than a bold strong fade to black.
You can also adopt a more subtle approach where the vignette is hardly noticeable or at least it is only visible when you compare it with the straight-out-of-camera image. The advantage of a more subtle vignette is it can take the brighter edge off an image so the eye is drawn into the center but you are not really aware of the vignette. It can also help cover up some of the weaknesses that lenses, especially old lenses can have. Some old lenses are nice and sharp at the center but this sharpness as well as contrast falls off as you move towards the edges of the image and the subtle vignette can help master this lack of sharpness and contrast.

You can do a similar thing by applying a slight blur to the edges of the image instead of a fade-to-darkness method. But this does not always look so natural. One thing that is important to mention is that you should try to avoid doing a dark vignette over an overexposed area of an image, it can look pretty crappy. And you may be able to get around this problem by cloning out very bright or overexposed areas.
Turning to light vignetting – this can also be done boldly or subtly. Here is an example of how this can work.

The bold approach to light vignetting is more pleasing compared to dark ones, as the more vinetting one introduces the more you can turn an image into a high-key image. Here you can use quite aggressive lightning to essentially white out the background details. If necessary, you can add in some vignette blur to help the process or clone out artifacts or objects that stubbornly refuse to fade to white in the post.

In terms of color tones, you can use vignetting in black and white photography which works great for landscapes where a vignette gives the image a contrast boost and it fades out the edges of the image. There are software packages that are dedicated to black-and-white processing which is included in NIK’s collection we mentioned earlier.
And then you can do a fade to a color vignette like this for example.

This type can be used for photographs with a lot of sea or a lot of blue sky because adding a fade to a darker blue can add richness and depth to the image.
Sunset photos can respond well to vignetting as well using darker color transitions but you have to be careful not to overdo the saturation.
The final vignetting technique is off-centered vignetting. Where it is appropriate to the composition, this technique can add an extra dimension to the image. This has good use in more wide-open bokeh shots to add more contrast. But you can also use it for commercial product shots where you want to accentuate the light falling on a specific part of the product.

One of the keys is to place the center of the vignette in the area of the image where there is an obvious light source or patch of light so the vignetting looks more natural.

Co-founder of RetouchMe. In addition to business, he is passionate about travel photography and videography. His photos can be viewed on Instagram (over 1 million followers), and his films can be found on his YouTube channel.
Moreover, his profile is featured on the most popular and authoritative resource in the film industry — IMDb. He has received 51 international awards and 18 nominations at film festivals worldwide.


