


Tattoo Photography Ideas
Oct 30, 2019
When we are photographing in a field we usually keep in mind that this is only the first part of our job to do. After the photoshoot, we need to store and back up raw images and process to post-production, editing, and adjusting taken photos in chosen software. But there is a way that can save you a lot of time doing all that called tethered photography which we discuss in detail in our today’s topic.
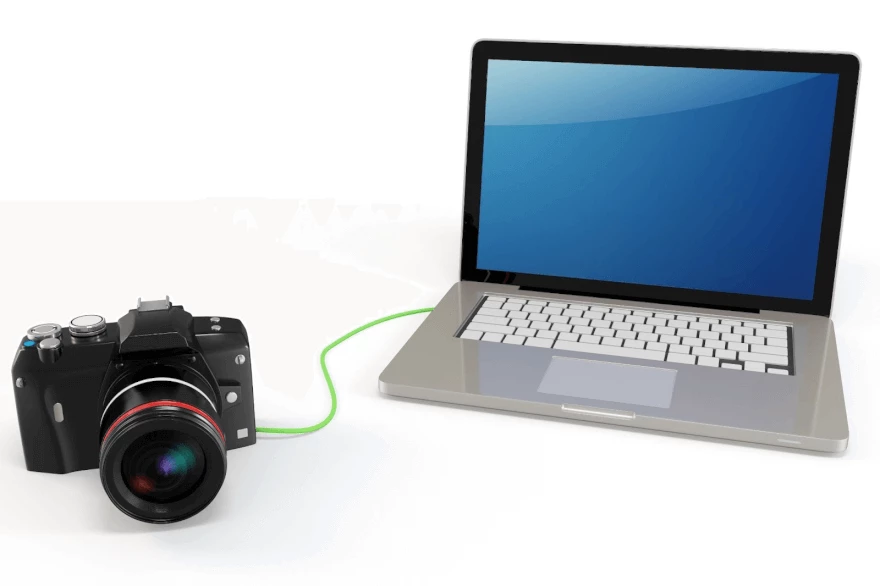
Tethering speaks for itself, it is a process of connecting your camera to your computer which gives you lots of benefits over and above shooting to your camera. Let us take a look at each of them.
There are four main advantages of using tethered camera to computer.
First, it allows you to view your images on a larger screen which helps you to better see how your images are turning out. You will be able to zoom in to make sure your images are sharp and in focus.
The second benefit is that allows you to share your images with anyone who might be there with you on set. For example, if you are shooting in a studio this allows your client and your staff to see pictures you are getting without you having to navigate and touch your camera.
The third benefit to shoot tethered is that speeds up your post-production workflow. For instance, if you are using Lightroom which is the most common software for photographers, you can do a preset for your images and apply it on a run. This saves you a lot of time avoiding post-production routine if you are assured about certain presets. This could be set to automatic mode triggered as photos are transferred from your camera to your PC. Some individual photos may still take you time to work on, but having adjustment tools and the photo already in one place makes it easier to access.
And last but not least, it saves tethering photo onto your computer’s hard drive. This is the best way how to upload pictures from camera to computer with no time spent waiting for these photos transferred over from your memory card.
Let us take a look at what you will need to set up your tethering. It includes setups both for the Camera and PC software plus a cable connection between them, then we go for tether shooting settings.
First, you will need a tether cable that works with the ports on your camera and your laptop. There are different types of camera, but in most cases, there is USB Type-C on the camera’s end and USB Type A for PC. For searching purposes, we would recommend looking for Tether PRO cables which represent all possible cases no matter the camera model you are carrying. USB-C to USB-A are not the most affordable out there, but they are industry standard when it comes to tethering.
In order to keep your cable from disconnecting from your camera during the photo shoot, you will want to use something like this Jerkstopper from Tether Tools.
Some cameras come with a piece you can use to keep your cable connected to the camera, so double-check the box that came with your camera to see if it is included.
The next thing you need is software that allows you to manage your tethering camera. The most common software to use is Lightroom which contains tethered shooting option even if you have an older version of the app. So if you use some 10 years old MAC then you are still good to go. Important note, no matter the version you still have to use Lightroom Classic (LrC) instead of CC. Lightroom CC will not work because it has no tethered shooting option.
As an alternative, you can use a program called Capture ONE which has a pretty similar interface in a matter of tethering but is still considered a more powerful and dedicated tool for tethering. For example, the settings in that program allow you to see if your shot was overexposed and adjust it. And when you open up the app, the first thing you will see is the screen filled with tethering options.
As you have your camera connected via cable you need to set up your software and your camera. Let us start with the camera setup. Go to the camera menu and find USB connection and chose PC Remote. This step is very important, your tethered setup will not work if you leave this set to anything else.

The next thing you want to do is to go back to the menu and select PC Remote settings where you will see PC only and PC+Camera options. The difference is that PC+camera allows you to store photos on both an SD card and a computer. Or you can choose that you will only have the photos you take stored on your computer. For redundancy purposes, it is recommended to use PC+Camera, but if you are assured that your PC is the only place where your photos are going to live, then you can choose PC only option.
Now when your camera is set up, you need to connect your cable to the computer and also do not forget to use the Jerkstopper tool in the process. Now you can turn on your software. For Lightroom Classic we go to File → Tethered Capture → Start tethered capture. For Capture ONE you do not have to do anything. Now as you start taking photos you will see them on your PC software ready to overview and adjustments. You will also be able to adjust the settings of your camera via software. Settings such as Image Stabilization, Camera Focus, White Balance, Exposure, File Format, and so on will be represented in the settings Bar for Lightroom and will be on the main screen for Capture One. Besides these settings, you will be allowed to edit captured images right in place.

Both programs allow you to pre-name your captured images and set directories to save.
For Capture One you simply create a new session for each photoshoot by clicking File → new session. Then file name and directory adjustments screen will pop up. The name line will use that information to be placed as a prefix for captured images and a directory to store them.
Usually, photographers set the name as the actual client’s name plus the date of the photoshoot right next to it. In Lightroom, after you clicked Start Tethered Capture you will see pretty much the same screen with similar directory and file name settings. As we can compare, Capture One provides more management for images as it has multiple types of folders where you can mark your photos for storage, capturing, trash, and so on. As you have chosen file name and directories for Capture One you can click the camera icon to open the capture panel, and here is where all the action happens. If everything is set right, you will see your camera settings show up in that capture panel. Each photo you take will be stored in the capture folder that you set in the beginning under whatever folder name you chose in the session. If you want to change that for whatever reason, you can quickly do that by selecting the Next Capture Location section drop-down and then clicking on Destination. If you are running out of space on your hard drive, you will eventually get a warning telling you that your hard drive is full and you will not be able to save photos anymore.
The next panel called Next Capture Adjustments will dictate what happens to the following images after the shot. For instance, you can take a photo make adjustments to the profile and they will automatically apply to every photo that comes into the computer afterward.
That is how photography tethered works. Let us do a short recap and resume all the benefits.
All of these 6 benefits can be described as a method to speed up work processes. If you are already a professional photographer you do all of these steps manually or via software. If you are looking into being a professional photographer this method is pretty much the first thing you may consider to improve your productivity.
He started his career as a professional photo designer and retoucher. Professional commercial photographer with 20 years of experience. He is a leading advertising photographer and has worked as a food photographer with Michelin-starred chefs. His work with models can be seen on the calendars of many leading companies in Ukraine. He was the owner of the photo studio and photo school "Happy Duck".


