


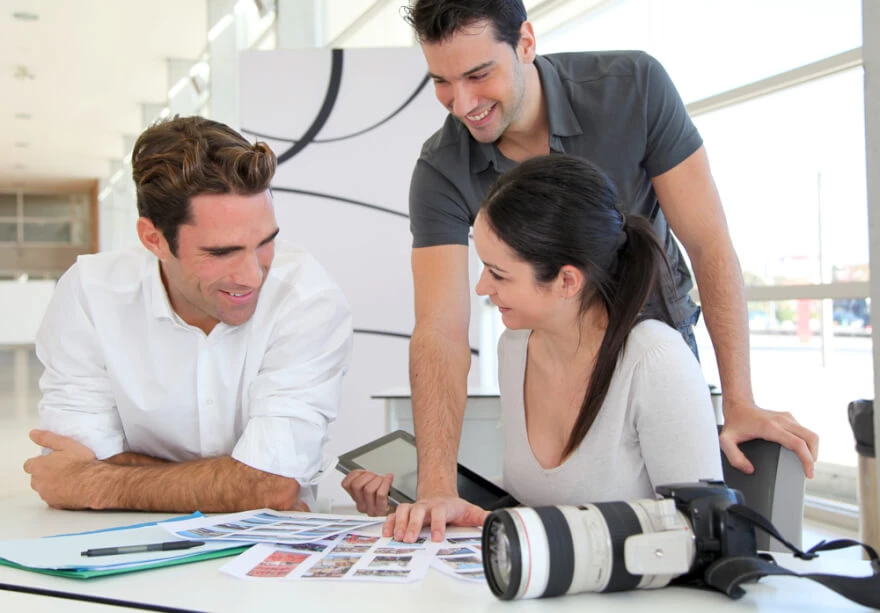
Best DIY Guide to Product photography
Dec 16, 2019
In the modern world, tattoos have changed their meaning: these are no longer signs of rebellious spirit. Nowadays such creative art is a way of self-expression, so people express their individuality. They are becoming more popular in modern society and people begin to perceive them differently.
There are many reasons to take pictures of tattoos: show off your decorations to friends and family, artists show their work to future customers, and albums of professional photos is the best way to demonstrate their skills. So the genre of tattoo photography appeared to show the beauty of a pink-painted body and present it as art. Such images allow you to demonstrate awesome skin decoration in the best possible way to show to your friends. You don’t have to unbutton your shirt or undress to boast a new tattoo, just show an amazing portrait and enjoy the delighted cheers of your friends.Our ultimate guide will provide a fast list of tips to explain how to photograph tattoos. Look through this brief list and arrange DIY photoshoot in a studio or outdoors with the help of male and female models.
Let's start with the basic rules for getting beautiful and fast results even after shooting by beginners.
View pictures made by famous experts o recognize general rules There are two directions to focus on photography tattoo ideas:
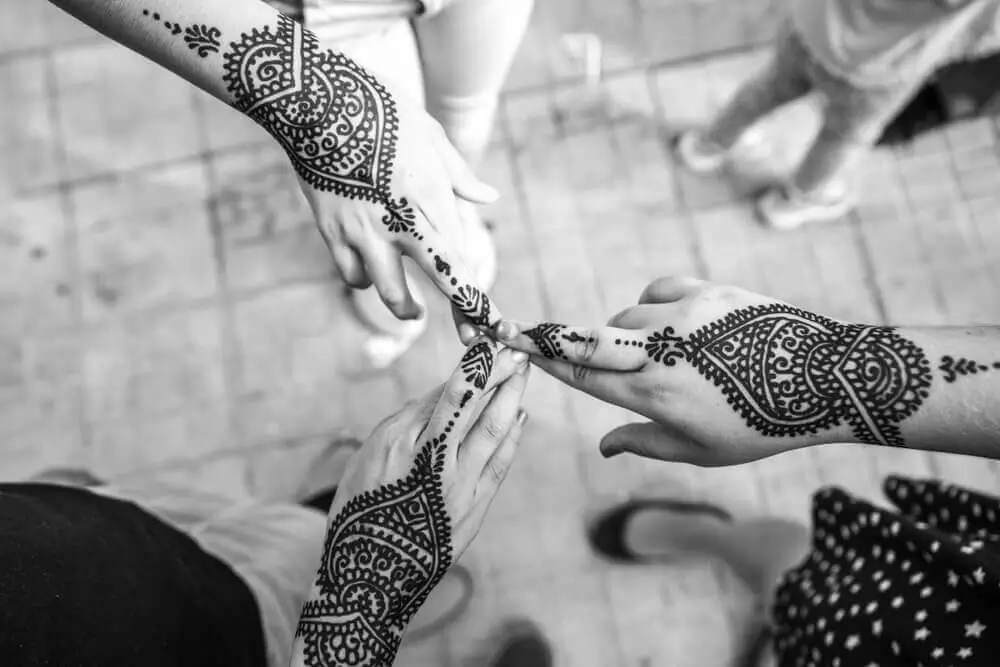
Before starting the shooting, you will need to decide what exactly is the subject: a person or a tattoo. Macro pics are more popular because they allow you to consider the drawing more carefully and enjoy each detail.
You should carefully consider the state of skin decoration. If it is new, it is better to wait a couple of days until the redness and swelling subside, damaged skin does not look beautiful in photographs. But sometimes, when the drawing itself and its clarity are important, you can take pictures of freshly made items, in this case, you should remember that colors will be slightly distorted due to redness. Old tattoos will look better in photographs, but when preparing for shooting, you should moisturize them well with lotion to make the colors more saturated. Do not forget to remove remains of the product so that there is no extra shine in the frame.

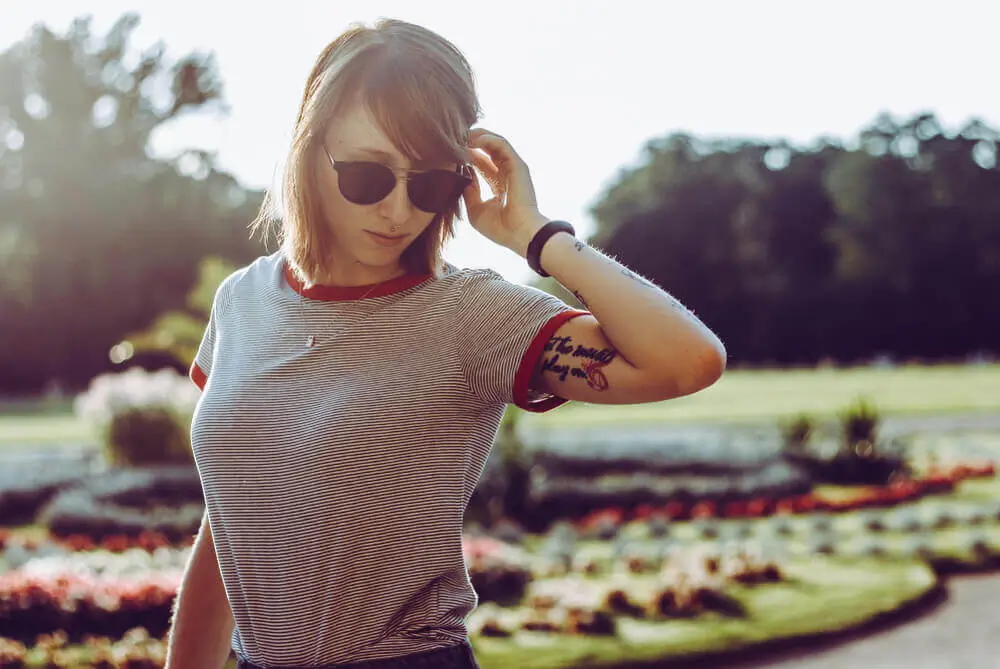
Proper lighting is the basis for every photographer. Tattoo ideas need a certain type of light not to disturb the pigment structure. Therefore, if you want to get good photos, you need diffused light to emphasize the picture in the best way. The light source is better positioned in the angle, so photos will not have too much shine and reflections. For shooting in the studio, you may need a customizable light source and backlight. If you take amateur pictures, you can take pictures by the window, but be sure to do it through the curtain, so you get the right diffused light. When planning outdoor pictures, remember that the bright sun will ruin your photos, so you need to shoot without direct sunlight or at golden hour. So you get the right moment without too much sparkle and glare.

If you increase the sharpness and contrast, then the tattoo will have the most successful look. Increased contrast will make colors more saturated, which will provide the most accurate way to convey all colors of the picture. An increase in sharpness will emphasize the skillfully executed drawing and give it a slightly bizarre look, but at the same time preserve the artistic image.

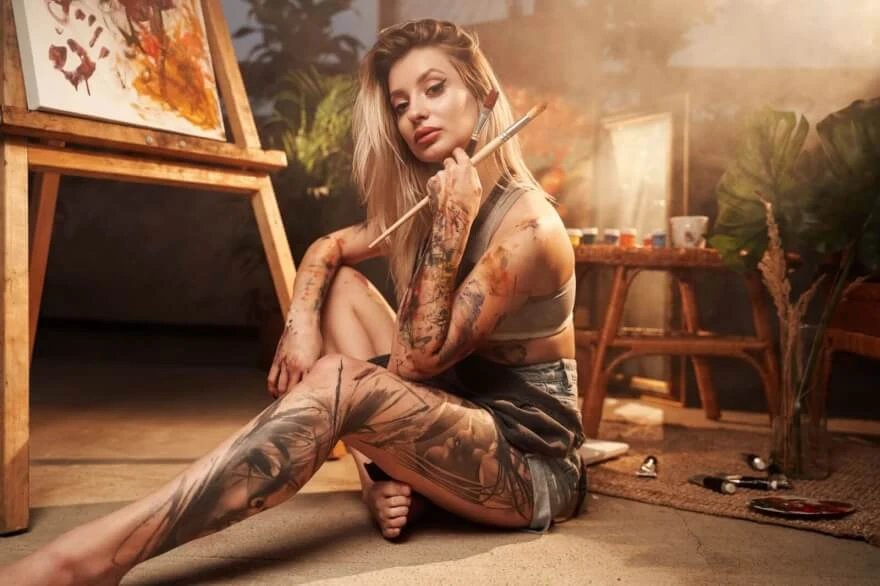
It all depends on what exactly you are shooting. You can take pictures of a model with tattoos on a simple background in the studio or in different locations. Girls prefer boudoir shooting, guys like to act on the streets of the city or against the background of street art. Studio with a working artist can also be a great place for a photoshoot, the main thing is not to distract masters from work.Macro shooting of a tattoo requires a simple monophonic background, so that extra details do not distract attention from the decoration itself. If you shoot the drawing on your arm or ankle, you need to capture the empty space, but it should be clear on which part of the body it is made.

To ensure that the tattoo does not look like a dirty blurry spot, you need to choose the right angle. It is very important to point the camera at the right angle. The inked surface should not look stretched, wrinkled or distorted in any other way. Inevitable distortions are allowed in the frame, but you should try to minimize them because the decoration is the center of attention of the picture. Ask the model to change the pose, find a different angle or play with the light settings, but skin drawing should be displayed on the photo with maximum clarity.

First of all, you need to look at the type of model and understand what is the best posture to photograph a person, so that the drawing becomes an accent, not a ridiculous blurry spot. Ask the model to take a walk to see which camera angles will be successful and which ones will spoil the impression. The most common postures that allow you to demonstrate skin decorations are crossed arms, sitting in a half-turn, stretching the back, head bowed. The easiest way to capture is on your back, because it is almost a flat canvas, in order to make a good photo that covers the entire arm, you will have to make some efforts.

Before starting shooting, you will need to think over the concept of future photographs: location, clothes, hair, and makeup for girls, think over the shooting time to catch a good light avoiding dark parts. If you are planning macro photography, then you need to pay more attention to cameras and lighting devices, you will need a widescreen lens and well-diffused light. Find a good background to match the shooting theme and not be too overloaded with details that will distract viewers to themselves. You also need to find a professional photographer or tripod to be able to create picture galleries by yourself.

It’s better to take a lot of photos in order to be able to choose pictures that you like the most. You can take many images with a digital camera, the number will be limited only by the size of the memory card. Try different angles, move, use different light sources, increase contrast. The more photos you take, the more likely you are to get stunning shots.

As in any other genre of photography, all the flaws in pictures can be corrected using a graphical editor or common tattoo app. You can edit color intensity or crop the photo as you wish. If you retouch the skin of the model, then you need to apply a sharpening tool to restore sharpness on edges. If during post-processing you plan to convert the image to a black-and-white photograph, make a choice in favor of higher contrast and try to increase the contrast of the color tones present in a tattoo

Now that you know the basic rules for getting good pictures, get some photography tattoo tips for creative results:

Include hobbies into a shooting. If you are a fan of comics or a movie hero, then you can arrange a photo shoot in a thematic location and demonstrate not only your inked skin but also love for your hero or film.
Models with tattoos are always interesting and unique in their own way, the drawings on their bodies tell their story. Therefore, your photos will receive a new impetus to the development and will become more unique and diverse if you include people with decorations on them. Transfer creative self-expression of models to the plots of your pictures to create even more expressive and beautiful images. These will be proudly used as profile pictures and portraits.
Co-founder of RetouchMe. In addition to business, he is passionate about travel photography and videography. His photos can be viewed on Instagram (over 1 million followers), and his films can be found on his YouTube channel.
Moreover, his profile is featured on the most popular and authoritative resource in the film industry — IMDb. He has received 51 international awards and 18 nominations at film festivals worldwide.


