


How to Understand the Scanography
Aug 19, 2022
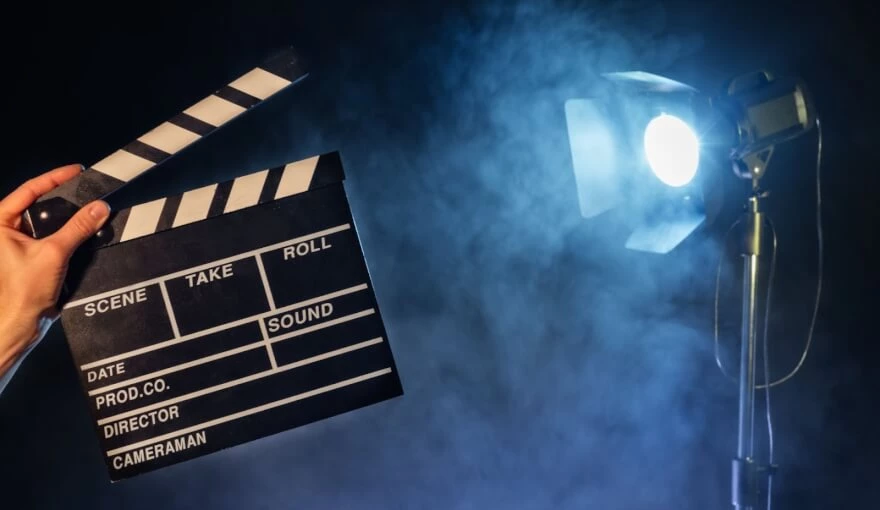
Lighting is a very integral part of filmmaking, and it is more than just illumination. The lighting itself plays a massive role in visual storytelling. Lighting in cinematography can help determine the mood of your scene, provide insights into a character, and guide a viewer's eye. On set, these decisions are made primarily by the Director of Photography and the Gaffer, who is the head lighting electrician on the crew. Once a lighting plan has been decided by the DP, the gaffer executes it by obtaining the necessary filmmaking lighting equipment and overseeing the setups.
All light contains two major categories:


Going from here, we also have a list of sub-categories for the lights:


To be able to work with light, cinematographers also need to understand its properties. For example, how does one measure light? Lumens are a measurement of how much light a source produces. Lux or Footcandles measure the amount of light that hits the subjects, otherwise known as incidental light. Reflective light is the light’s amount reaching the camera. That amount is dependent on the source’s strength and its position related to the subject. As soon as light leaves the source, it begins to lose intensity. This is called light falloff. We can predict and account for this loss using the equation for inverse square law. The inverse square law says that light intensity is equal to one over the distance squared. Basically, this means that every time you double the distance away from the source, the light is reduced by 75 percent.

The other aspect of light that cinematographers are also able to measure is called the color temperature. It is measured in thermodynamic units called Kelvins. Daylight is bluer than most artificial lights at about 5500–5600 Kelvins. Daylight can also be imitated by artificial light sources with the same temperature. There are so-called tungsten lights that are also a very common artificial source to use with a color temperature of around 3100–3300 Kelvins. Though, this can vary based on the source. Mixing these two light sources therefore can add a variety of colors to your shot, with tungsten lights adding orange and daylight adding blue.
As we have an understanding of light sources, now we need to know some basic terminology and concepts. To the uninitiated, hearing cinematographers talk about lighting can sound like a foreign language. Let us look at some of the most commonly used terms on set.
Exposure is the light amount to reach the sensor or film stock. You can read more about the exposure dependencies with aperture, shutter speed, and ISO in our Exposure Triangle article to get a better understanding of the term.

The aperture is an adjustable mechanism that determines how much light enters the lens and the various sizes are measured in f-stops. Each f-stop either doubles the amount of light or reduces it by half. T-stops are another common setting in cinema lenses to measure exactly how much light actually hits the sensor.

Simply put, the cinematography is a balance between lights and shadows. And one of the ways this relationship is expressed is called the contrast ratio. This is a shorthand for how we measure light and shadow difference in two areas of an image, which is usually between the left and right sides of a subject’s face, or between the background and the subject.
The term High-key lighting expresses a low contrast ratio, as if the background and the subject are lit evenly with minimal contrast. High-key contrasts are used to flat out the image to avoid any distractions from the current scene and emerge the viewer to it.

Low-key lighting, on the other hand, uses a high contrast ratio where the difference between light and shadow is way larger with maximum contrast. This method is used to provide a more dramatic and in-depth effect on the scene, emphasizing certain elements.

Generally speaking, both high and low-key lighting is used in a variety of genres to evoke specific moods and atmospheres. Overall, high-key lighting is used for brighter happier scenes, while low-key lighting is often used for darker dramatic scenes. You can control the strength of colors in certain scenes, evenly adjusting the skin tones of actors, by using this method.
Chiaroscuro is a type of low-key lighting with a high contrast ratio. This is seen most frequently in film noir to enhance the sub-genre's mysterious and dangerous qualities.

A cinematographer must also choose between hard light and soft light. Hard light is more directional light that creates stark shadows, which work best in more dramatic or intense scenes.
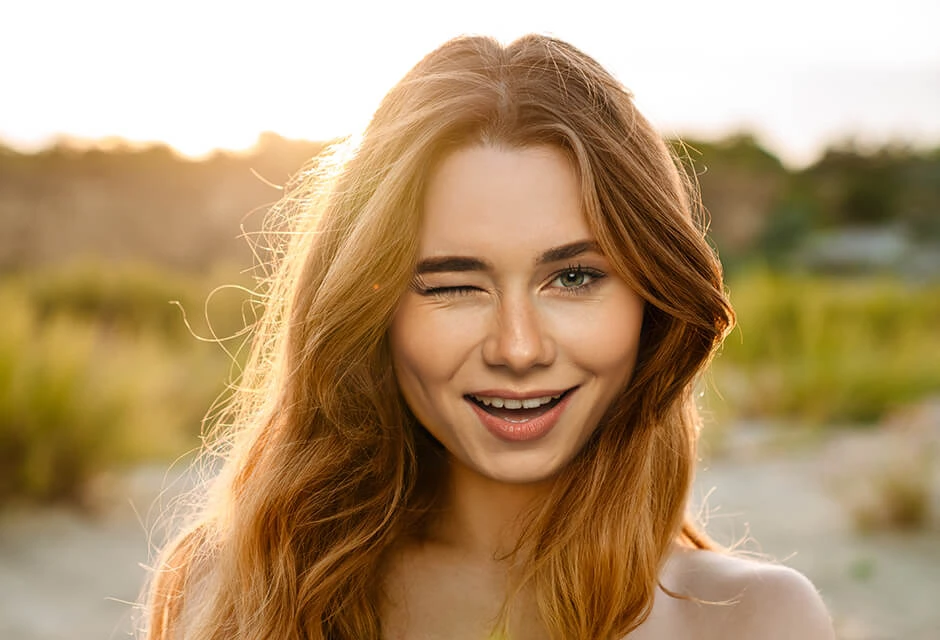
Soft light is more diffused and generates less defined shadows. This type of lighting is often used for happier or romantic scenes and produces more harmonic colors in pictures. Some of the best naturally occurring soft light comes during the magic hour or golden hour. This occurs twice a day just before sunset and just after sunrise when the sunlight is less harsh and more colorful.
You should consider the right lighting placement related to camera positioning. The broadside, which is also called the dumb side, is lighting the closer side of a subject, which is often giving a more approachable feeling to the subject. On the other hand, we have the short side, which is also called the smart side. It refers to lighting the side of a subject that is not facing the camera, which gives a more dramatic look to the subject.
Lens flares are created when light hits the lens. The shapes and colors of which differ depending on the lens. It is just an aesthetic tool to use in cinematography, the same as the bokeh effect. Bokeh is out-of-focus elements in a shot that allow us to focus more on the foreground to reach a sort of dramatic effect. Bokeh is typically the point of light that often adds a romantic or painterly texture to the image. If you have a really sharp background that distracts from the foreground, the bokeh is a good way to turn this around. Make sure to have your camera’s autofocus set off to prevent overriding the bokeh effect.
As we have an understanding of these major terms, let us look at the gear necessary to achieve them.
A professional film set often has an expansive variety of lighting equipment, but there’s some gear that is almost certain to see on any set. Lights themselves come in a variety of forms.
First, let us talk about the Tungsten lights we mentioned early. Those are usually very powerful lighting sources and have been used to achieve a warm temperature of color in the scene.

Daylight is usually achieved with HMI lights, which are stronger in comparison to tungsten, but they have a cooler temperature.

To provide soft and cool light at the same time, we can use Fluorescent lights. There are also banks of tube lights called Kino Flos. Those tubes are adjustable to various temperatures.

And last but not least - LED lights. This type of lighting provides a good amount of control over the strength and the color itself.

To establish better control over the color, gaffers will often use gels. Gels are thin plastic sheets that come in an assortment of colors.

Used in concert with a light’s color temperature, gels help cinematographers achieve their desired hues. A light meter is used to measure the amount of incidental lighting hitting a subject, which then informs the exposure settings on the camera. Some models also include a spot meter, which allows you to pinpoint an exact part of the image for exposure. Many cameras themselves also have different modes to measure the reflective light actually reaching the lens. Other ways to measure lighting ratios include waveforms, histograms, and false colors.

Once you have made the choice to use soft light in the scene, there are many ways to create the necessary diffusion. Diffusion is when a semi-translucent material is placed between the light source and the subject. This scatters the light and makes it softer. And there are a few methods used to do this. Softboxes use translucent cloths placed in front of a light. Diffusion paper can achieve a similar effect. Silks are often used for larger sources. Of course, there are also natural diffusers like clouds, fog, dust, or smoke. Bouncing the light with reflectors creates diffusion while also redirecting light. Reflectors come in a variety of colors and textures, each bringing a unique type of diffusion. Bead boards are styrofoam boards with imperfect surfaces that scatter light differently that a piece of foam core that bounces light more evenly.

Another way of mitigating the intensity of light is with neutral-density gels. These can be attached to the light or applied to windows to reduce the sunlight.
Flags are opaque boards that shape and block unwanted light. Barn doors are adjustable flaps on the light source itself, which have a similar function. Egg crates direct light and helps prevent it from spilling into unwanted areas.

Cookies add texture to light, short for the term ‘Cucoloris’, cookies are broads with patterns cut into them that create a dappled effect when placed in front of a light source. Mounting and positioning lights on a set can be done with light stands or with c-stands, which are also useful for setting up diffusion, flags, and reflectors.
We have scratched just the tip of the iceberg speaking about lighting in cinematography in this article, but those tips are enough to get a basic understanding of major terms and how lighting works in cinema. Read more about lighting and colors in our other articles to get a more in-depth understanding of specifics in cinema and photography.
He started his career as a professional photo designer and retoucher. Professional commercial photographer with 20 years of experience. He is a leading advertising photographer and has worked as a food photographer with Michelin-starred chefs. His work with models can be seen on the calendars of many leading companies in Ukraine. He was the owner of the photo studio and photo school "Happy Duck".