


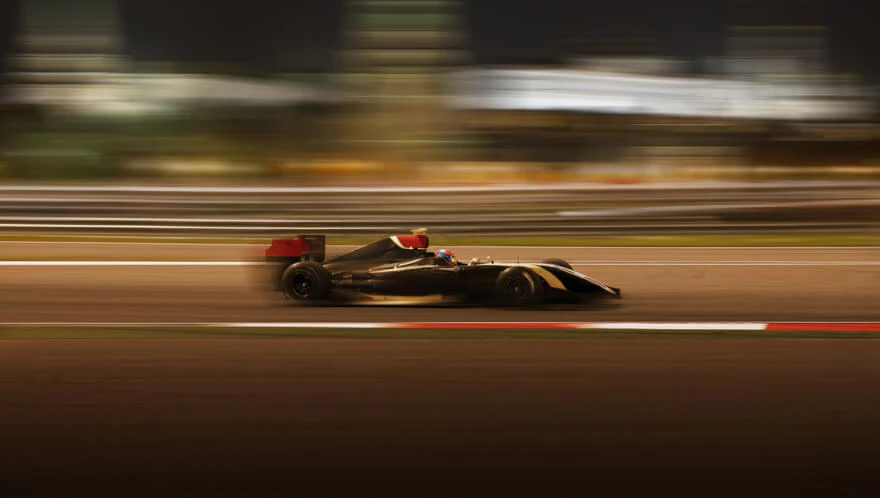
How to capture motion blur in photography
Sep 20, 2018
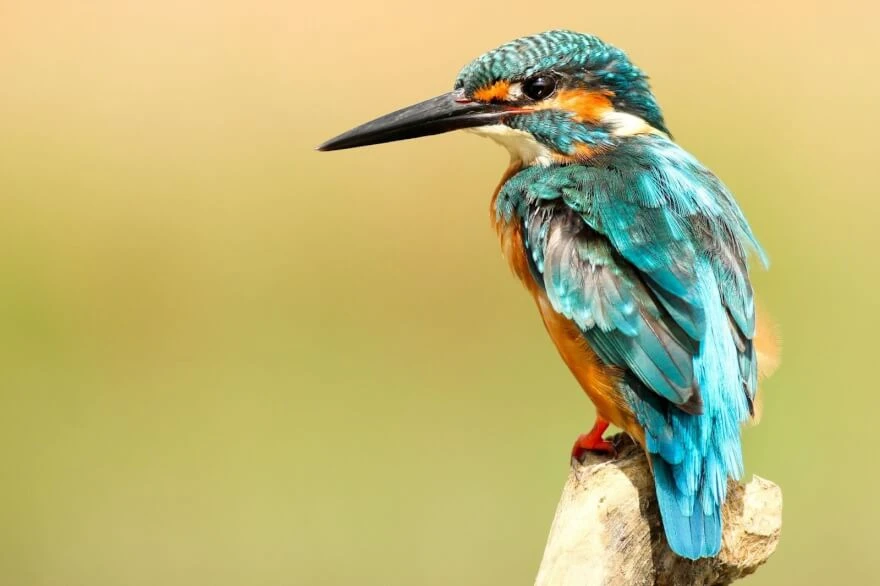
Bird photography. Two words that conjure images of majestic eagles soaring through azure skies or tiny hummingbirds frozen in mid-flight. But let me tell you, the reality often involves more mud, mosquito bites, and missed shots than those picture-perfect moments. Yet, there's something undeniably addictive about it.
I stumbled into bird photography about five years ago. Literally stumbled - tripped over my own tripod trying to get a shot of a blue jay in my backyard. Knocked my teeth on the viewfinder and everything. Good times.

Since then, I've graduated from backyard bumbling to full-on bird-chasing madness. This bird photography tutorial is born from countless hours in the field, numerous failures, and those rare, perfect moments when everything aligns.

First things first - gear. Now, I know you're eyeing that massive 600mm lens that costs more than your car. I get it. I've been there. But here's the thing - you don't need to sell a kidney to get started in bird photography.
Oh, and if you're into the whole behind-the-scenes thing, consider investing in one of the top Action Cameras like GoPro. I strap one to my hat sometimes. The footage is hilarious, if not always flattering. Makes for great bloopers, though!

Alright, let's dive into the nitty-gritty - camera settings for bird photography. This is where things get a bit... technical. But don't worry, I'll try to keep it simple. Or at least as simple as bird photography settings can be.
Bird photography shutter speed is crucial. These feathered friends move fast, so your shutter speed needs to keep up. Here's my rule of thumb:
Now, if you're feeling artsy, you can slow it down for some motion blur in photography. I once got a cool shot of a hummingbird with blurred wings at 1/15s. Of course, that was after about 200 failed attempts. Patience is key, folks.
I usually shoot wide open. That means the lowest f-number your lens allows. Why? Two reasons:
I typically shoot at f/4 or f/5.6. If I need more depth of field (like for a group of birds), I'll stop down to f/8 or f/11.
Here's a hard truth: sometimes you've gotta crank that ISO to get the shot. Start low (100 or 200) in good light, but don't be afraid to go higher when needed. Modern cameras can handle 1600 or even 3200 pretty well. A grainy shot is better than a blurry one!
For stationary birds, single-point AF is your friend. For birds in flight, switch to continuous AF (AI Servo for Canon, AF-C for Nikon) with dynamic area. It takes practice, but once you get it, you'll be nailing those in-flight shots like a pro.
Remember, these are just starting points for settings for bird photography. The best way to find your perfect setup is to get out there and experiment. Every situation is different, and half the fun is figuring out what works best.

Now that we've covered the basics, let's talk about actually getting those shots. This part of our bird photography guide involves a lot of waiting, some bizarre contortions, and occasionally explaining to concerned passersby that you're not, in fact, having a medical emergency.

Birds, as it turns out, aren't big fans of paparazzi. Who knew? The key to getting close is to be as unobtrusive as possible. Here are some bird photography tips I've learned the hard way:

Ah, birds in flight photography. The holy grail of bird photography, and also the bane of many a photographer's existence. It's challenging, frustrating, and when you nail it, absolutely exhilarating.
Here are some birds in flight photography tutorials condensed into bite-sized tips:
I once spent an entire day trying to photograph swallows in flight. Out of 2000 shots, I got maybe 5 keepers. But man, those 5 shots were worth it.

Sometimes, you want to go beyond the standard portrait shot. Here are some bird photography ideas to spice up your portfolio:

(Where Good Photos Become Great and Bad Photos Become... Less Bad)
Now, let's talk about what happens after the shoot. Post-processing is where good photos become great, and where you can sometimes salvage a shot you thought was a goner.
For more specialized editing, you might want to explore dedicated Animals photo editor software that offers tools specifically designed for wildlife photography. These can be particularly useful for enhancing feather details and natural colors.

Alright, time for some real talk. As much as we all want that perfect shot, it's crucial to remember that we're dealing with living creatures in their natural habitats. Here's my two cents on being an ethical bird photographer:

Let's face it, gear acquisition syndrome is real in photography, and bird photography is no exception. But before you remortgage your house for that newest 800mm super-telephoto, remember this: the best camera is the one you have with you.
That said, if you're looking to upgrade, here are a few things to consider:

In the age of Photoshop, it's easy to go overboard with editing. While post-processing is a valuable tool, there's a fine line between enhancement and manipulation. Here are some guidelines I try to follow:

At the end of the day, bird photography is about more than just the images. It's about the experiences, the early mornings, the missed shots, and those rare, perfect moments when everything comes together.
I've spent countless hours in fields, forests, and marshes, often coming home with nothing more than mosquito bites and muddy boots. But you know what? I wouldn't trade it for anything. The anticipation, the challenge, and the sheer joy of observing these incredible creatures in their natural habitats – that's what keeps me coming back.
So, whether you're just starting out or you're a seasoned pro, remember to enjoy the process. Take time to watch the birds, learn their behaviors, and appreciate the world they inhabit. Sometimes, the best moments happen when you put the camera down and simply observe.
And hey, if you're ever feeling discouraged, remember that for every stunning shot you see online, there are probably hundreds of blurry, badly composed, or missed shots behind it. We've all been there. I once spent an entire day trying to photograph a particular owl, only to realize when I got home that I'd left the lens cap on for half the shots. Facepalm moment of the year.
So grab your camera, head out into nature, and start your own bird photography adventure. Who knows? You might just capture something extraordinary. And even if you don't, you'll have stories to tell and experiences you'll never forget.
Happy shooting, and may the birds be with you!
Co-founder of RetouchMe. In addition to business, he is passionate about travel photography and videography. His photos can be viewed on Instagram (over 1 million followers), and his films can be found on his YouTube channel.
Moreover, his profile is featured on the most popular and authoritative resource in the film industry — IMDb. He has received 51 international awards and 18 nominations at film festivals worldwide.


