


How to take aesthetic pictures?
Feb 10, 2021
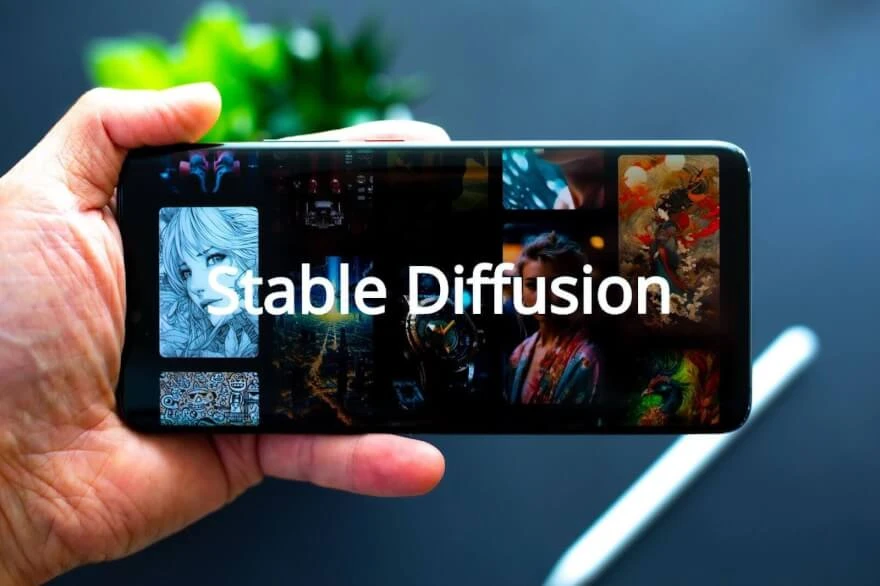
We live in a world where artists are losing their jobs because you can generate whatever piece of art you want with a simple text prompt within a few seconds that looks incredibly good. More than that, you can generate an image of anything, even things that do not exist in real life, just by using the right descriptions. What happened? How did the computers get here? This article will guide you to the intricacies of machine learning and ways to interact and navigate the Stable Diffusion AI interface to create images.
So what is Stable Diffusion? It is nothing but a program generating images from the noise. It is basically like you’re trying to look at the cloud in the sky and figure out what the shape actually is. And this is only possible because of diffusion models, which are generative models designed to generate new data similar to what they have seen in training. In the case of Stable Diffusion, this data consisted of images. So the way this deep learning model works is that it takes an image and step-by-step puts noise onto it until we end up with pure noise. And when the picture is completely covered with the noise, then the diffusion model steps in and uses its AI and tries to undo the noise to recreate the real image. So in other words, the system recreates a totally new image that looks exactly like the image that we fed into the train your own Stable Diffusion model, which we will discuss later in the article.

Stable Diffusion is currently the best method for AI image generators that we have, beating out the older technology like generative adversarial networks (GANs). With Stable Diffusion, you can type in some text, and then using AI you can generate an image based off of that text with stunning results.
Many different companies are pushing out technology like this, but the reason to opt for Stable Diffusion is first off, the code is public and also free to use. You can install it on your computer as long as you have a decent graphics card. Moreover, you get full rights to all the images that are generated.

Before we install Stable Diffusion, it is important to mention its availability as a web version if you just want to experiment with it. On their official website, you can type in some text, and then you can click on ‘generate’ and it will spit out four different images.

So the reasonable question is why would you want to install it? When you install it, you can adjust more of the parameters, and you can also output far more images. Besides, it is inevitable if you are willing to train your model after.
Speaking of the system requirements to run Stable Diffusion:
If you have those, then we are ready to move on to the pre-requisites that we need to install
To use Stable Diffusion, we need to get two different prerequisites: GIT and Python.

GIT is used for source control management, but in this case we’re simply going to use it to download Stable Diffusion and also to keep it up to date. As you download the software, it is recommended to stick to defaults. Make sure to double-check if you have x32 or x64 operating system, which you can find out via running dxdiag in your windows prompt :

The second prerequisite that we need is Python.
Python is a programming language on which Stable Diffusion is written.

Now that we have all the prerequisites out of the way, we’re now ready to install Stable Diffusion. For that, we are going to install a fork called WebUI. It provides you with a graphical interface to interact with Stable Diffusion. With the base version, you simply type your commands on the command line. It’s also been optimized to work on consumer-grade hardware. To install Stable Diffusion:
This opens up a command prompt, which we are going to use to install all the required files to run Stable Diffusion. And we are going to use GIT to do that, which we have already installed.
Once you enter that command line, it will take some time to clone all the files in that repository. Now that we’ve cloned the repository, if we click back into File Explorer, you will see that there’s now a new folder called ‘stable-diffusion-webui’ with all the associated files that we got from the GIT.
Now we need to download the MODEL or a checkpoint on the official website.
Scroll down to find this:

As you see there are two different versions to choose from, one is for 4 gigs, and another is for 7.7 gigs. You don’t get many different results depending on which one you download, so we recommend using the smaller one.
For this, we’re just going to stick with the base model, but you can also experiment with different models. Different models may be trained on different images and also different text input. Different models are specialized in certain areas. You might have a model that’s good for anime photos, or maybe there is another model specified for car illustrations. But for now, we are sticking to the basic untrained model.
Now we are ready to run Stable Diffusion but the only thing we have left to do is to optimize it to keep it updated:
Now double-click on the ‘webui-user.bat’ that we just edited to launch Stable Diffusion. It will now install various dependencies to be able to work. All of these you only got to do for the first time. As it is finished optimizing the workflow, you will see the local URL to run the program.

Select the last string as it is shown on the image that contains your local IP and copy it. Now, paste this into your browser to access the web interface of Stable Diffusion running locally on your PC.
As you open up the local web interface, you will see all the settings available.
In the top left corner, we can choose Stable Diffusion checkpoint – our model that we have downloaded and put into the model’s folder already.
Across the top of the page, you will see different tabs. The first one is text to image (txt2img) which is where you can enter in some text, and it will generate an image based on that text.
Going beneath, you will see the Prompt for the text. You can add here any text with details for your generating photo. The more descriptive you are, the better your photo will be.
On the right-hand side, there is a color palette icon. When you click on this, it will insert an artist’s name into your prompt. In this way, it applies different artistic styles to your image.
Down below the main prompt, there is a negative prompt - things that you don’t want in your image, which you can also describe initially or during the regeneration afterward. For instance, you can input text to remove tattoos from your photo or people from the background, and so on.
The sampling steps bar allows for fine-tuning the generating images, or how many times the generating image is going to be refined. The higher the number, the better the results, plus the more time it will take to compute. Below are the sampling methods to experiment with.
Pretty self-explanatory, choose your image resolution here. The larger the photo, the longer the processing will be.
Restore faces - to try and restore details in faces on the photo.
Batch count - how many images you want to get as part of the output.
Batch size - how many images are worked on at the same time (requires high-end PC to go above 1).
CFG Scale - defines how closely Stable Diffusion should match the prompts you are entering above. The higher you go with it, the more ‘careful’ it is. The lower this number, the more creative AI is going to be.
Seed: set to negative one (-1) means that you are going to get a new image every time you press generate. If you fix it to a specific number, every time you run it, you will get the same exact image.

As we have just a raw model, it is good to know that you can train it to get better results. For the most part, you need a high-end PC to do it locally, but the good news is that you don’t even need that as there is a convenient way instead. All you need is the Colab Pro notebook tutorial interface for Stable Diffusion. It is like your own virtual machine running by Google that attaches to your Google Account, which grants privacy. Besides, utilizing a virtual machine, you don’t use your own PC hardware powers to train the model.


There are various applications of such a comprehensive service and everything is possible that you could ever imagine. You can even do a fantasy photoshoot now with Stable Diffusion by giving it a detailed prompt or image-to-image data. You can use this tool as your photo editing app or to create a whole world on your own. Train your model, share it, and use other user’s models to see the difference and experiment.
Co-founder of RetouchMe. In addition to business, he is passionate about travel photography and videography. His photos can be viewed on Instagram (over 1 million followers), and his films can be found on his YouTube channel.
Moreover, his profile is featured on the most popular and authoritative resource in the film industry — IMDb. He has received 51 international awards and 18 nominations at film festivals worldwide.


