


How to add a realistic film grain texture in Photoshop?
May 2, 2022
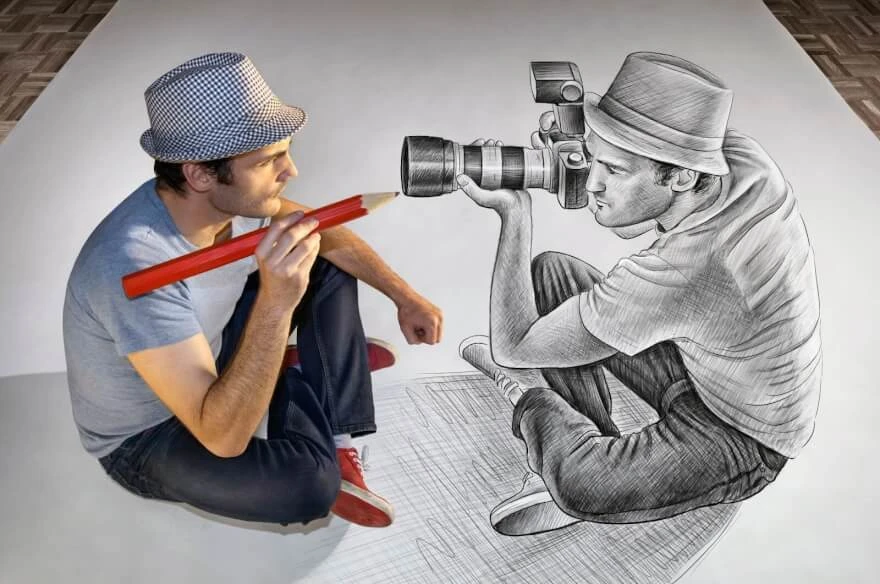
Fine art has a long history and dates back to the days of Picasso and da Vinci. Art has been replaced by photography, which is able to depict the real world more accurately even without using any default tools like pencils or paint. Although contemporary artists are not lagging behind, trying to bring the level of their work to realism. So drawing has not gone away but has undergone some metamorphosis. Drawing can convey something more than a simple photograph. If they say that the photo steals a piece of the soul, the drawing, on the contrary, puts the soul into the work. So converting a photo into a drawing is becoming a prevalent trend. Today we are going to talk about how to colorize photo into a painting.
So, how do you turn a photo into a painting? There are several different ways. The first one that comes to mind is using Adobe Photoshop. And here, many people can immediately get lazy because Photoshop tools require a lot of time to study and learn the basics of working with images. That is why there are a lot of tutorials for this purpose. The first thing you'll notice is that it is not really such a scary program.
It is very easy to convert photo to watercolor painting in photoshop, and it will not take much time. And you will get the result that you can adjust to your liking afterward. In this tutorial we will not use masks or even brush, it would be simple filter’s usage with good values on different layers mixing up with blending mode.

1. Let us start with creating a new project in Photoshop. As we press 'Create New' we will see some properties such as resolution width and height. There are two types of resolution: width and height stand for your image size and pixel density of the image called 'Resolution' in that section. We recommend setting it to 300 pixels per inch, which is pretty much the default value and as good for our needs. Choose the background to be transparent. Then make with and height to match your image resolution, which you can check in image properties of windows by clicking on it with mouse 2 button and then select properties - details.
2. Import your image or simply drag and drop it and then resize it to fit the canvas size with the applied transform tool (CTRL+T) in case you did not choose the appropriate width and height in the 1-st step.
3. Convert your image into a smart object by pressing right-click on the image layer and choosing it in this drop-down menu. This will allow us to keep all the adjustments we do to the image optional and get to it back later if we need.
4. Make 5 copies of our base layer by pressing CTRL+J on the active layer. We are going to use each of these copies to apply different filters on them and mix them into a particular effect. Hide all copied layers and let only the base image visible for now
5. With 1st copy layer selected, go to filter – stylize – emboss. Angle 135 degrees, height 4 pixels. Then repeat the same path but add Sharpen–Sharpen, this will add some crispiness to the geometry of an image. Then go to the same filter’s menu, choose filter gallery and find the cutout. Change the values of that filter going from top to bottom to 8-4-1.
6. Select and unhide copy 2 layers, go to filter gallery and add cutout filter as well, but change the value of ‘Number of levels’ down to 7 and leave the rest of the values unchanged. Change blend mode to overlay to mix up effects of this layer with others. That way, you will notice, that we get more details in our image. Filter gallery from the inside is shown in the image below.

7. Drag copy 3 layer in between copy 1 and 2 and change its blend mode to color, this will increase the tone.
8. Select and unhide ‘copy 4 layer’, go to filter – filter gallery – Stylize folder – Glowing edges. Change the blending mode to ‘Screen’ this will hide black in this effect and let highlights be seen. This will add outlines and details to our whole effect.
9. With our final copy 5 layer we will add some more details to the image. Select and unhide the layer, then go to filter – other and choose high pass there with a radius of 2.0 pixels. Click ‘OK’ and change the blend mode to overlay. Hide and unhide this layer to see the difference in details and sharpening lines.
Here is the list of effects on the preview

10. Select all 5 copied layers and press the group icon below in the layers window. This will group. Rename the group into ‘Effect’.

Now, with all these done, as a result, we can replace our base image with something else and see how the created effect will apply to that image. To do it, right-click on the base image and choose ‘Edit contents’. This will send you inside the smart object. Being on that new window, go to file and choose ‘Place Embedded. This will open up a window where you can browse for a new image to replace your base image with it. Adjust the size and position of the new image and press ‘Enter’. Then press CTRL+S to update the smart object. Get back to your main document window, and you will see the replaced image with applied effects already. You can save the document for future use by pressing CTRL+SHIFT+S and save it as ‘.PSD’ which stands for Photoshop Document.
To make it look even better, you can look for photo frames for your painting with transparent background and just add them on top of all layers.

If the Photoshop method looks complicated, you can look for an app that turns pictures into drawings.
Most of the apps have preset filters in effect. So basically you get what we did in photoshop, just with different settings or done a bit differently. The downside here would be that you can not adjust the effect that much, but you can choose some options and see how it looks. These options or presets would usually be named ‘cartoon’ or ‘renaissance’ or ‘matte’. Every image is different, so different effects may look worse for one and better for the other.
That is why you need to look for different apps and get more filters to choose from.

Those are 5 free apps that you can get to your phone to convert your image to art.
The 1st painting filter app is called Photo Lab, which has over 100 million downloads.

You can find it in App Store if you use iPhone or in Google Play for any Android-based device.
The app is represented in 2 versions: free and paid version (Photo Lab PRO). The difference between the two versions is that the PRO version has no advertisement in it and has more filters. But to be honest, the free version has enough filters and effects.
To get the needed effect, you can look for #cartoon on the main page, or simply scroll down sketches to find it.

Almost every app that makes photos look like paintings has its premium features. But for the most part, free filters are doing a good job. The difference is pretty common, it is just the interface, some settings/adjustments, and the way all of it is presented in a particular app. As we mentioned before, more apps provide more filters. So you can set your photo with each of it to see what difference assorted apps and filters make and choose which converter works best for you. Just make a selfie, insert it into the software and look for a particular sketch to apply. If none of the apps and filters get you an appropriate result, then we would recommend using the Photoshop method, where you can manually adjust every piece of your own designed effect.
Co-founder of RetouchMe. In addition to business, he is passionate about travel photography and videography. His photos can be viewed on Instagram (over 1 million followers), and his films can be found on his YouTube channel.
Moreover, his profile is featured on the most popular and authoritative resource in the film industry — IMDb. He has received 51 international awards and 18 nominations at film festivals worldwide.