Use the ‘quick selection tool’
  Then you can save that as your own preset for future usage. To do that you need to scroll down the list of ready presets, right-click on the last folder and select ‘New gradient group’, and name it ‘My gradients’ for example. Then go to the ‘Name’ tab and name the particular preset, for example, ‘Green black and white’, and press the ‘New’ button right next to the naming tab. A new thumbnail will be shown in your folder, that you may use for another photo.
 And after applying blending mode to ‘Color’ you will get this result.


Value in Photography: elements and examples
Jan 14, 2022
There can be countless reasons for replacing or changing the color of a photograph or image.
Let's say you took a good photo, but the color of a particular subject is outside the scope of your composition, it does not contrast or complement the current palette but just stands out from not being the subject of the narrative in that composition. It could be different things, like eye color or skin tone, whatever you are looking to change. For that, we have tools and different techniques in photoshop for changing color, and today we are going to talk about them.
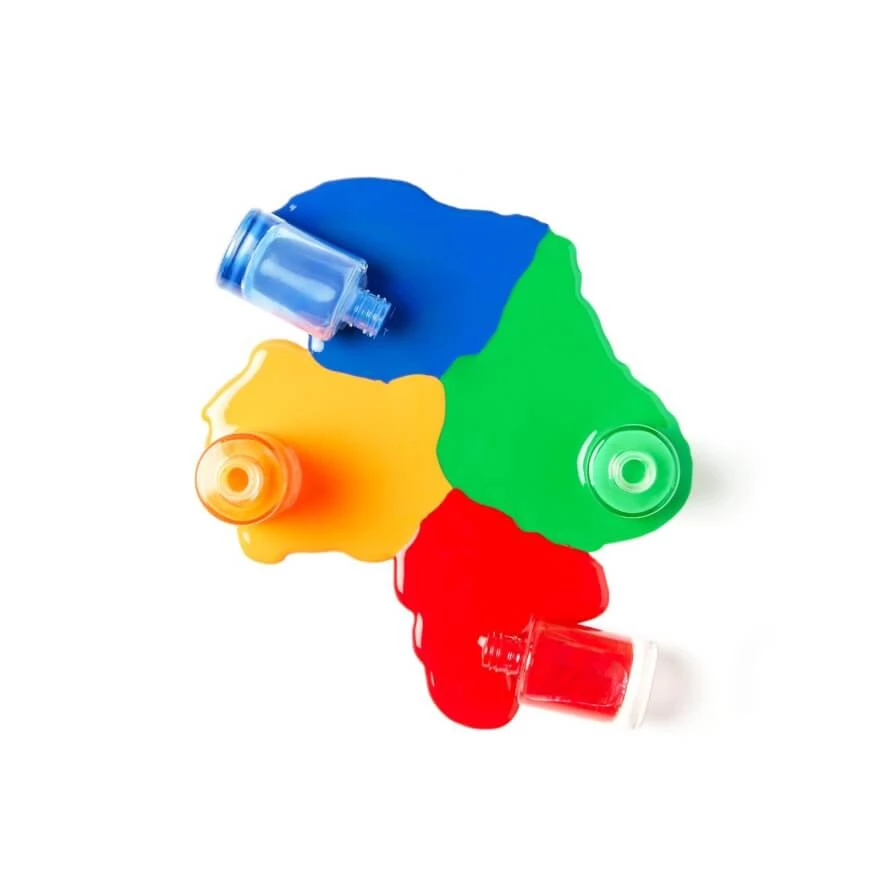
The first thing you need to understand is that any color consists of certain values, which is called HSB or HSL. HSB / HSL stands for Hue, Saturation, and Brightness / Lightness. Understanding these three color values will help you to perform color change with a good matching technique.
Different combinations of these values will make all the colors that you see in Photoshop.
You can double-click on the foreground color in the tool’s panel to see a full representation of the color palette.

Here we pick an image of a flat room to show how it works step by step on a certain example.

Our goal here is to replace colors in Photoshop for this couch with the orange color taken from the wall. You can pick any color from any object as the reference beholding in that room, or choose your own color in the Photoshop color palette. Then we are going to try to match the brightness as close as possible. You can not match all three components of the orange color to the couch because you will end up with a flat orange couch that has no shape or details. To prevent that, you need different levels of brightness, because the shape and texture of the object are given by highlights and shadows
From the toolbar, select the Object Selection Tool, and make sure that the background layer stays active, then just click and drag a rectangle that covers the couch.
 Photoshop will then use machine learning technology to select the couch. In case you inadvertently selected an area that you did not intend to select, then you can subtract from the selection by going into the ‘Options’ bar and making sure that ‘Object Subtract’ is enabled there. Then hold Alt or Option and click and drag over the object you want to deselect. Then you can create a group
 ![]() and click on the Layer Mask icon
and click on the Layer Mask icon ![]() to create a layer mask based on the selection. The reason that we are applying the mask to the group is so that one mask can control multiple adjustment layers. If you need to edit the mask, you will only have to do it once.
to create a layer mask based on the selection. The reason that we are applying the mask to the group is so that one mask can control multiple adjustment layers. If you need to edit the mask, you will only have to do it once.

You will see that the color we get from applying is flat and there is no shape or texture given for the couch. This is because we get all three color values in it (HSB).
Now we need to figure out how to separate brightness from the couch and keep hue only to bring back our shape and texture. For that, we use ‘Blending Mode’. While the ‘Color Fill’ layer stays selected, go up a bit looking for the word ‘Normal’ – here is our blending mode switch. Drop the list, and you will see all three color values at the bottom. Find and choose ‘Color’ because it matches Hue and Saturation and cuts away brightness value, so we get our shape back from that.
To adjust the brightness we create a new adjustment layer, click on this icon ![]() while the ‘Color Fill’ layer stays selected, and select ‘Levels’ in the drop-down list for our new adjustment layer. Drag this layer to stay beneath our main ‘Color Fill’ layer.
while the ‘Color Fill’ layer stays selected, and select ‘Levels’ in the drop-down list for our new adjustment layer. Drag this layer to stay beneath our main ‘Color Fill’ layer.
Now go from the Levels' adjustment layer up to properties, where we can change values for brightness and contrast.

There we have 5 sliders stand for brightness contrast and levels. Adjust each slider until you get the appropriate texture and matching color. And here we get our couch with changed color to the orange taken from the wall. This is how to remove colors in photoshop and replace them using the adjustment layers method.
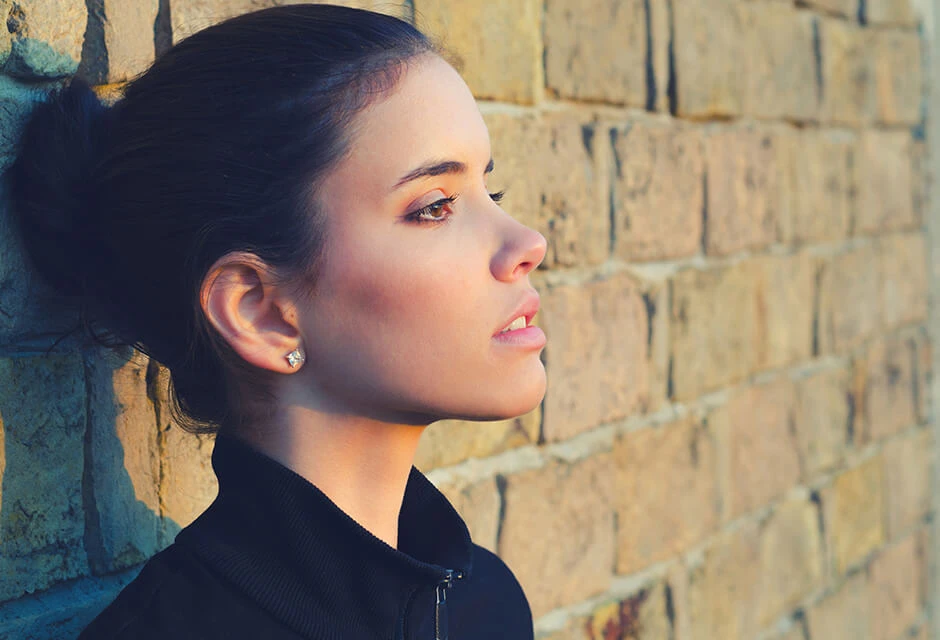
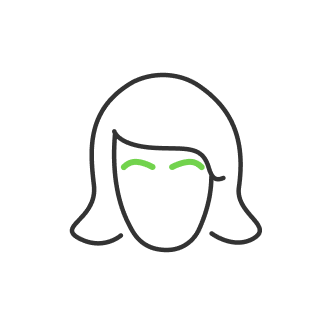
Using adjustment layers is the core for any color change unless you want to use the ‘brush’ tool and change the color manually, which is inaccurate, requires precision, and is time-consuming. Another way to use replace color in Photoshop is gradient maps, which are good to replace face color or to change hair color in portrait photography. The gradient method is good for portraits because there are a lot of midtones that you can set for a gradient map, and you can also save it as a preset, as you're done making it for future applications to another photo.
And here is how it looks now

You can adjust parameters and angle for the new gradient layer to appear by a certain degree if you double-click on the gradient thumbnail in the layer’s list. You can also add more midtones and change color positions by moving squares on a gradient line.
As you can see from these two examples, the basic idea is to separate the desired area from the background, save that selection as a mask and set the adjustments. The most difficult part is selecting the desired area. For example, selecting hair in Photoshop is a very laborious process requiring you to handle multiple tools, ranging from background removers to fine-tuning the mask afterward. Changing the color of a simple object, which can be selected with the quick selection tool, is not that difficult and pretty much automatic. Photoshop has excellent algorithms for primitive and average difficulty shapes. Then you just choose the type of adjustment layer, do the settings in it, and switch blending mode to achieve a certain effect. As a result, by trial and adjustment within the adjustment layer, you can get different results in color changes, whether a dress, car, sofa in the room or hair.
Co-founder of RetouchMe. In addition to business, he is passionate about travel photography and videography. His photos can be viewed on Instagram (over 1 million followers), and his films can be found on his YouTube channel.
Moreover, his profile is featured on the most popular and authoritative resource in the film industry — IMDb. He has received 51 international awards and 18 nominations at film festivals worldwide.