


The secret of Benjamin Clifford's successful wedding photos
Apr 10, 2023
Photography has been known to mankind since the beginning of the 19th century. For more than two hundred years this technology has evolved, and having reached its peak today, it is very difficult to surprise anyone with just high-quality pictures. All this is now available in our pockets, both on the screen of a smartphone and on a tablet, and comes with different equipment at any expense. If you want to diversify your photo album, or you have a serious photo project that requires serious expenses, this article will help you to diversify your leisure, time, and even save your budget and avoid unnecessary costs with cool perspective photos. We are going to cover what forced perspective is in simple terms, show you how to create this effect by yourself, and show some useful forced perspective photography ideas.
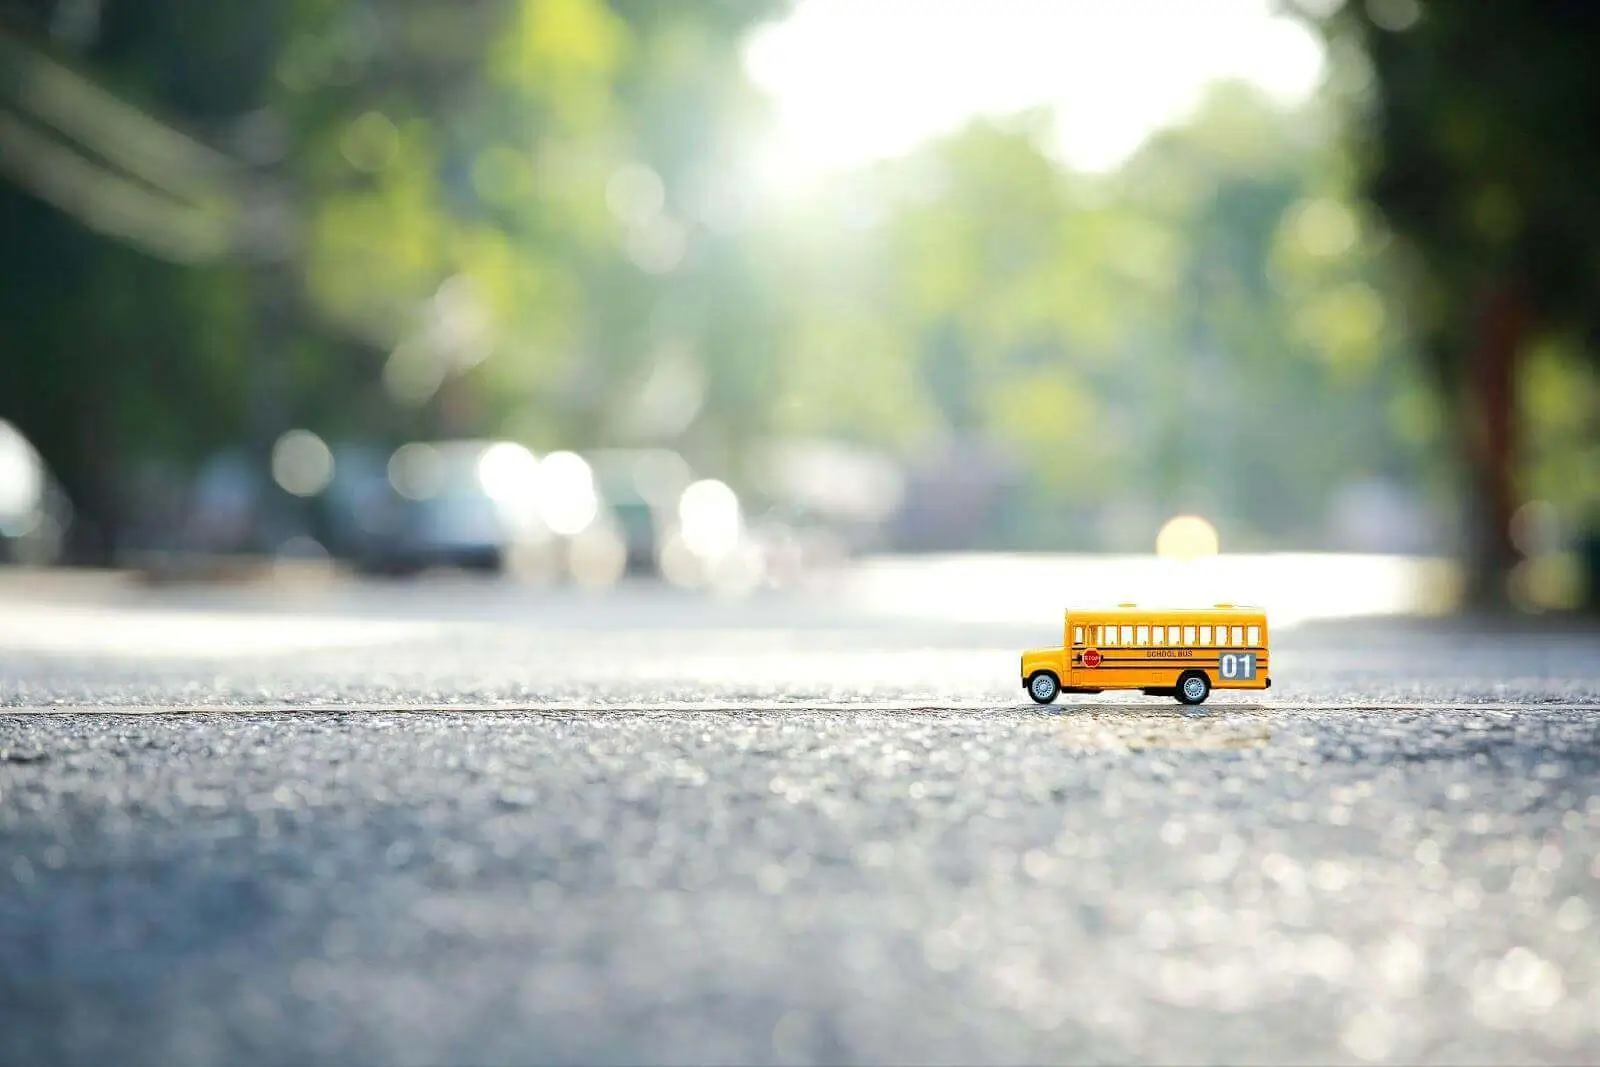
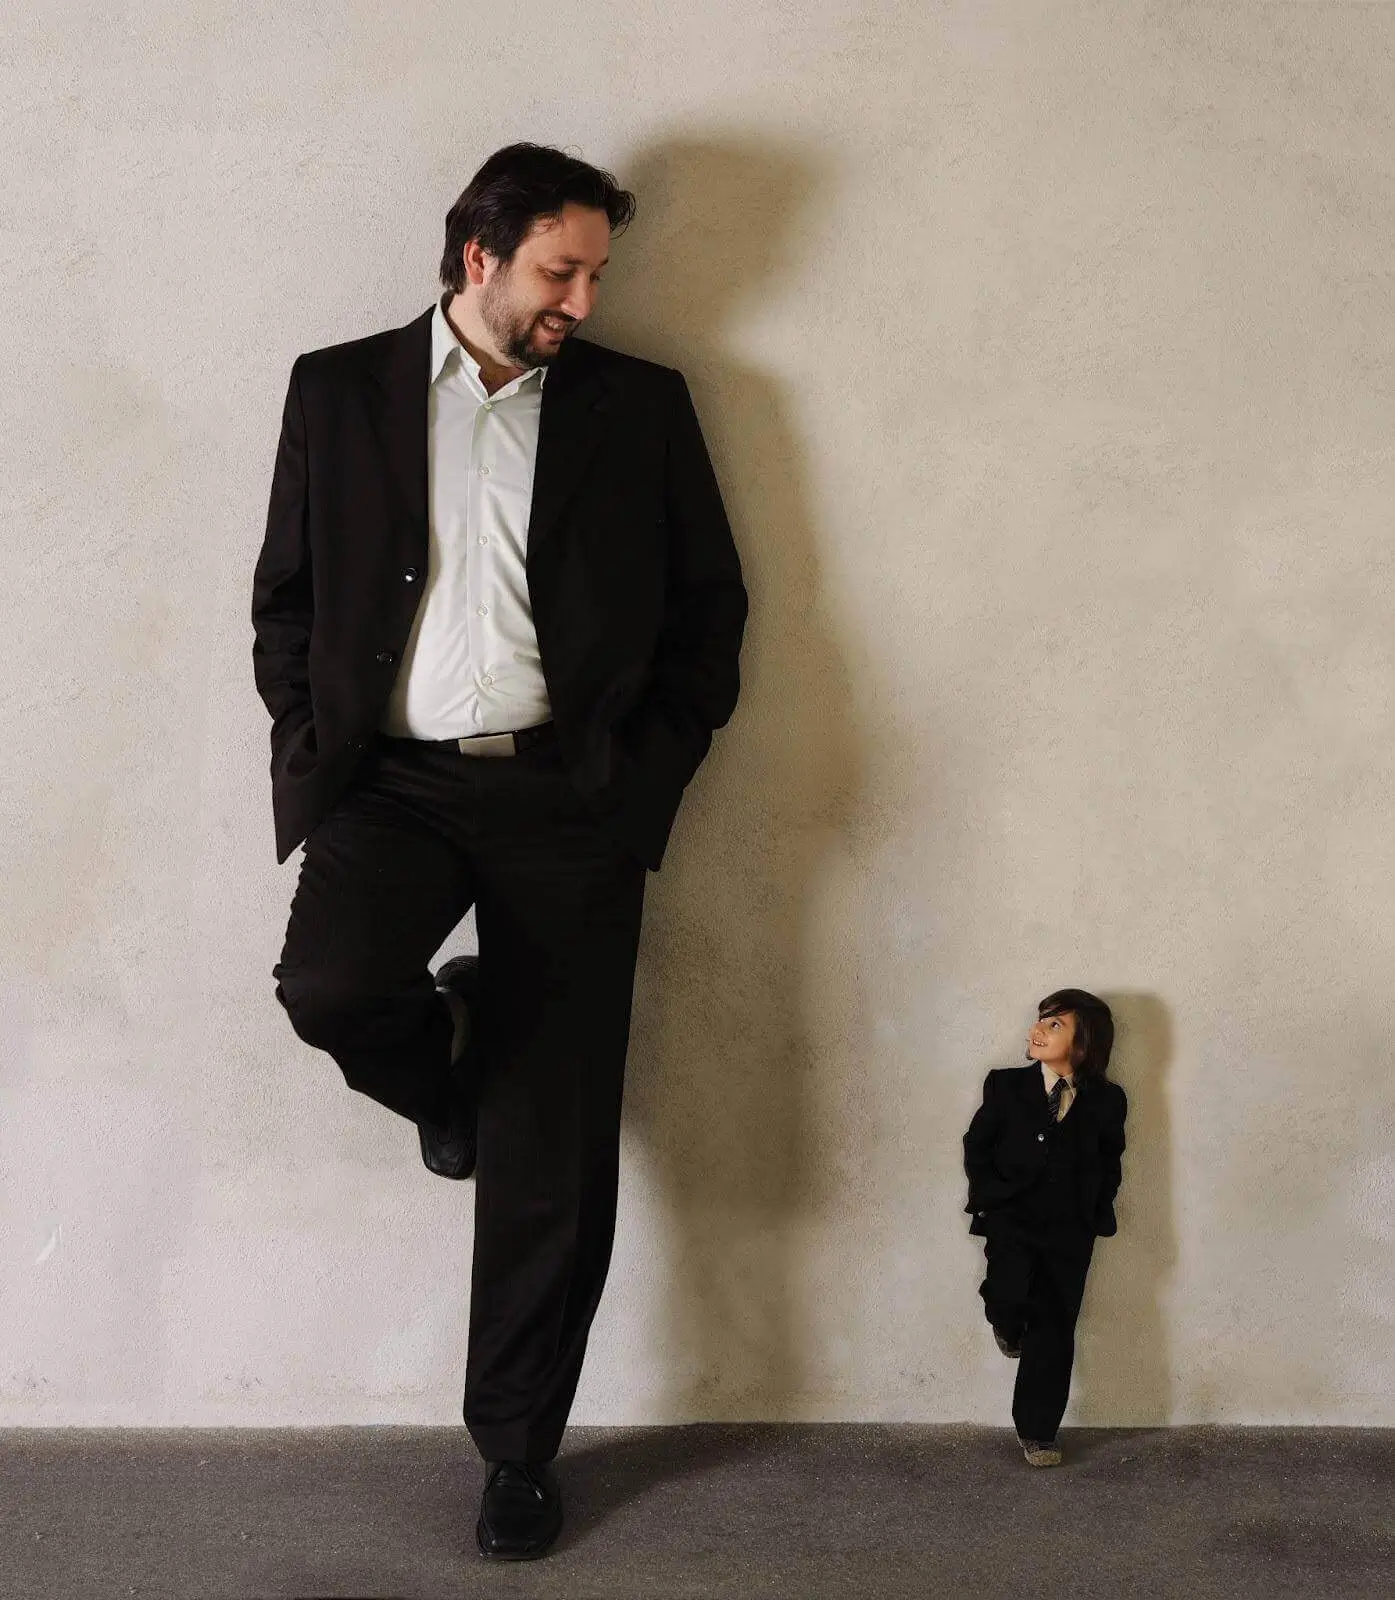
In a nutshell, forced perspective is optical illusion photography that can make objects appear bigger or smaller, farther or closer than they really are. In film and TV, it is usually achieved by cleverly placing a miniature in the frame with life-sized objects in order to pull off in-camera special effects. More simply put it is when you use an object or the environment to manipulate the visual perspective of the viewer to create an illusion.
Here is some boring but at the same time worthy math to consider if you are interested in shooting pictures of perspective. When you choose the model to purchase, take note of its scale, which is often put on its package as the number 1 divided by something. It can be put as 1:100 or 1/40, 1/24, scales are not the limit and just a matter of choice most of the time.
Depending on the model, let’s say it is 1/24 as most of the models are in common, then you have to place your background object or person 24 feet away from the model and the camera 1 foot away from the object. Make sure you have a still frame, any movement can reveal the illusion. All that setup makes your model look 24 times bigger if properly set.
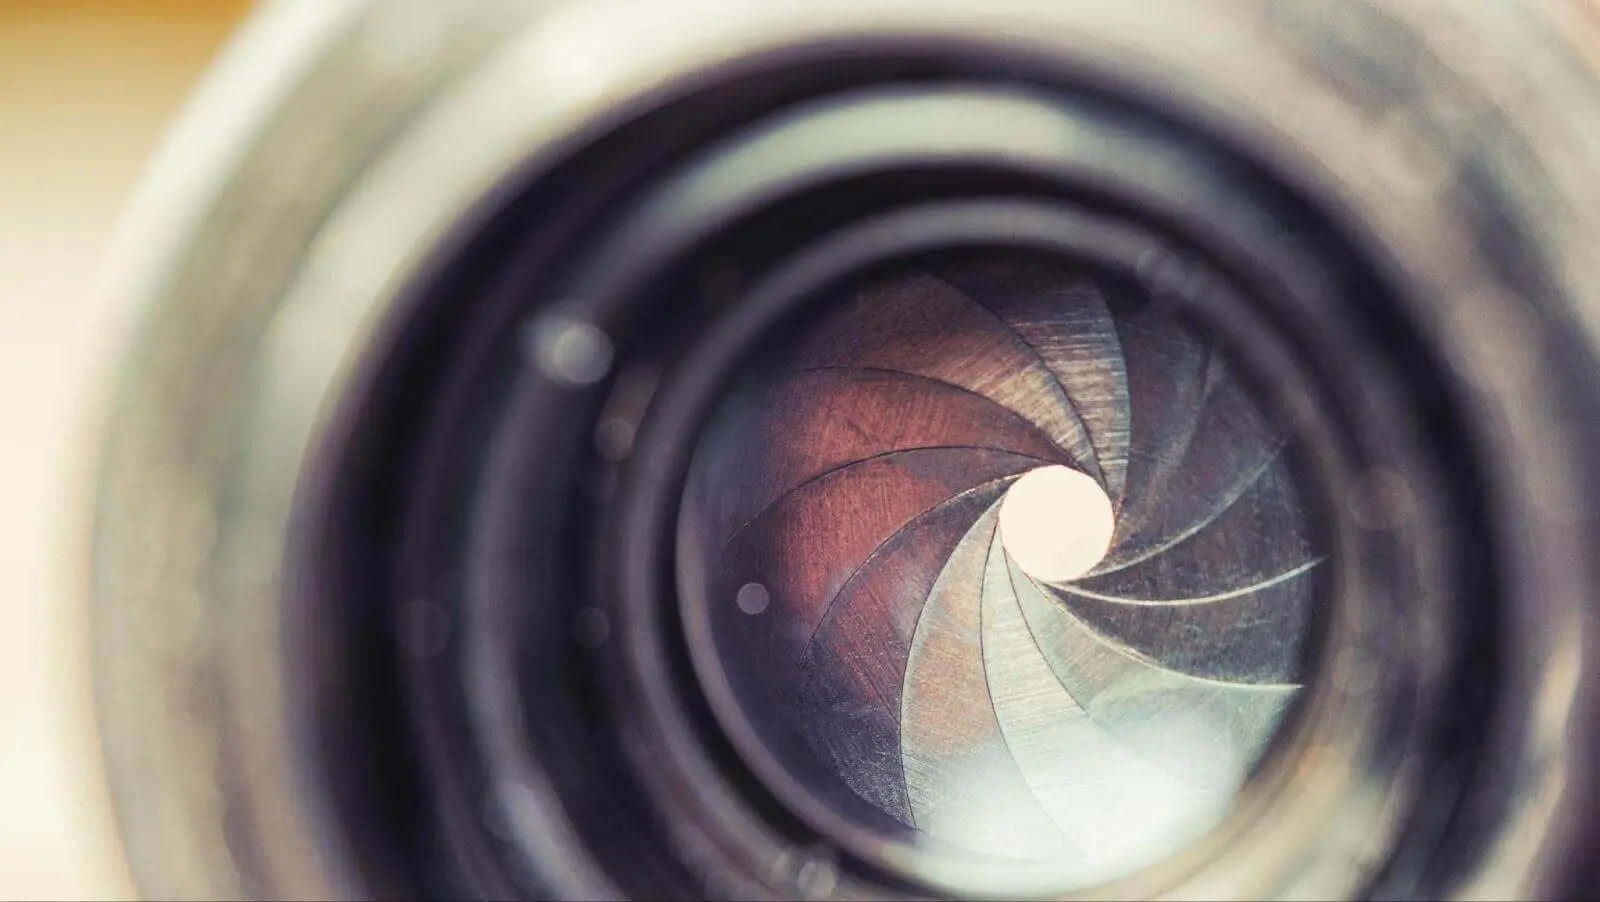
The most essential tip to remember for illusion photography is to shoot at a higher f-stop, which is your aperture setting. So that your foreground and background both stay in focus. This value is a fraction of a second that determines how wide open is your lens. Different settings make it up for focal lengths, the bigger the plan the shorter f-stop you should use to keep it sharp. The opposite will create a shallow depth of field and the false perspective effect will be ruined in turn. With the right settings in mind we can avoid that easily.
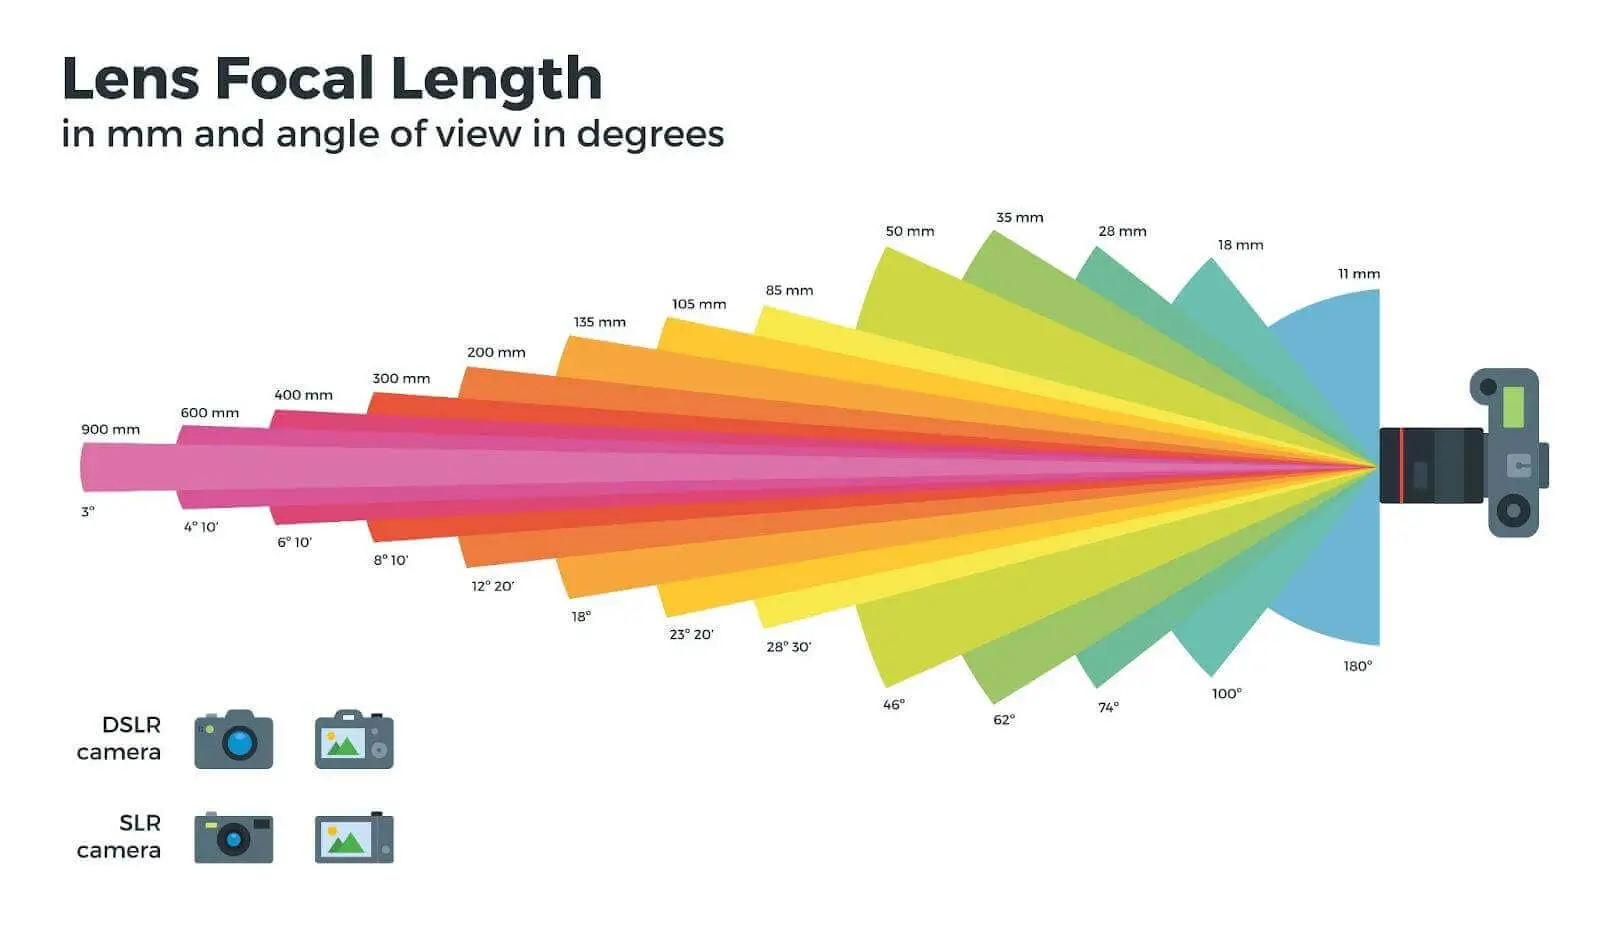
As we touched on such a definition, we have to elaborate on that term and what may influence your shot. Depth of field depends on 3 settings: The aperture and focal length of your lens and focus distance to the subject. The wider the opening of your aperture the shallower depth of field, which is the opposite of what we desire. Therefore, we have to work at f-stops of 20 and above and get a wider angle.
The focal length of your lens is measured in mm and usually put on the lens body. Some 100 mm lens depth of field will be more shallowed compared to an 18 mm lens for instance. A wide angle is better if you want to have everything stay in focus. Depending on the distance, we must keep in mind the closer you are to the subject and the tighter the shot the shallower the depth of field becomes. This is why we need a wide-open lens to compensate in case we are photographing miniatures up close, and we need the background to stay in focus as well. If you need more in-depth guidelines, make sure to check out the focal distance definition blog post where we explain everything in detail.

Following the rules you will get creative in perspective photography.

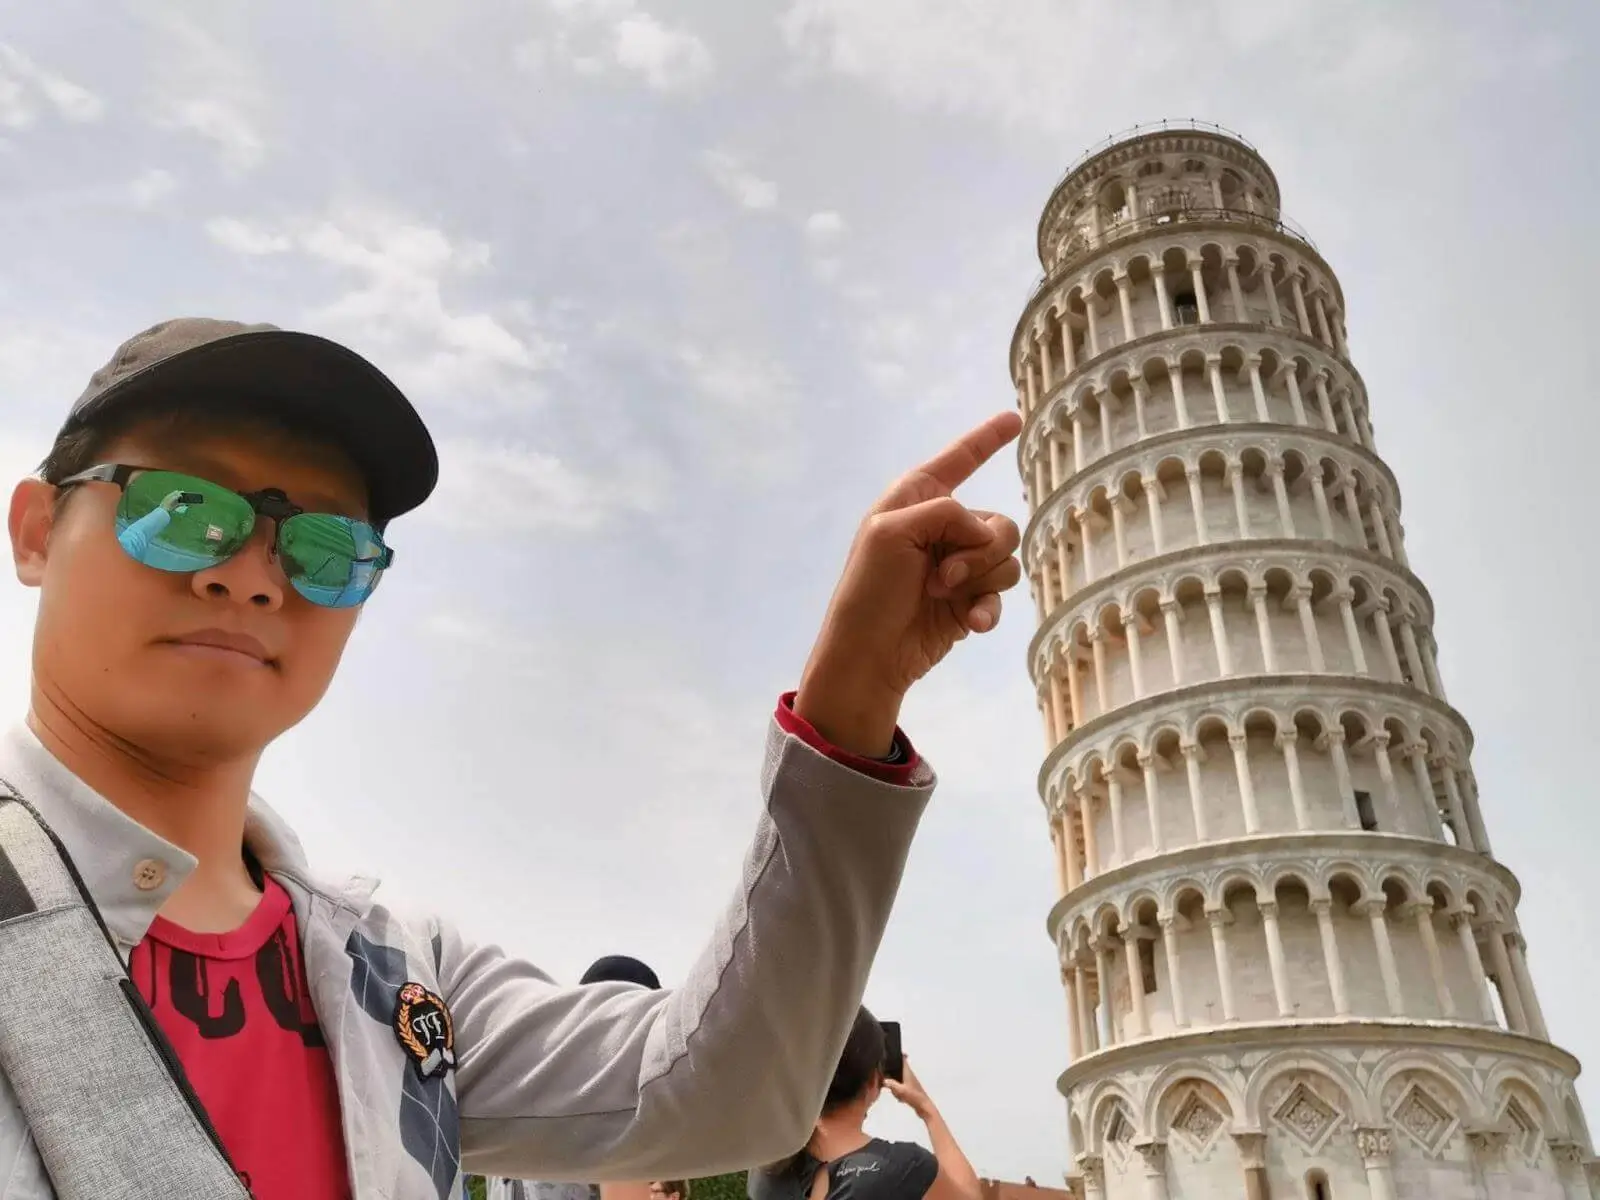
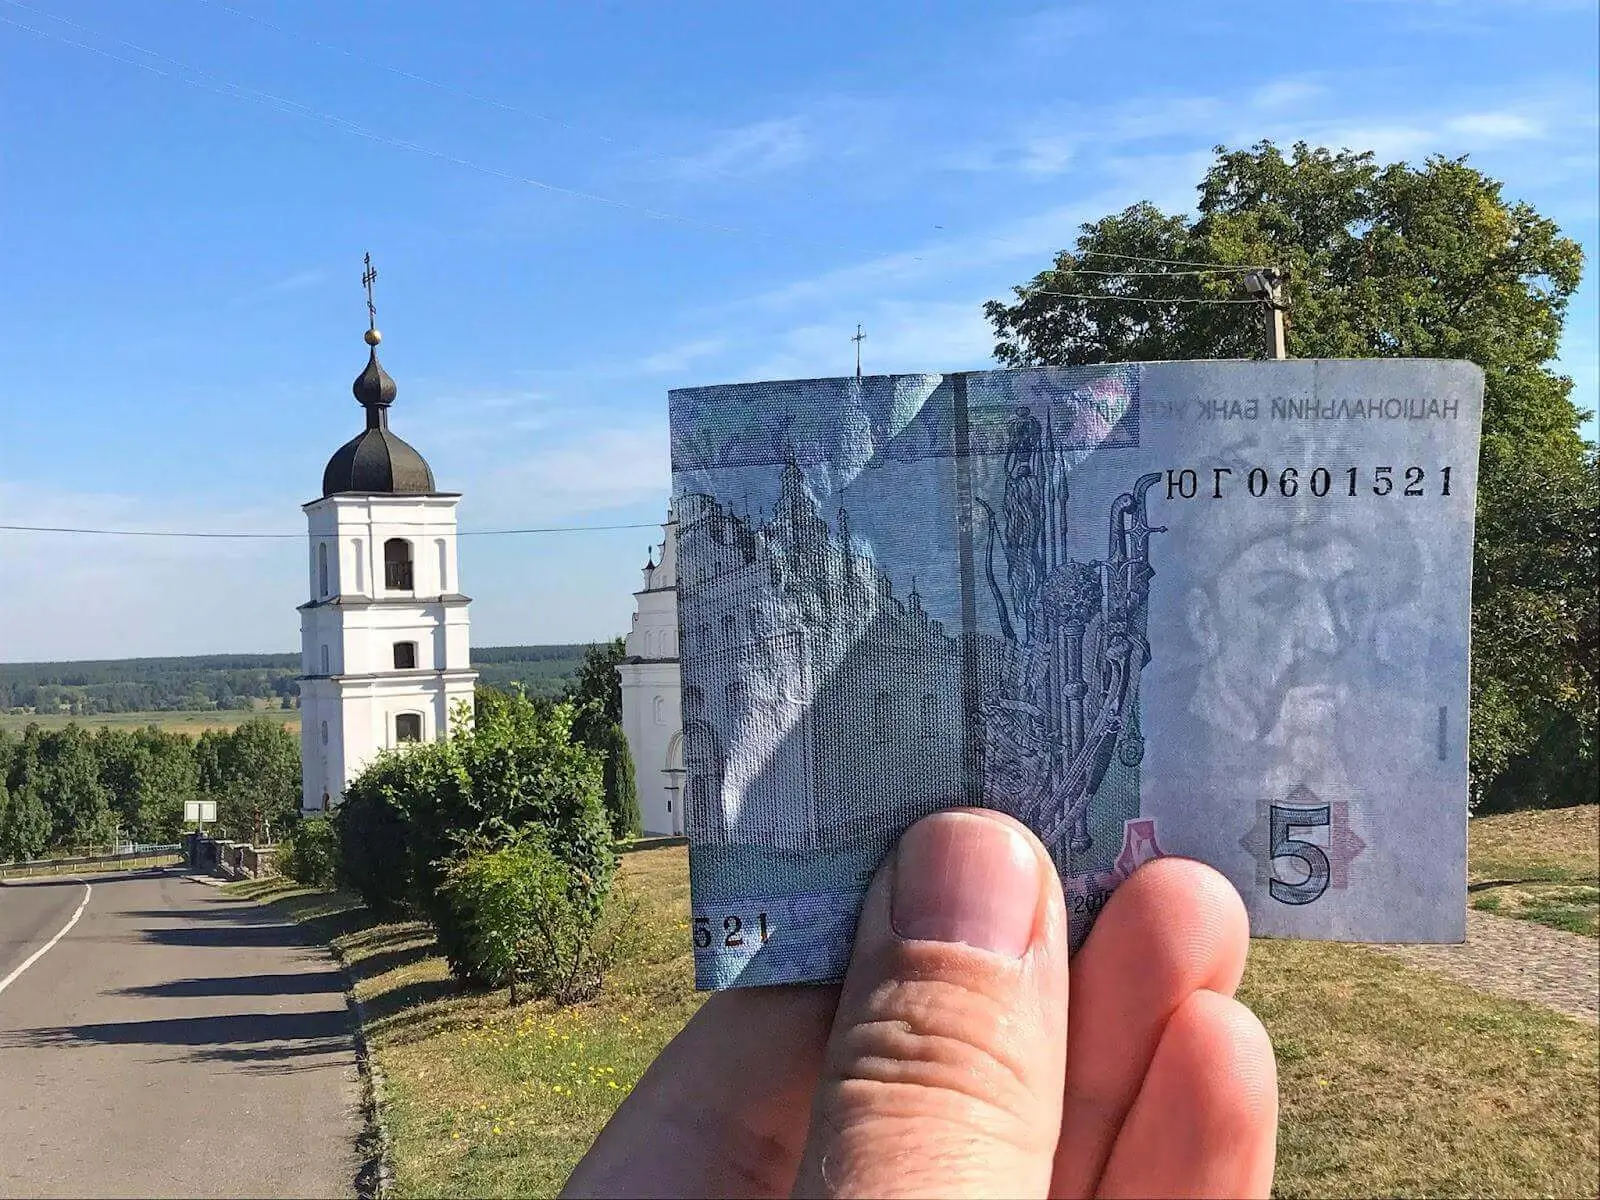
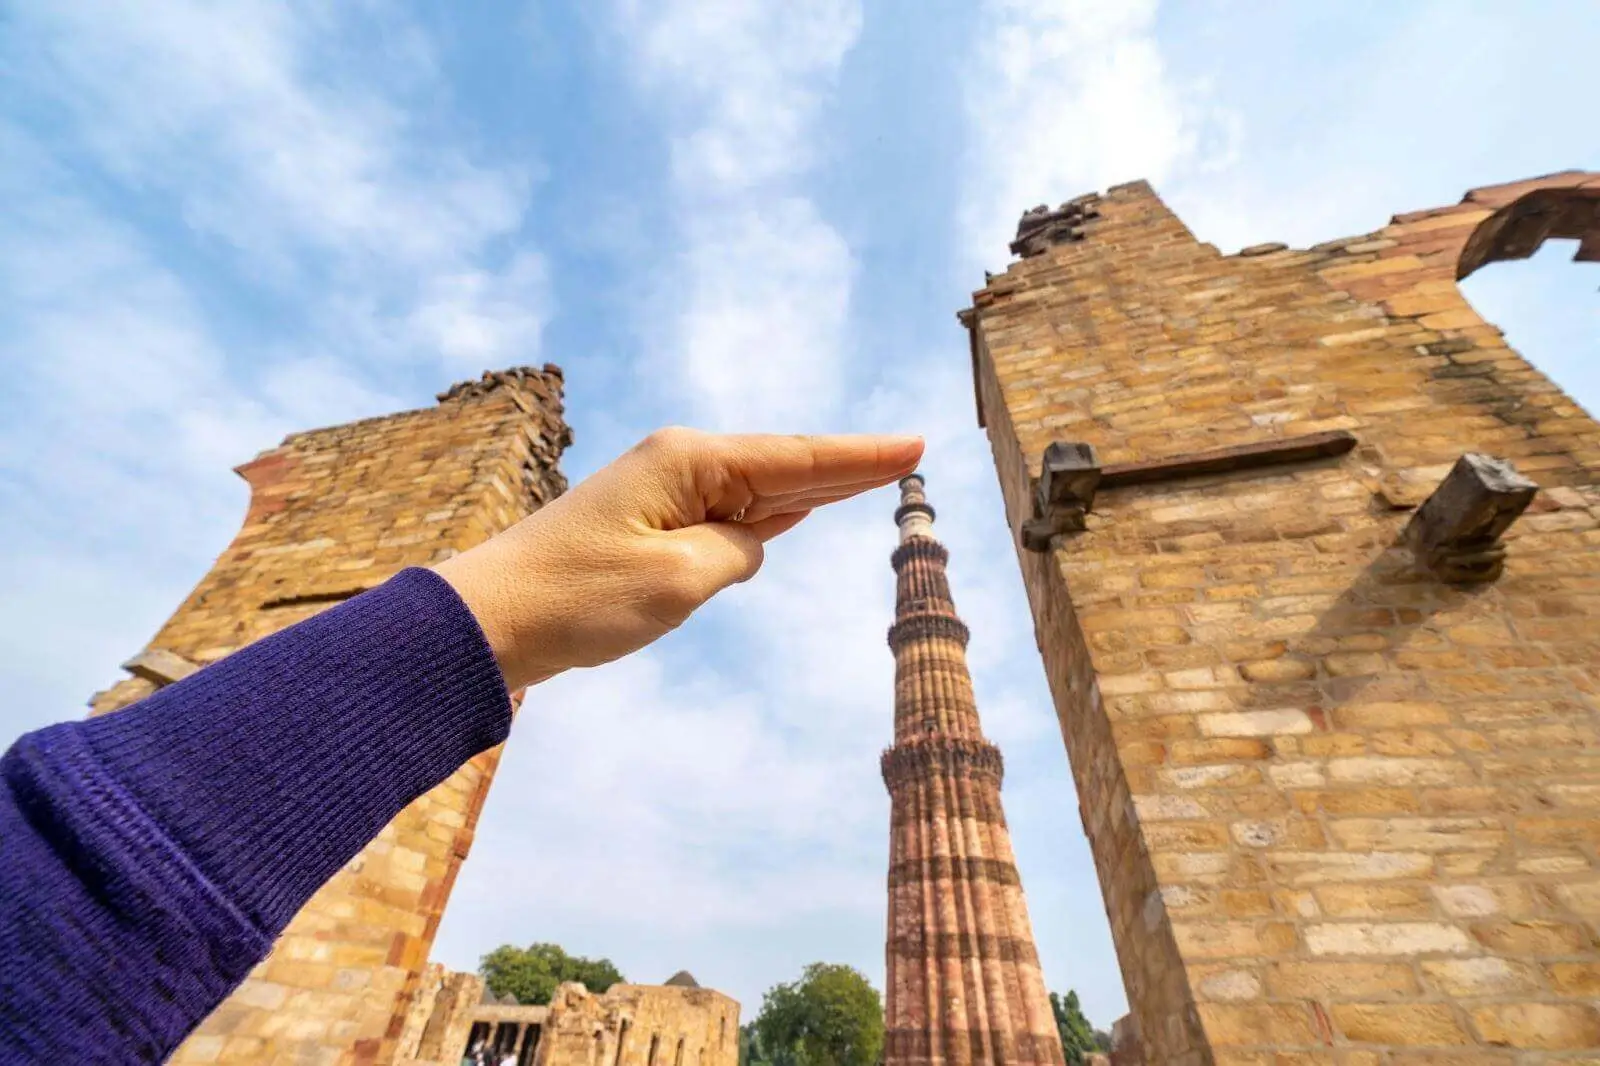
Forced perspective in photography has lots of use. It could be done by casual photographers just for fun and can also be developed in a professional way. We have all seen these fun images where a person tries to “hold” the Leaning Tower of Pisa from falling. Or some person holding the Statue of Liberty or the Tower of Eifel in just one of his hands. People were always tending to control everything around them, and why not hold some pieces of real art in your hand or even stand on it? When this is impossible in real life, you can still do that with the forced perspective technique usage.
However, the most sophisticated professionals who prefer to work in this genre use various photography props ideas to make things possible. Further down we are going to review a case where two photographers shift the limits of perspective photography with different props and models and get international appreciation for it.

As Lewis Hine said: “Photographs never lie, but liars can photograph”
With the right approach, you can argue with that statement. Simply put, if we use different scaled props, we can create scenes of miniatures where these props enhance the shot making it look realistic. For instance, almost a decade ago a Denver duo Larry Patchet and Ken Hendricks began experimenting with forced perspective photography. They used tiny car models and exteriors to simulate large-scale scenes, giving us a glimpse into the past while gaining international appreciation. These two photographers collaborated with their perspective picture ideas and collected models. They become photography magicians that can make you travel through time by making smaller models look big while at the same time decorating everything with different props to make it look indistinguishably from reality.

They mostly work with 1/24 scale models. They use a wide-angle lens for their miniatures which gives them an inherent depth of field and prevent the background from blurring. Likewise, they use very small apertures, such as F25 and F29, which gives even more depth of field. That way everything stays in focus from a foot in front of the camera to infinity, which helps to sell the illusion.

With their work, they prefer to do that in a style of 1930s photographing cars and exteriors of that era, which is pretty much impossible nowadays unless you have the right models and props to decorate the shot. They make very ephemeral dioramas that do not last any longer than it takes them to make just a few shots, and then all these go back into the boxes. On the other hand, setting up these scenes takes quite a time usually. Making the composition look perfect in a frame, and setting up equipment on top of that just for a couple of shots requires dedication and a lot of time.
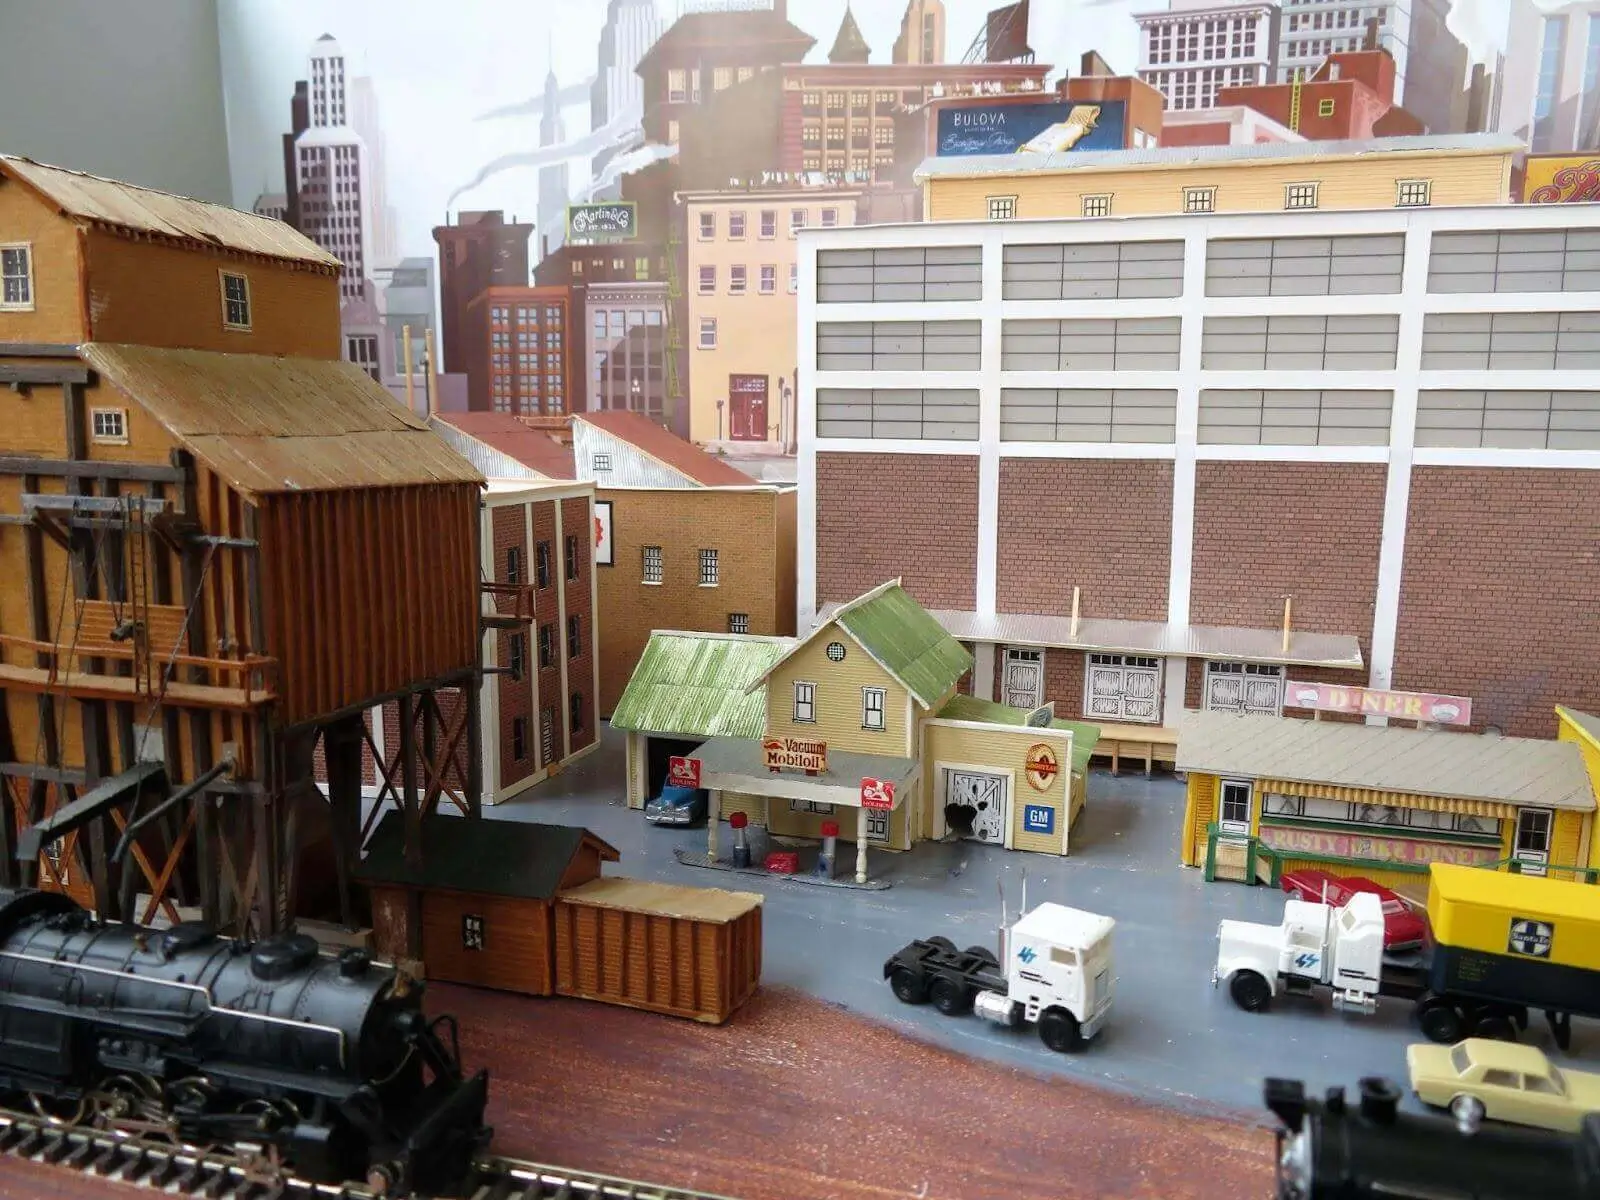
What really made their shots pop off was the props' usage. When you can find car models and exteriors of the chosen style as they are more available, it is way harder to get appropriate props from that era. Imagine that you have a package of old Coca-Cola and a bag of potatoes falling from the bag on your pickup's trunk in the back. Posters, billboards, fake lamps, all this will make you believe that the shot is real because of so many details in the composition. Speaking about the scene setting up, they spend hours covering everything with the right amount of dust, so their models won’t look brand new or just outside the box and bring an authentic look to that. Well, it takes some time to clean everything up afterward, but that is worth it.
The 1-st shot they made gathered about 85 000 views, and now it is at over 100 000 views. The funny thing about that shot was that they made it on a cellphone’s camera. This emphasizes how easy it is to do and thus does not require lots of investment into your equipment and only requires time and dedication for the project to be done. Nowadays, they have tons of expensive equipment, lenses, cameras, and tripods, but the most popular shot was done with a cell phone.
Forced perspective is a nice way to travel through time, and that duo confirms that. They do not have DeLorean with a time machine on the board, but they are able to convey the story and bring up a nostalgic grace to our generation to see how things were at the beginning of the 20th century.
You have already seen the Lord of the Rings or Hobbit series where we have all types of creatures and human beings. Whereas we have really short people in real life sometimes an actor is so good that you can not afford to replace him with someone that just fits the camera better in terms of the context and the story you want to convey. That way, being not the tallest human in the world but at the same time not any close to Hobbit’s measurement scales, Elijah Wood eventually took his place in a frame. How is that possible? The thing is that the whole movie, and the scenes with hobbits and dwarfs in particular were filmed in a way that the perspective full our eyes and actors appear smaller than they actually are. And as one of the rules of forced perspective says, you better not move your camera, the director of that movie had to be creative in order to shoot dynamic scenes and massive fights of the movie to save the perspective.

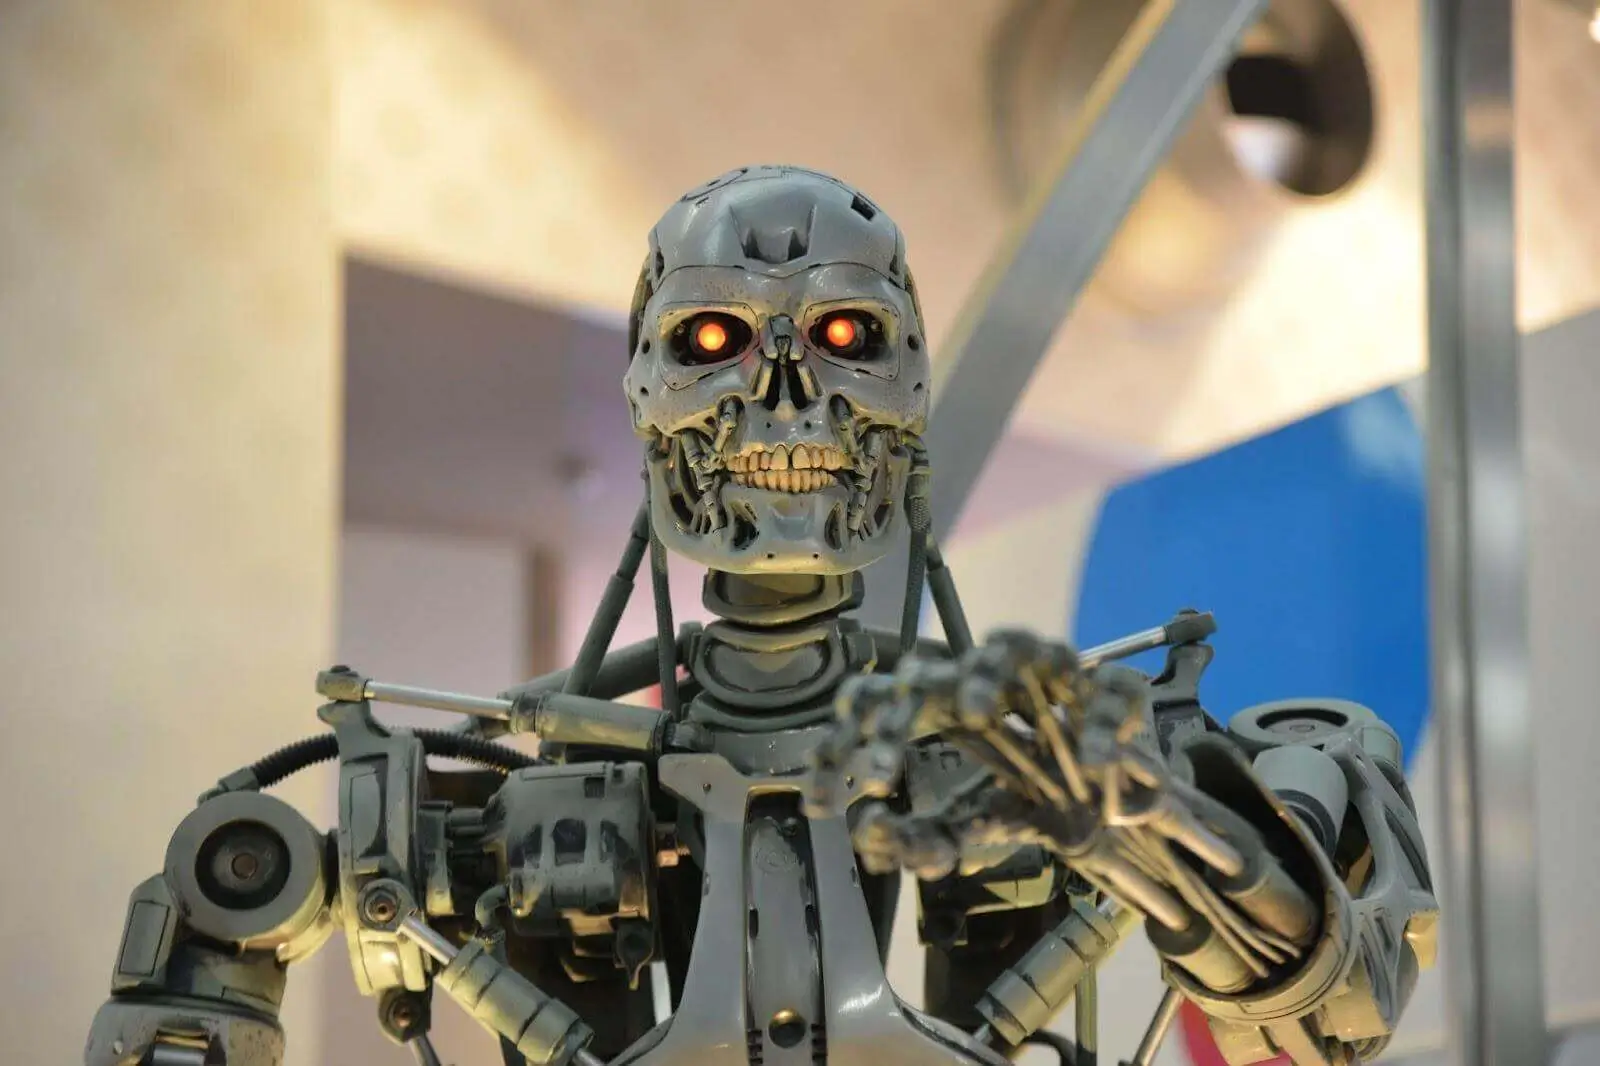
The more simple application of forced perspective was done in the very old movie called Terminator. A saga about the possible future and judgment day was a huge step forward in the sci-fi genre that shifted the limits. And James Cameron nailed it. He had to work in conditions without technical possibilities to film some of the scenes. There were no powerful computers back in the 80s to make all that possible in CGI post-processing and only reasonable ideas could save the movie. And here comes creativity with forced perspective. All Cameron did is create props and models for the scene that appear the size needed for the frame just by varying distances and planes. Now it may sound like a simple thing but imagine doing it globally and not just for fun, taking into account all the math. Even the technology has developed to the level where you can create whole movies just on your computer screen, the most talented filmmakers tend to old fashion shooting, using forced perspective as one of the tools to create an authentic look for their movies and to avoid as much CGI as possible.

The forced perspective technique allows filmmakers to save on expensive video effects. Imagine that you have a scene where a mere human stays in front of the tank pointing out his finger on it and saying something like “You shall not pass!” Well, we can afford the human with a pointing finger, but not the tank! With the right perspective set, we can just buy a 1/24 realistic model of T-34 and place it in the foreground while the person is in the background. We have to follow all the math and rules to make it look realistic. Therefore we place our actor 24 feet away from the camera in the background, following the model scaling distance rule, and the model itself in the foreground right in front of the camera about 1 foot away. That way it looks like they are interacting with each other and that is great instant production value, all captured right on camera, with no need for any fancy visual effects. We have saved our budget and even beginner filmmakers or someone who has fun can create interesting shots with the tech and moderate expenses.
For those who are tired of easy forced perspective shots holding Big Ben or other pieces of art in their hands and want to do unique perspective photography, here is a list of different ways to use forced perspective.
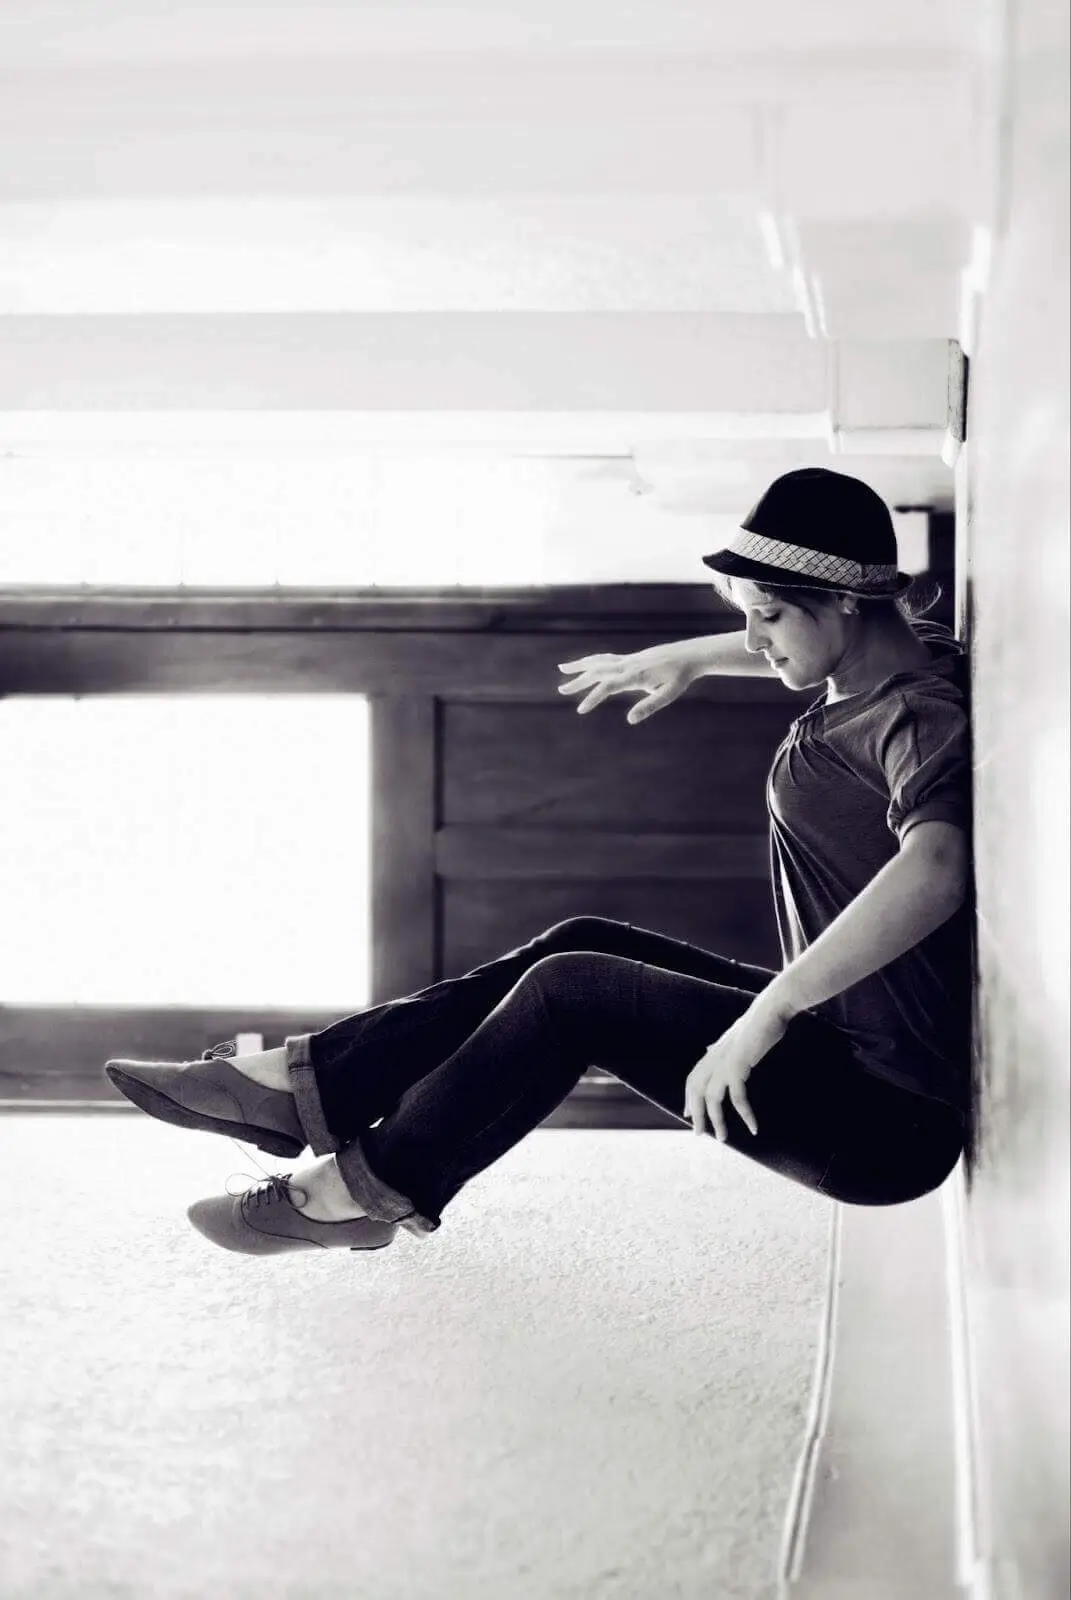
If you want to levitate above the ground in your footage or the shot, you are now allowed to do that with the right perspective shots. Just hug a wall placing your body on it vertically, then turn your camera at a 90-degree angle, and then just step away from the wall acting like you are flying above it. With the right perspective, it will turn the wall into the floor if nothing hints for the opposite in the background, which you have to be aware of.
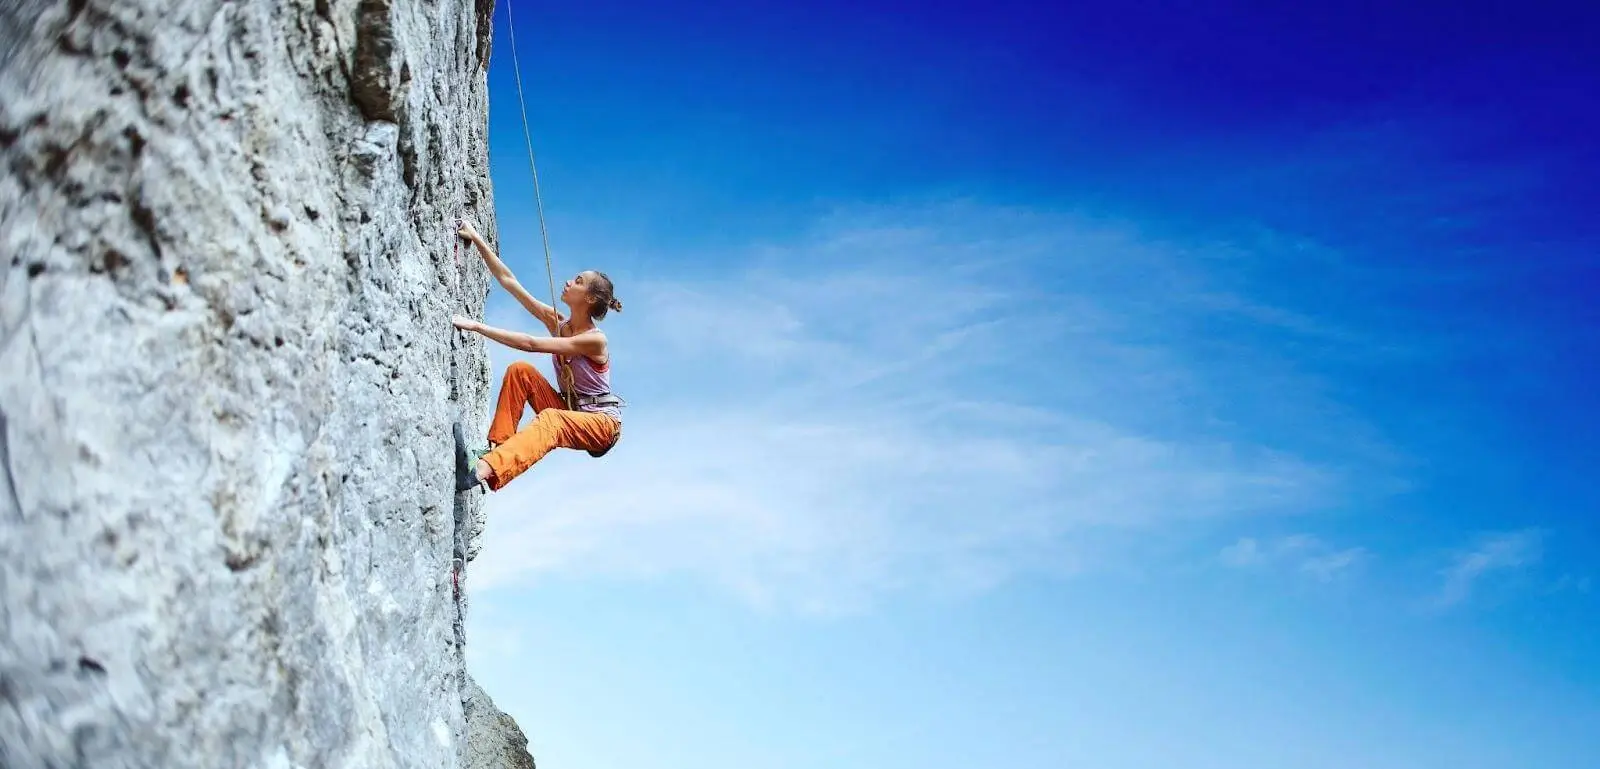
The forced perspective photos technique can be applied if you want to make a shot of yourself or somebody else climbing on the mountain. We just lay down or crouch on the ground and turn our camera into a vertical perspective. So it looks like we are about to fall, and then we just act like we are climbing when in reality are crawling on the ground. Much safer than going on a cliff for that shot, isn’t it?
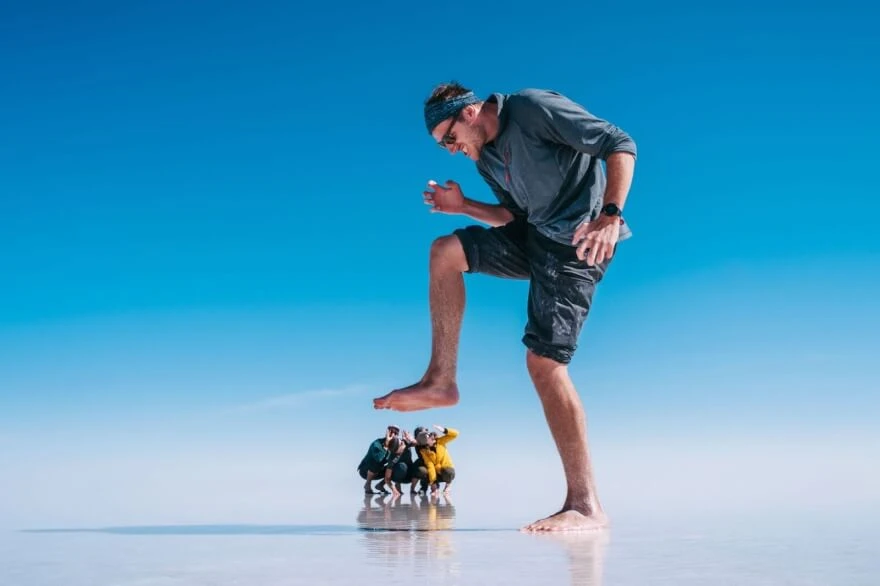
Place any real object, let’s say a ball far away from your camera in the background. The further the object is the smaller it appears, that is how perspective works. Then you can crawl in front of the camera and try to pick up the ball with just two fingers. This will make you look like a giant compared to the ball’s actual size that everyone has in their mind and this makes the trick.
Now you can do the opposite and place some real object just right in front of your camera when going far back by yourself. Let’s say we have a bottle in our foreground. You can stand on it or even act like you are sinking into it with the right perspective.
You’ve probably heard about Ames' room. It looks like a normal room until someone starts walking inside. They appear smaller or bigger depending on which part of the room they are located. This illusion is achieved because the room has a geometry that tricks our eyes with the same method as forced perspective.
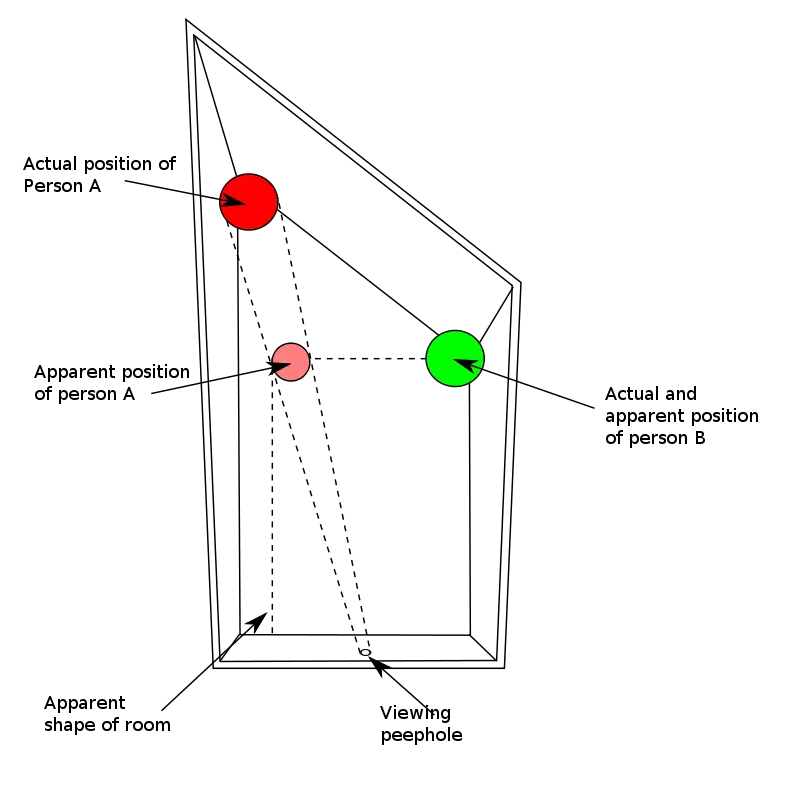
Here is a scheme of how the room works. As you can see it has an acute angle transitioning to a diagonal between the far and near points. This is not visible from the viewing hole, and besides, all the patterns and decorations on the floor and the walls are made with this perspective in mind, which leaves no chance to debunk the illusion.
To resume everything above, let us gather all the most important things that will allow you to shoot in a forced perspective.
We hope this article with all of these perspective photography examples will help you to be creative and allow you to shoot in forced perspective with all these photo manipulation ideas!
Co-founder of RetouchMe. In addition to business, he is passionate about travel photography and videography. His photos can be viewed on Instagram (over 1 million followers), and his films can be found on his YouTube channel.
Moreover, his profile is featured on the most popular and authoritative resource in the film industry — IMDb. He has received 51 international awards and 18 nominations at film festivals worldwide.


