


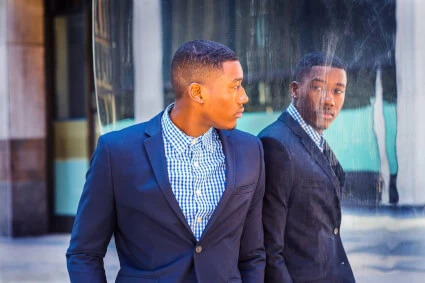
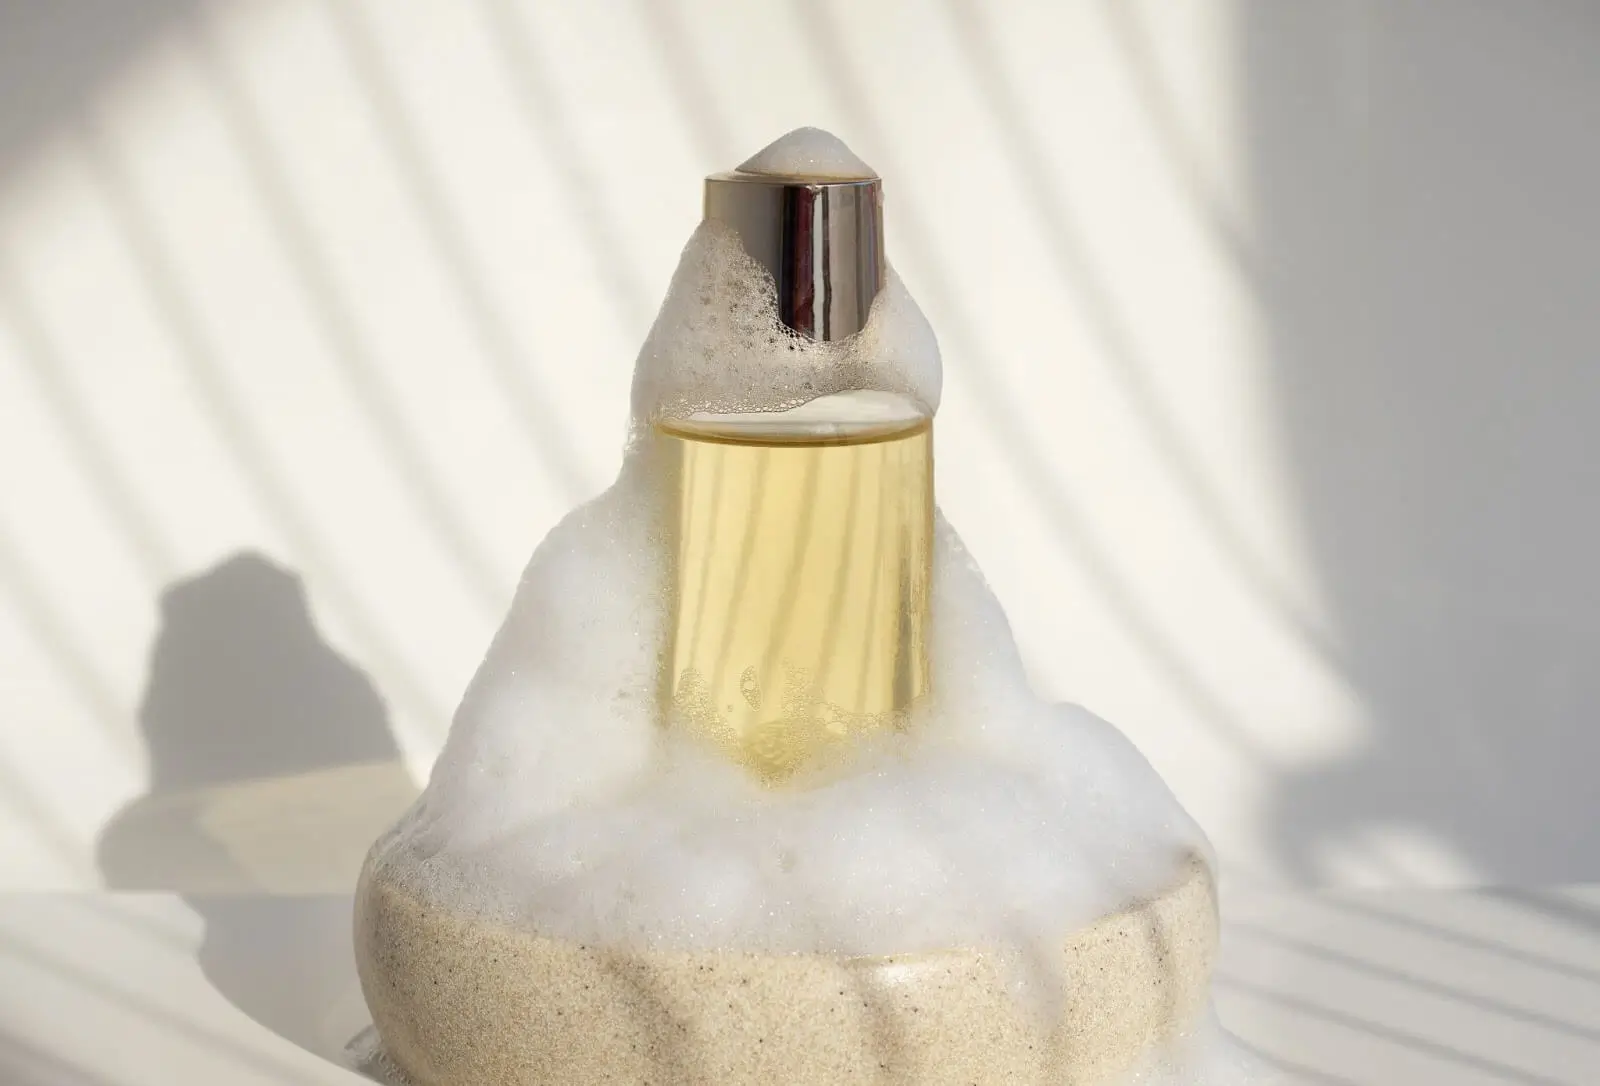
Reflection Photography Ideas
May 23, 2024

In this comprehensive guide, we will delve into the intricacies of catalogue photography, covering essential equipment, lighting techniques, composition tips, and the significance of choosing the right photographers for the job. Whether you're a budding photographer looking to specialize in catalogue shoots or a business owner seeking to enhance your product marketing strategies, this guide will provide you with valuable insights into the world of catalogue photography.
While many people intuitively understand what is catalogue, to understand the term “Catalogue Photography” we need to see how it refers to our subject. The catalogue is basically a list or a collection of items, be it photographs or anything else that gives a viewer or a purchaser a reference to the product visualizing it among the other products. And here comes a whole photography genre referred to that.
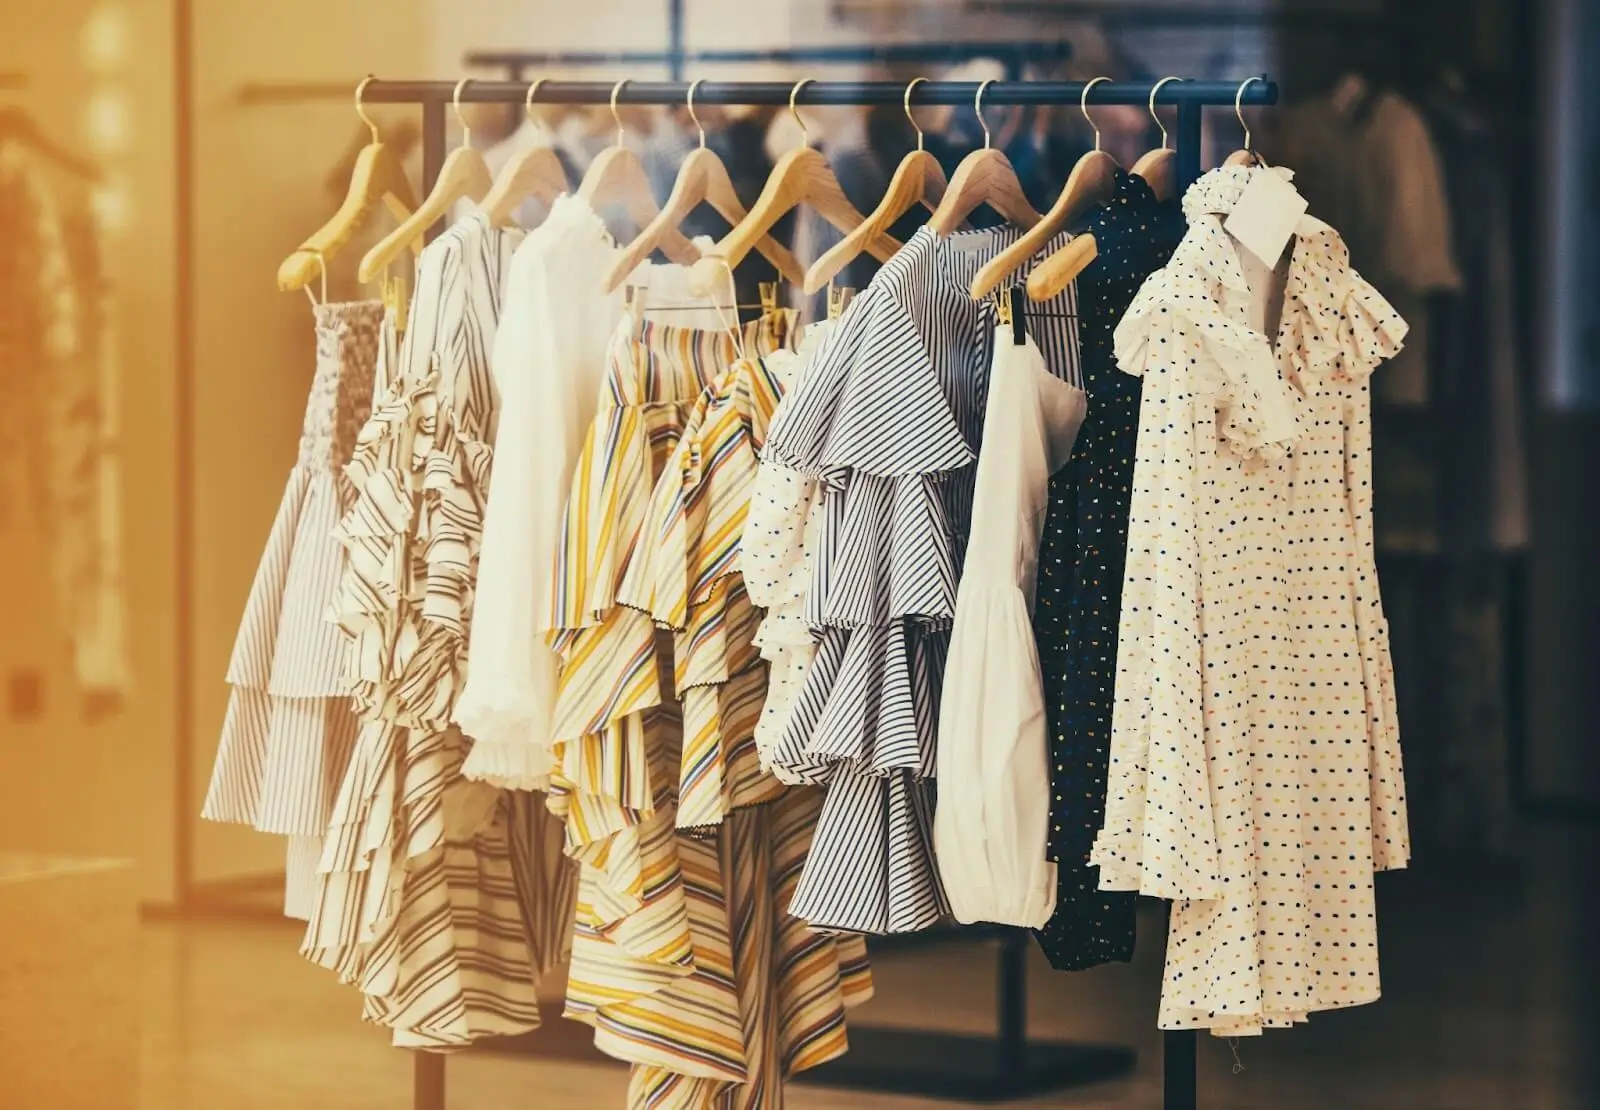

Catalogue photography refers to the specialized genre of photography aimed at showcasing products or fashion items in a catalogue format. It serves as a vital tool for businesses to present their merchandise attractively to potential customers. Catalogue photography involves meticulous attention to detail, lighting, and composition to effectively highlight the features and qualities of the products or fashion items being photographed.
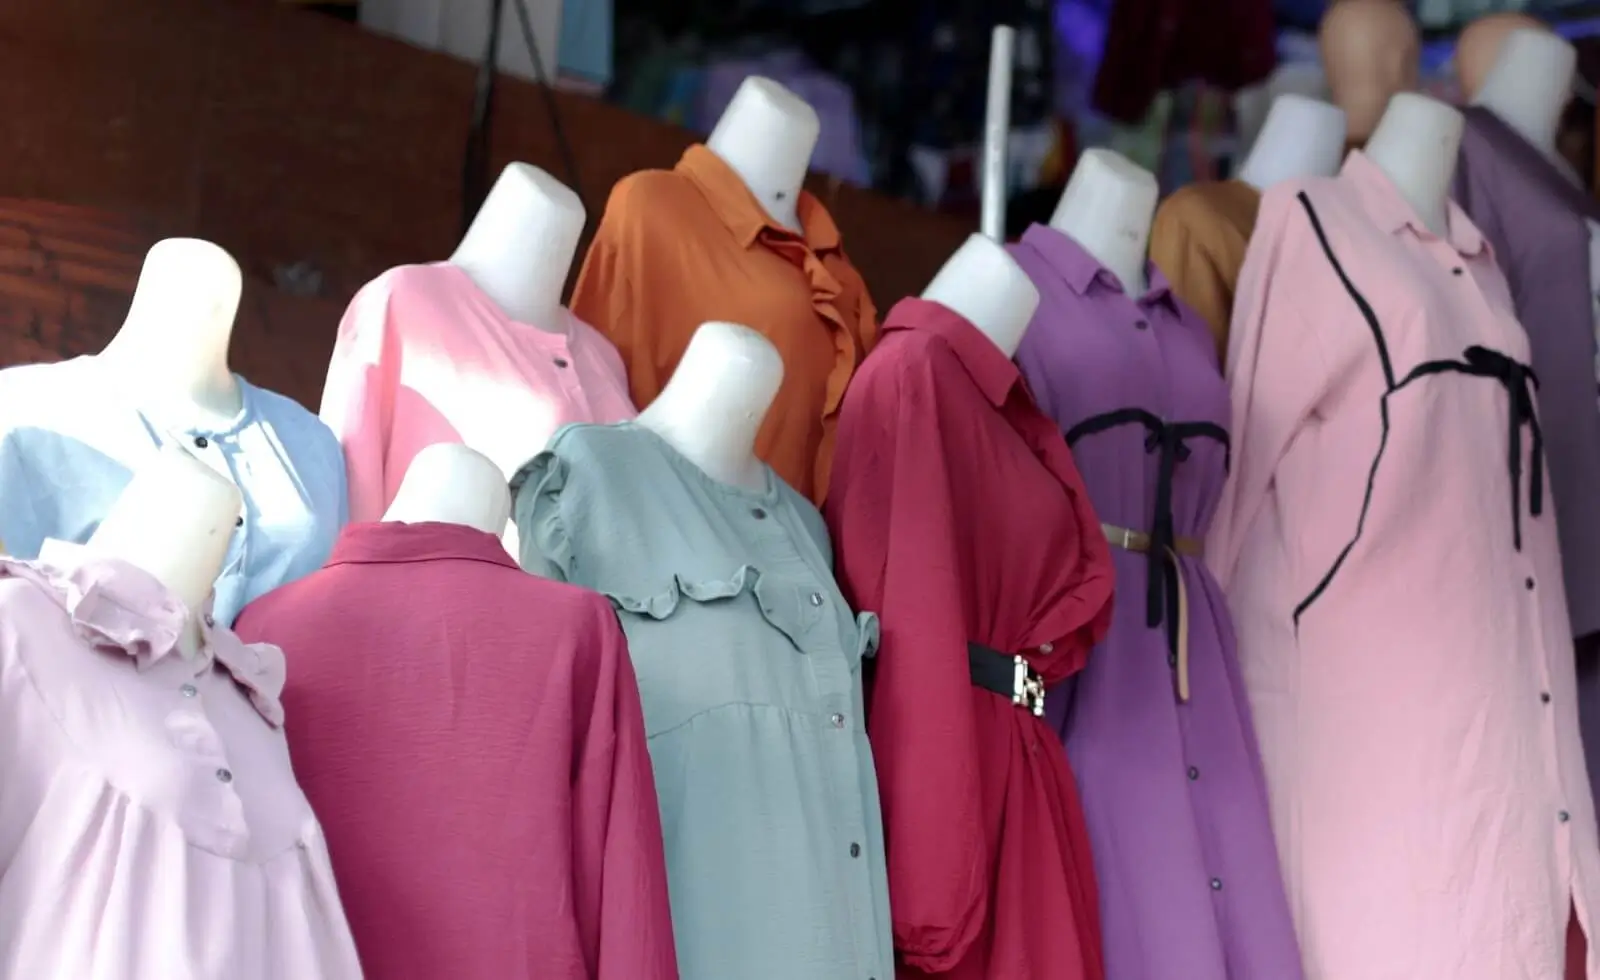

Catalogue photography plays a crucial role in marketing strategies for various businesses, particularly those involved in retail, e-commerce, fashion, and product-based industries. Here's why it holds significant importance:
With these three key points, a business forms a strong and loyal relationship with its customers increasing sales and conversion rates. This makes catalogue photoshoots a powerful tool to visually communicate their products' value proposition, differentiate themselves from competitors, and ultimately drive sales and business growth.
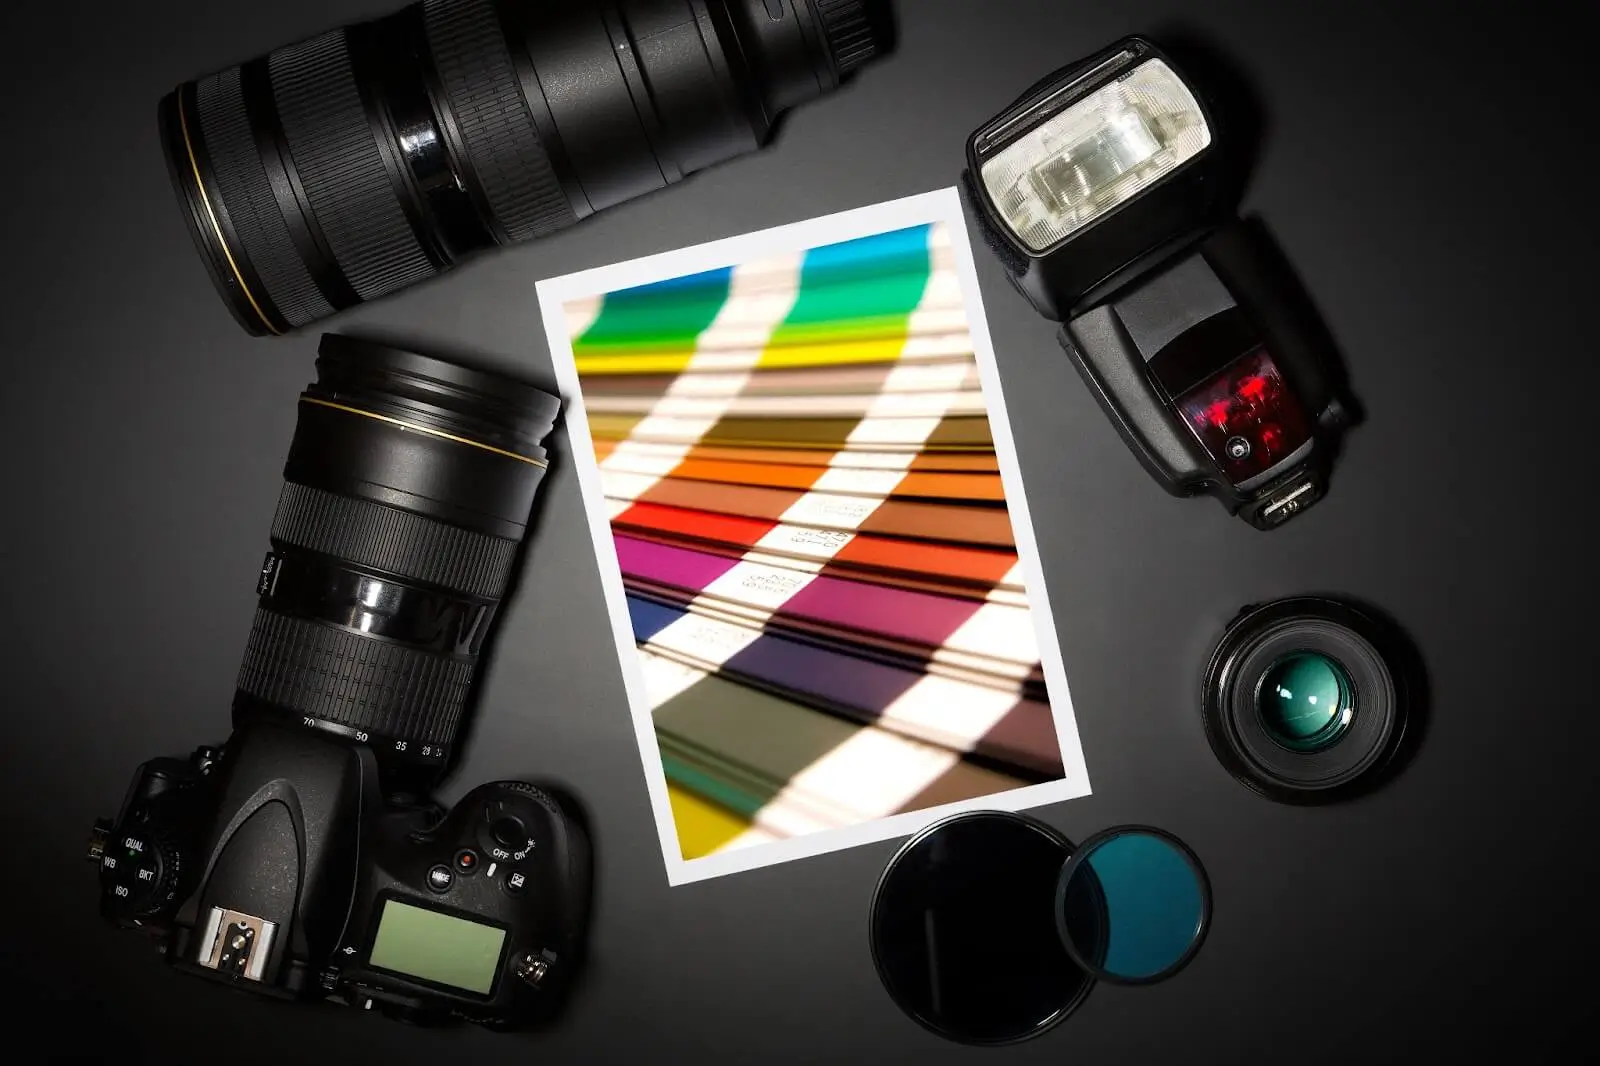
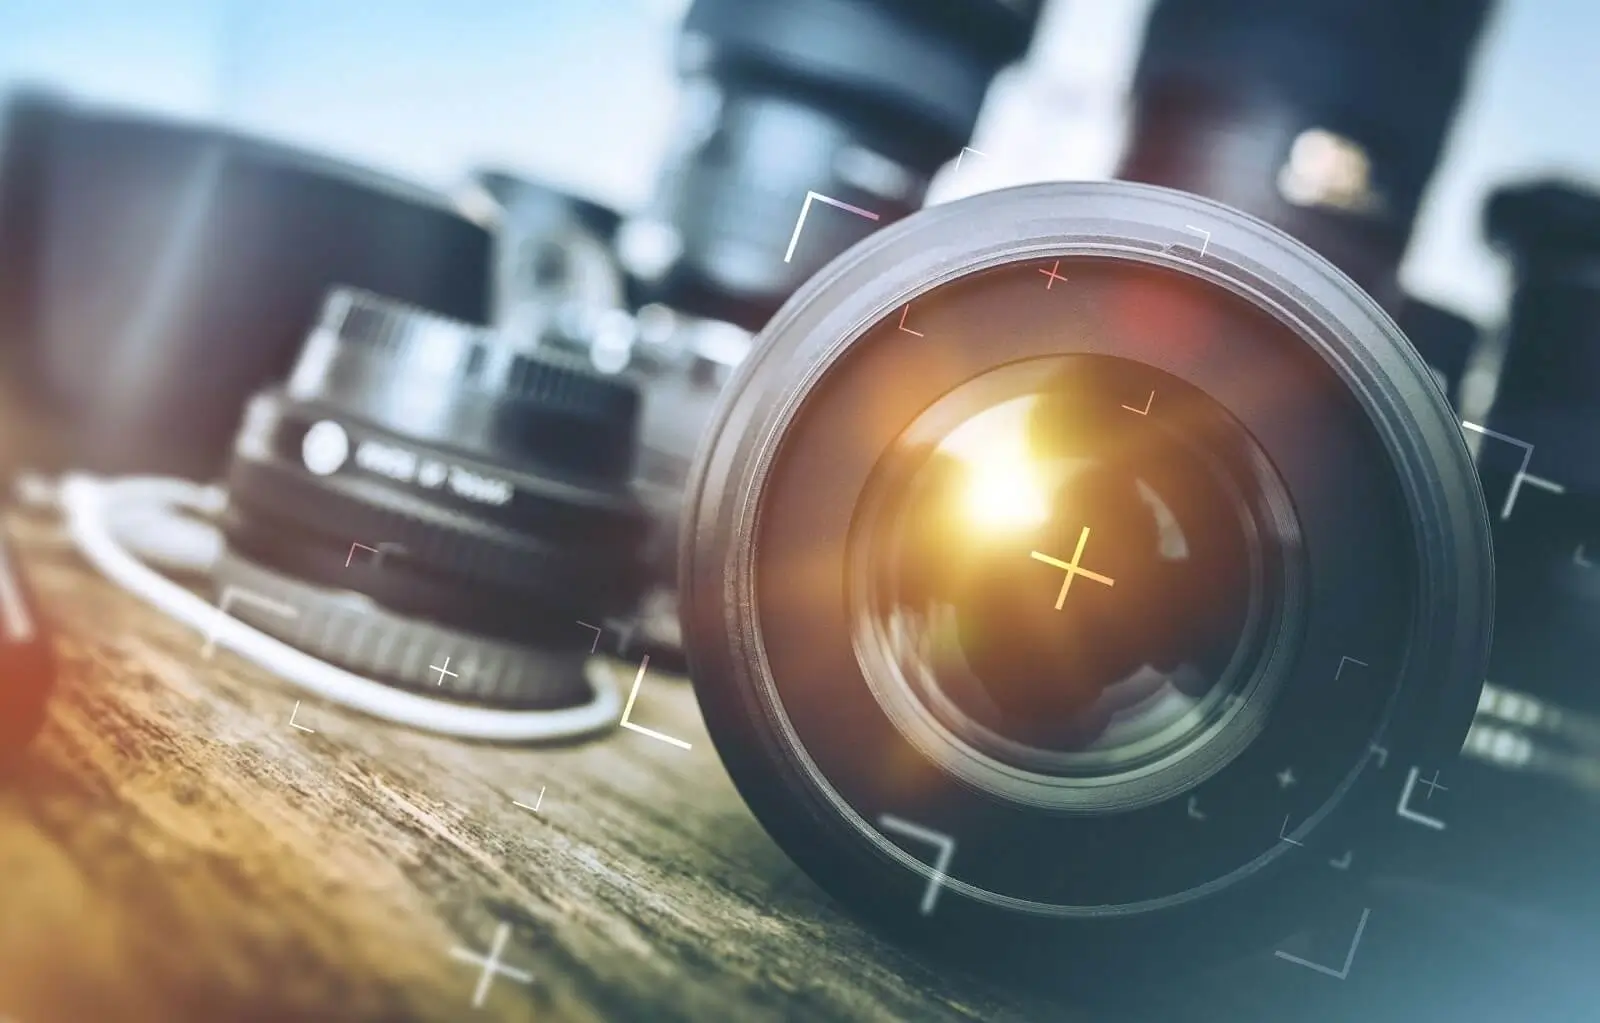
To conduct an excellent catalog photoshoot, your gear matters a lot. In this paragraph, we point out the essential pieces of equipment that have great use in such a photoshoot and refer to articles where each of them is elaborated in detail so you have a better understanding of the overall subject if you need it.
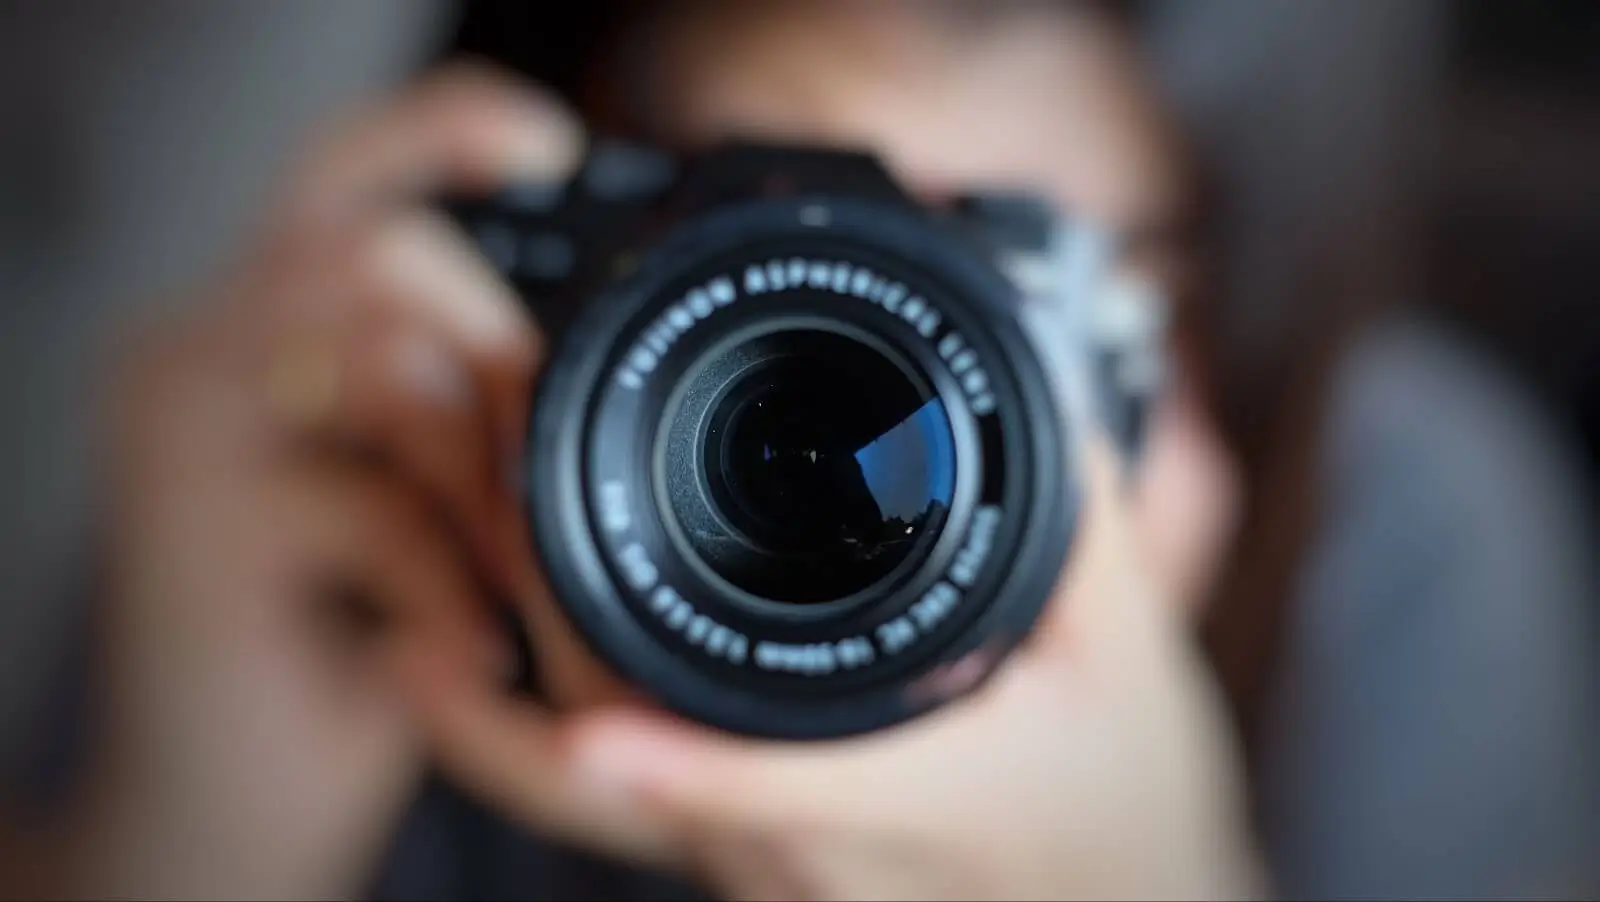
While photographing the catalogue of your products, getting high-quality images is essential. The camera sensor plays a crucial role in getting such quality, and they range from Full-frame to APS-C sensors which you can find the elaboration of with differences in our dedicated article.
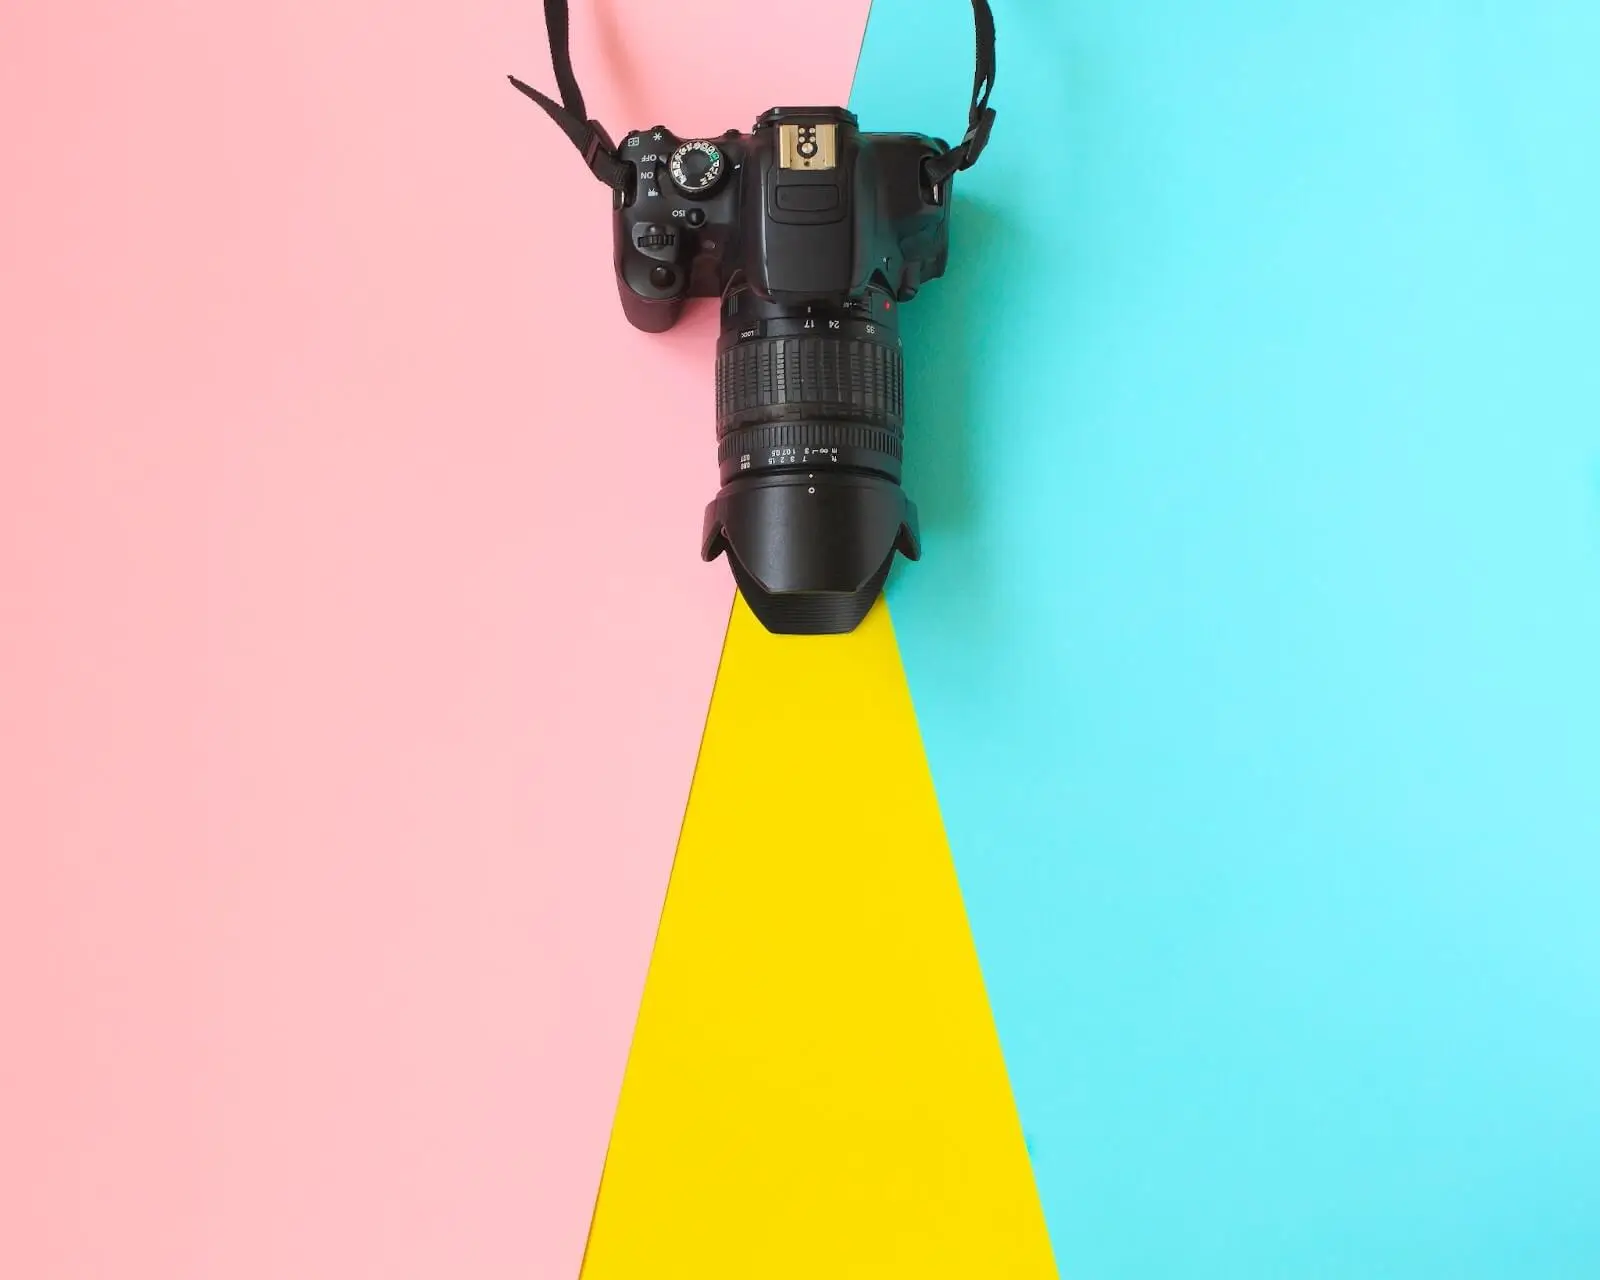
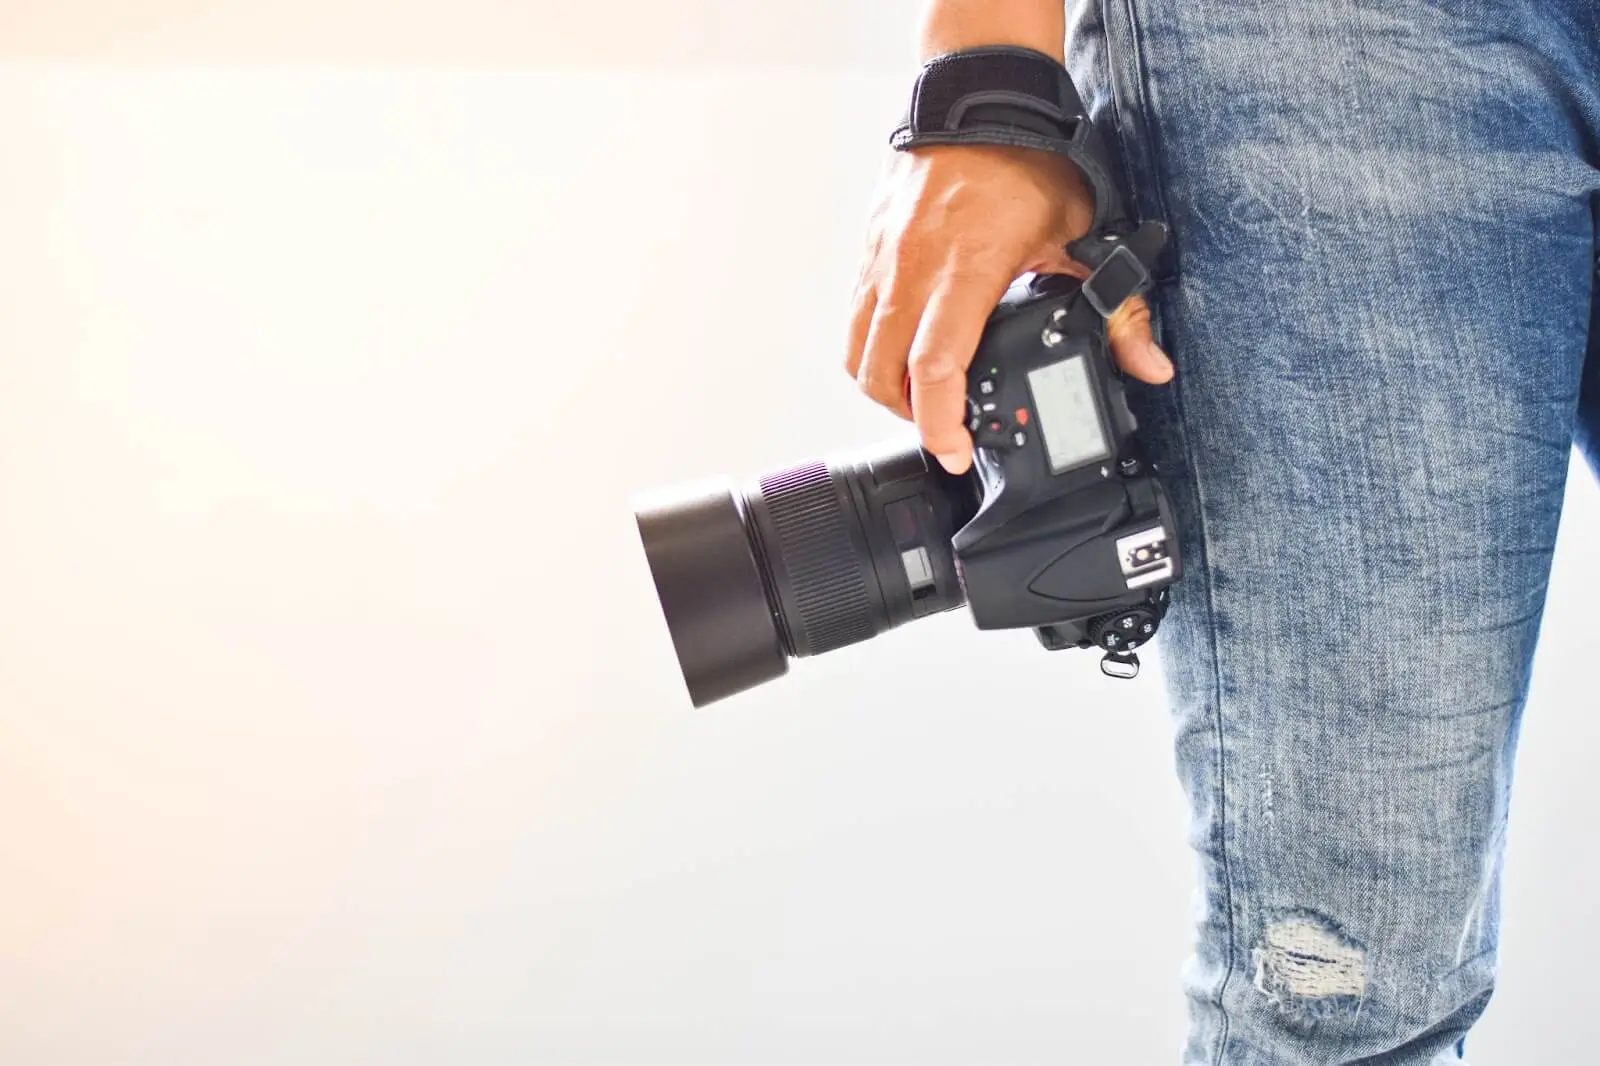
Speaking in terms of camera types we have DSLR (Digital Single-Lens Reflex) cameras and Mirrorless units to choose from. A DSLR is commonly preferred due to its versatility, interchangeable lens systems, and ability to capture detailed images. A camera with a full-frame or APS-C sensors is the ideal choice to capture details, unlike cropped sensors. Whereas a full-frame might be an overkill, which is used to get super high-resolution images for billboards of giant dimensions, catalogue photography is fine with the use of APS-C sensors.
Lenses also have a significant impact on the image perception. Depending on the subject an appropriate lens choice can make a huge difference in the image perception and the lenses even define some photography types. As such, some telephoto lenses may have great use in wildlife photography but have nothing to do with catalogue photography. Here is a dedicated article about the lenses for your consideration.
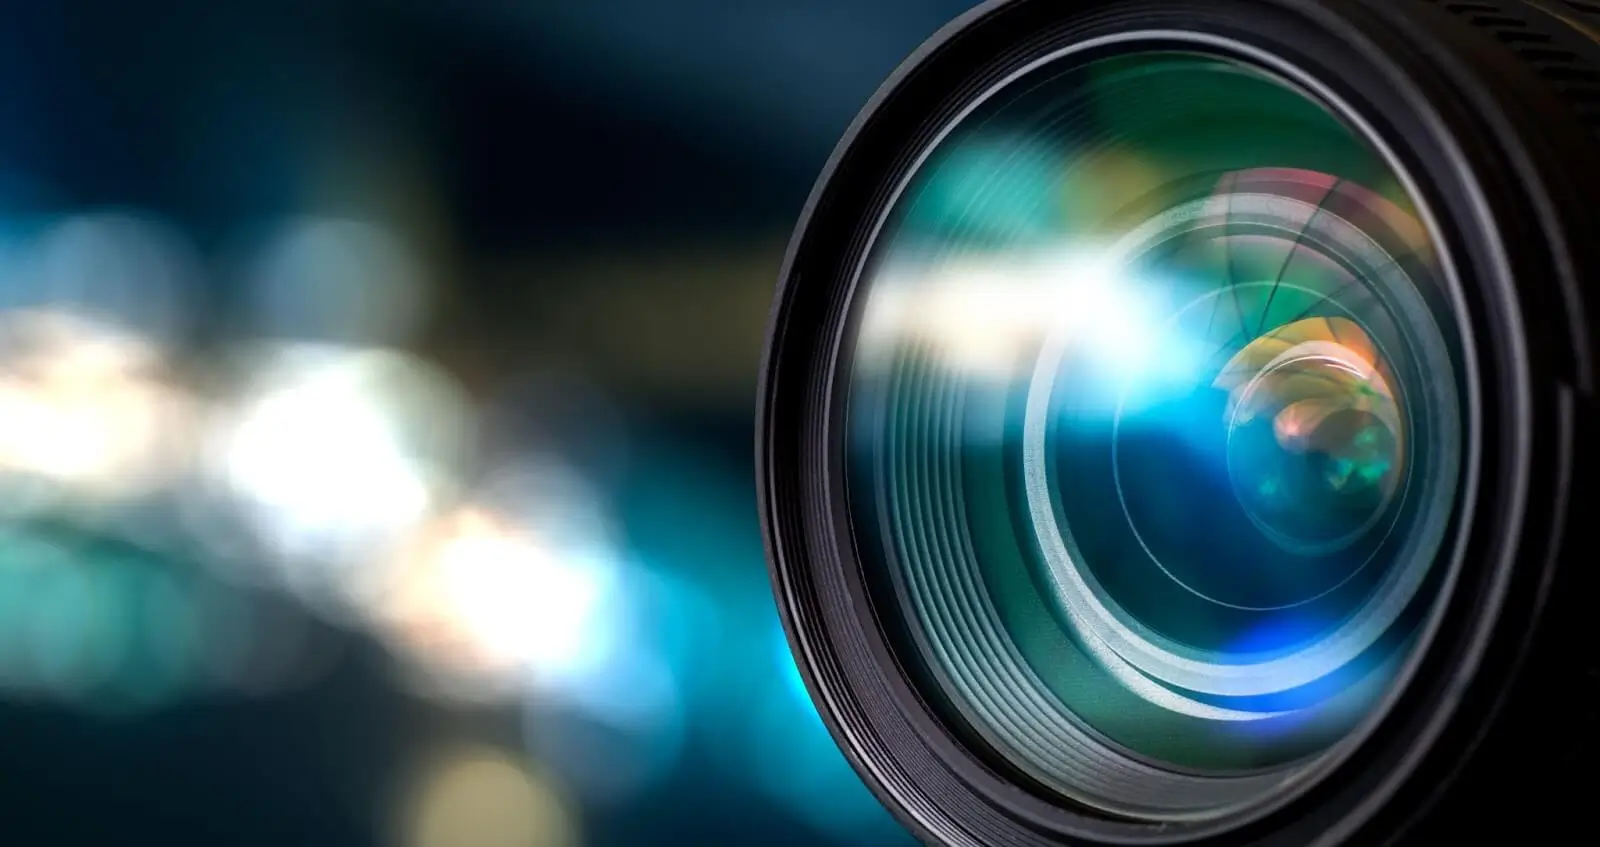
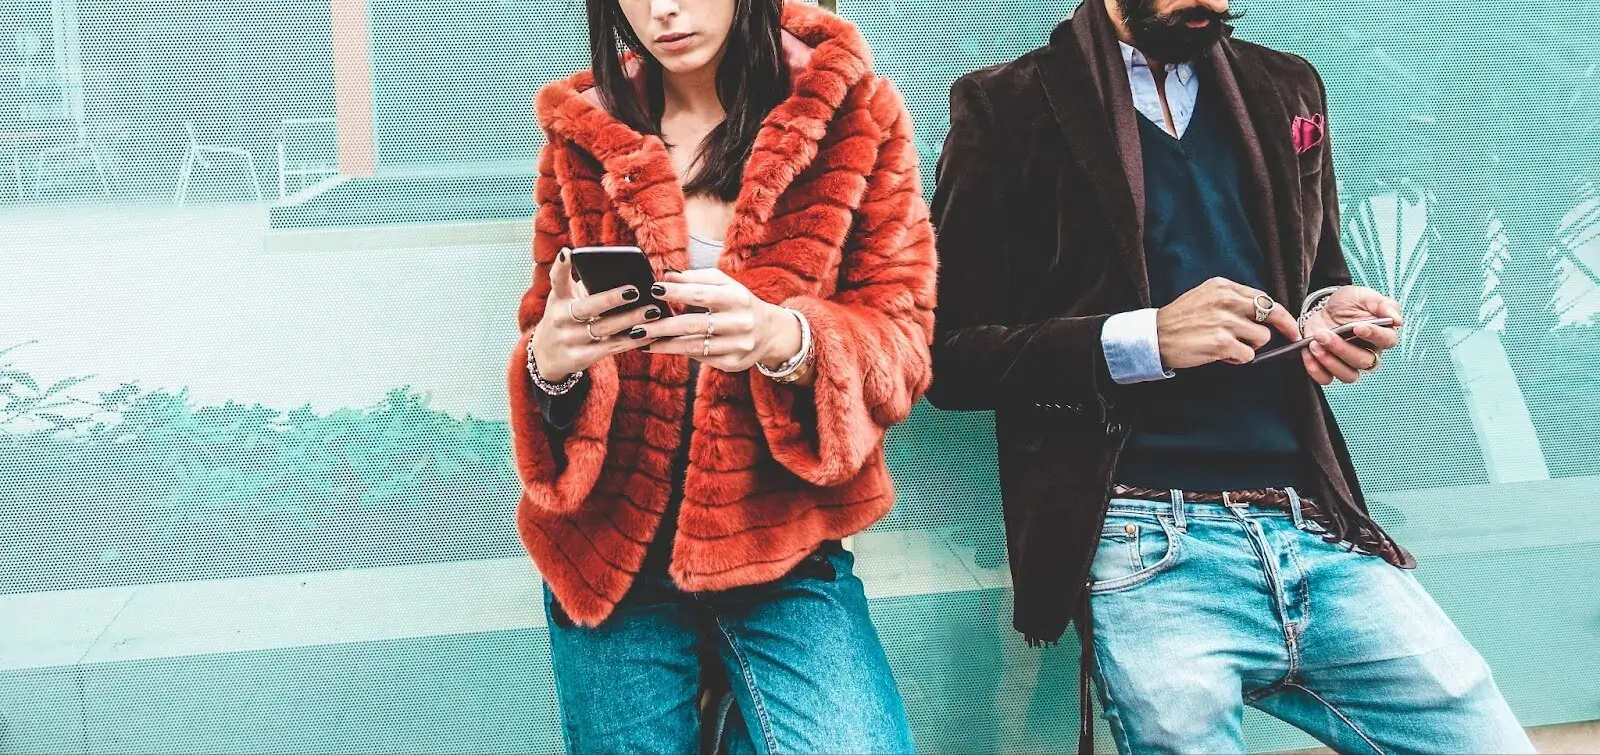
Your best bet for catalogue fashion photography is prime lenses with wide apertures, such as 50mm f/1.8 or 85mm f/1.4, which are favoured for their ability to produce creamy bokeh and isolate subjects from the background, adding a professional and cinematic touch to fashion images. On the other hand, zoom and macro lenses are good for getting detailed and group shots allowing you variety in composition. A macro lens, for instance, is indispensable for capturing images of accessories or fabrics which you can then put into the details section of your site so that your customers can have access to see such details. Hence, the last two lenses are great for product photography catalogue photoshoot cases.
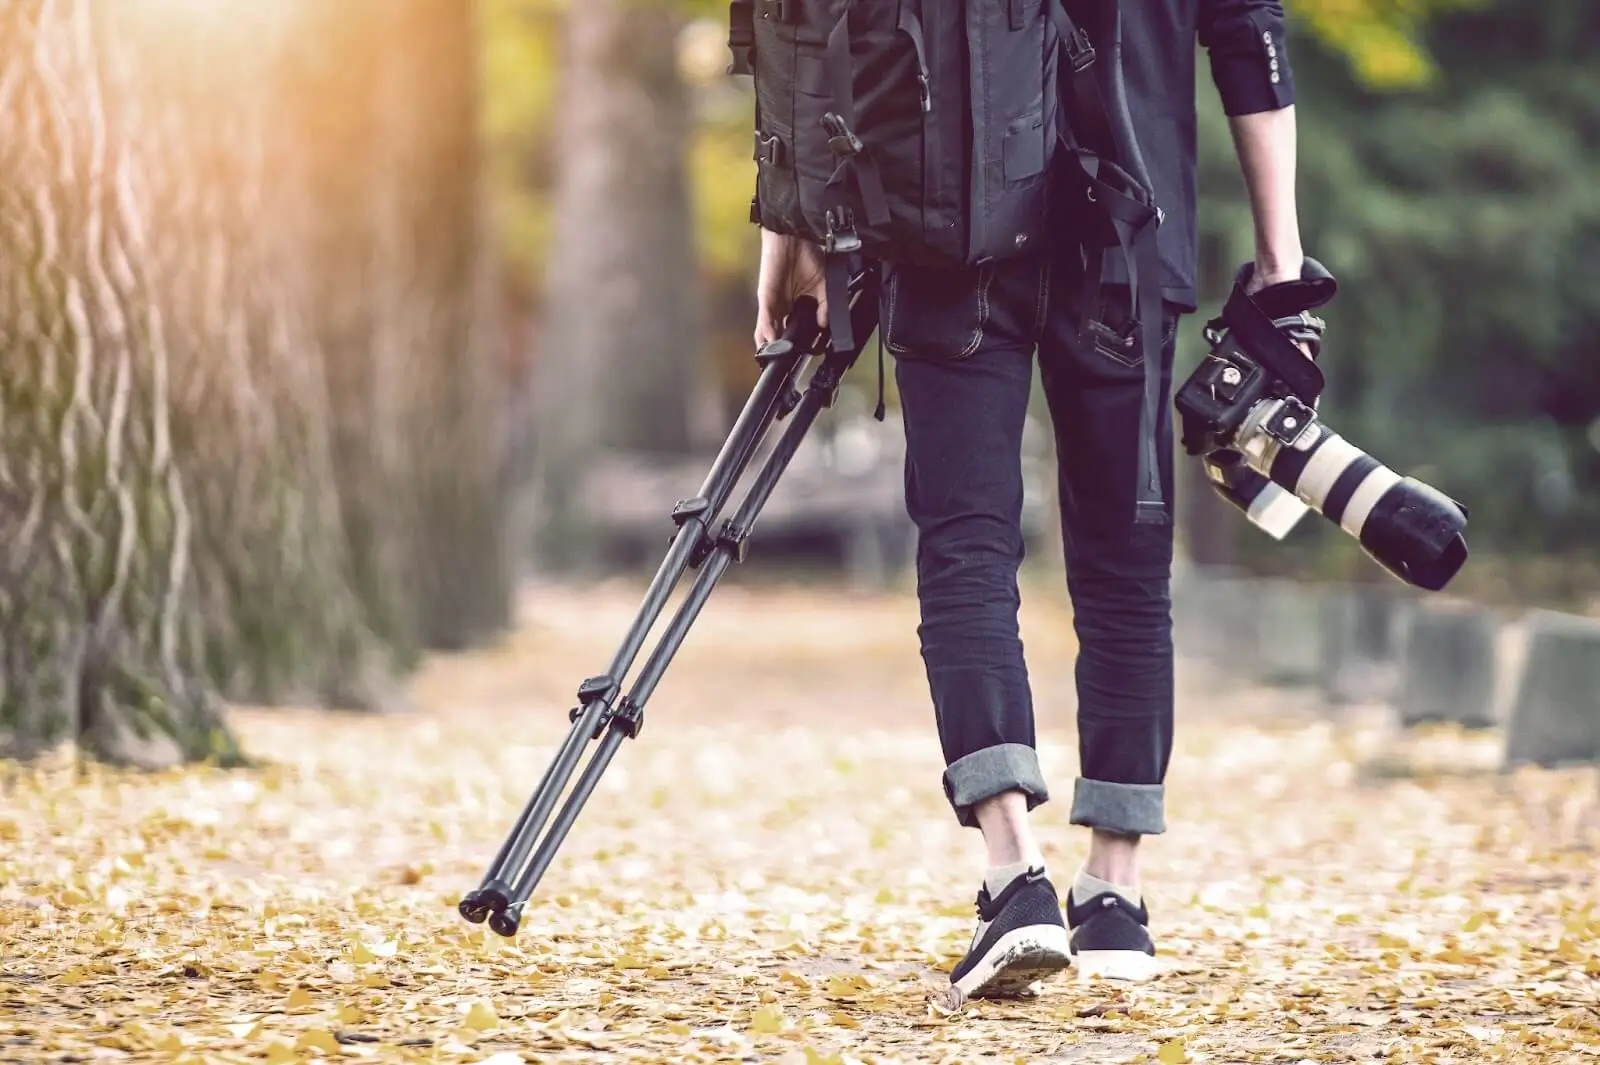
To ensure sharp images and consistent composition we want to add some stability features to our catalogue photoshoot. In this regard, tripods and stands are valuable solutions that provide stability and support to your camera. They eliminate possible camera shakes that can smear and spoil the image with the overall quality outcome, which matters especially when you are shooting in low-light conditions or using slower shutter speeds.
Additionally, utilizing light stands and boom arms for mounting studio lights or modifiers helps maintain consistent lighting setups and frees up hands for adjusting products or directing models during the shoot.
If you are serious about your business, you want to rent or buy a studio for your product photoshoots. This option allows you to place a certain lighting gear to ensure quality image outcomes. As such, reflectors and diffusers are essential for controlling and manipulating light, whether it's softening harsh shadows or adding highlights to product surfaces.
Light modifiers, such as softboxes, umbrellas, or grid diffusers, offer control over the quality and direction of light, allowing photographers to achieve desired lighting effects.
Additionally, remote shutter releases or intervalometers enable hands-free operation and minimize camera vibrations during product photography, ensuring sharp images and precise control over exposure settings.
Image capturing is all about the light. The lighting conditions set a certain mood, reveal or hide details and affect the overall perception of a viewer looking at the image.
Depending on where you shoot, this could be a studio with artificial lighting including diffusers, bulbs, reflectors and umbrellas, or an outdoor photoshoot where you can utilize natural lighting. Both approaches have cons and pros, so let us shed the light on them:
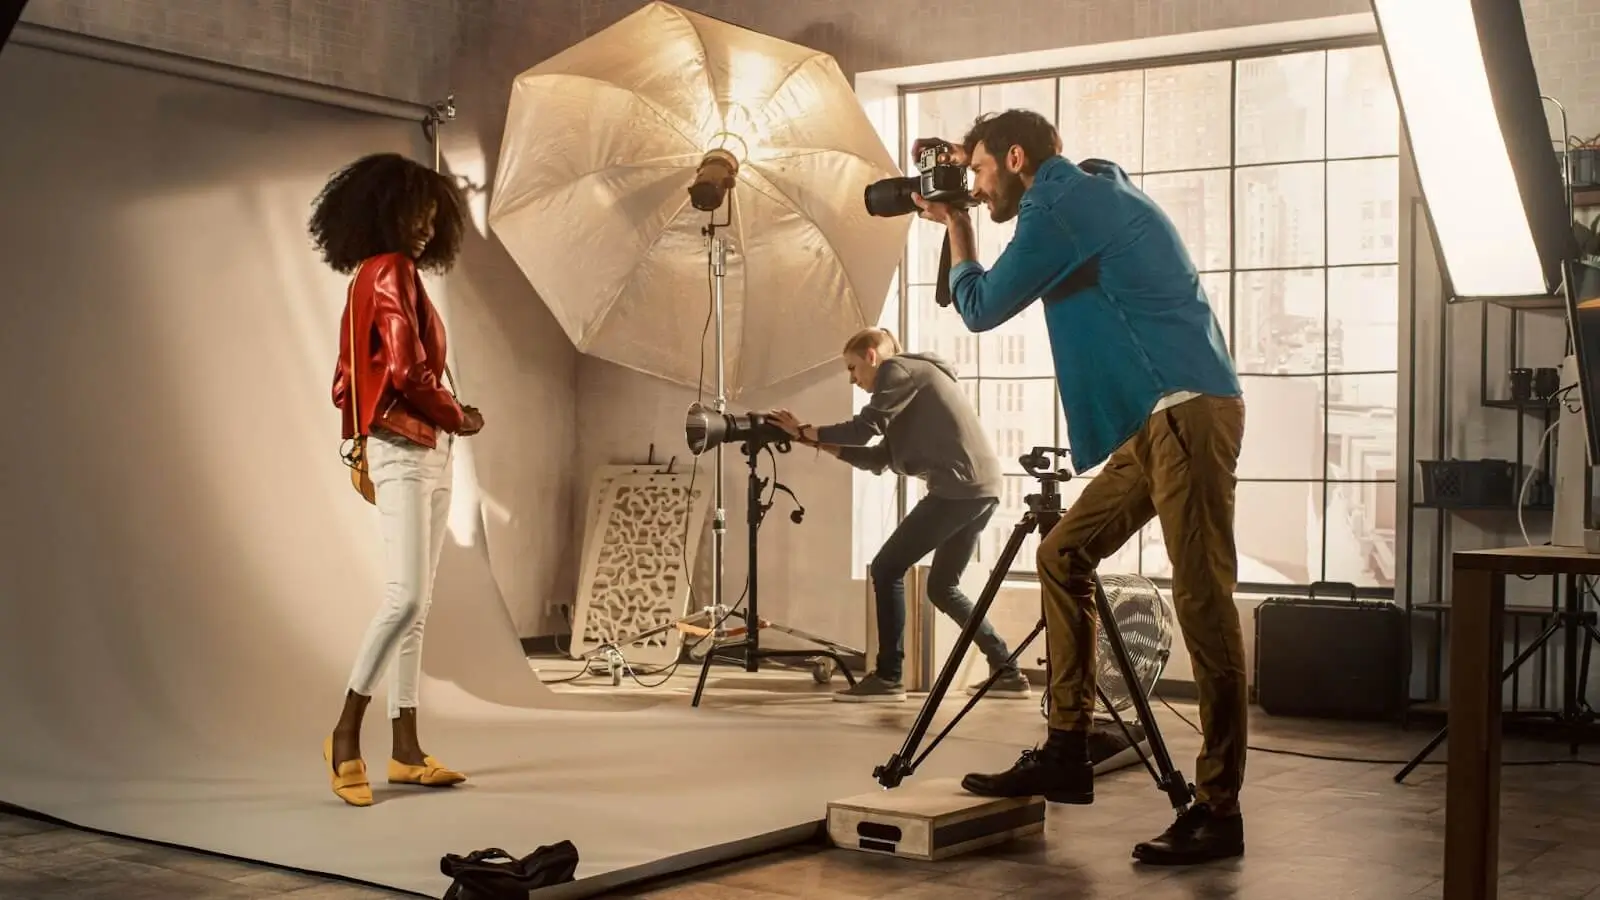
If you are shooting in a studio, consider a lighting setup that includes:
When you are just beginning your business, you may choose a path of doing everything on your own. In this regard, knowing compositional tips and tricks will help you to achieve much better results compared to the flat photoshoot where you just point and click the camera on a subject.
The rule of thirds is a fundamental principle in photography that divides the image into nine equal sections using two horizontal and two vertical lines. This is showcased with the grid that you can enable in your camera settings so it appears in the viewfinder allowing you to arrange a proper composition with it.
The main subject or focal point of the image should ideally be placed along these lines or at their intersections, known as the "points of interest." Here's how to apply the rule of thirds in catalogue photoshoots:
Experiment with different camera angles, such as low angles, high angles, or Dutch angles, to add visual interest and drama to fashion shots. Low angles can elongate the model's silhouette and emphasize height, while high angles can create a sense of intimacy or vulnerability. Dutch angles add a sense of dynamism and tension to the composition.
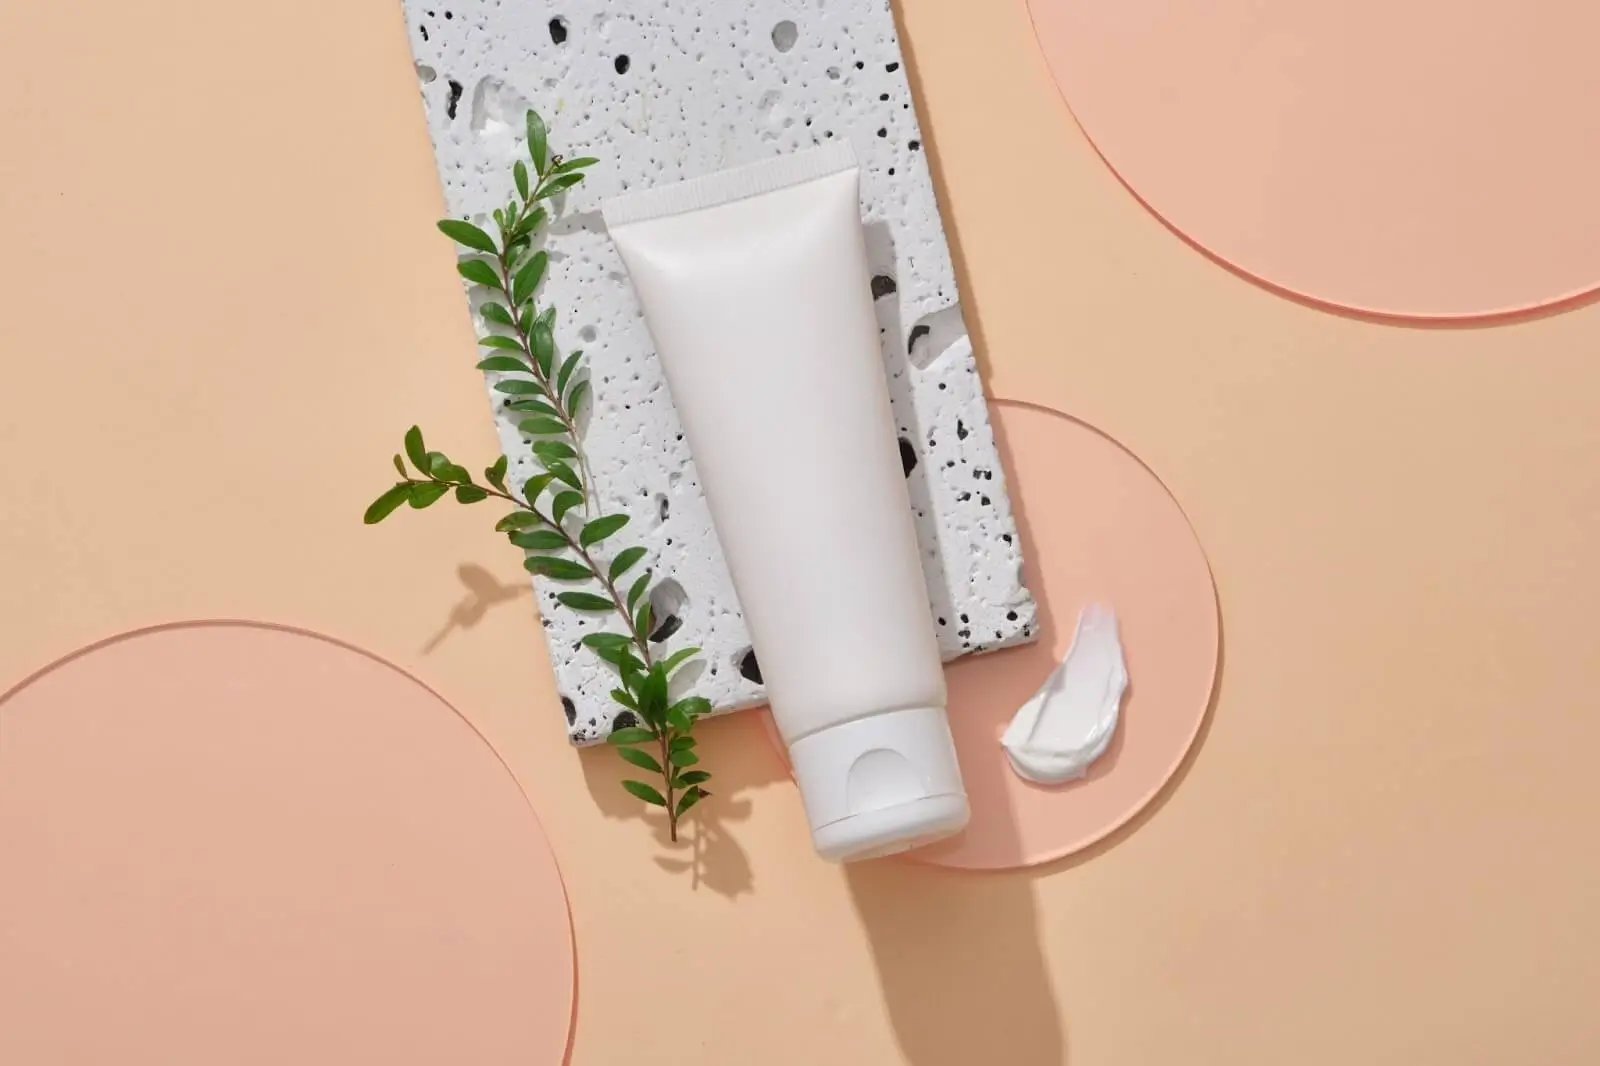
While you may be shooting your products such as apparel on a model, which enables portrait mode the most, having close-ups for other types of products will serve you as a detail-reval feature. Capture close-up shots to highlight intricate details, textures, and embellishments of fashion items, such as fabric patterns, stitching, or accessories. Close-ups provide viewers with a more intimate and detailed view of the products, enhancing their appeal and desirability. So make sure to have a variety in this regard and do not cater to only “default” shots despite the subject.
Besides, depending on the product, you can also use framing elements, such as doorways, windows, or architectural structures, to frame the model or fashion items within the composition. The framing adds depth and context to the image while drawing attention to the main subject and creating a sense of storytelling.

The way you place your subject in a frame influences viewer perspective and how they interact with the products. There are some optimizations in this regard:
If you are a business owner looking for the right product representation in your studio, you may have no time to hone your photography skills on your own. Hence, you still have options to choose the right photographers with certain qualities.
There could be plenty of photographers offering you different types of photoshoots. However, we need a specific one for our catalogue type of images. Hence we need one with such qualities:
To see such qualities, you need a professional photographer who either has a background in your photography subject or is adaptable and has a creative vision - a photographer for life. Communicate with a person and research their background on social media platforms or their websites where they showcase their portfolio and experiences. You may need an assistant for such research, but the best comes when you do it on your own.
Here we have two options: Freelancers and Agencies. They both have cons and pros that you need to consider.
To make the right decision make sure to check out their portfolios as we have mentioned earlier. Here you will see the qualities that you are looking for.

Utilize these tips for equipment, lighting and composition to dramatically improve your catalogue photography. Note, that even the best-made images that came out from your camera still require a final touch which is possible with product photo retouching tools. Make sure to not neglect editing using apps or comprehensive software such as Photoshop or Lightroom, where you can achieve stunning results by retouching your photos. Or opt for convenient apps such as RetouchMe Pro to enhance your images with just a couple of taps.
Co-founder of RetouchMe. In addition to business, he is passionate about travel photography and videography. His photos can be viewed on Instagram (over 1 million followers), and his films can be found on his YouTube channel.
Moreover, his profile is featured on the most popular and authoritative resource in the film industry — IMDb. He has received 51 international awards and 18 nominations at film festivals worldwide.