


Reflection Photography Ideas
May 23, 2024

Product photographers and retouchers spend a lot of time in Photoshop perfecting the images. And professional designers want to work as efficiently and fast as it is possible. Knowing a lot of keyboard shortcuts is crucial in making that happen, so we are going to review Adobe Photoshop shortcuts that are going to save you a lot of time.

Photoshop shortcuts on Mac are slightly different from the Photoshop Windows shortcuts because they have alternative names for CTRL and ALT keys in particular. CTRL is Command on Mac, and the ‘ALT’ key is ‘Option’ on Mac. Otherwise, the combinations and the rest hotkeys are the same.
Adobe Photoshop CC is one that falls under the Creative Cloud (CC) subscription service. The basic functionality and most of the keyboard shortcuts in Photoshop CC are the same as in previous versions of Photoshop, but Adobe frequently updates and adds new features to its software.
In general, many of the core keyboard shortcuts in Photoshop remain consistent across different versions, including Photoshop CC. However, there may be new features or enhancements introduced in Photoshop CC that have their own specific keyboard shortcuts. Adobe also allows users to customize keyboard shortcuts to suit their preferences.
The first thing you are going to want to do in Photoshop is to be able to move around quickly. When you create an image, or work on a photo, you need to zoom in and out in quick succession to not waste time looking for details. The zoom shortcut is available on a keyboard letter “Z” and you will notice that you get a ‘plus’ icon on the hit and all you are going to do is click on the image. As you click you will get closer to the image, and if you want to back out you can alter it with the ‘ALT’ button + ‘Z’ and it turns into minus, click again you you will be able to zoom out. If you want to zoom out all the way and have your document just fill the frame so you can see the entire thing, hit CTRL + 0 and that will bring you out to the frame.
To move around the image use the spacebar and the cursor is going to turn into the hand tool then just click and drag the image around to reach your destination which helps especially when you are zooming in for precision or to see more detail. So using these two Photoshop shortcut keys is essential for navigation around the image in general.

The next thing we may want to do with our image is to rotate. In order to do that, make sure you hit the letter ‘R’ to activate the rotation but make sure that your layer is unlocked for that. You can double-click to unlock it and now ‘R’ functions over it. Click ‘R’ and drag the canvas around which is helpful if you have some areas that are a little hard to clone and you want to zoom in and fix.
If you hold the shift key and look at the upper right-hand corner of the window, you will notice that it adds 15-degree rotation increments. That will help you keep your document a little straighter when you go to put it back. Without the shift combination, you are able to do more minute changes.
For additional precision in navigation over your image, you may want to use a ruler which is available by pressing the CTRL + R combination. It toggles on and off the rulers around your image and now you can drag the guides from the side and top closer to your image canvas and do necessary measurements with it. To hide these guides you just press CTRL + H, this combination is also to toggle them back up.
Another tool that you are going to often work with is the Brush tool. To access the brush tool just hit the letter ‘B’ on your keyboard and now we have our brush selected. If you want to brush sample a color, hit the ‘ALT’ key and hold it down so it turns into the eyedropper tool temporarily and you just click and sample colors with it. You will notice that the color changes in the color panel. As soon as you let off the ALT key it goes back to the regular brush and now you can start painting over with that color sample taken. If you want to permanently switch to your eyedropper tool just hit ‘I’ on the keyboard.

Now if you want to make your brush bigger or smaller, just use the left or right bracket keys ‘[ / ]’.The left one is to make it smaller and the right one is to make the brush bigger. If you want to fine-tune the brush settings, simply right-click and you will see hardness, size and all of your brush presets below. To exit that menu press Enter key.
Another way to change brush size and hardness on a PC is if you hold the ALT key and right-click, if you drag left or right that will make the brush smaller or larger, and if you go up and down while still holding the key it changes the hardness of your brush. For Mac, you want to hold command and option at the same time to do the same thing.
If you want to toggle between your black and white colors (background and foreground colors) on the color panel, you can simply hit the letter ‘X’ and that will do the trick. The one at the front is one that’s selected, so if you want to paint with it hit ‘B’ for brush, and then you can alter these colors with ‘X’. You can select different colors in the process, to toggle back to the default colors which are black and white you press ‘D’.
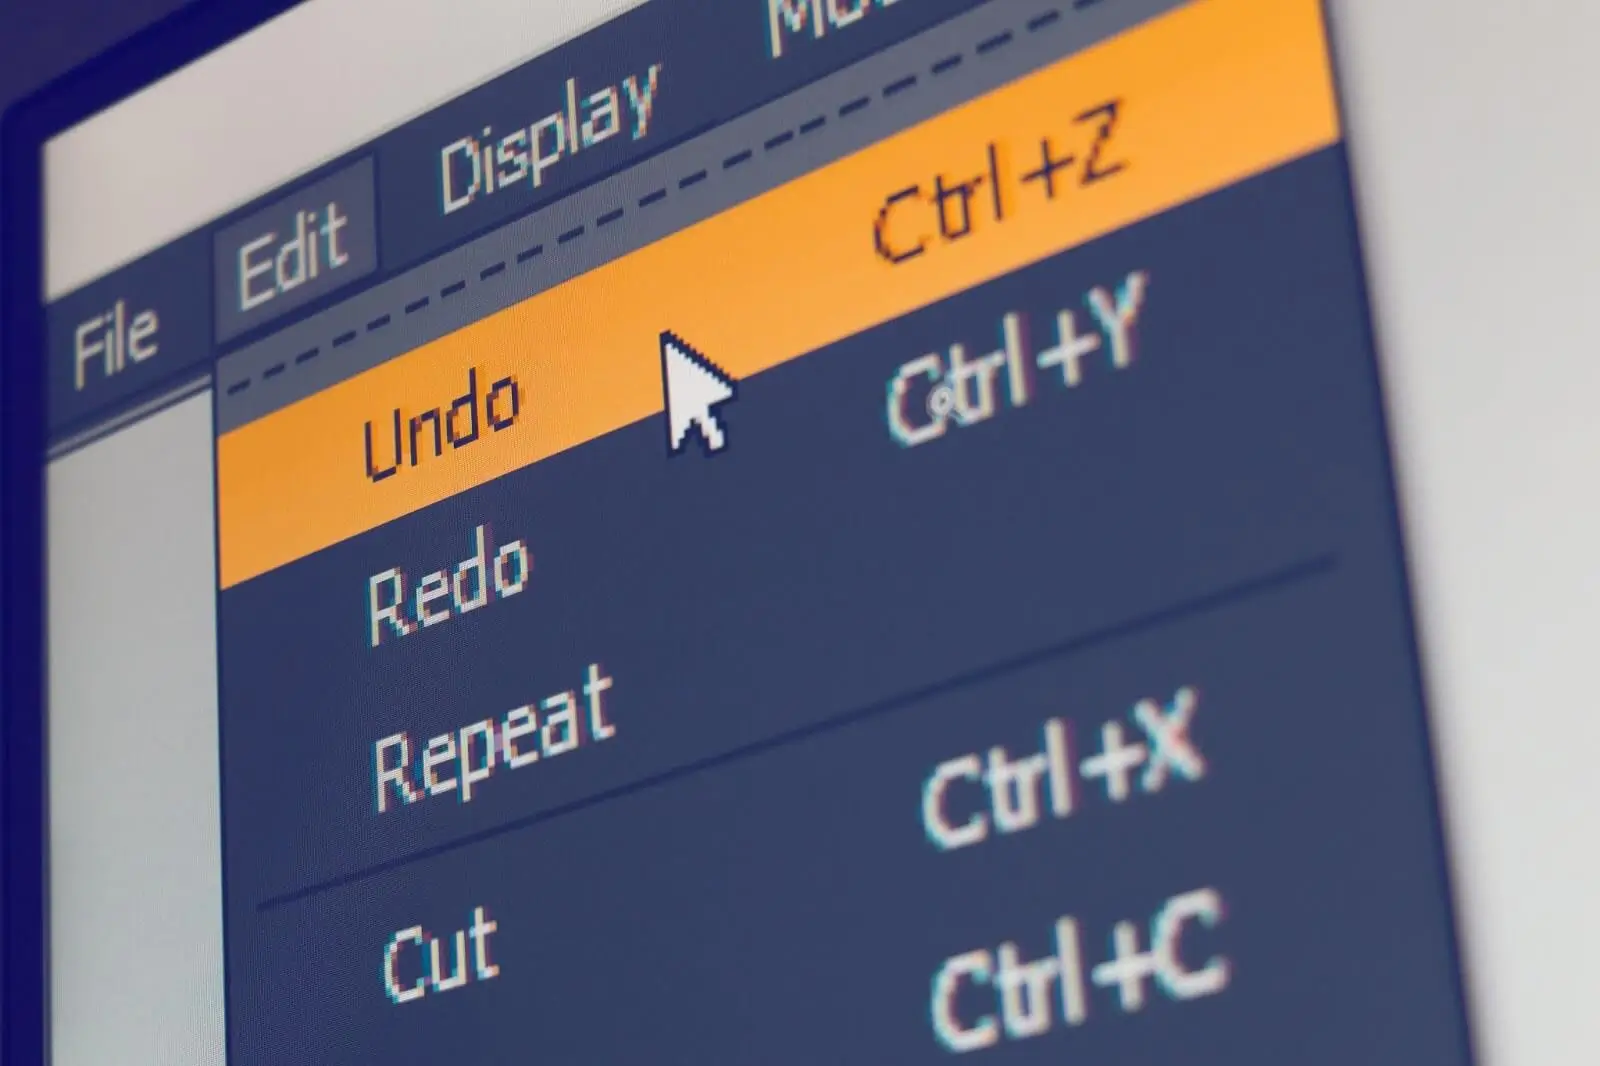
To undo the last changes you have just made press the CTRL+Z combination which is also useful to see the before and after. To back up a few more steps and undo further you press CTRL+ALT+Z. You can cycle through your entire history panel if you keep hitting that combination.

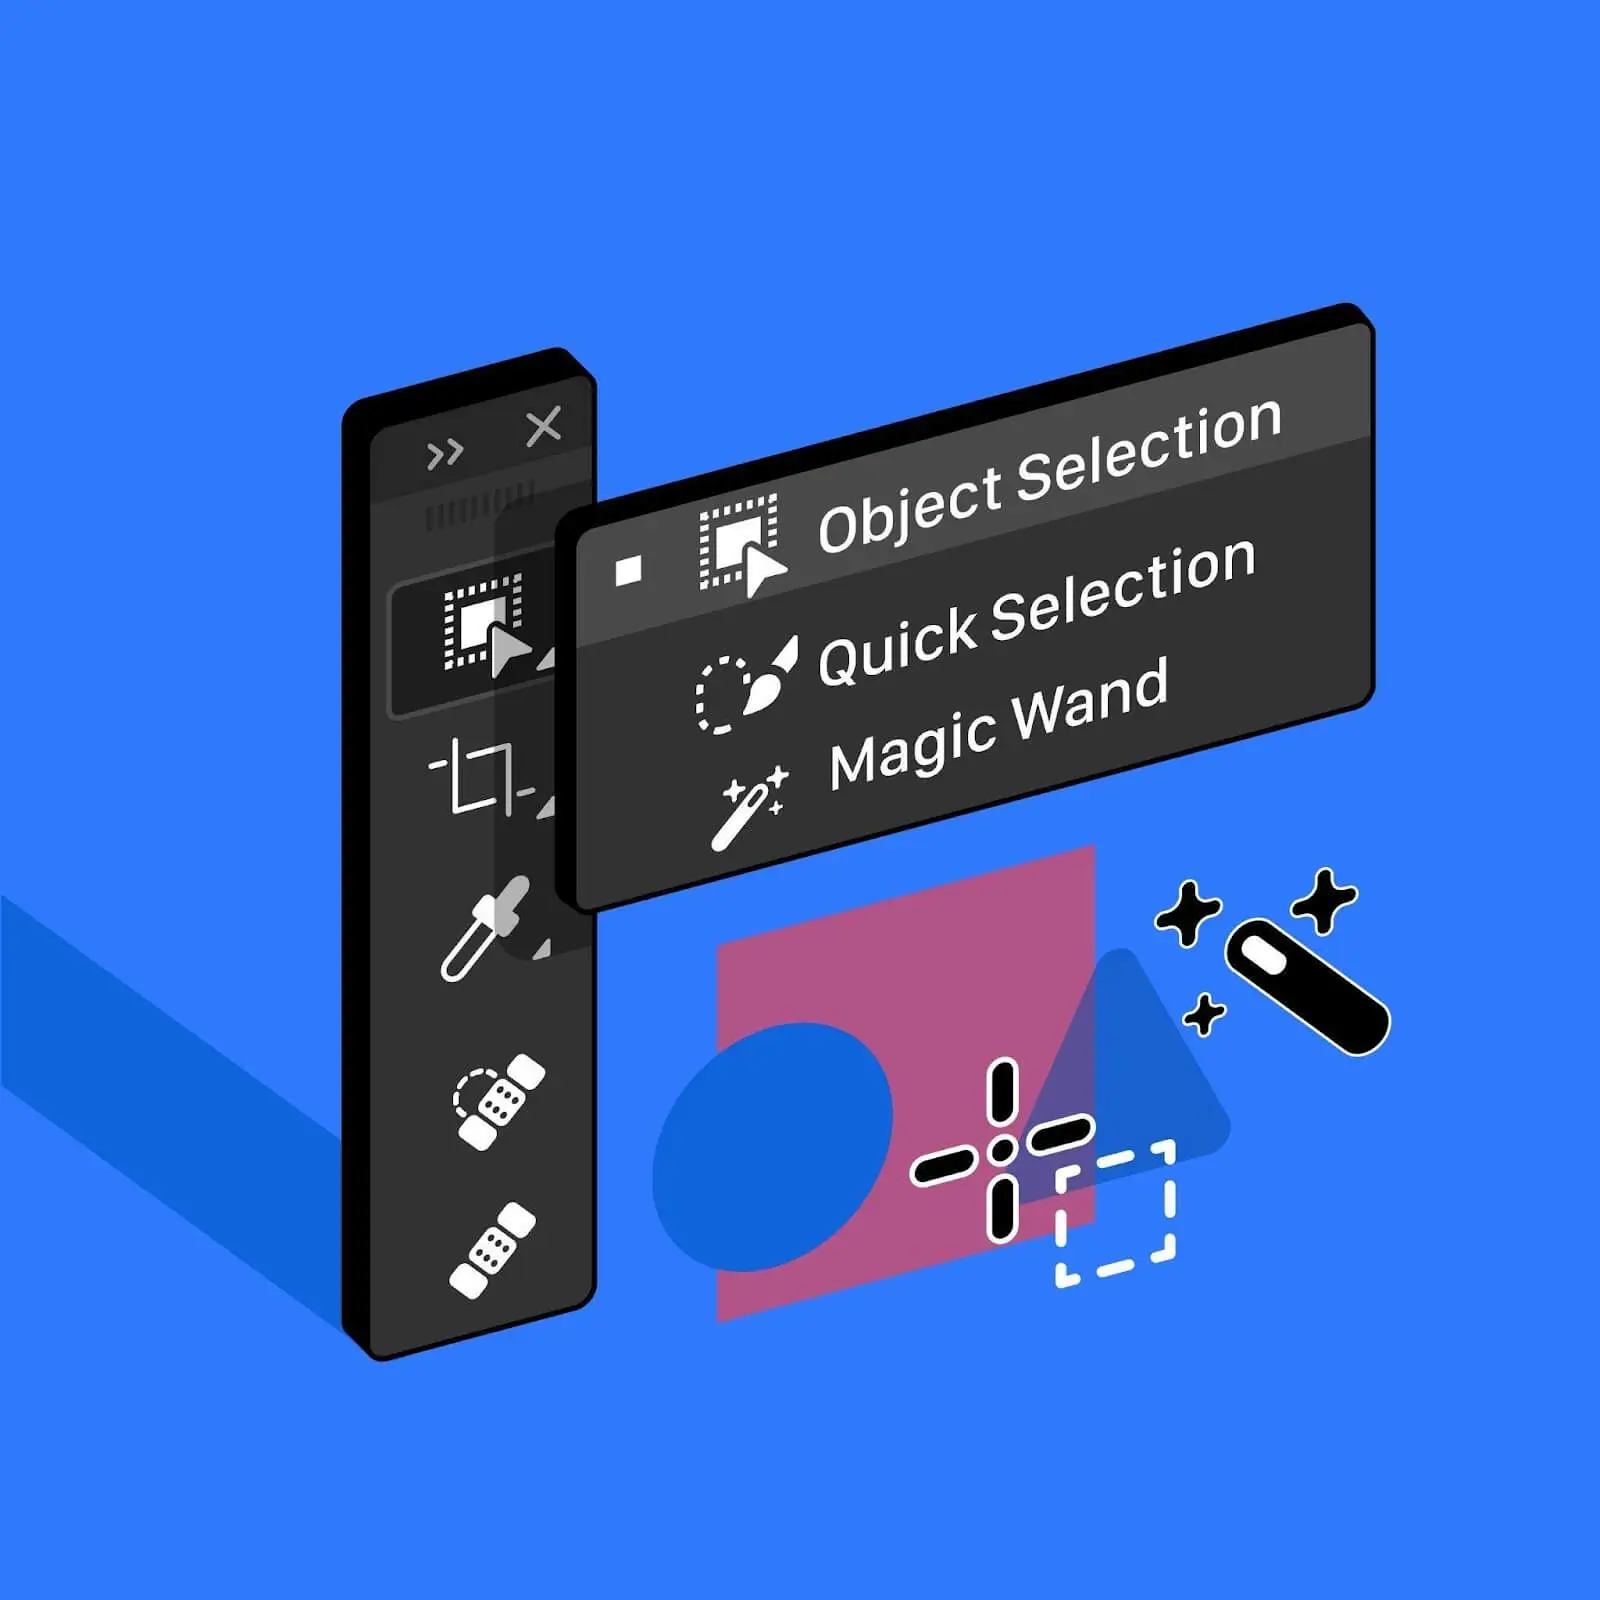
As you zoom in and want to quickly select certain parts of your image, hit the ‘W’ letter on your keyboard to opt for the magic wand tool. If you add the Shift to that, it will add additional selections. If you want to take one away, you need to hold the ALT key and click on that selection.
For the Marquee tool, press M and make a selection in a given shape (rectangle by default).
To deselect the selection, simply hit CTRL+ D and that removes it.
Lasso tool - ‘L’ brings up the lasso tool which allows you to drag around with it on your image and make a specific free-form selection over it. Hit CTRL+D to deselect.
You may notice that there are multiple tools’ subsets inside. For instance, if you go for the lasso tool and hold down and click on it you will notice that there are multiple tools in this little panel. You can cycle through them you just add a shift key to the letter that activates a specific tool. So that, if Lasso is ‘L’ we press shift+L to cycle through all the lasso tools available. Shift+M for the marquee tool and Shift+W for the wand. This works with all of the tools that have subsets in that panel.
The next selection tool is the Pen tool that appears on pressing the ‘P’ letter. This tool allows you to make a selection with anchor points and draw precise shapes according to the image. As you have your path created using the pen tool, hit the CTRL+ENTER to apply the selection on that path. To create a curve with the pen tool, you need to click and drag after the first anchor point is created, and the path around is created with the second anchor point on drag. This is a very useful tool for creating circle shapes, but there is a flaw in adding a 3rd point, Photoshop starts doing its own thing, making the curve go elsewhere than you need it. To fix that and have more control over it, undo the last anchor point by pressing CTRL+Z, click on your last anchor, and hold the ALT key when you do that, and then you click and drag on the next one, you will have more control as to where that path is going to go.
The first retouching tool we are going to talk about is the healing brush tool. Hit the letter ‘J’ to activate and as mentioned earlier you can add the Shift to the combination to alter a subset of the tool. Using the spot healing brush tool, make sure that you have it set to ‘Content-Aware’ type in the upper tabs, and now just click + drag a bit around the area to remove certain spots of the image without losing the background attributes. Hit Shift+J to use a regular healing brush (next one) which allows you to manually sample certain areas by pressing the ALT key. Take image area samples by clicking on it while holding the ALT key and then brush over the area to apply the taken sample to it.
Hit ‘S’ on your keyboard to opt for the Clone Stamp tool. And just like the healing brush tool you can hold alt to take samples.
Another commonly used tool is the gradient tool. In order to get that we just press the letter ‘G’ so it switches over to gradient. You can sample color by hitting the letter ‘I’ which stands for eyedropper tool, then go back to ‘G’ and now just click and drag to apply a gradient from the further side of the dragging line. Holding the ‘Shift’ key while opting for the gradient shortcut you will add more straight lines.
To crop the image we just press ‘C’ and the frame appears around the canvas which you can now drag edges to adjust the canvas size. To constrain the proportions add ‘Shift’ on drag. Hit ‘Enter’ to commit. If you have ‘Delete Cropped Pixels’ checked in the upper panel this means your cropping is destructive. Uncheck to be able to readjust your crop.
Another thing you might want to do is to scale your image up or down. In order to do that we press CTRL T for free transform which will bring up a little box and now you are allowed to scale the image down according to canvas. To scale proportionally add Shift to dragging. Adding ALT to the combo you will scale proportionally to the center, otherwise, the image bends to the sides.

To generate a fresh layer via your keyboard, press Shift+Ctrl+N (Windows) / Shift+Command+N (Mac). Photoshop will display the New Layer dialog box, allowing you to assign an informative label to the layer. If you're indifferent to the layer's name, simply hit Shift+Ctrl+Alt+N (Windows) / Shift+Command+Option+N (Mac) on your keyboard. Press CTRL J to duplicate layer
Right beneath the layers tab, you will find a clipping mask button. With the image layer selected, go to Layer > Create Clipping Mask. Alternatively, you can use ctrl+alt+g as a shortcut.
Co-founder of RetouchMe. In addition to business, he is passionate about travel photography and videography. His photos can be viewed on Instagram (over 1 million followers), and his films can be found on his YouTube channel.
Moreover, his profile is featured on the most popular and authoritative resource in the film industry — IMDb. He has received 51 international awards and 18 nominations at film festivals worldwide.