


Reflection Photography Ideas
May 23, 2024
When considering clothing photography many people think about fashion and model photography at first. However, there is a variety on the subject as you can not only photograph clothes on a model but also make a flat-lay photoshoot or use it to show the apparel from a different perspective. Depending on a chosen setting to shoot clothes, you can utilize tips for photographing clothes we provide on this subject.
As we mentioned in the introduction, there are two common ways to present your clothes.
Depending on your business capabilities you can choose a certain setting:
Both ways have their specifics to conduct a photoshoot and require certain knowledge including lighting, backdrop usage, composition, gear to use, props, and camera settings. We are going to discuss each of the settings, exploring the cons and pros with the tips. Let’s start with the flat lay.
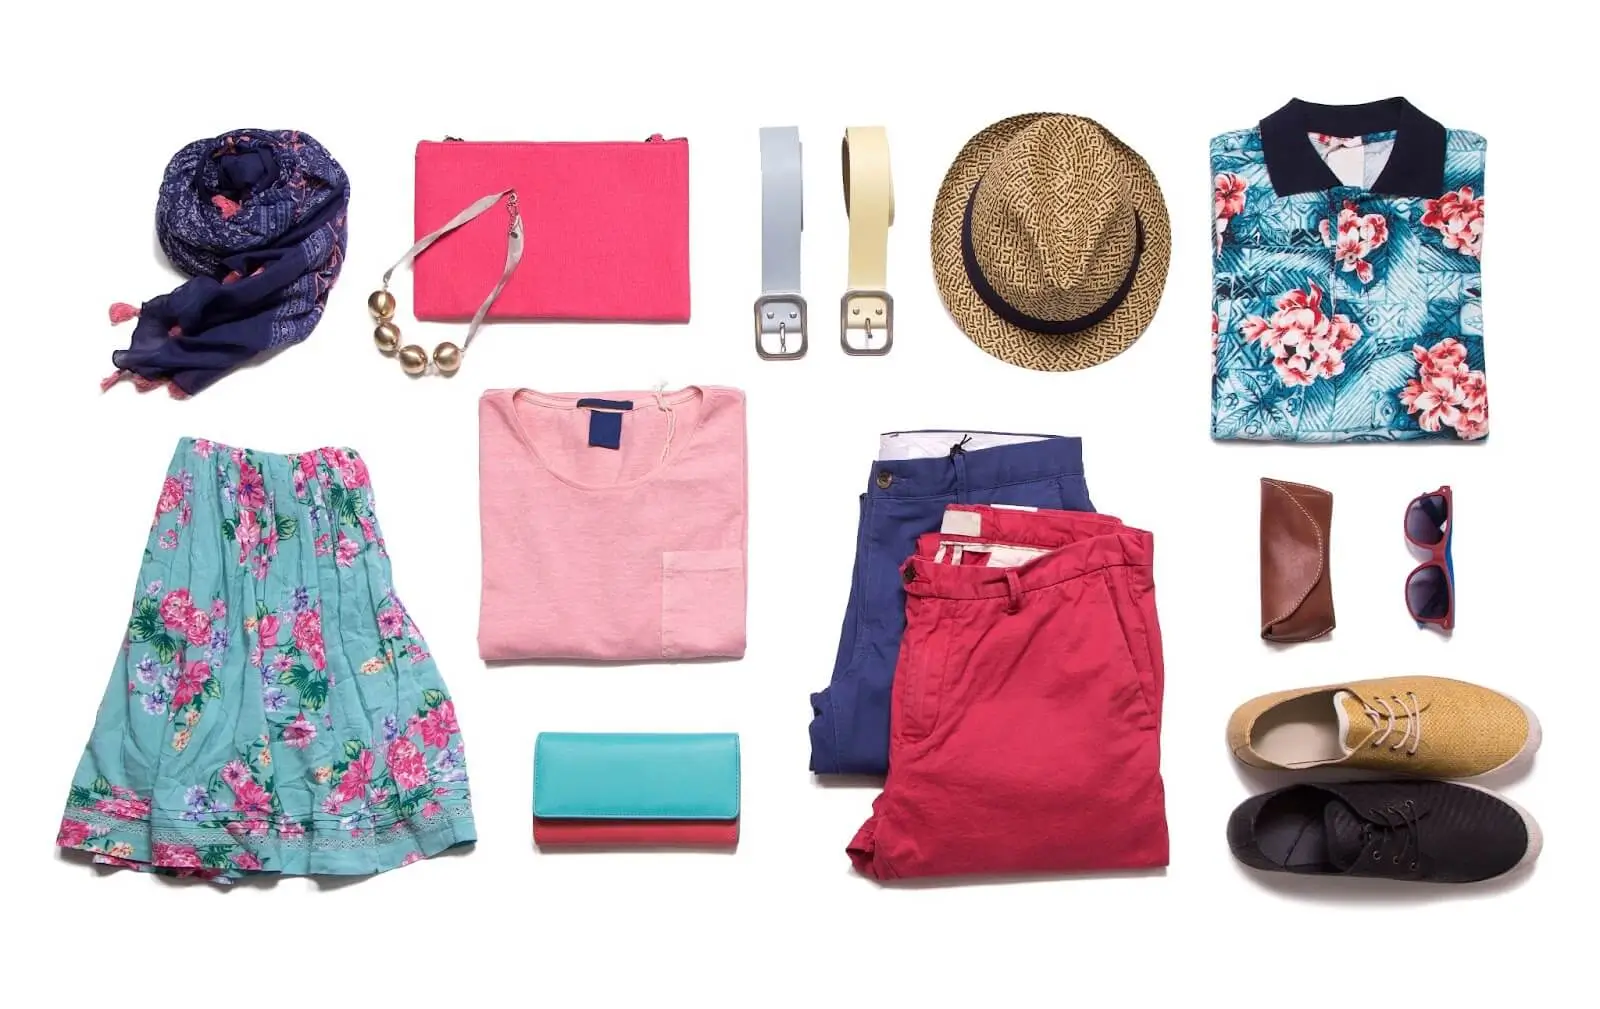
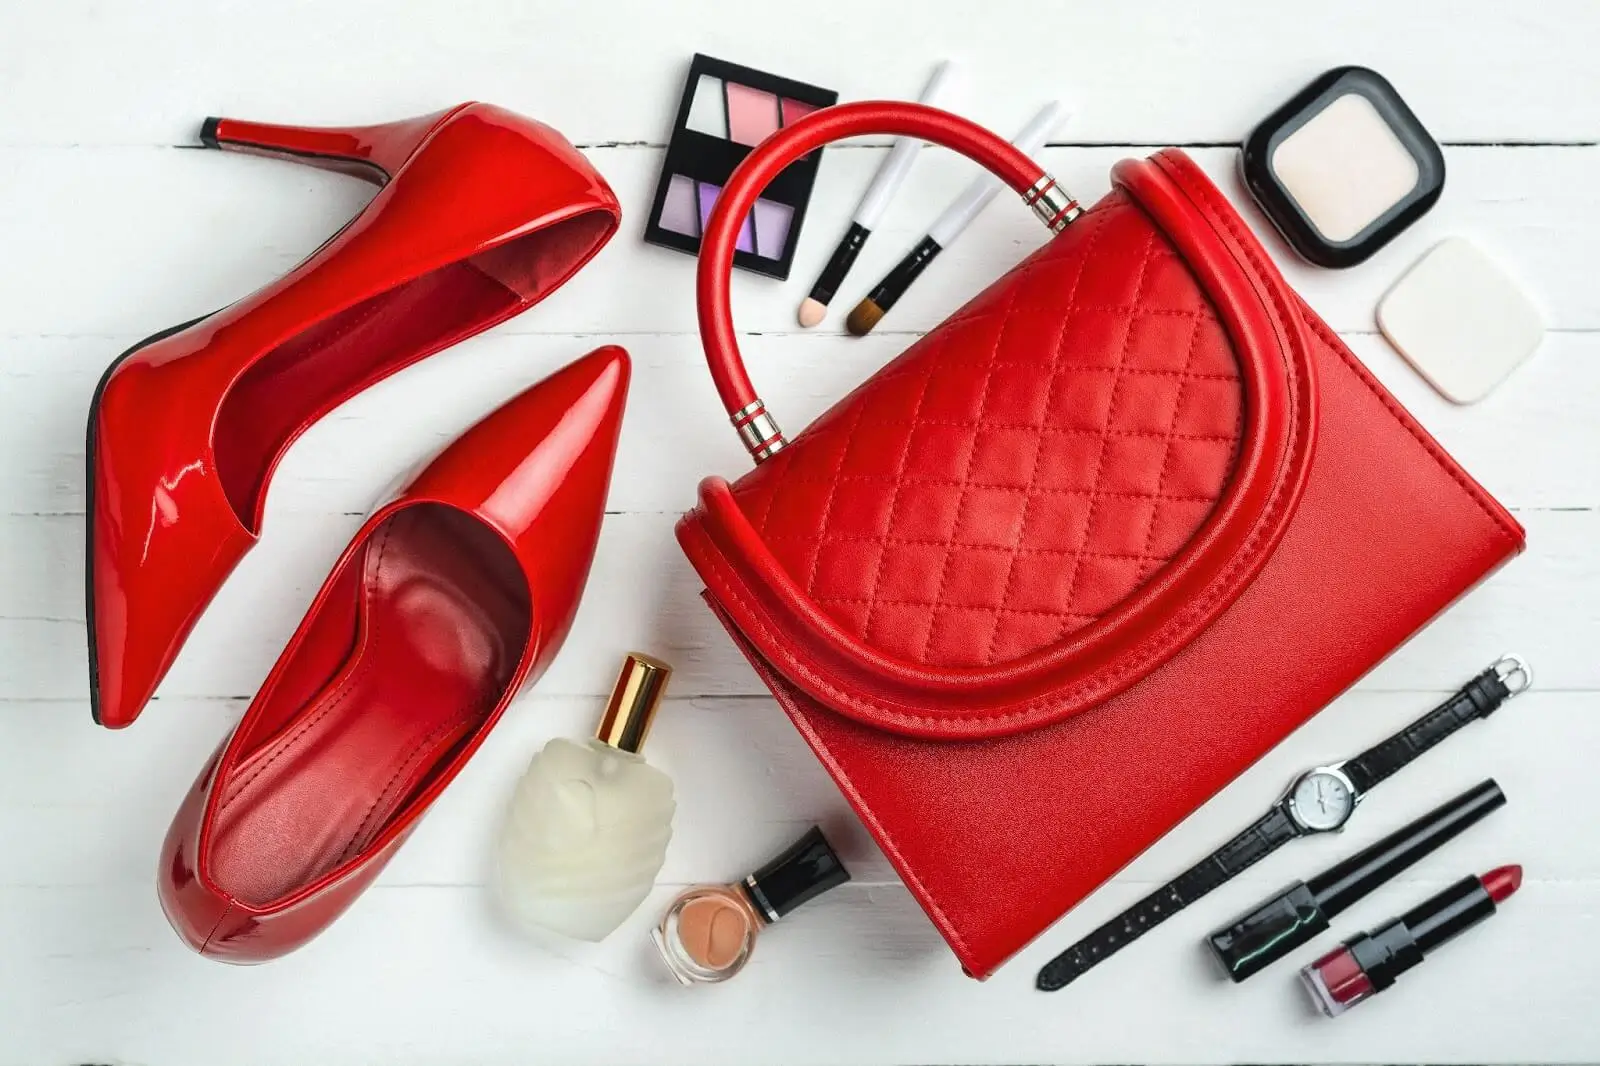
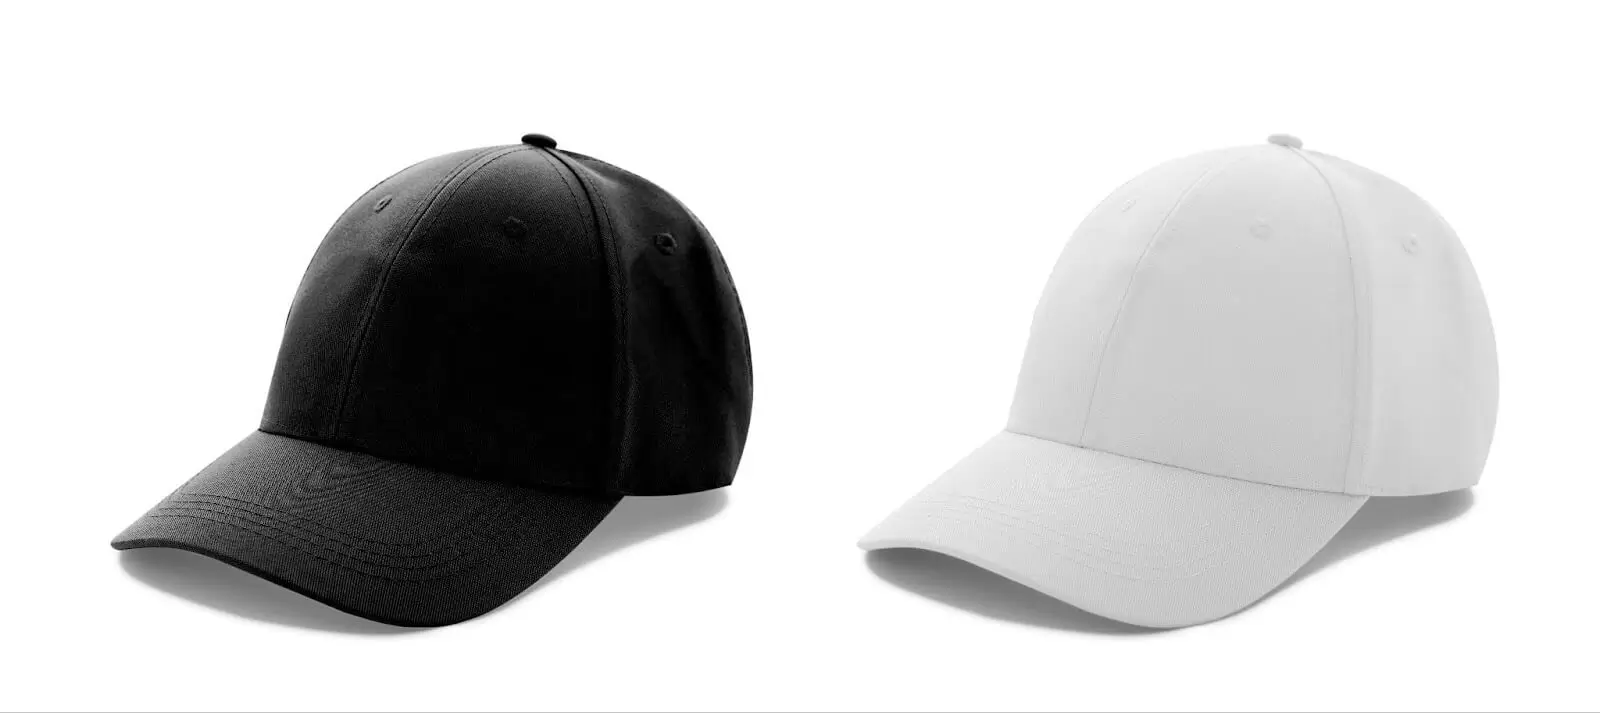
If you are just starting up with the business, opt for a flat-lay setting. In this way, you present your product on a flat surface, which may sound as simple as that, but there are some tips for clothing photography in the flat-lay setting to share. The pros of such an approach to photographing clothes are mainly the expenses you take, which are low and are the main benefit here. With flat-lay, you discount models' expenses and studio rent, and all you need to have is an appropriate lighting setup, a perfect composition, and a camera with the right settings for such a photoshoot.
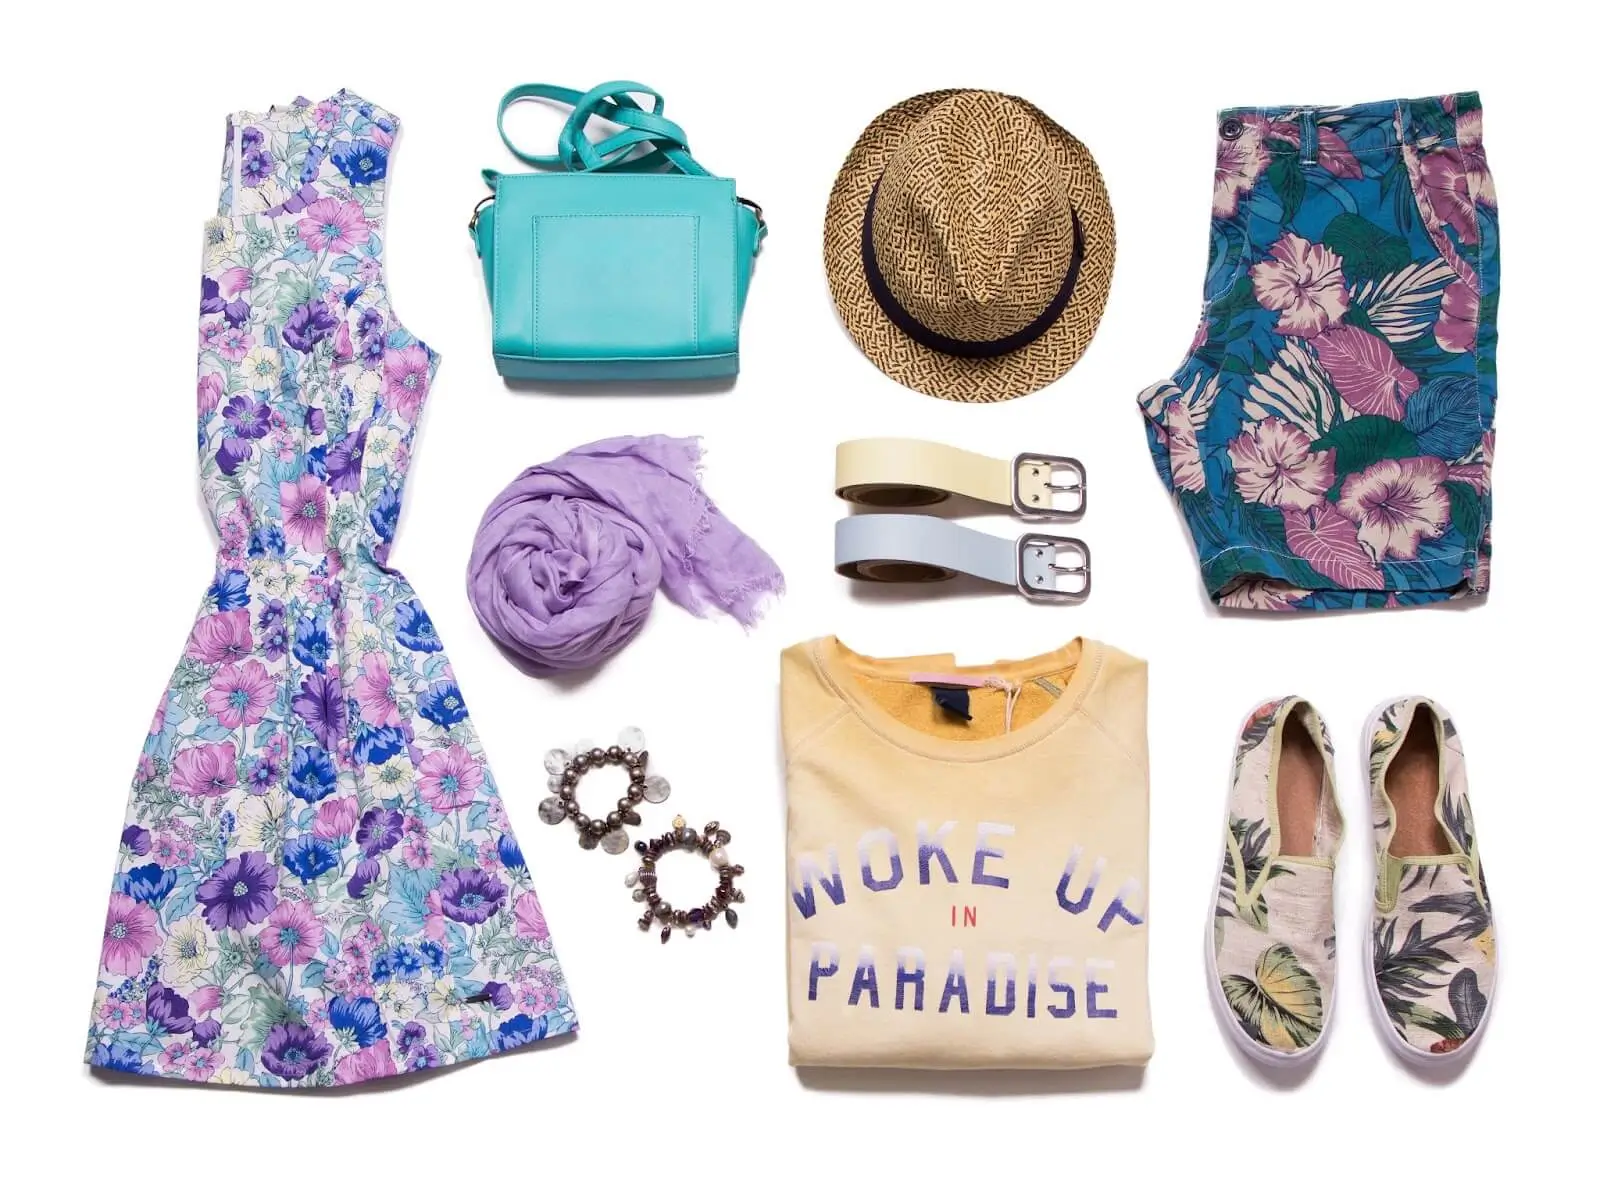
To successfully execute flat lay clothing photography, it's essential to craft a scene with the following key elements, all while condensing the setup to convey the intended message succinctly:
A practical example involves arranging a simple outfit alongside matching accessories like shoes and a hat in colors that complement the clothing, such as brown shoes with blue jeans. Incorporate storytelling elements like a specific prop that relates to the shirt’s design, ensuring the background and lighting enhance these features without overshadowing them.
By focusing on these principles, you can achieve compelling flat-lay images that are both aesthetically pleasing and effectively communicate the intended narrative or style.
Utilize natural light or well-placed artificial sources to highlight the items, creating contrast and depth. Natural light effectively enhances flat-lay photography. To achieve optimal lighting, turn off indoor lights to avoid color discrepancies caused by artificial sources, which may conflict with the natural light from windows. Positioning the light source to the side or behind the scene creates intriguing shadows and gradients, adding texture and depth to the images. This approach not only ensures color harmony but also prevents the photographs from appearing flat, maintaining a natural look for the clothing. Artificial lighting should be carefully used to avoid unwanted color casts, unless in a controlled studio setting.
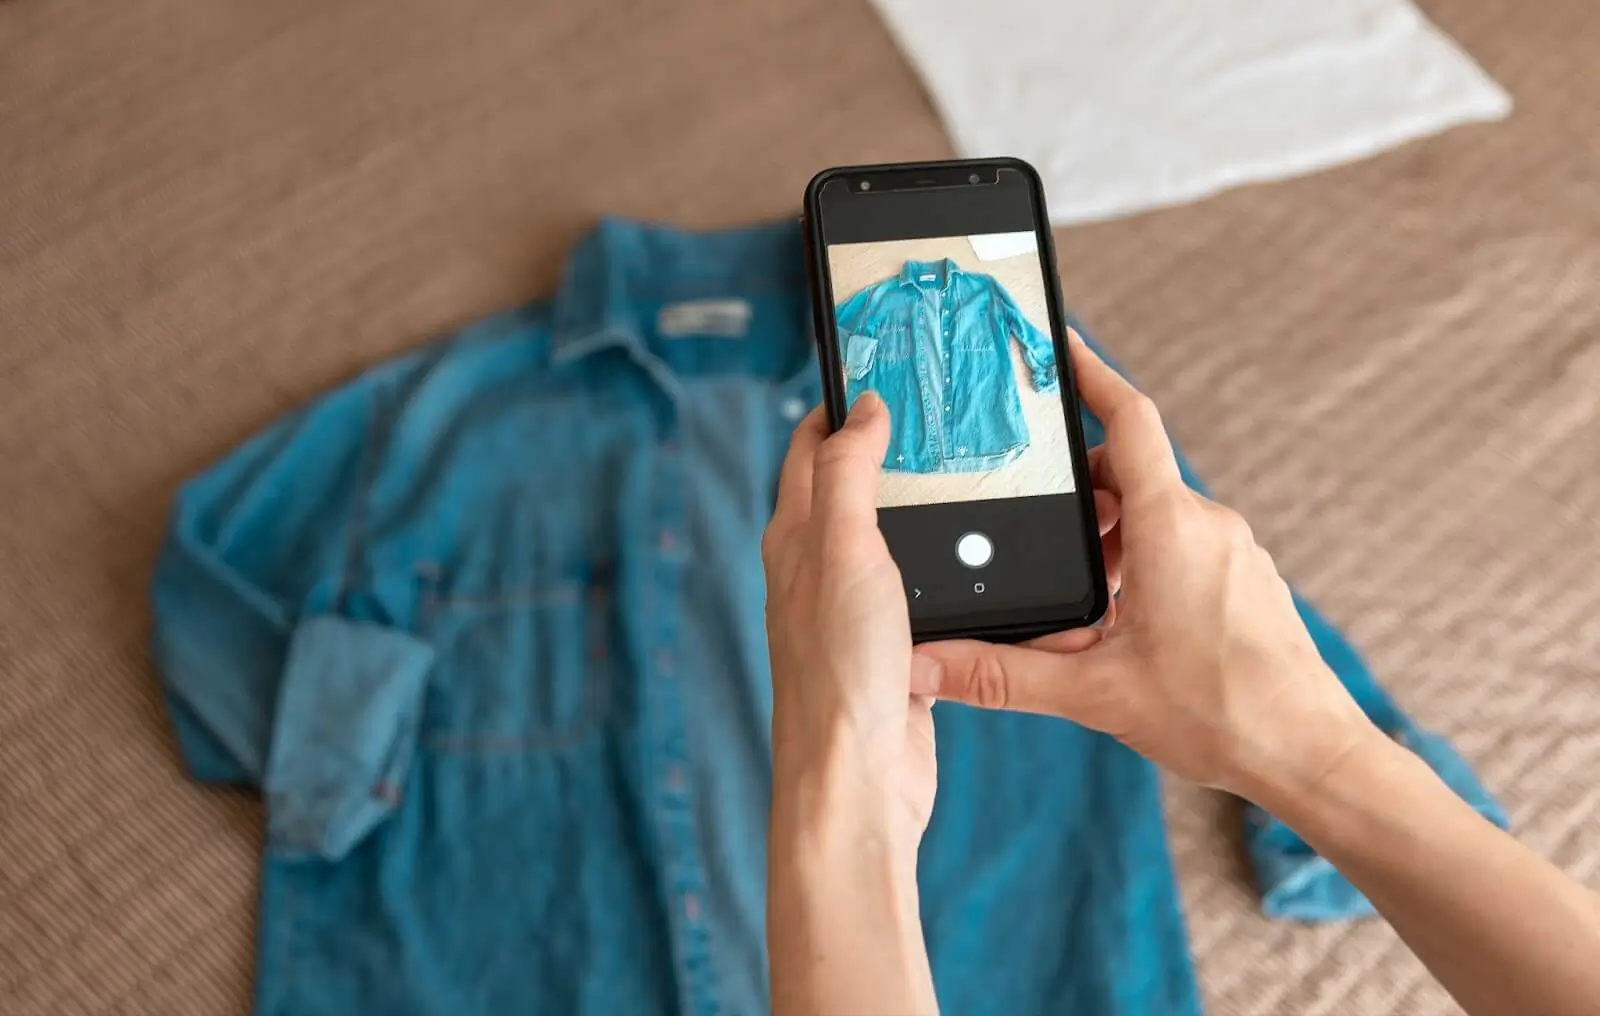
When exploring camera angles for flat-lay clothing photography, versatility is key. Consider the platform where your photos will be shared; Instagram often favors vertical shots. The top-down angle provides a comprehensive view of the setup, highlighting the clothing and achieving balance within the frame. At a 45-degree angle, the perspective mimics natural observation, adding depth to the image and enhancing clarity. Close-up shots focus on intricate details like prints, requiring well-matched props to complement the garment's design. These shots are ideal for previews within the main scene or for creating a series of images with varied compositions, ensuring dynamic visual storytelling.
When capturing flat-lay clothing images, tailoring your camera settings is crucial for achieving sharp, consistent results. Opting for a fast shutter speed and a low ISO enhances image clarity, while a high F-stop ensures accuracy, particularly in the depth of field. White balance adjustments are also essential, depending on both lighting conditions and the garment's color.
Utilizing a DSLR camera with a 50mm lens is recommended for its versatility, and a tripod can be invaluable for maintaining consistent shooting angles. For overhead shots without a tripod, a ladder proves useful, allowing for manual adjustments. It's important to match your shutter speed to at least double the lens's focal length—for a 50mm lens, set it to 1/100 sec. Furthermore, keeping the aperture above f/8 aids in uniformity across shots, preventing unwanted dark areas or focus issues.
In the editing phase, the best approach is to stick to your standard routine while avoiding the overuse of filters and effects. Most of the time, simple color correction is enough to enhance the image look. The goal of color correction is to ensure your apparel appears on screen as close to its real-life color as possible. For example, if you’re working with a teal shirt, resist the temptation to drastically alter its color through excessive adjustments in Photoshop, turning it into a purple shirt. Essentially, less is more in post-processing. Aim for simplicity and invest more effort in arranging your apparel and scene correctly. This foundational work will enhance the final result more significantly than any advanced editing techniques.
If you have any problems with editing software or no experience at all, opt for the product photo retouching with RetouchMe Pro.
Flat-lay photography is highly controlled and detail-oriented, allowing for meticulous arrangement of clothing and accessories to highlight specific features of each item. It's particularly effective for emphasizing the flat design, patterns, and texture of the fabric without the distraction of body shapes. This style is favored for its simplicity and the ability to create a cohesive aesthetic with minimal resources. Now let us delve into clothing product photography ideas interacting with an actual model which makes a lot of difference considering how you can utilize features of the model interacting with the apparel you want to present.
If your business went as far as making a model affordable to conduct your clothing product photoshoot, you might as well already rent a studio for such a case.

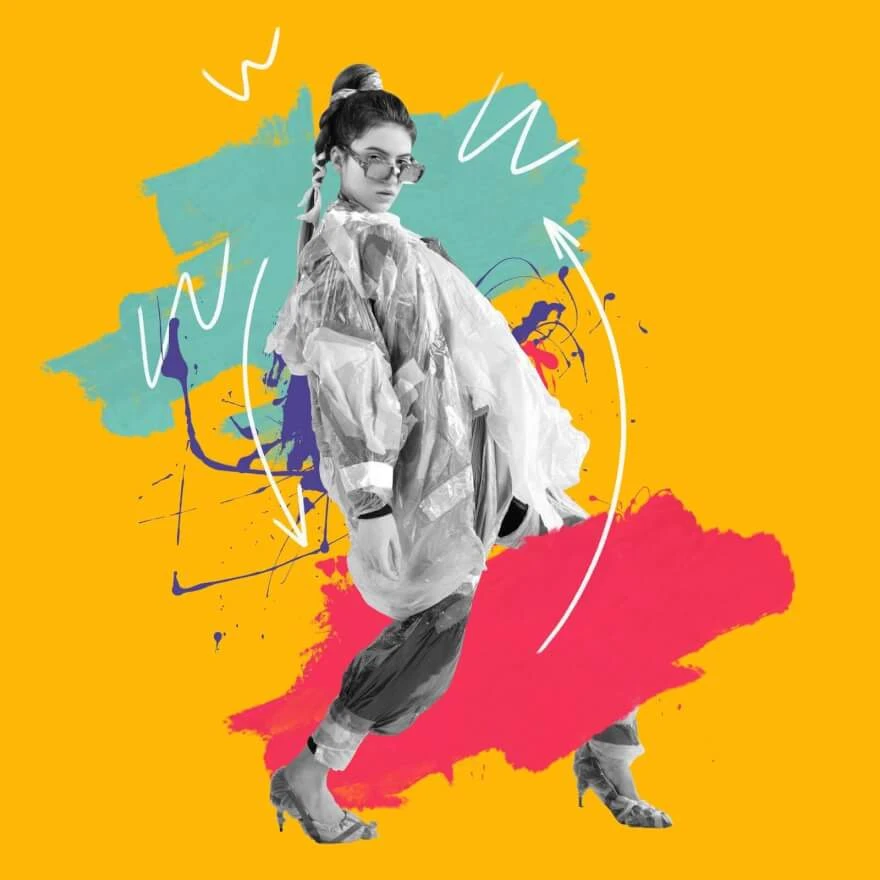
Model photoshoots require a dynamic approach, focusing on how garments drape, fit, and flow on the body. This method brings clothing to life, giving potential customers a better understanding of how an item might look when worn. It involves considerations of model selection, pose, movement, and interaction with the camera, which are not factors in flat-lay photography. The presence of a model adds depth to the clothing, showcasing its functionality and style in real-world scenarios.
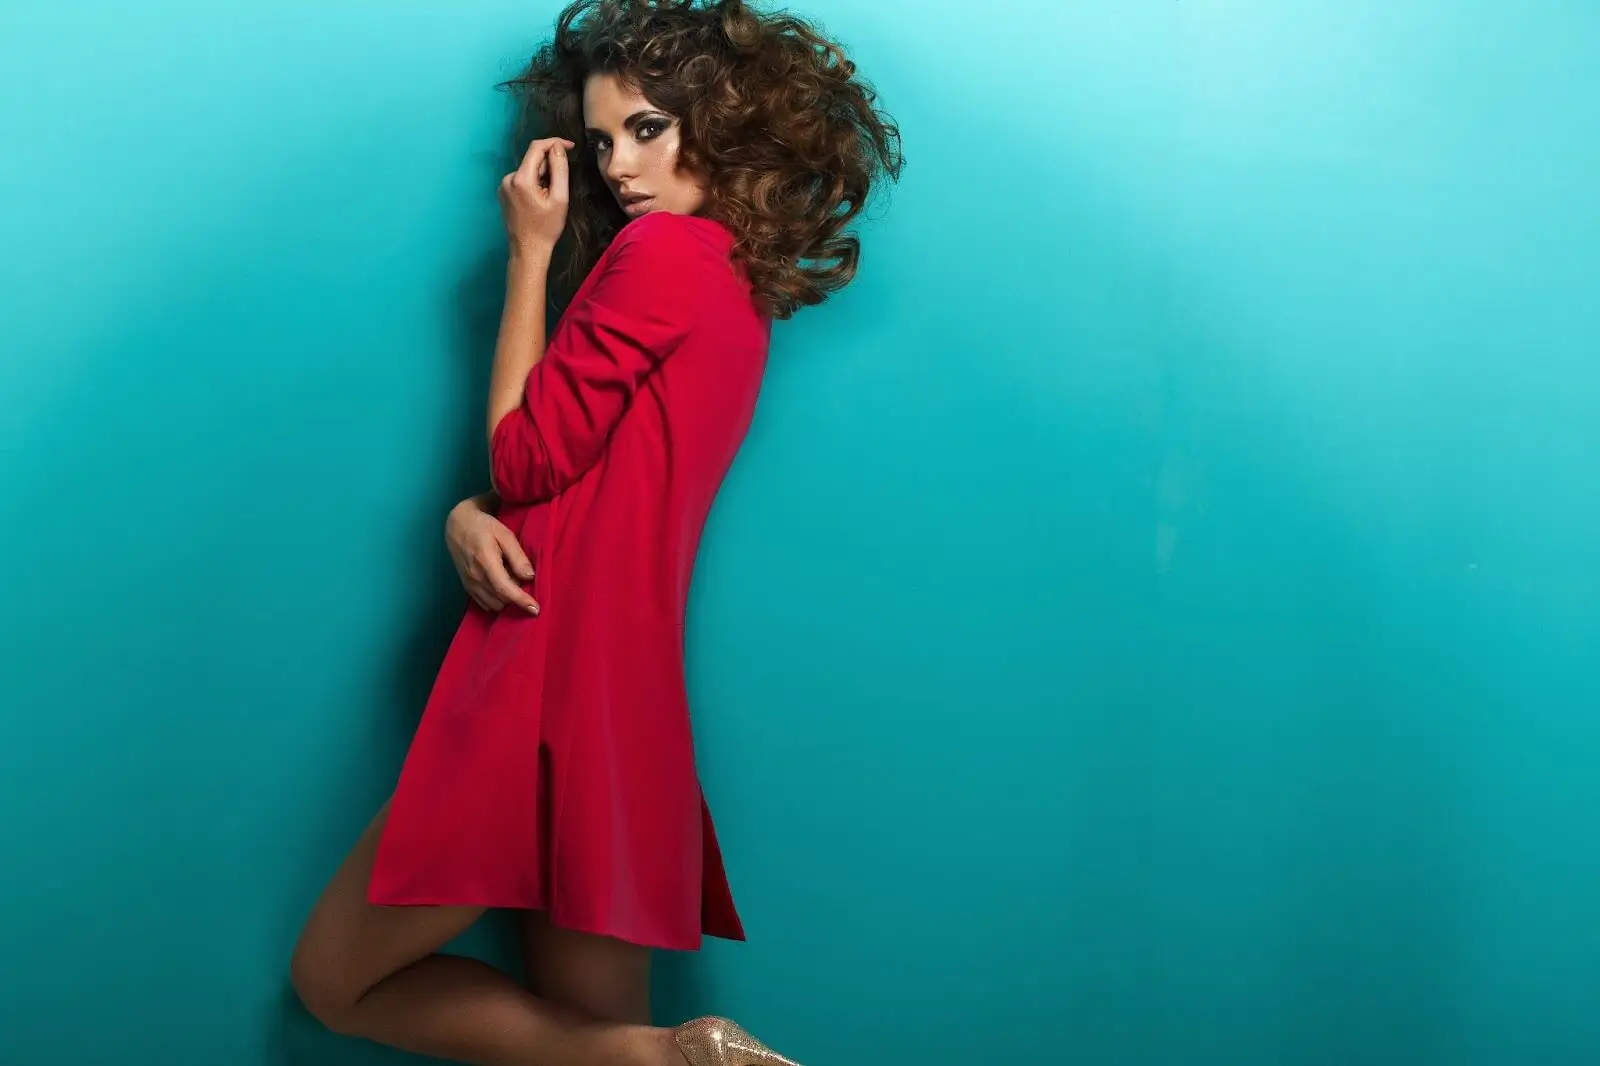
These are the tips for the general setting with a model incorporating portrait mode the most and utilizing different angles. In the beginning, we need to Choose a model whose size, shape, and style align with the target audience of the clothing line. Consider diversity and inclusivity to appeal to a wider audience.
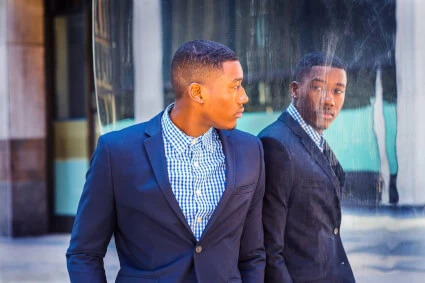
These are general tips for working with a model and presenting your apparel in a portrait mode. However, you may also incorporate headshots into your photoshoot, so let us explore what clothes to wear for headshots and how to properly highlight the apparel during such a session.
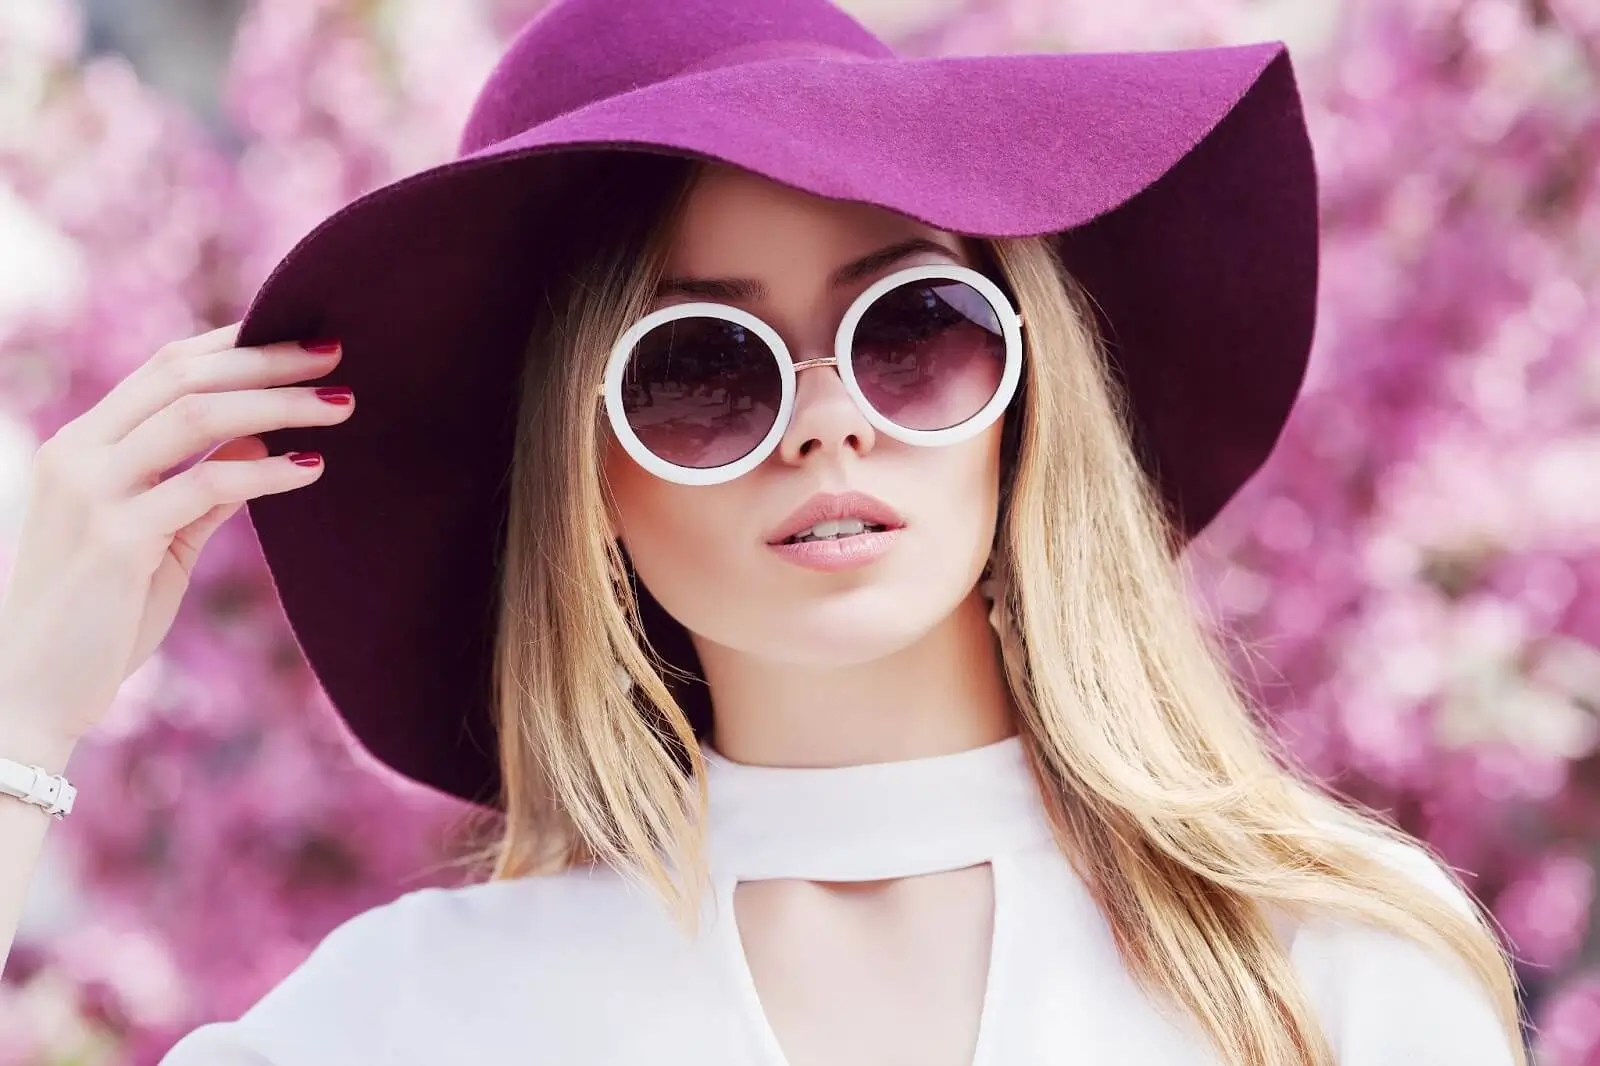
Incorporating a headshot into a model apparel photoshoot adds a layer of professionalism and versatility to the images. Headshots provide a close-up view of the model's face and upper body, making clothing choices particularly important for creating a polished and cohesive look. Consider that headshots will shift the focus from the apparel more to your model features, hence, it is essential to choose the apparel that complements the model features for close-ups and not as distracting. In this way, you complement the model with the apparel and not the opposite. So, here are some headshot attire tips:
The clothing choices enhance the overall aesthetic and professionalism of the images, creating a cohesive and visually appealing representation of the clothing line. By following these tips for headshot clothing, photographers can effectively capture the essence and style of apparel while highlighting the model's features in headshot images.
Co-founder of RetouchMe. In addition to business, he is passionate about travel photography and videography. His photos can be viewed on Instagram (over 1 million followers), and his films can be found on his YouTube channel.
Moreover, his profile is featured on the most popular and authoritative resource in the film industry — IMDb. He has received 51 international awards and 18 nominations at film festivals worldwide.