


Best Winter Photography Tips and Tricks
Dec 18, 2017

Photo collage is a great way to create posts involving multiple pahotos at once. You can find different uses, but the point is the same - to provide more photo information for a viewer in a limited format. This way, you can better reveal the story you are telling by using this set of photos in a more compact mode. Today we are going to discuss three really simple and easy methods on how to make a photo collage on iPhone and iPad.
There is no built-in collage program on the iPhone. However, this is not such a big problem, because there are countless smartphone apps for both Android and iOS to create photo collages. Many of these applications are paid, but there are also absolutely free options.
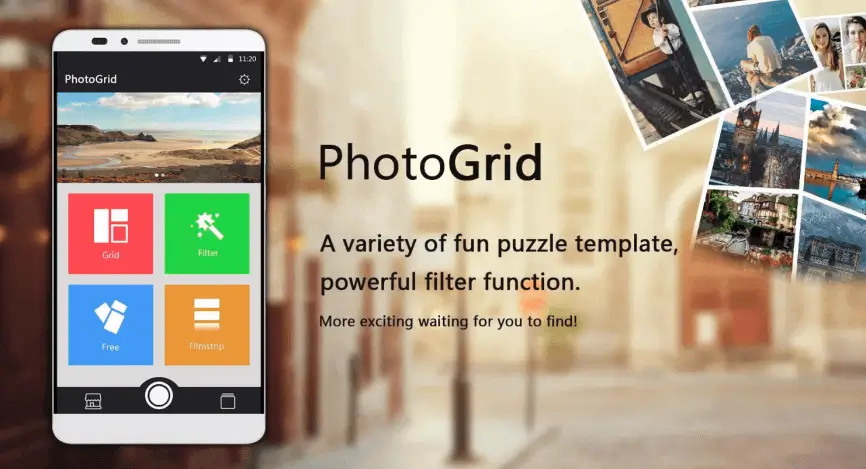
One such application for the iPhone is PhotoGrid.
To begin to get acquainted with this application, do the following steps:
As you get into the app, click on the grid option, and this will take you to the photo selection screen on your smartphone.
Select the photos you want, usually, there are 3-4 photos in collages, and click next.
The app will ask you to buy the premium version again, click back also in the top left corner, and you'll finally get to the window with our collage setup.
In the collage settings window, you will most likely see your previously selected photos in some representation of the program itself, which by default will divide the selected photos with a vertical frame in equal proportions.

There would be a list of various options below. The first thing you'll be interested in is the layout, where you can customize the design of your collage. With the options you can also adjust the size of the frame, the thickness and roundness of the borders with the use of the ‘border’ option, and the position of the photos relative to each other with the use of the ‘layout’ option
As you set your template, now you can zoom your photos within the selected boundaries of your collage frame to rearrange them.
As you have set your collage representation and photos arrangement, you can go and check the rest of the options to edit.

Here you can find the ‘background’ change feature, which is basically the color to choose for the borders between your photographs. As you find yourself happy with the background color, you can check for filters. Filters are able to add some color correction to your images, therefore pick one of your choices. There are also pretty much self-explanatory options left to edit your collage more, such as ‘Text’ and ‘Effects’, which you can also play with if you need them.
After all the adjustments, press the ‘Save’ button in the top right corner and wait a bit for processing to be done. Your image would be saved in your camera roll, so now if we go to the Photos app on your iPhone, you will find your collage there that you can share on Facebook, Instagram, and pretty much anywhere else online.
There is also an easy method to combine your pictures into a collage without any third-party apps by using iPhone shortcuts.
There is a really simple way to make a slideshow montage with the music just by using the Photos app built-in.
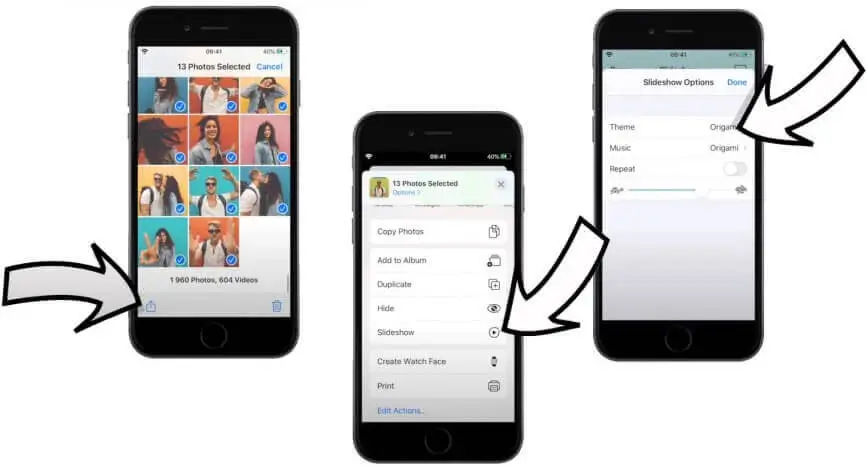
The major con here is that you can not share this slideshow, but there is a solution to that problem with the Screen recording.
To enable that option, you need to do the following step by step:
Go to your control center by sliding up on your phone screen. Here you will find a record screen button that looks like a big dot inside the circle icon. If it is disabled, then you need to customize your control center.
Go to settings, search for control center - select Customize Controls - Look for the screen recording option - tap on the little green plus button to add it at the top and then track it to the position that you like. Now, if you go back to your control center, you will see the screen recording option become available there.
Tap on the screen recording button, then you have 3 seconds to set up your screen before it starts recording.
Record your movie, then tap at the top of the screen to stop. It will automatically save the slideshow to the recent folder in the Photos app.
These were three methods on how to create a photo collage on iPhone. Make your scene or wallpaper with the tool of your choice and do not forget to share it with your friends and viewers.
Co-founder of RetouchMe. In addition to business, he is passionate about travel photography and videography. His photos can be viewed on Instagram (over 1 million followers), and his films can be found on his YouTube channel.
Moreover, his profile is featured on the most popular and authoritative resource in the film industry — IMDb. He has received 51 international awards and 18 nominations at film festivals worldwide.