The ultimate guide to photo retouching tools and techniques
- Photography editing techniques in terms
- Color grading
- Dodging and Blurring
- Selective Editing with Masks
- HDR
- Sharpening and Noise Reduction
- Choosing the right photo editing method and software
- Lightroom Photo Editing Tips
- Simplify the workflow
- Create your own presets
- Photoshop Photo Retouch Tips
- Generative Fill
- Image upscaling tools
- Editing photos for beginners
- iPhone photo editing tips
- RetouchMe Photo Editor
- Conclusion
Photo editing is a best friend for photographers right after their camera and photo equipment. Bringing life into images using various picture editing techniques is essential to improve the quality and to get positive feedback from your audience. Having your images edited asserts a professional touch and levels you up as a photographer which allows you to stand out among the other competitors. For that, we need to understand specific software and their editing tools and how to manage these tools to get the desired results. There is a lot of theory behind the retouching and editing software in general, so let us delve into these intricacies bringing you editing tips for photographers with particular examples and the ways of using these tools following your editing skills, including tutorials for beginners and advanced users.
Photography editing techniques in terms
Before we get to a specific editing software we need to explore what the techniques of photo editing are in essence, and what they include in terms. Here is the list of the most common photo editing techniques:
- Color Grading
- Dodging and Blurring
- Selective Editing with Masks
- HDR (High Dynamic Range)
- Sharpening and Noise Reduction
These photo editing techniques, when employed thoughtfully and skillfully, empower photographers to not just correct flaws but to infuse their images with a distinctive visual language and emotional depth. Let us elaborate on each in specifics.
Color grading
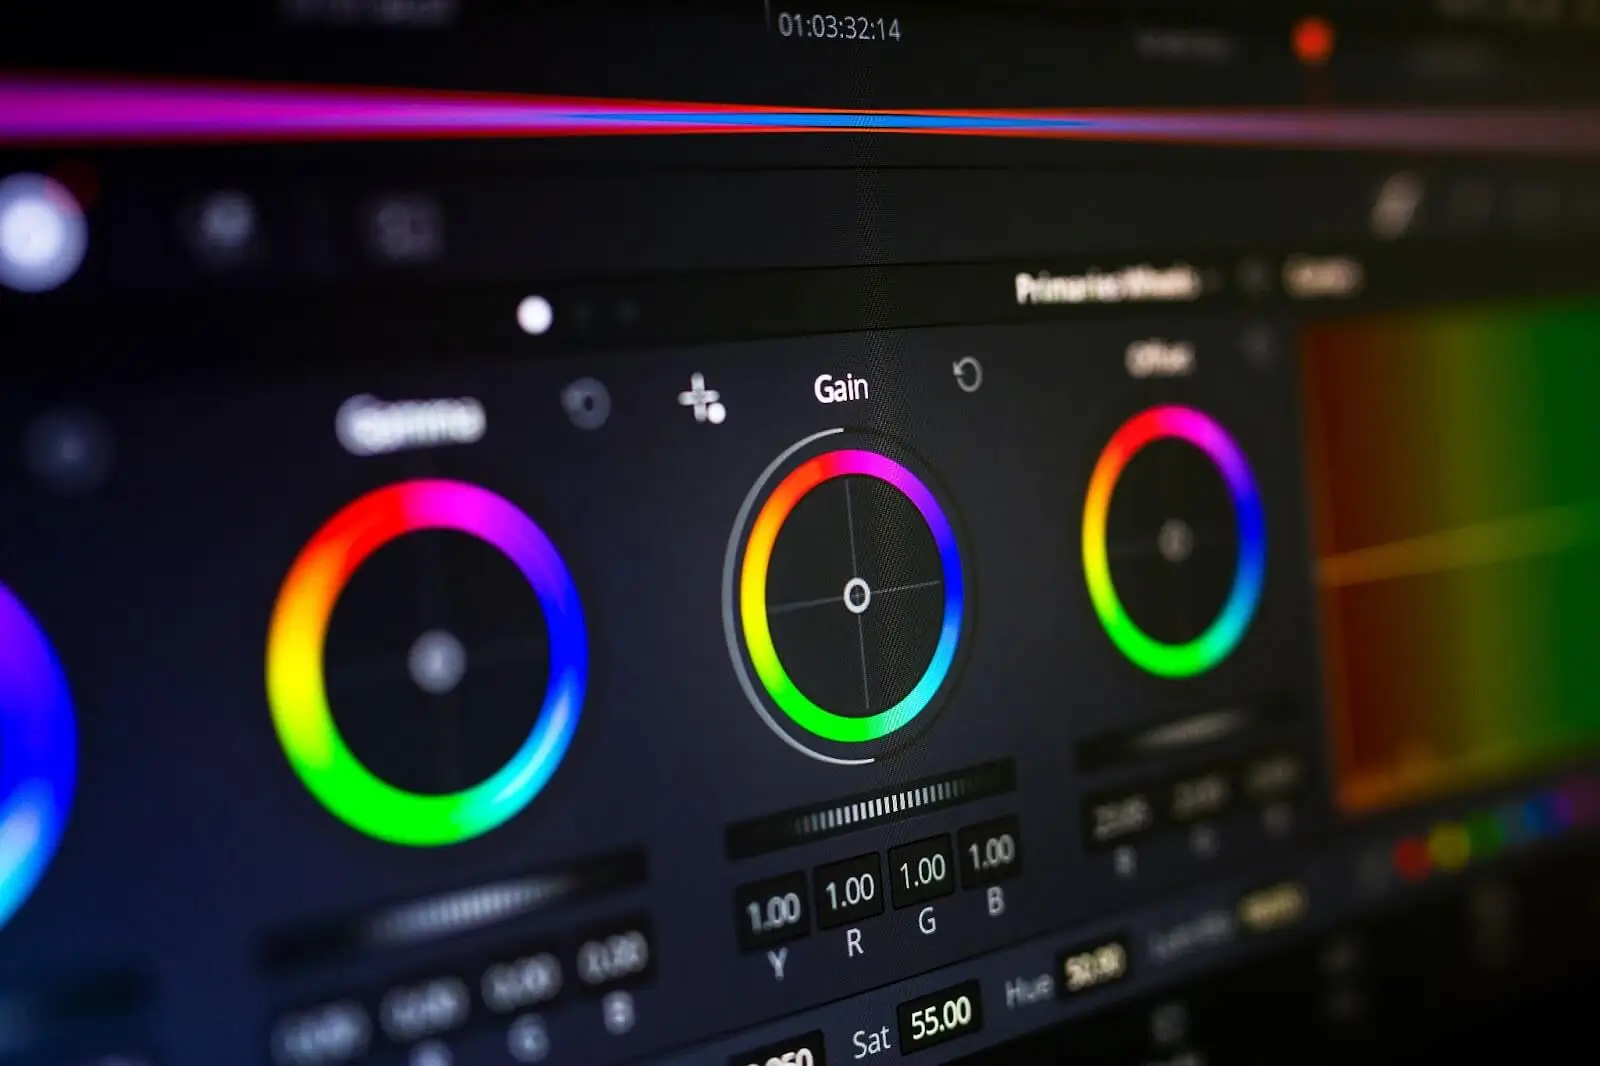
Color grading involves adjusting the colors in an image to evoke a specific mood or atmosphere. It goes beyond basic color correction, allowing photographers to create a consistent and stylized look. This technique involves altering hues, saturation, contrast, and brightness, often using tools like curves, color balance, or dedicated color grading panels in editing software and for example, enhancing warm tones to create a cozy feel in a portrait or desaturating colors for a vintage aesthetic in landscapes. All these combined make for Professional photo color correction.
Dodging and Blurring
Dodging and burning are classic darkroom photo retouching techniques that have transitioned into digital editing. Dodging involves selectively lightening areas of an image to draw attention while burning darkens specific regions to add depth and emphasis. These techniques help in sculpting light and shadow, enhancing textures, and creating a more dynamic composition. Photographers often use soft brushes and varying opacity levels to delicately adjust brightness, giving images a more three-dimensional quality.
Selective Editing with Masks
Masks allow selective editing of specific parts of an image while leaving other areas untouched. This technique grants precise control over adjustments like exposure, color, or sharpness in targeted regions. Photographers use brushes or gradients to create and refine masks, enabling them to focus on specific elements—like enhancing the sky without affecting the foreground or isolating a subject for detailed editing.
HDR

HDR combines multiple exposures of the same scene to capture a broader range of light and detail, especially in high-contrast environments. By merging different exposures, either manually or through software, photographers achieve a more balanced image with enhanced details in both highlights and shadows. This technique is especially useful in landscape photography or scenarios with extreme lighting conditions.
Sharpening and Noise Reduction

Sharpening emphasizes details and enhances clarity, while noise reduction minimizes grain or digital artifacts in an image. Photographers often apply sharpening selectively to avoid over-sharpening and use noise reduction techniques to maintain image quality, especially in low-light or high-ISO shots.
All these techniques are available in professional editing software such as Lightroom or Adobe Photoshop which comes in handy as photographer gets to post-processing their images.
Choosing the right photo editing method and software
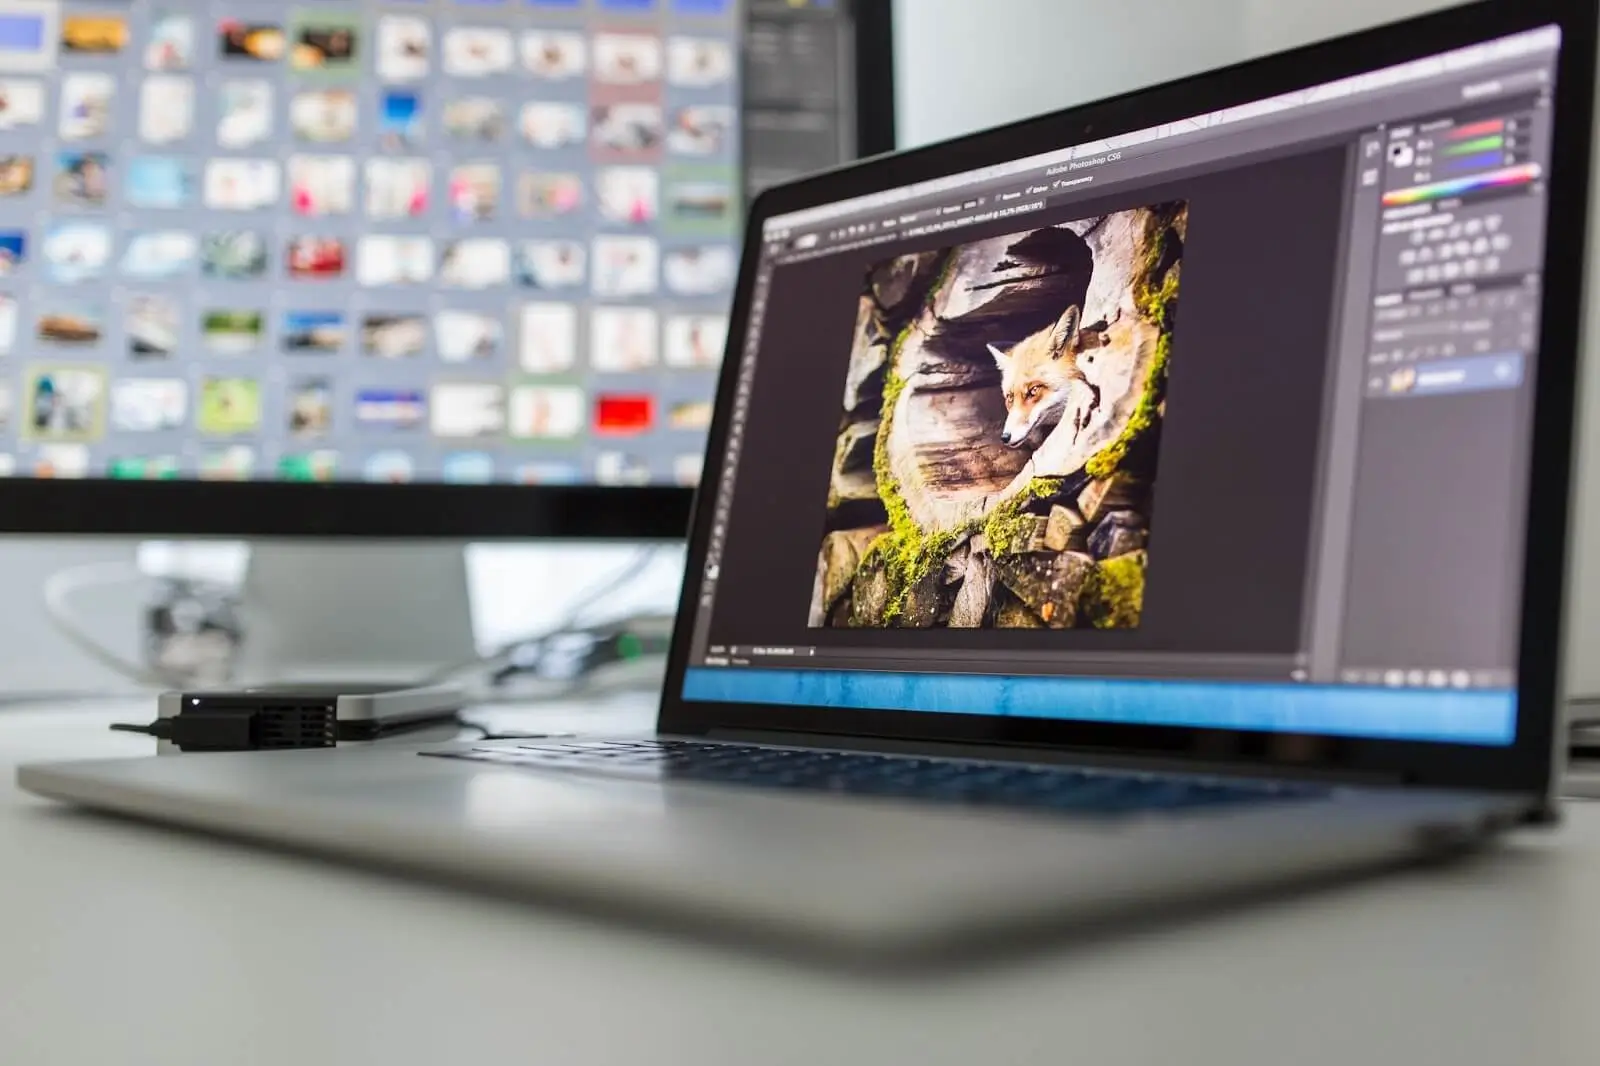
If you want to use a pro photo editor you would like to dedicate yourself to professional software such as mentioned earlier Lr and Photoshop. These editing software have comprehensive interfaces and plenty of tools that allow you to do pretty much anything with the image. However, the learning curve requires a lot of time watching tutorials on specific techniques, hence your editing skills development comes down to practice using these tools and techniques. Let us see what can you do with Lightroom and Photoshop and how can you manage these tools to make it easier for yourself.
Lightroom Photo Editing Tips

Lightroom is the most common software for photographers. Compared to Photoshop, the Lr is adapted more for photo editing which means it is easier to start with, whereas Photoshop is a more comprehensive utility that includes not only basic techniques of image manipulation but has more versatile tools to arrange specific parts of the image and do whatever you want with the assets you have.
Simplify the workflow
The best way to make your editing workflow in Lightroom simple is to make a framework or a guideline for every single photo you edit. One of the things you can do inside the Lightroom is organize it for your personal taste.
As you open up the editor with the image, you will see a toolset on the right side of your screen in a specific order.
- Basic
- Tone Curve
- Calibration
- Color Grading
- HSL/Color/ B & W
- Detail
- Lens Corrections
- Transform
- Effects
You can customize that from top to bottom in the order that you like to go through. To do that, just right-click on that tool’s bar and click the ‘Customize Develop Panel’. Drag the panels into the order you like and you can also enable or disable these panels for appearance. As you finish ordering panels, hit save and relaunch the program.
Create your own presets

Getting into these tools you can play around with the settings. In time, you will develop specific patterns of these settings for specific types of photos which means it is good to save them to not manually adjust them each time. To do that you want to navigate to Profile in the current settings panel and you will see it says ‘Custom’ by default, which means it is now working in custom mode. From here, you can save the customized settings and name set a profile name for each setting you have made. Repeat these steps for each panel and then it comes down to having an understanding of which profile preset to use on which photo.
Photoshop Photo Retouch Tips
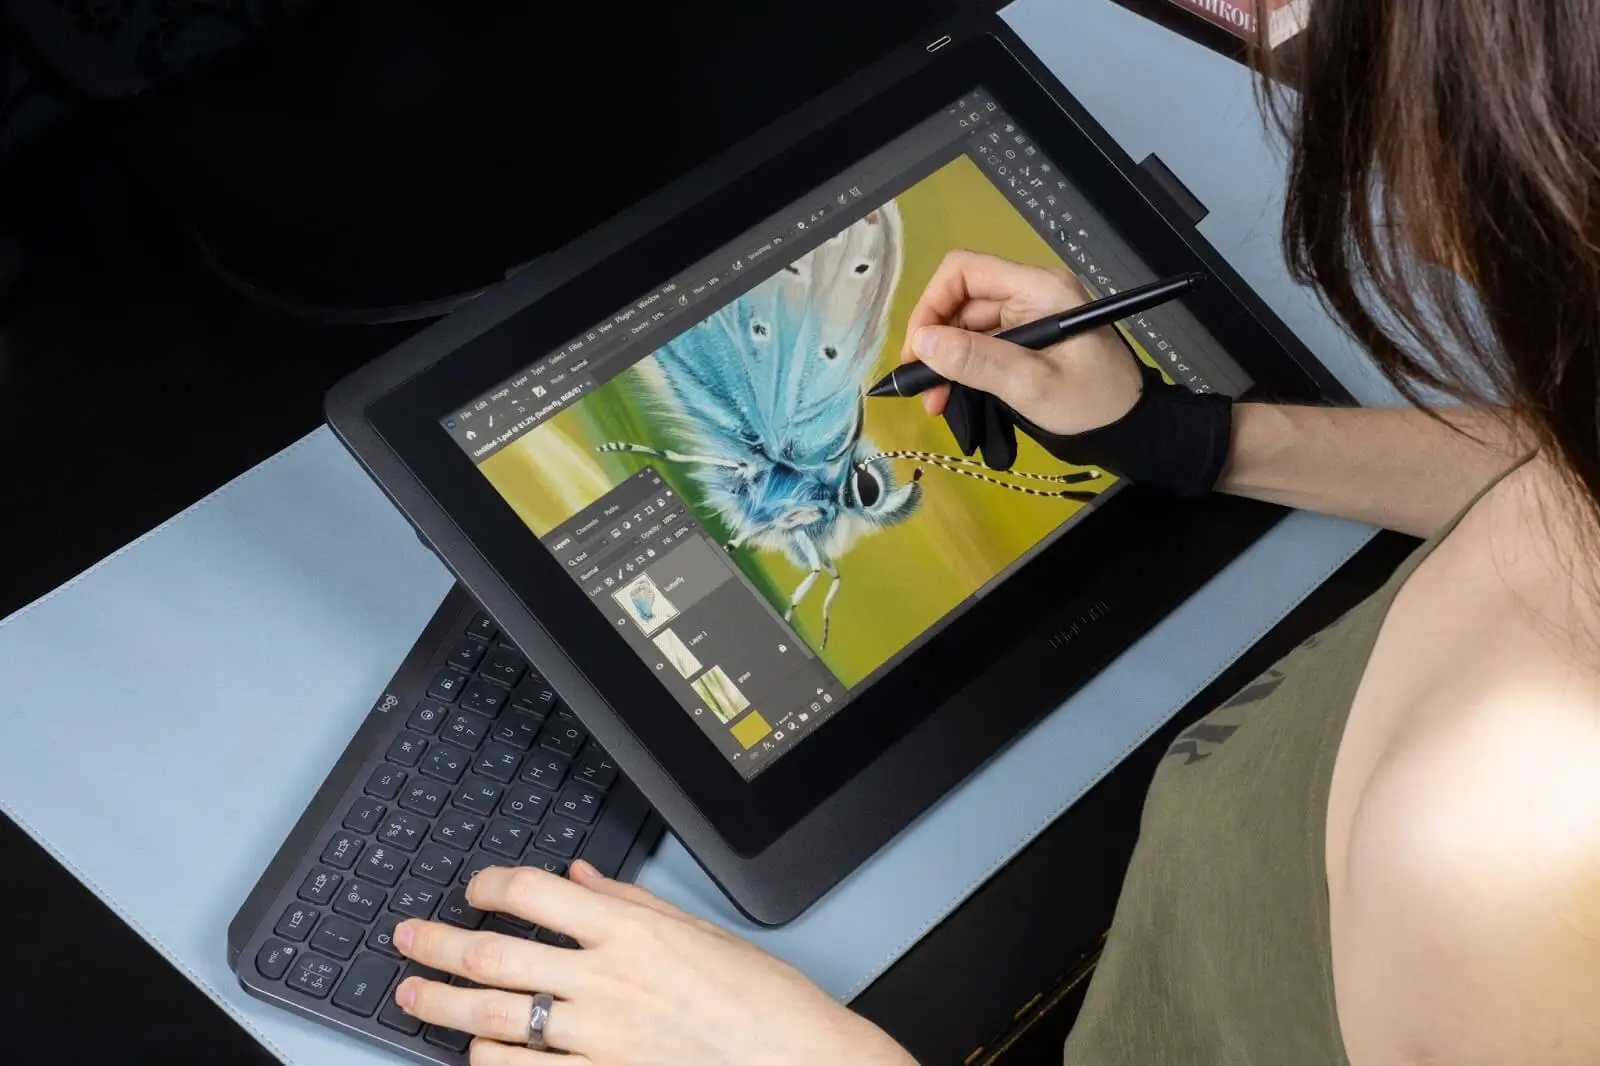
Photoshop differentiates from Lightroom significantly. This editor is designed for comprehensive image manipulation techniques. Like Lightroom, you can do the same color grading and fine-tune your photo to an extent in Photoshop, however, here you can manipulate the image, plugin assets, create a whole new image with it, change the background, and many more. Here are a couple of photo editing tricks that you can do with Photoshop if you have it updated to the latest version.
Generative Fill
With the recent update, Photoshop features a lot of AI tools that allow you not only to quickly select the subject of the background but also do the ‘Generative fill’ which is a tool to generate things from the simple text input. That way imagination is your only limit here, and all the photography editing tips are now available at your fingertips.

Image upscaling tools
AI also allows you to do image upscaling in case you want to restore old photos or improve your low-resolution images. You can increase the resolution from 2 to 16 times with that tool and add more detail to your image with that tool.
Editing photos for beginners

The basics of photo editing can be summed up quickly which in turn not only is the foundation of any good photo editor but also the most important part of it all as the basics are really where the majority of all the heavy lifting occurs, the rest is just polishing the fine details. However, if you are just a beginner in editing, here is a list of basic techniques of image manipulation that you can start using to develop your editing skills in time:
- Resizing and Cropping
Resizing changes the dimensions of an image, making it larger or smaller without altering its proportions. Cropping involves removing unwanted parts of an image to improve composition or focus on specific elements.
- Adjusting Brightness and Contrast
Changing the brightness alters the overall lightness or darkness of an image, while adjusting contrast affects the difference between light and dark areas, enhancing details and depth.
Color Correction and Saturation: Color correction helps balance the colors in an image to achieve a more natural or desired look. Saturation adjustments control the intensity of colors, making them more vibrant or muted.
- Removing Imperfections with Cloning and Healing Tools
These tools allow you to remove unwanted elements or imperfections from an image. Cloning duplicates a part of the image while healing blends areas seamlessly.
- Adding Filters and Effects
Filters and effects can dramatically change the mood or style of an image. They include options like sepia tones, black-and-white conversions, or artistic filters that mimic painting styles.
- Layers and Masking
Working with layers enables you to change specific parts of an image without affecting the whole. Masking hides or reveals parts of a layer, allowing for selective adjustments.
- Transforming and Distorting
Transform tools like scaling, rotating, skewing, and warping enable reshaping or altering elements within an image for creative effects or corrections.
- Adding Text and Graphics
Inserting text or graphic elements onto an image can be done to create posters, and advertisements, or enhance storytelling in digital art.
- Compositing and Collage Making
This is combining multiple images or elements to create a composite image or a collage involves layering, masking, and blending to integrate different visual components seamlessly.
iPhone photo editing tips
If you would like to do all the editing from the comfort of your iPhone, you would like to use applications for that. Many of the applications presented on the market have a simple workflow hence fine-tuning is not the point here. With applications, you can make simple adjustments and most of the tools mentioned earlier will be featured, however, you still have an option to fine-tune if you know the right service for that.
RetouchMe Photo Editor
As one you can use the RetouchMe application or its PRO version. What is unique with that app is that allows you to do comprehensive retouching via using the library of services featured here which counts hundreds of options and the number keeps updating with the application development. RetouchMe is available on the App Store for iPhone and it is also compatible with Android. The service has a team of professional photo editors that work in Photoshop, and you simply choose the service to apply to your image from the app and the editors will do all the hard work for you. This is a helpful tool in case you need a pocket editor helper for specific cases or to simplify your general workflow.
Conclusion
Knowing the terms and ways of using techniques is essential, but the software-editor choice is also important. There are plenty of tools available on the market to fulfill the needs of any person and editing skill level. So if you are going to start your photographer's career where post-processing is a must you can choose your way starting from simple apps, getting these picture editing tips and experience in time, and then come to a more complex software such as Adobe Photoshop or Lightroom for manual editing on your own.


