


Reflection Photography Ideas
May 23, 2024
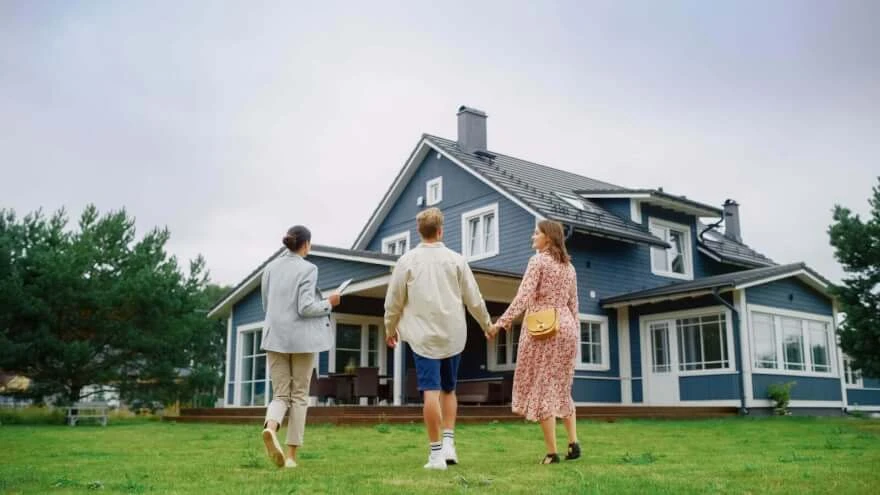
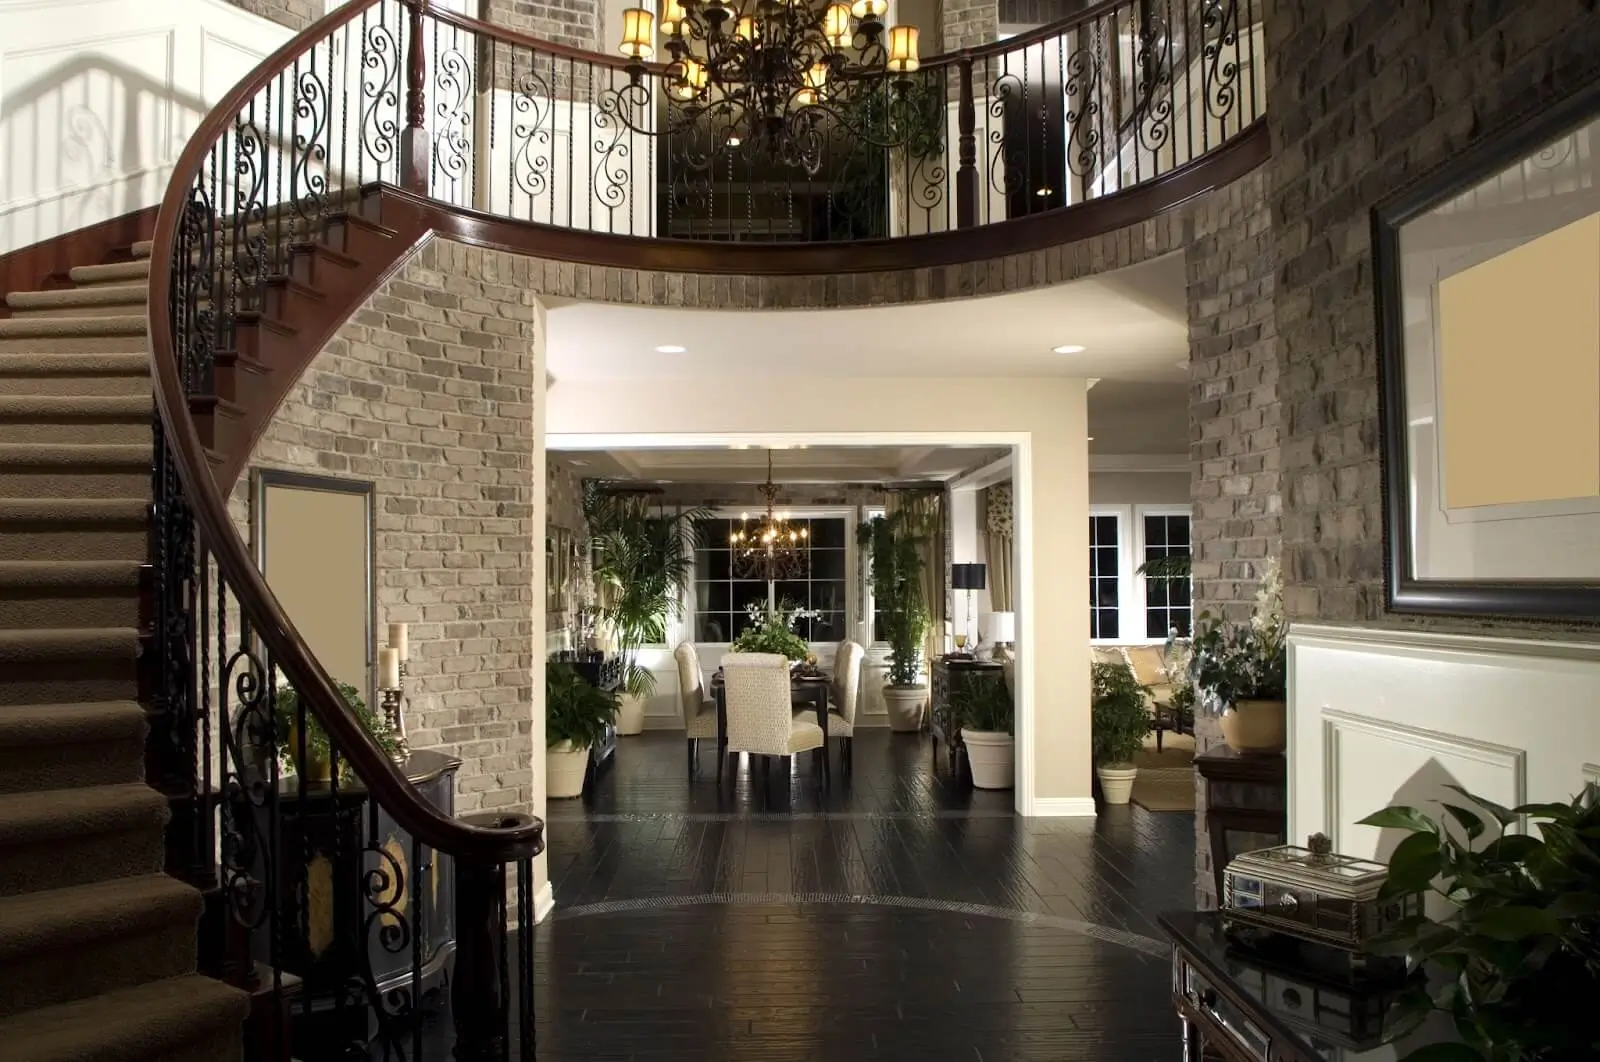
Real estate photography serves as a pivotal tool in showcasing properties to potential buyers. The way a property is captured can significantly impact its perceived value and desirability, directly influencing the sale. The images not only display the physical attributes but also convey the ambiance and lifestyle associated with the space. Through strategic photography, the aim is to highlight the property's unique features, create an emotional connection, and ultimately entice prospective buyers or renters. This visual storytelling through images plays a crucial role in inviting individuals to imagine themselves within the space, driving their interest in making it their own. In this article, we bring a tutorial on how to edit real estate photography to make colors pop and use lighting for these goals, plus, some general setup and camera settings.
Colors and lighting have an impact on how viewers perceive the overall image thus influencing their decisions psychologically. Let us break these terms down in terms of impact.
Colors and lighting act as potent storytellers, sculpting the perception and appeal of a property. Colors, with their innate ability to evoke emotions and influence moods, play a pivotal role in real estate photography. Each hue carries its unique connotations; warm tones like earthy browns or soft yellows create a sense of coziness and comfort, while cooler tones like blues or greens evoke calmness and spaciousness. These color choices are strategic, aiming to resonate with potential buyers on an emotional level, shaping their perception of the property's ambiance and character.
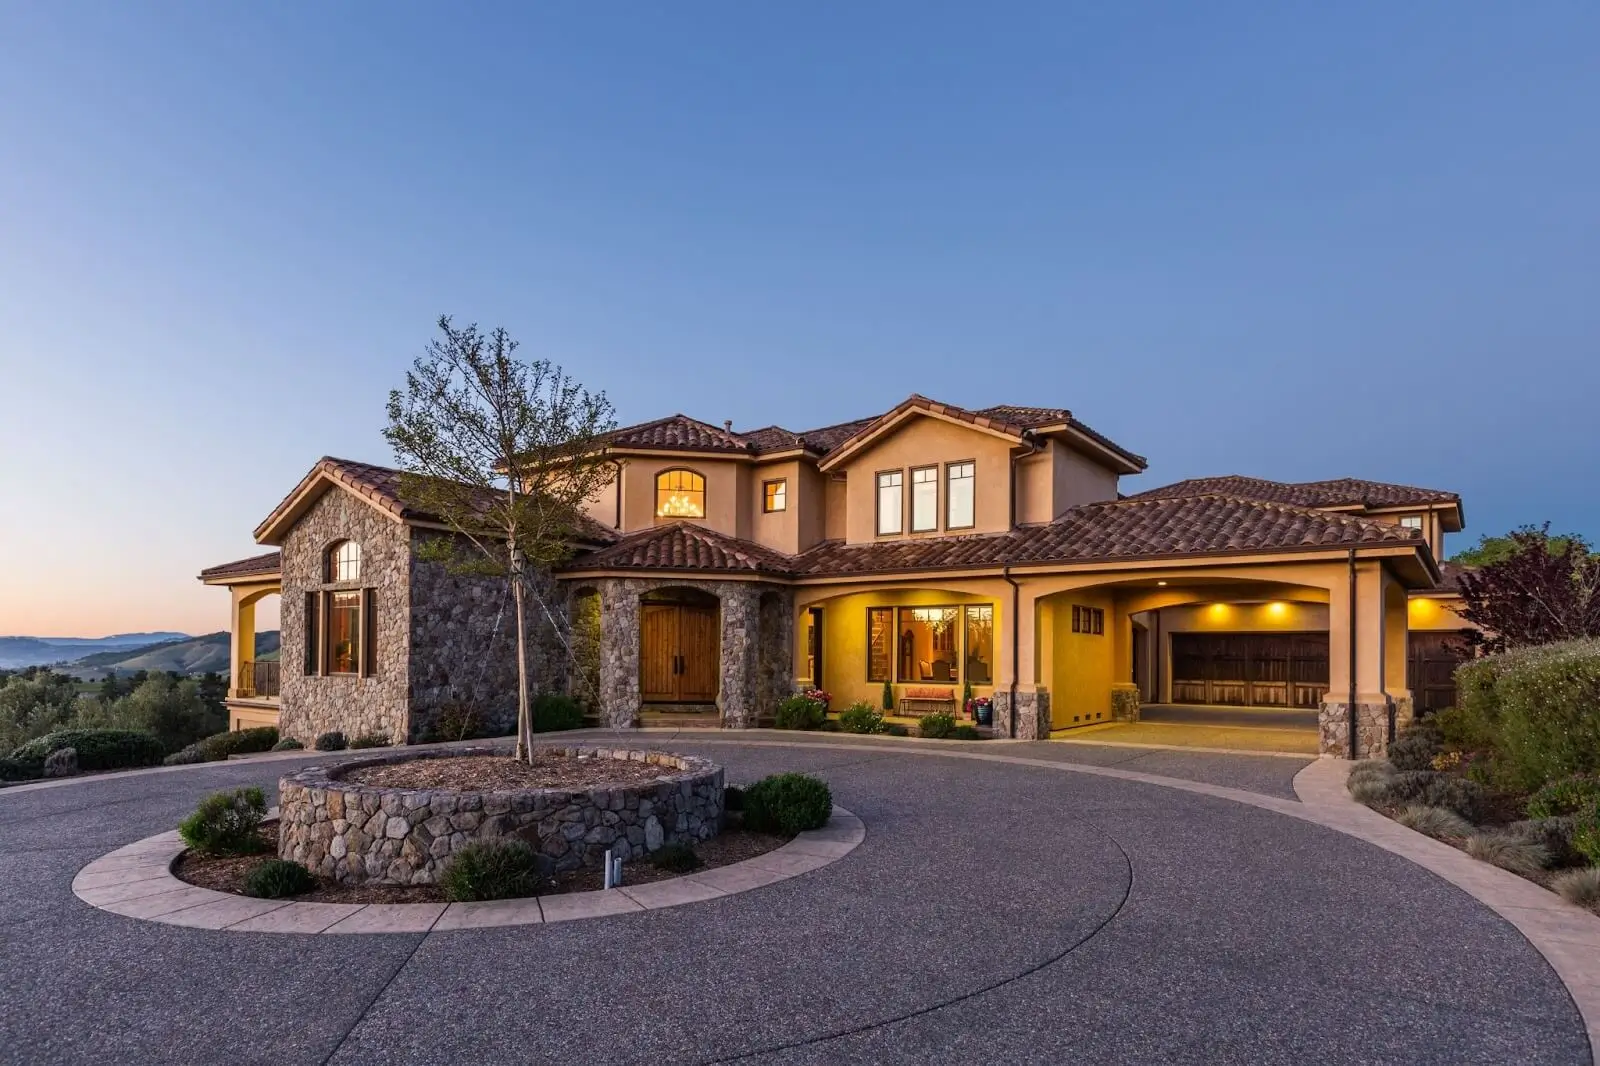
Moreover, lighting brings these colors to life, dictating the mood and atmosphere within each frame. Natural light floods spaces, highlighting their openness and warmth, while artificial lighting can accentuate specific areas, emphasizing architecture, and details or creating focal points.
The psychological impact of colors and lighting is profound. Subtle adjustments in color palettes or lighting setups can transform a room's perceived size, mood, and even its purpose. Understanding these nuances allows photographers to craft narratives within images, guiding viewers' perceptions and influencing their emotional connection with the property. Ultimately, this psychological interplay between colors and lighting forms the crux of real estate imagery, shaping how potential buyers perceive and desire spaces.

Now we need to prepare for the upcoming estate photoshoot. For that we need to select the right time for better light conditions, clear and stage the space and find a way to use light relative to the property. Mastering these elements ensures that the property is captured in its best light, showcasing its true potential to potential buyers or tenants.
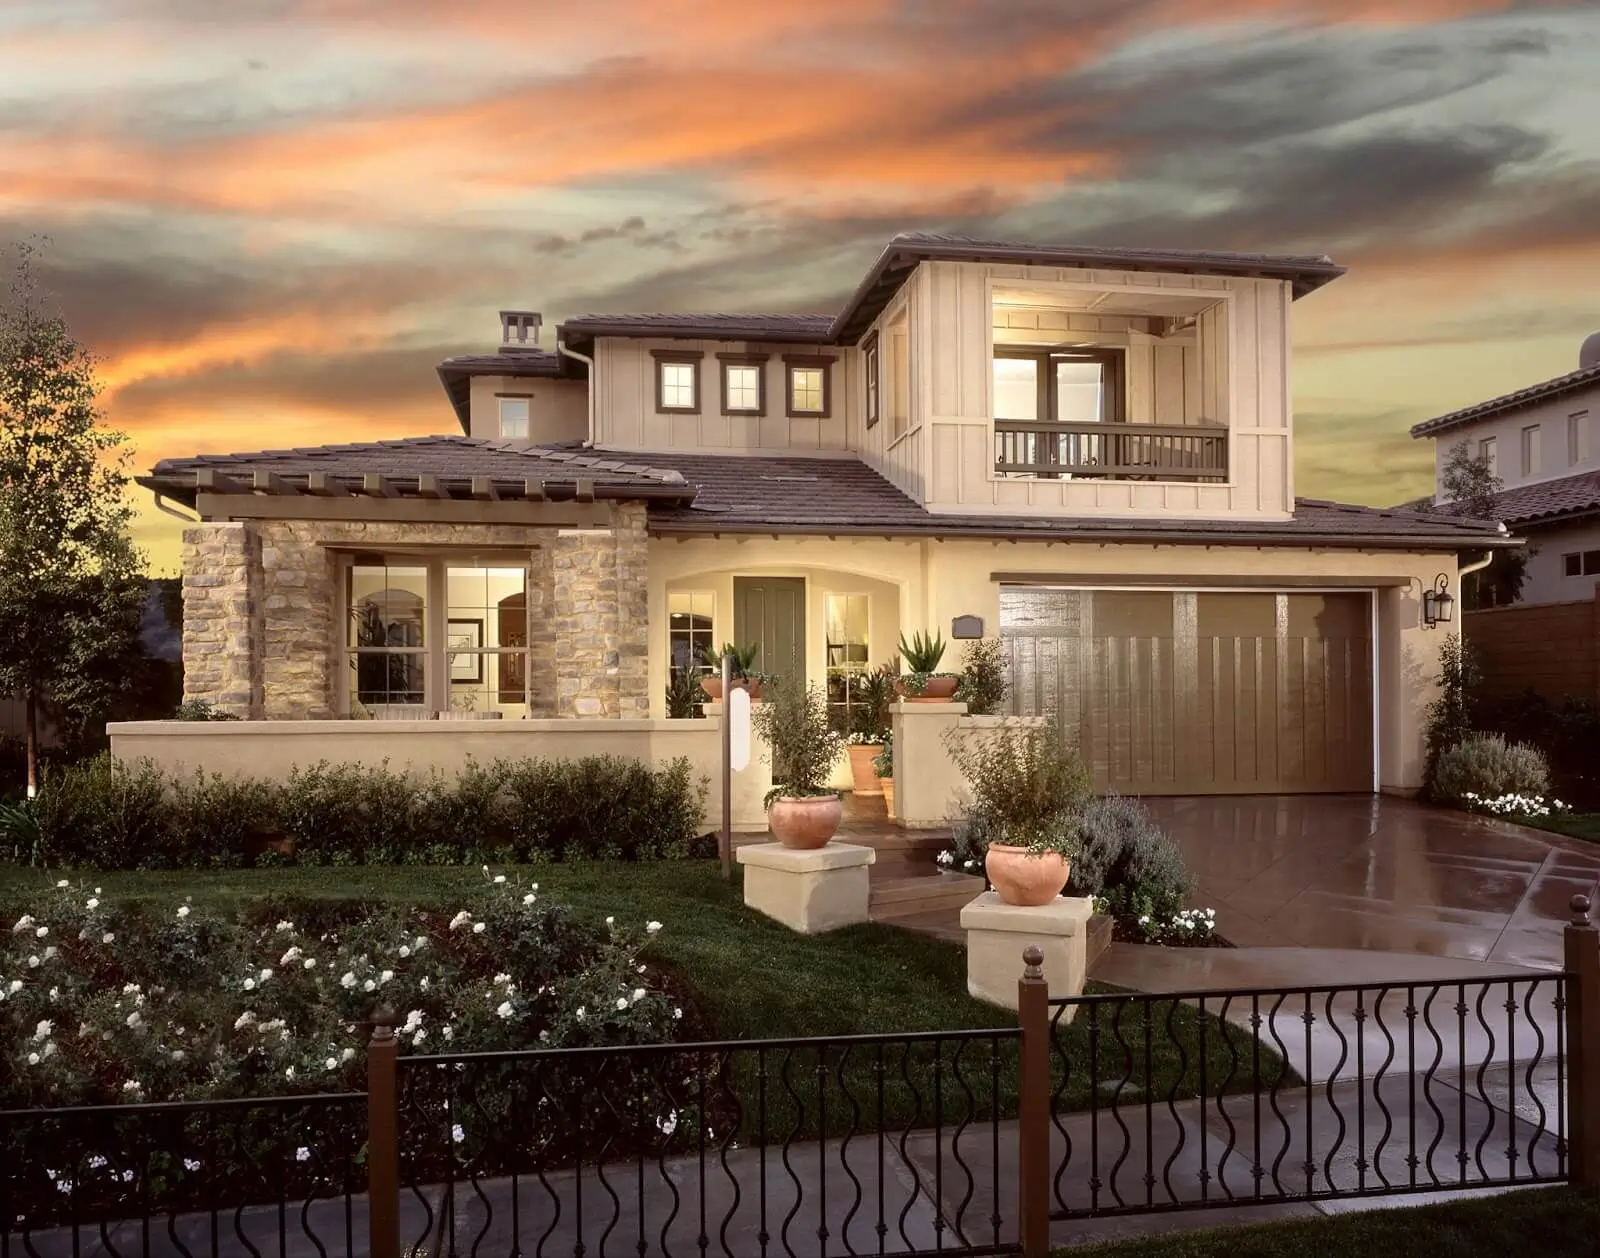
Timing is crucial in real estate photography and can significantly impact the quality of the images. Generally, shooting during the "golden hours" of sunrise or sunset bathes the property in a soft, warm light, creating inviting and captivating visuals. These times offer a natural, flattering illumination that enhances the property's features and fosters an emotional connection. This is more important for outdoor shooting rather than shooting the interior. However, if we have big windows or even transparent glass panels, the time of the day will also impact the way we shoot the interior.
Clearing clutter, organizing furniture, and decluttering surfaces not only create a visually appealing setting but also allow the property's best attributes to shine through. Staging the space strategically helps potential buyers envision themselves living in the property, showcasing its potential and functionality.
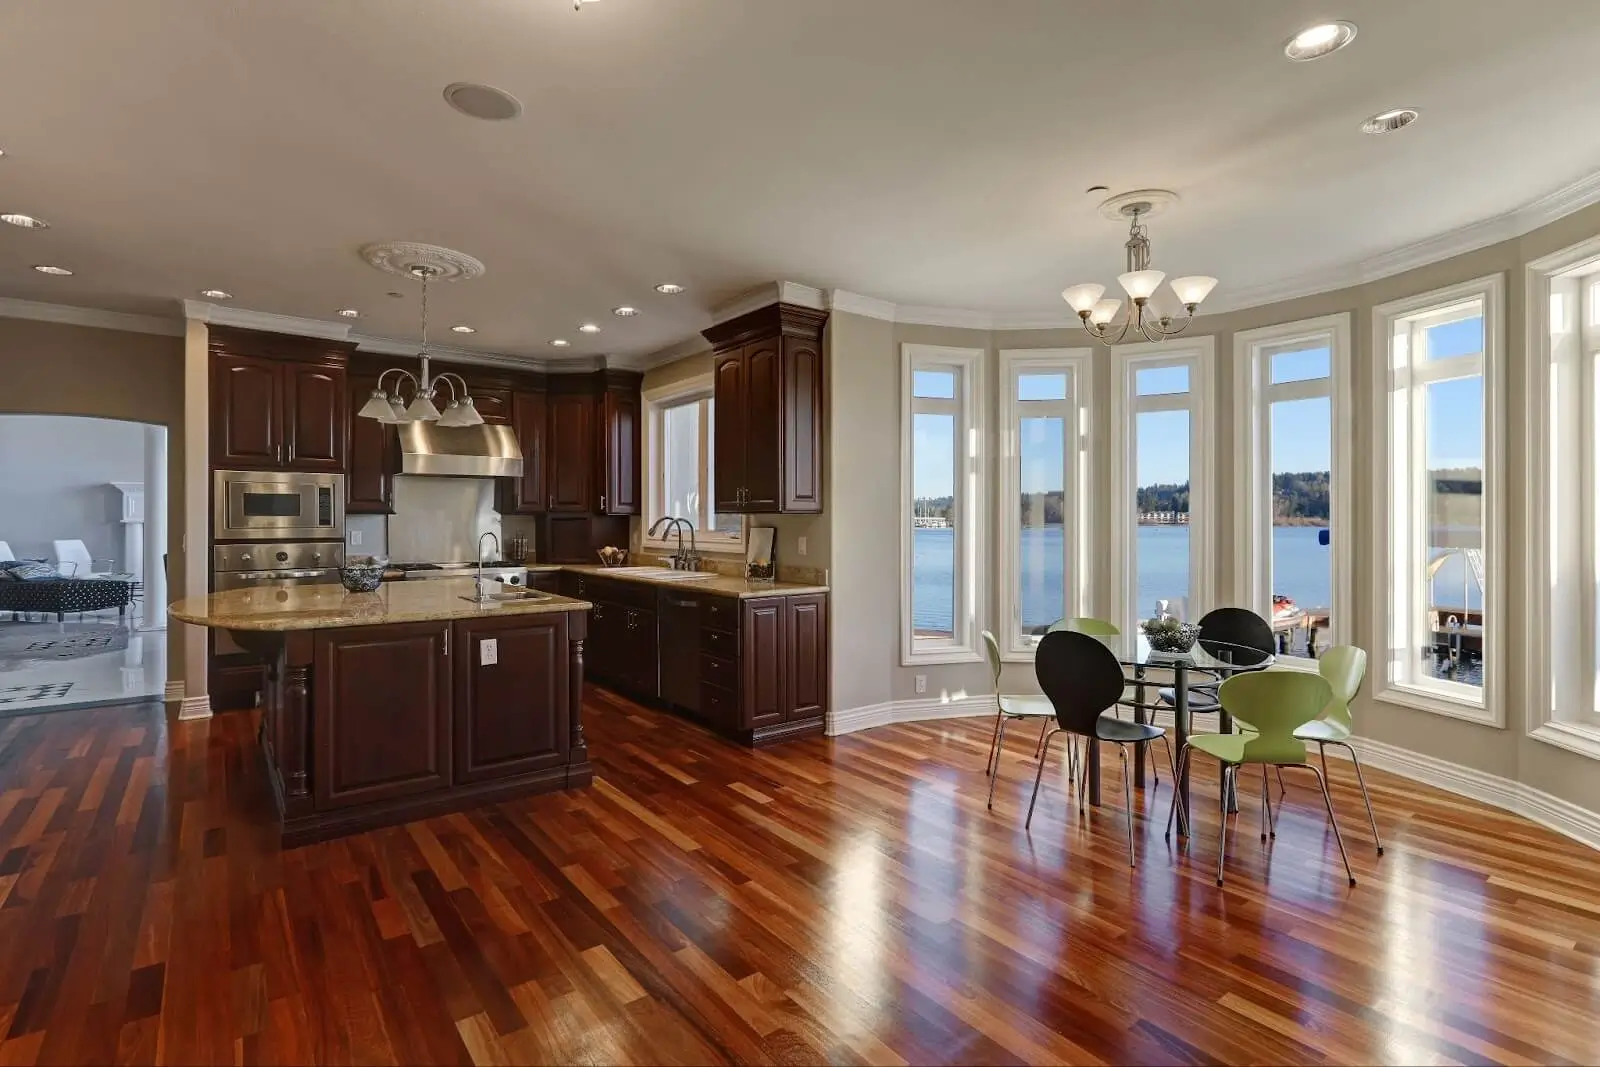
Natural light illuminates spaces in a way that artificial lighting often cannot replicate. Utilizing natural light effectively involves understanding how it enters and interacts within the property. Techniques such as bouncing light off surfaces or using diffusers can soften harsh light and create a more balanced, pleasing ambiance. Harnessing natural light appropriately accentuates the property's features and provides a genuine representation of its atmosphere.
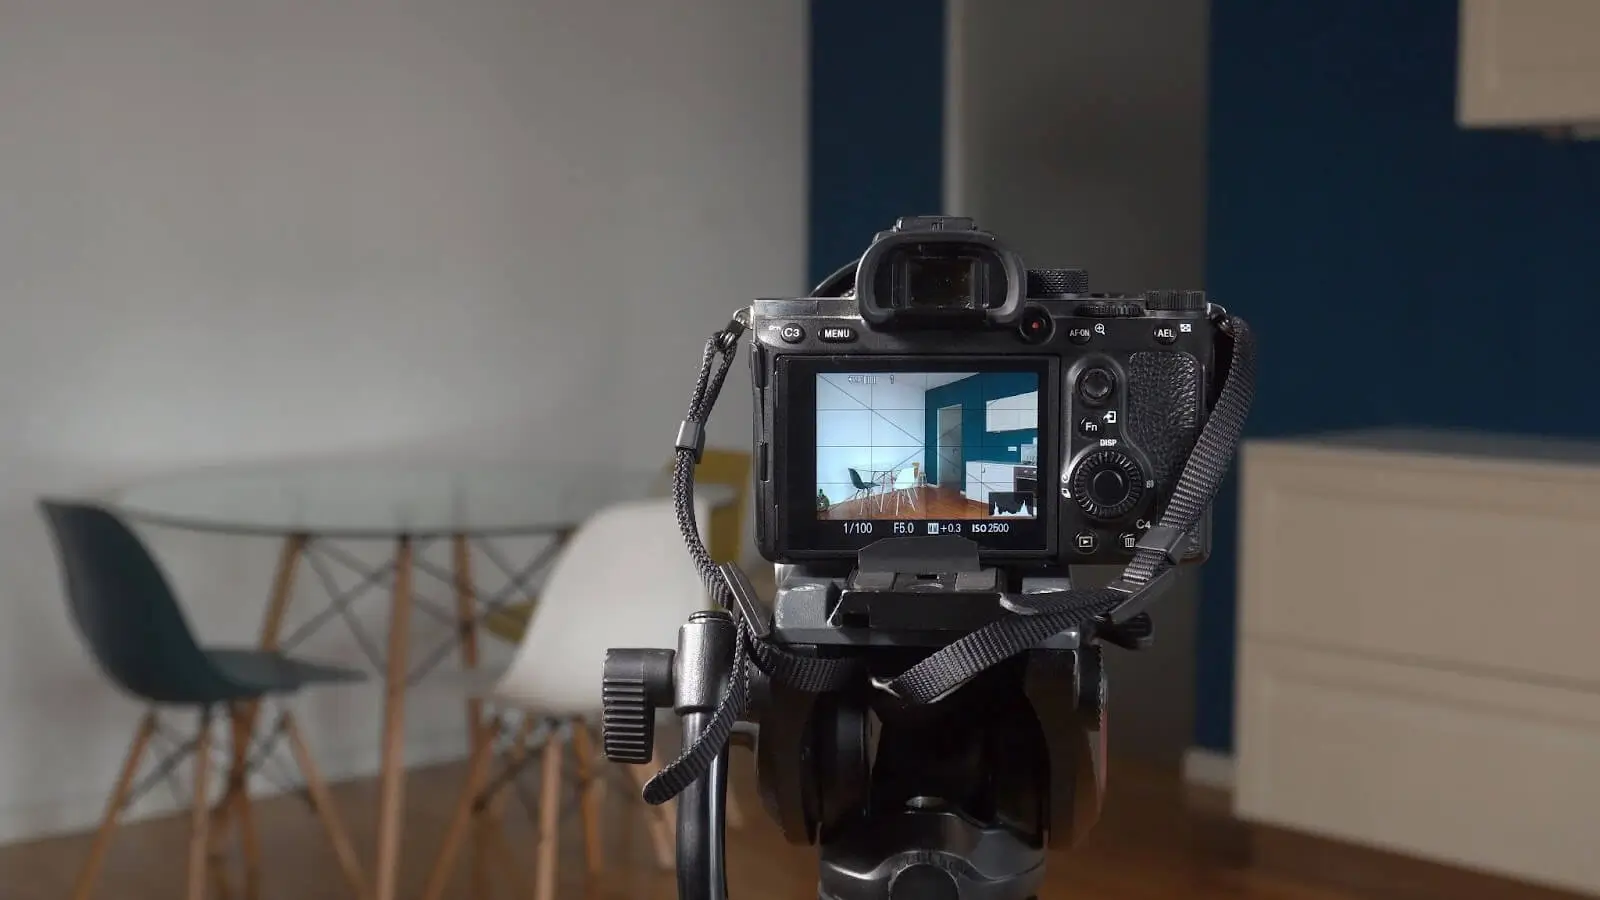
As we have everything set for the estate, now it is time to see our camera settings and delve into techniques that we can use to make our house shine.
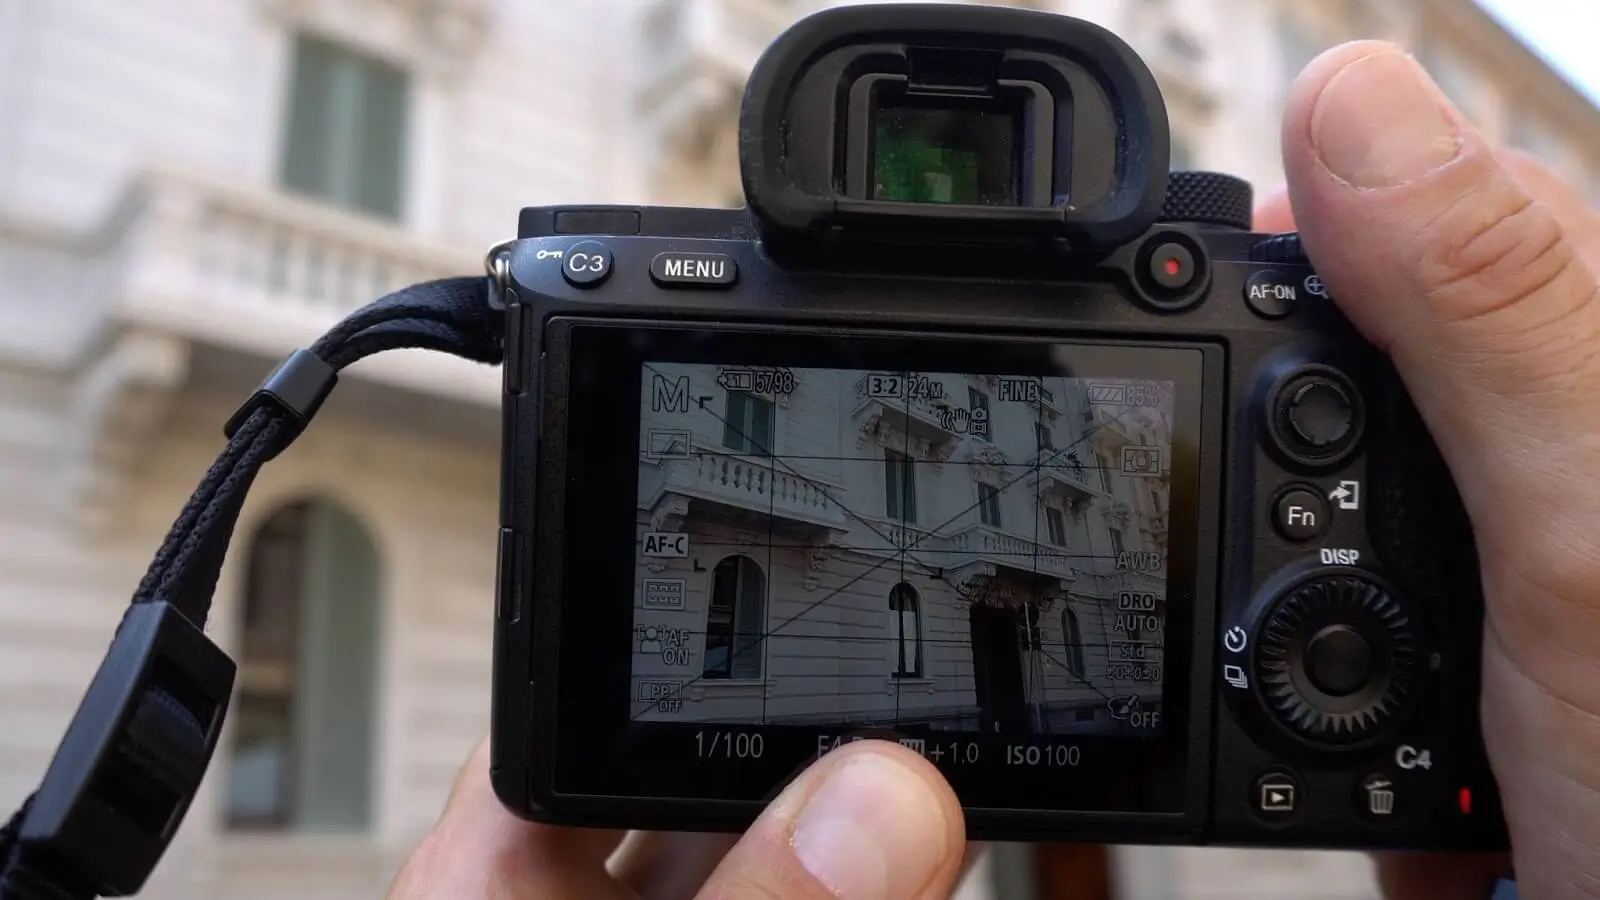
Optimal settings vary based on factors like lighting conditions, space size, and desired outcomes. For interiors, using a wide-angle lens helps capture more of the room, while adjusting aperture settings ensures sharpness throughout. Balancing ISO and shutter speed is crucial to avoid noise in low-light situations, and maintaining image clarity. Additionally, shooting in RAW format allows for more extensive post-processing without loss of quality, granting flexibility in adjusting exposure and colors during editing. Besides, a tripod comes in handy, as it allows us to use longer shutter speeds and if you combine that with a remote shutter control you will not disturb your camera and the image with potential handshakes and jitters while doing the long exposure. Now, let us see how to edit real estate photos with the techniques for balanced exposure.

Now it comes to refining and polishing our RAW images in post-processing, and most photographers work in Lightroom for that as it is more adapted for the techs and is simpler if we compare it with how to edit real estate photos in Photoshop. These adjustments serve to highlight the property's best features while maintaining a truthful portrayal of the space. Let us now see two general editing techniques with their differences and specifics.

High Dynamic Range (HDR) techniques enable photographers to capture a wider range of light within a single image. Bracketing multiple exposures – underexposed for highlights, overexposed for shadows, and a balanced shot – allows for combining these exposures in post-processing. This method ensures details are preserved across the image, preventing overblown highlights or loss of information in dark areas. HDR techniques create a balanced and realistic representation of the building, showcasing its full range of lighting conditions. Here is a step-by-step tutorial on each action you want to take in Lightroom.
Once satisfied with the edits, export the HDR image in the desired format and quality.
Remember, the goal is to enhance the image while maintaining a natural and realistic representation of the property. Experiment with different settings and tools in Lightroom to achieve the desired outcome for each specific real estate photo.

Photographing in multiple exposures also grants photographers the ability to capture a broader spectrum of light like the HDR tech. By blending these exposures in Lightroom, they can create images that accurately represent the property's true lighting conditions. This technique helps overcome the limitations of a single exposure, ensuring that no detail is lost in highlights or shadows. Through the merging of these exposures, photographers craft images that portray spaces authentically while enhancing their visual appeal. If we compare Multiple exposure editing with HDR there are some differences to elaborate.
Ultimately both methods aim to achieve a high dynamic range in images, however, the workflow and level of control are the distinguishing factors between these two. HDR streamlines the process and is a more automated approach, while multiple exposure editing involves manual blending and more hands-on control by allowing detailed adjustments for each exposure. Let us see other techniques' general meaning now.
In post-processing, selective adjustments play a vital role in highlighting key features of the property. This involves using tools like masks or adjustment brushes to target specific areas, such as accentuating natural textures, emphasizing architectural details, or enhancing focal points like a fireplace or scenic view. These selective enhancements draw attention to the property's unique attributes, guiding viewers' eyes through the space and emphasizing its most appealing aspects.
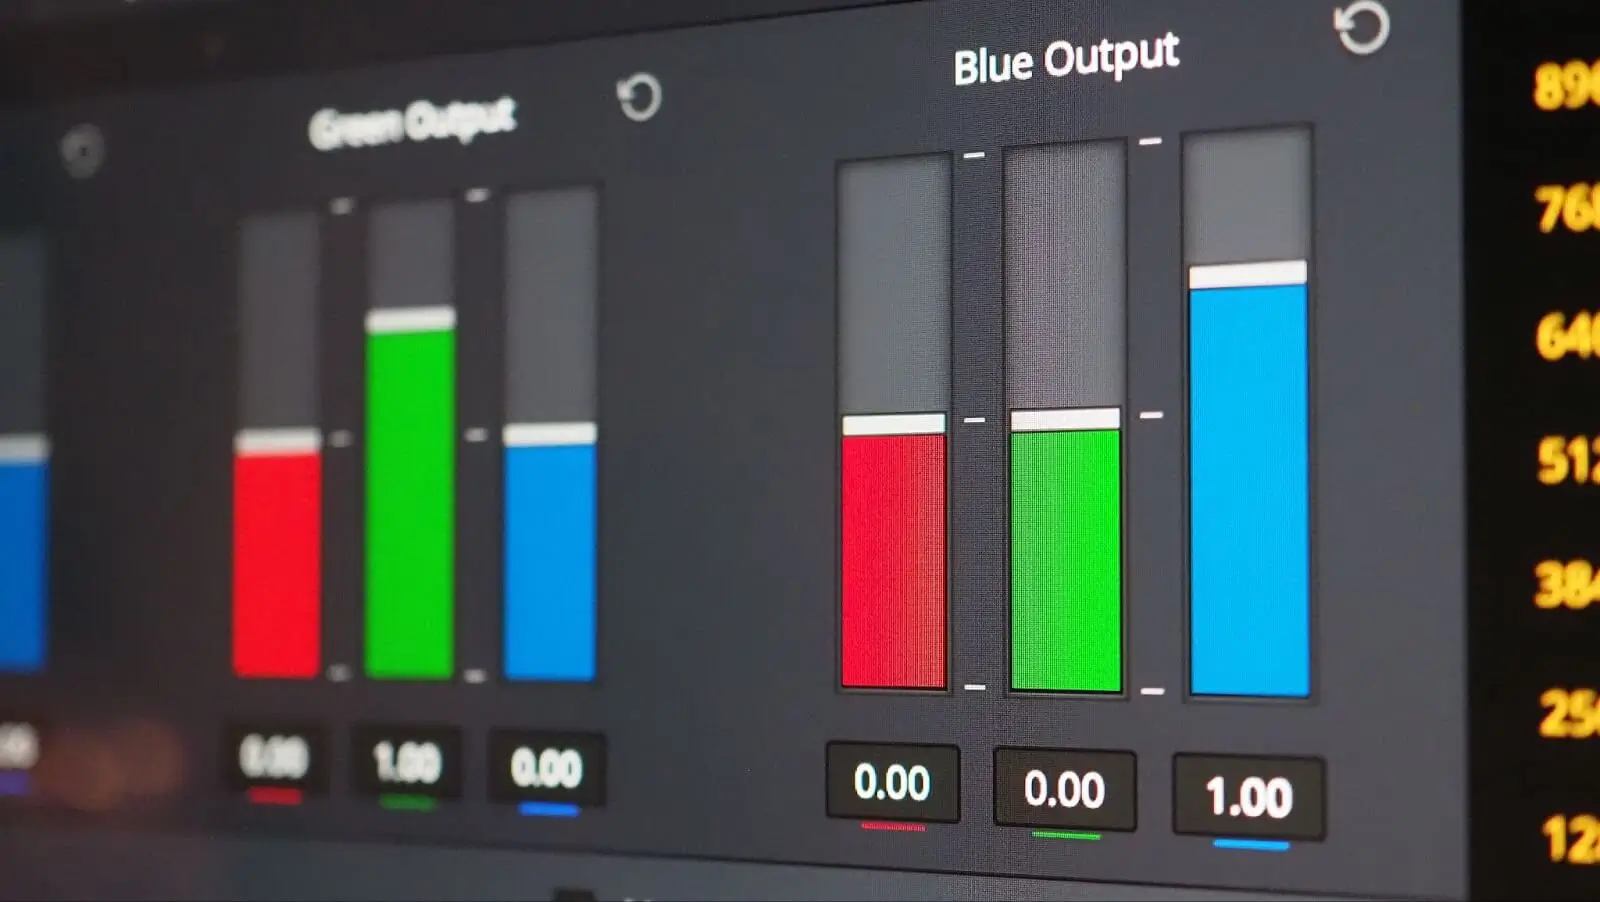
Preserving the authenticity of the property while enhancing its visual appeal is also crucial. Real estate photographers aim to enhance natural colors without creating a sense of artificiality. Techniques like color correction and white balance adjustments help maintain the true tones of walls, furniture, and decor. The goal is to represent the property as accurately as possible while subtly refining colors to create a vibrant yet realistic depiction that resonates with potential buyers.
Balancing exposure and contrast ensures that the final images are visually engaging. This involves fine-tuning exposure levels to avoid overly dark or bright areas, achieving a harmonious balance throughout the image. Adjusting contrast enhances the depth and richness of the scene, creating a dynamic visual impact without sacrificing the integrity of the space. Carefully manage exposure and contrast in ‘post’ to create images that are both captivating and faithful to the property's ambiance.

If you are not familiar with Lightroom or Photoshop the photo editor for real estate might be helpful. Try the professional retouch from our designer’s team to apply these techniques to your real estate images and see if the time saved is worth it. In general, you have a good tutorial to try the techs in Lightroom or alternatively in Photoshop on your own, however, if you have lots of photos to do in post, this might be a very time-consuming routine. If that is an issue, the manual retouching by our team ensures seamless and quality results in no time.
Co-founder of RetouchMe. In addition to business, he is passionate about travel photography and videography. His photos can be viewed on Instagram (over 1 million followers), and his films can be found on his YouTube channel.
Moreover, his profile is featured on the most popular and authoritative resource in the film industry — IMDb. He has received 51 international awards and 18 nominations at film festivals worldwide.