


Reflection Photography Ideas
May 23, 2024
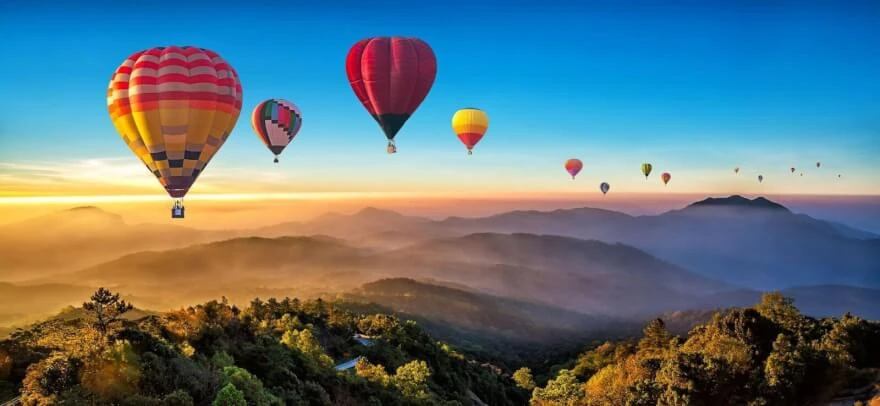
The beauty of landscape photography lies in the grandeur of nature – the order and shapes it naturally produces. Being able to correctly compose the shot and read nature’s language makes for appealing photographs that blow your mind.
In this article, we are going to bring you a complete tutorial on how to get into nature photography with tips on gear and compositional techniques.
Being a professional landscape photographer implies having appropriate gear for that. We have cameras, lenses, and supporting tools to photograph landscapes, so let us get started with the camera.
The camera body itself really does not matter, any modern camera will be more than enough. You can shoot Nikon or Canon, it is a matter of your own choice though, but you do have to choose between a crop sensor camera or a full-frame sensor. The full-frame sensor does have a few advantages. Besides being much larger, which gives dynamic range and handles noise in better low-light situations but it usually comes with a much heavier price tag.

Lenses are more important than camera choice and are the main solution for how to do landscape photography. We are going to talk about three different types to know what they are in comparison, their strengths and weaknesses.
Let us start with medium telephoto lenses, these are considered “boring lenses” because they have focal lengths of 24-70 mm. Using them on a full-frame camera produces images of what our eye naturally sees which is not to make your photo stand out. That way photos taken with a 50 mm lens have no distinguishable characteristics that will catch your eye. These lenses are great for panoramic photography, capturing small intimate scenes.

These lenses are of 12 to 24 mm or 16 to 35 mm focal lengths. The wide-angle lens does something extremely unique that only a wide-angle lens can do, and that is called perspective distortion. The edges of the scene get stretched out due to the properties of this lens. Foregrounds are going to look much larger than they normally are. This is a great tool for providing foreground interest that grabs the viewer’s attention in a photo. To emphasize the effect you can bring your camera close to the foreground between a few centimeters and half a meter is not uncommon, the smaller the foreground the closer you need to be. This also means you want to shoot with a close-down aperture such as F/16 or focus stack the photo.

Telephoto lenses vary in focal range from 70 to 200 or 100 to 400 mm and their main characteristic is called the compression effect. This is only an effect because the lens does not actually compress anything physically. Still, visually it appears to compress the foreground in the background to make them appear much closer. Like this shot of the Grand Canyon.

With a telephoto lens, you are essentially just cropping in, taking just a piece of the landscape. This lens is great in helping you to simplify complicated scenes by isolating subjects, or it can be just a way of getting closer to mountains and things in the distance that are out of physical reach otherwise. To achieve the same zooming effect you can also use an image cropping service.
Besides the lenses we require a sturdy tripod. You will need one if you are going to take long exposure photos of flowing water or astrophotography and to take low-light photos without needing to hand hold your camera and raise your ISO unnecessarily.

To set the proper exposure use your histogram. Mirrorless users rely on zebras to see in real time the exposure through the viewfinder and on the back of the LCD screen. But that is an unreliable option because the brightness of the screen mixed with the bright sun can be misleading. The only way to ensure proper exposure is by using your histogram.

Always expose to the right, make sure you capture all the information in the shadows, and do not overexpose and blow out your highlights. You can always bring down the exposure later in post-processing.
This is one of the biggest problems with landscape photography seen by all beginners and comes down to two issues: the settings and the technique while taking the photo. The aperture is what gives you depth of field or how much of the scene you want to be in focus. If you want everything to be in focus you want your aperture to be between F/8 and F/16 – this is the sweet spot for most situations. If you are shooting in manual mode, which you should be, you set your aperture first then your shutter speed, and then keep your ISO and the base setting of whatever your camera allows which is as low as possible. It is either going to be 100 or 64 for the most cameras. This low ISO setting will give you the cleanest, noise-free image possible.

Blurry photos can come from a handshake while holding the camera if your shutter speed is too slow or just from pushing down on the shutter button. This is where the tripod comes in handy. A steady tripod helps big time and you do not have to worry about holding the camera and your shutter speed can be as long as you want. When you are holding the camera, the minimum shutter speed should be one over your focal length. So if you are shooting at 50 mm your shutter speed should be no longer than one fiftieth of a second. With a tripod, you do not have to worry about that, if you want to do long exposures for waves and waterfalls, a tripod is a must.

Use 2 second delay on your camera, so as you push the shutter button, two seconds go by before you take the shot. That way, your hand is completely clear not causing any camera shake to spoil the shot on long exposure. You can also use apps on your smartphone as well as a remote shutter control device to plug directly into the camera and use this without touching your camera at all.
For wide-angle and medium telephoto lenses you want to focus about one-third into the scene. That, combined with the aperture between F/8 and F/11, in most situations, you are going to be fine. But here is one important concept – hyperfocal distance. It is a minimum distance from your camera to where everything will be in focus all the way to infinity. Wide-angle lenses are much more forgiving than long telephoto lenses. Just google the hyperfocal table to see the distances based on your lens, your camera, and your aperture.
However, with the telephoto lens, you want to always focus on your subject. That way you either try to isolate your subject by letting things in the background fall out of focus which is a good thing, or your subject is way off in the distance. Either way, if you focus on your subject, you can not go wrong.

Now, for the composition, arranging the elements in your photo that are visually appealing, is a life-long learning process. The subject in your photo needs to be clear. As Adam Ancel, the famous landscape photographer once said: “There is nothing worse than a sharp image of a fuzzy concept”. Any elements you include in your image that are not subject either need to be left out or it needs to complement the subject. Elements like leading lines, S-curves, repeating patterns or even size progression can be helpful tools in complementing your subject.

Sunrise and sunset give that really nice golden light and it adds glow and softness to the landscape. Storms, both before and after can be extremely dramatic. Overcast can be great for black and white images and long exposures, more of a fine-art type image. Things like fog and low clouds are both landscape photographer’s best friends. Even midday reflected light can be great if the situation calls for it. By default, always start with the golden hour, it is famous among landscape photographers for a reason as it delivers that soft light that paints landscapes in colors and creates interesting and soft contrasts. During the golden hour we can get that gorgeous and dramatic backlighting that makes the sky explode in colors, outlines our subjects, and makes the atmosphere glow. Local cloud cover with a gap at the horizon that the sun can shine through works perfectly.

To take epic photos, the biggest favor you can do for yourself is to go to epic landscapes. If you do not know what you are doing, you can easily risk taking not-so-epic photos in an epic landscape and it is certainly also possible to make epic photos in not-so-epic landscapes. Thinking about mountainous and dynamic landscapes with valleys, rivers, waterfalls, lakes, forests, and so on, you will notice that the landscapes, due to the visual impact are generally doing most of the work for you. Most of us do not have gorgeous mountains in our backyards, however, taking landscape photos requires you to be set for a journey on the airplane, bus, or car, you have to be dedicated to that and ready to go to rural and foreign places. The scene in front of you is a theater stage. The stage itself can be beautiful but you want some actors on that stage to tell the story. However, keep it simple, we are not writing Shakespeare here. One, maybe two subjects with some supporting characters are good.

Interestingly to the theme of epic landscapes, it is beneficial to have a larger-than-life main subject, therefore a mountain. It will break your photos if you end up photographing boring mountains. The size of a mountain is rarely the determining factor for making an epic photo. Mountains can actually be way too big. Try to recall when was the last time you saw an epic photo of Mount Everest. It does not really exist and it is much more about the shape of the mountain. We want dramatic and characteristic peaks, and mountains that stand out in the landscape. We want something unique and interesting to look at and sometimes that includes famous locations and they did get famous for a reason.
First, you want to fill the frame with information. This means to avoid negative and especially dead space. We want to cram as much nature stuff into the frame as possible as to fill the frame. With that, you want to have identifiable layers: foreground, midground, and background. Generally, three or four layers are typical, but there are exceptions and the layers are not always perfectly defined and may overlap each other. The point is to have depth in the photo and we create a sense of 3D. Now adding all these layers considered as information or points of interest it is essential to take control of that information respectively.
We need order, not chaos, we want to balance the photo and avoid that the photo feels visually heavier to one side or the other. This does not mean that the subject can not be placed on either side of the middle of the photo, you want something of visual interest to counterbalance the subject. Individual parts of the photo should deliver maximum impact including leading lines, repeating patterns, and so on.

Knowing how to take landscape pictures in theory with all the techniques and compositional tricks is important, however practicing is also essential, as the knowledge comes naturally with experience. Set yourself on a journey, take your gear, and friends, and look for amazing scenery around the countryside, village, or being in the open landscape. Go out and photograph amazing stuff that people did not see such as volcanos, tornadoes, and other interesting and elusive events. Do not forget to shoot in RAW and post-process your images after the session. If you need editor help to adjust colors you can use a professional image color correction service.
Co-founder of RetouchMe. In addition to business, he is passionate about travel photography and videography. His photos can be viewed on Instagram (over 1 million followers), and his films can be found on his YouTube channel.
Moreover, his profile is featured on the most popular and authoritative resource in the film industry — IMDb. He has received 51 international awards and 18 nominations at film festivals worldwide.