How to Capture Stunning Portraits with These Simple Tips
- What is the definition of portrait photography?
- Types of Portraits
- 3 Simple Tips for Shooting Headshots
- Tips for Natural Light Portraits
- How to beat the raccoon effect
- Do not shoot with the sun behind the subject
- The Golden Hour
- The emotional aspect of portrait photography
- A simple way to learn and practice to convey emotions in a photo
- Portrait Photography Techniques for Composition and Framing
- Framing Full-body shots
- Framing Mid-shots
- Cropping on purpose
- Be mindful of negative space
- Poses and storytelling in portrait shots
- Post-processing your portraits
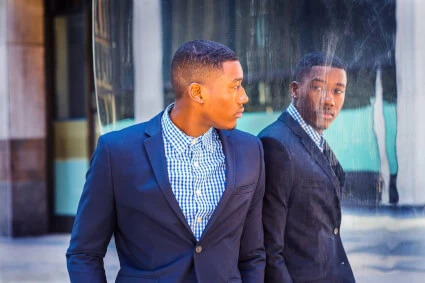
There is a belief that by photographing a person you steal a part of his soul, and partly it can be considered true because a good or professiona l photographer can snapshot human expression, his character, and convey the features of the individual with the right composition. Storytelling through the lens of a person requires a lot of knowledge, especially in this type of photograph which is the most popular. Today we define portrait photography in essence and give you portrait photo tips that will make your subject shine in a photo.
What is the definition of portrait photography?
Before we delve right into portrait photography tips , we need to define the term and set borders that distinguish this type of photography from the others.
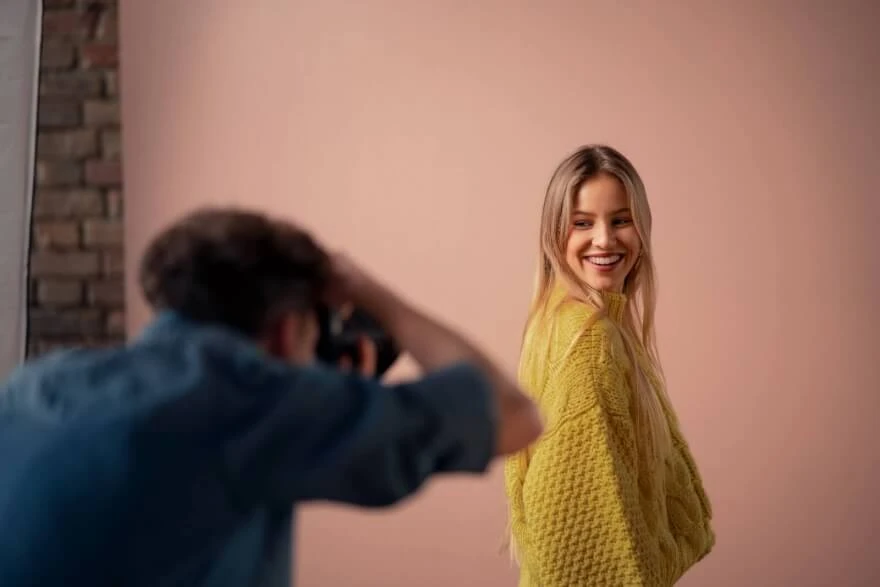
A portrait, in its most fundamental sense, is a representation of a person or a group of people. It aims to capture the likeness, character, personality, or essence of the subject being photographed. It allows to highlighting of facial features, expressions, and body language of people neglecting the surrounding environment. However, the environment takes place in a photo and can be a part of the story.
Types of Portraits
There are three general types of portraits from the composition and framing standpoints:
Headshots or Close-ups
Mid-shots
Full-body shots
This helps distinguish portraits from other types of photography as it is centered on the individual or a group of individuals. Now we can go to our photo headshot tips that we can apply in any setting be it a business photo or a casual one.
3 Simple Tips for Shooting Headshots
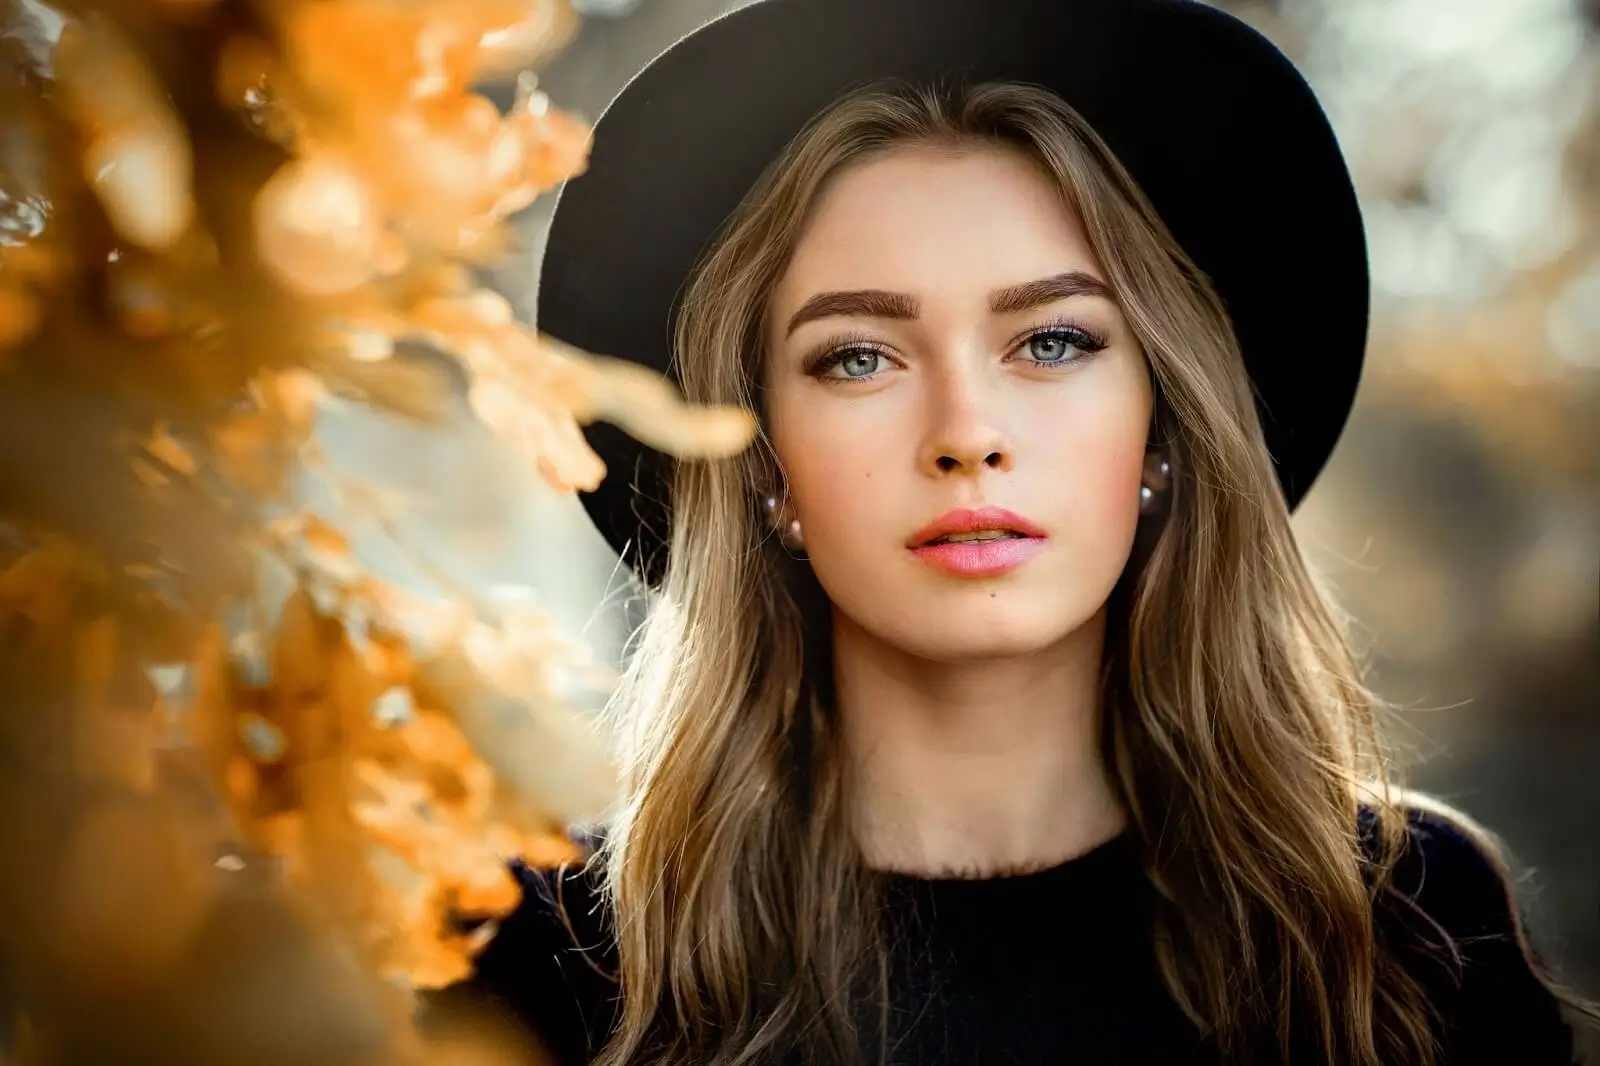
The general tip here is to keep things simple. You do not have to twist your model just to get a unique perception, these things are good in a good measure, however, a variety can serve you in a good way, especially if you make a selling portfolio. However, your clients will choose you more for consistency, they need to be able to read your style to pick a photo they like and then recreate it with their personality.
Keep the jawline out
The number one way to make a person look great in a portrait photo is to get the jawline up. Do not allow your model to have a double chin perspective and adjust their position in front of the camera in accordance, as we do a close-up shot this detail matters a lot.
Squinch tech
The second tip is to make your model look more confident. While wide-open eyes may look great in specific photos for a specific emotion to convey such as fear. As we keep it simple, we want our model to squinch their eyes just a bit which in turn makes them stand out, look fearless, and confident and make a great look overall.
Confidence and approachability
This tip follows the previous one. As the confidence comes from the eyes, the approachability comes from the mouth. A slight smile for a simple close-up makes a person more approachable and pleasing to look at.
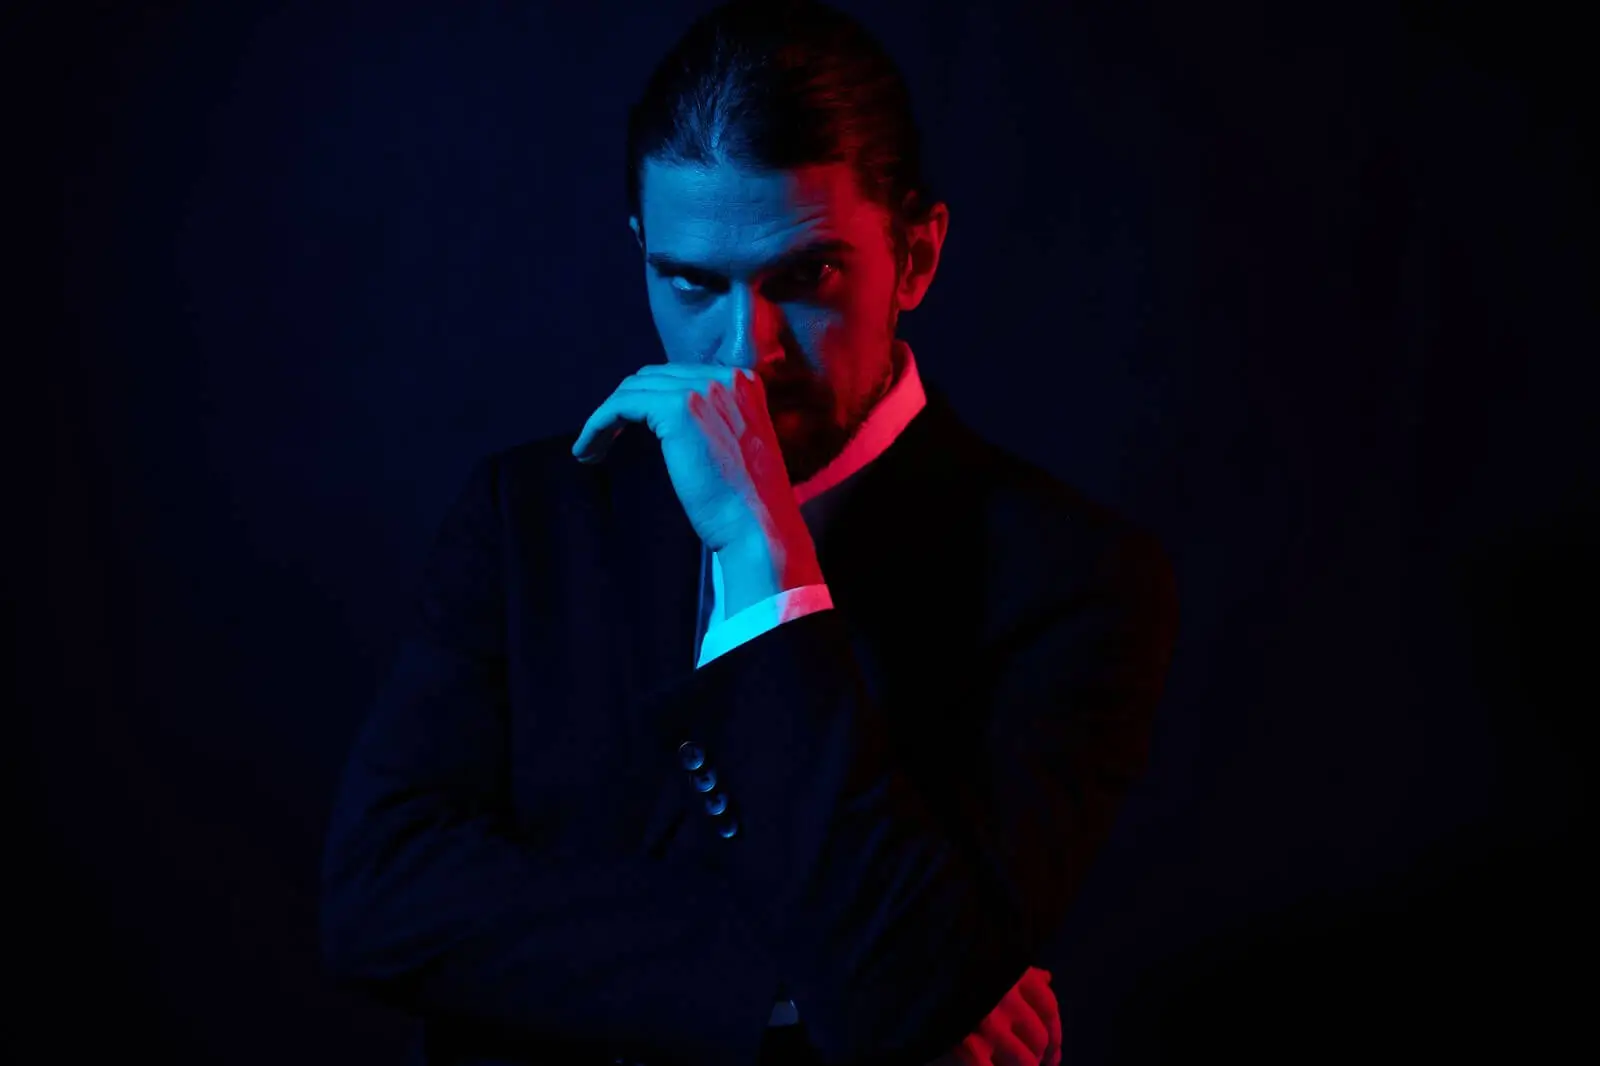
These could also be considered professional business headshot tips as we keep things simple, and the businessmen would not like to convey more than their approachability which makes people to wish interact with them, and the confidence that makes for people’s trust.
Tips for Natural Light Portraits
When you are going to shoot portraits outdoors the light conditions may not be the “golden hour” alike. The harsher the sunlight, the more shadows it produces. And this can turn into issues.
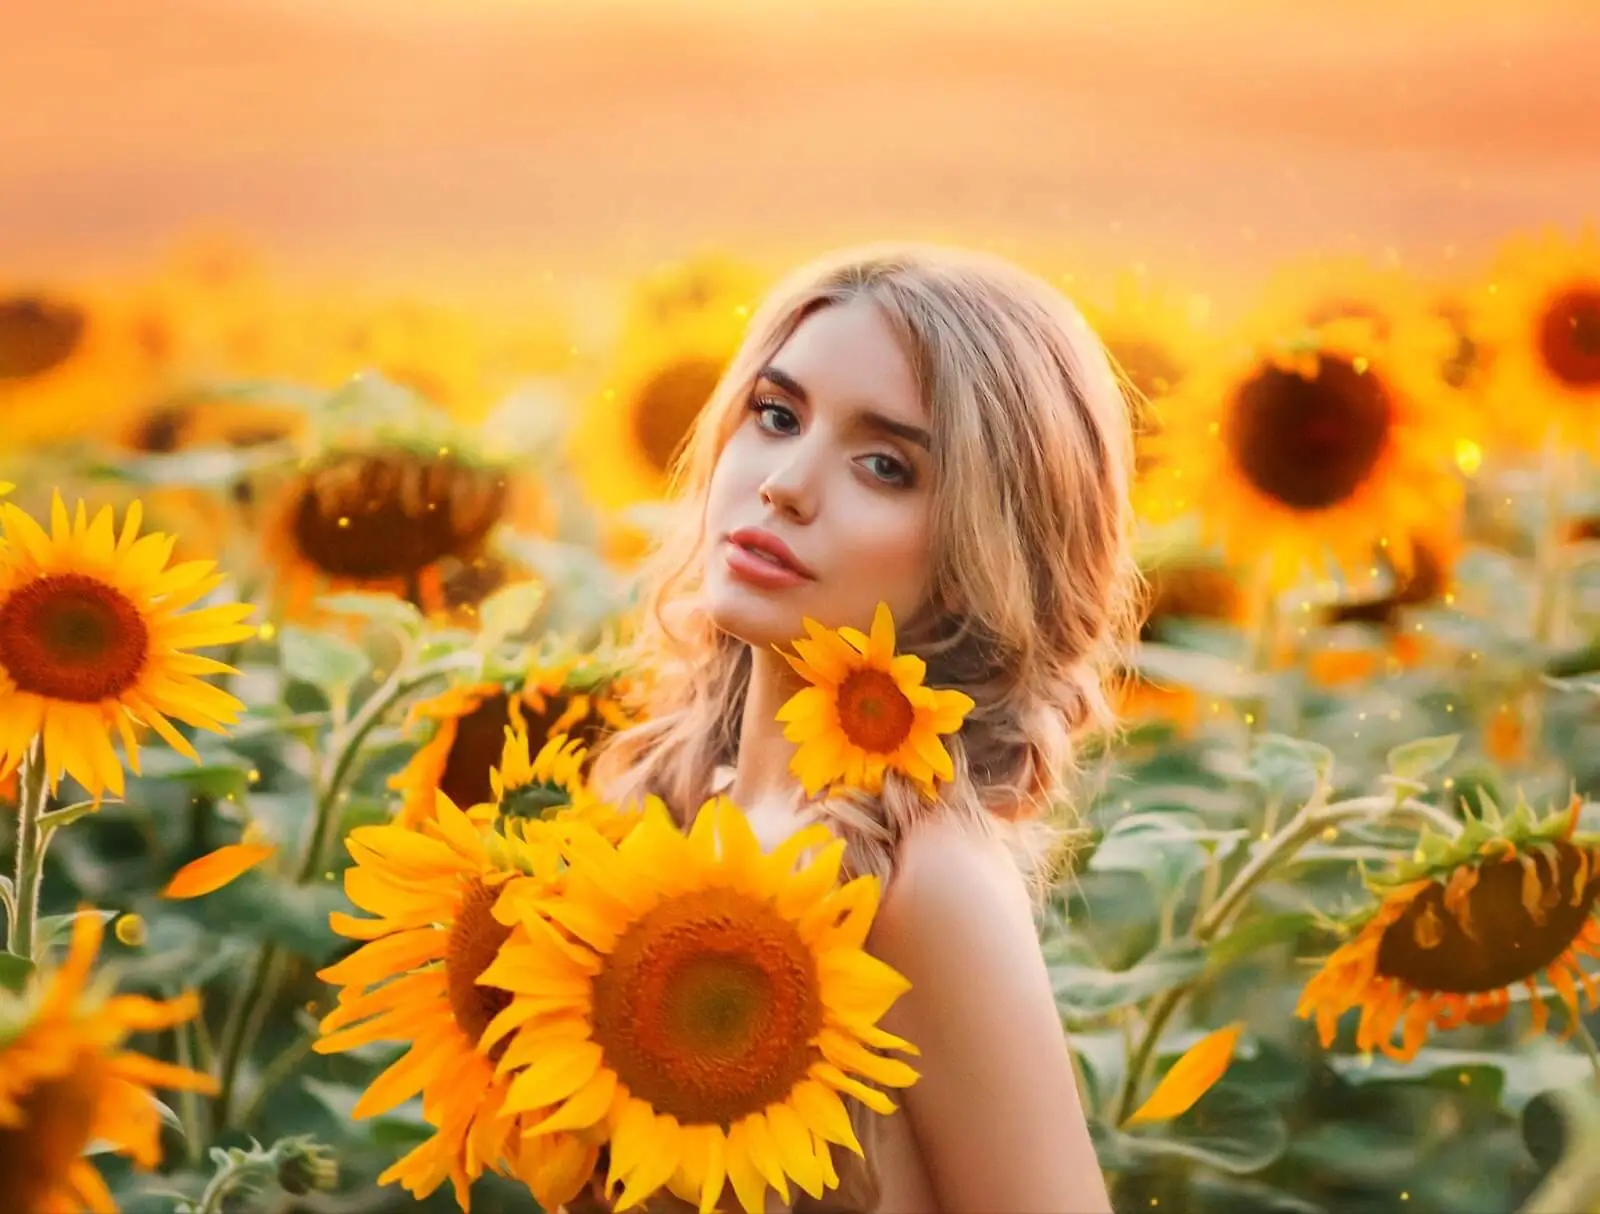
How to beat the raccoon effect
If it is mid-day, when the sun is at the top and there are no clouds to diffuse the hard light, you will notice the “raccoon” effect under the eyes of your model. Turn this to your advantage, and ask your model to look up to remove the shadow from the eyes. If the sun is not right at the top, you will notice that by having an angled shadow silhouette of your model on the ground. In this way, we can just turn their back to the sun and thus there would be no raccoon effect anymore.
Do not shoot with the sun behind the subject
This might look like an overlap with the last type given, however, the difference is in the sun’s angle here. If we go outdoors to shoot in the golden hour, the sun is most likely to be close to a 90-degree angle, in this case, we do not want it to be behind our subject by any means. Shooting like that we will have our model underexposed and the surroundings will pop in the shot more than our model which goes across the sense of shooting portraits. Make sure that the soft light from the sun does not go into your lens and let it be behind you shining your subject only.
The Golden Hour
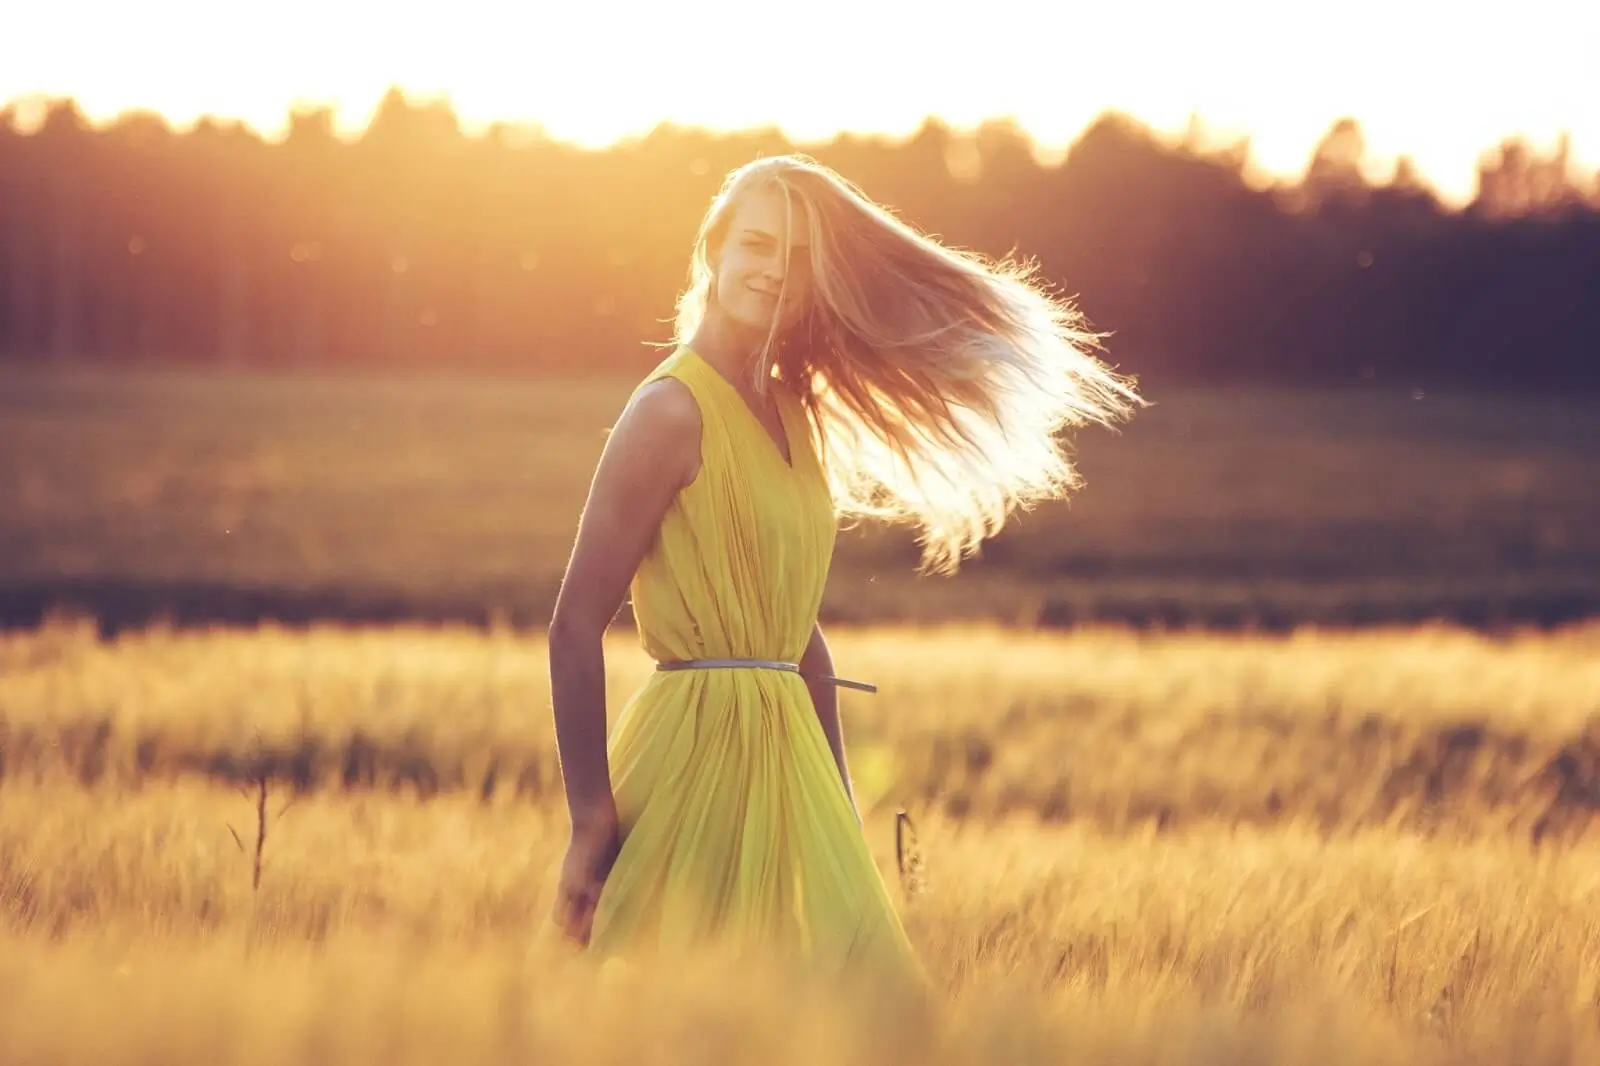
The mentioned earlier golden hours give you a soft light that will make colors pop in a photo. This is the best time for any type of photography including portraits. So the best time to go for an outdoor photoshoot is either the early morning at the sunrize or in the evening right before the sunset. Two hours after the sunset and two hours before the sunset is the sweet spot.
The emotional aspect of portrait photography
Many portrait photographers when they are starting their career feel a lack of direction or goal in their photos. As you examine other experienced photographers of this genre you will notice their images struck a chord with you. What it boils down to is that each photo is supposed to carry an emotion and make you feel something. This separates an average photographer from a great one – the ability not just to create a visual impact but the ability to create an emotional impact through the images.

A simple way to learn and practice to convey emotions in a photo
A good exercise for that is to think in terms of the viewer, and what kind of emotion you want them to feel when they are looking at your photos. This is something that you do not have to overthink at all, you can start very simply by looking at portrait photos by photographers that you love and just writing down emotions that you think the image is conveying. Eventually, you will start automatically breaking each photo down to its crucial parts and find what brings a certain emotion to the image and makes it alive. While separating those individual elements of the photo you will think about the pose, the lighting, the background, and the location. You will think in such categories:
Is it the overall darkness of an image that gives it a brooding vibe?
Is it a pose of the subject that makes you feel a little bit uneasy?
Or is it the energy and the movement in the photo that makes it feel fun and liberating?
Then you can take these lessons into your own photography work.
Portrait Photography Techniques for Composition and Framing
As said earlier in our tutorial , portraits include body shots, headshots, and mid shots. Doing each of those shots we want to frame our subject in a way to emphasize certain details. Let us start with doing full-body shots and how to frame them better.

Framing Full-body shots
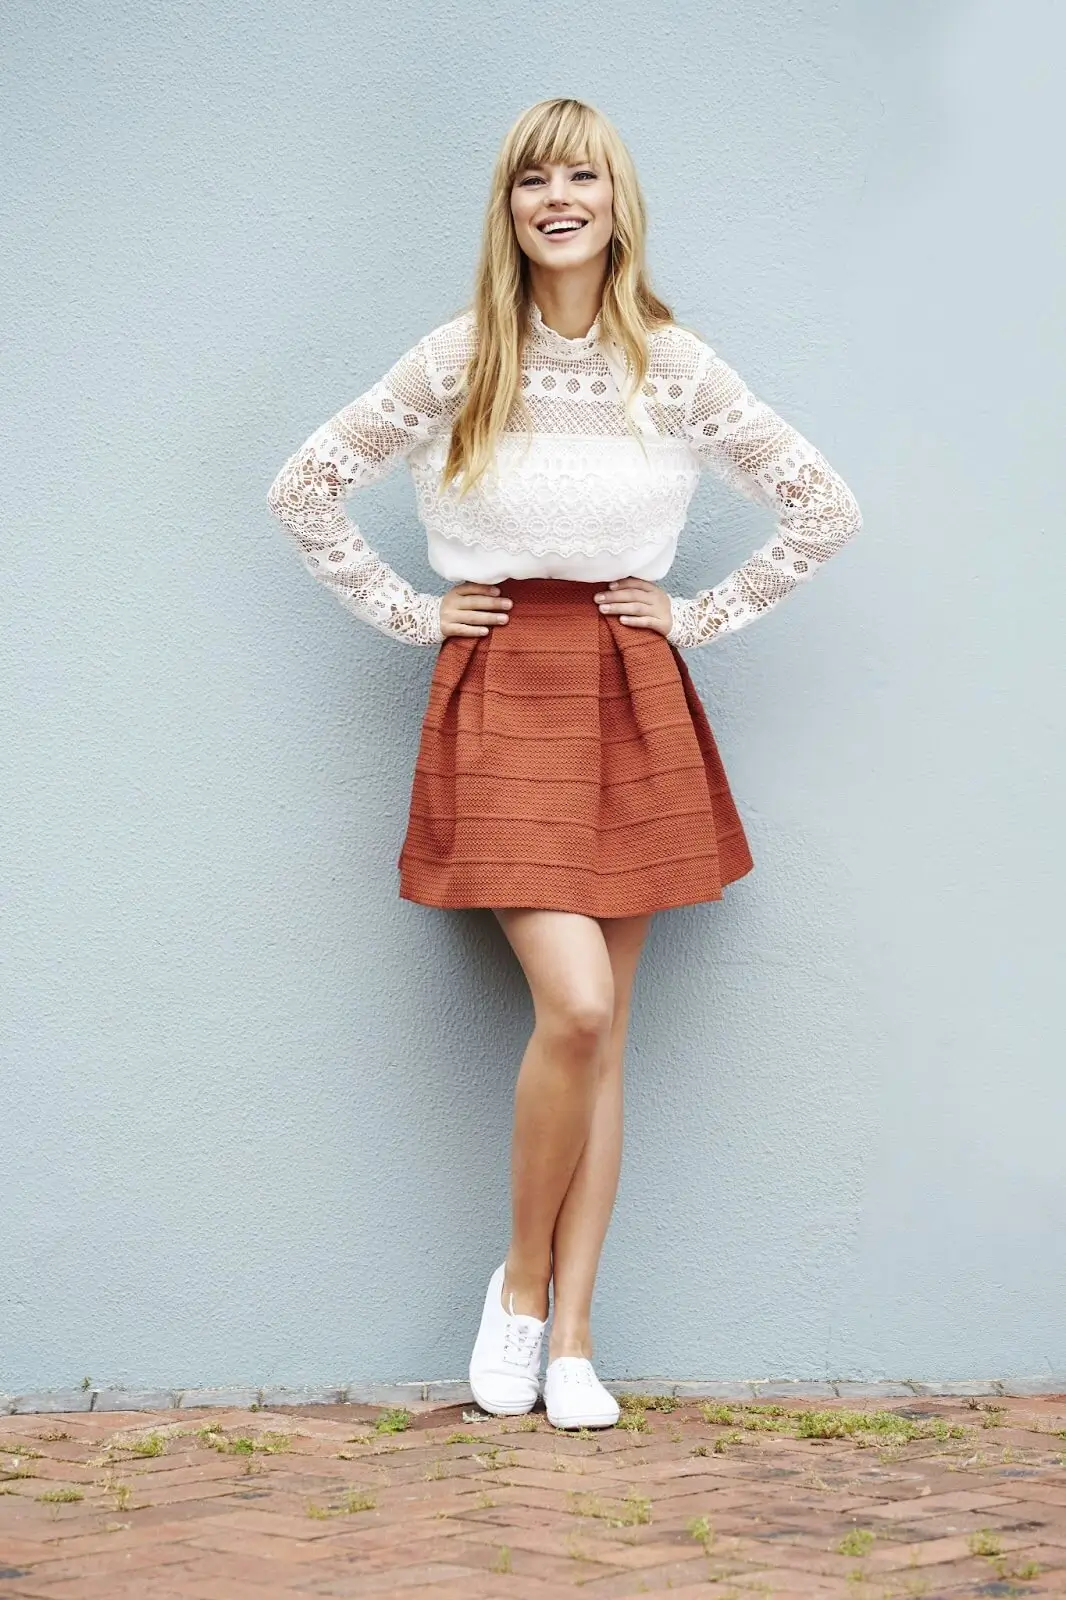
The first tip on framing full-body shots is to never crop the picture at someone’s joints. As the joints while doing the full-body could be considered a person’s ankles. If you crop this part it will make them look very short in a photo. Instead, be sure to include their feet as well.
Framing Mid-shots
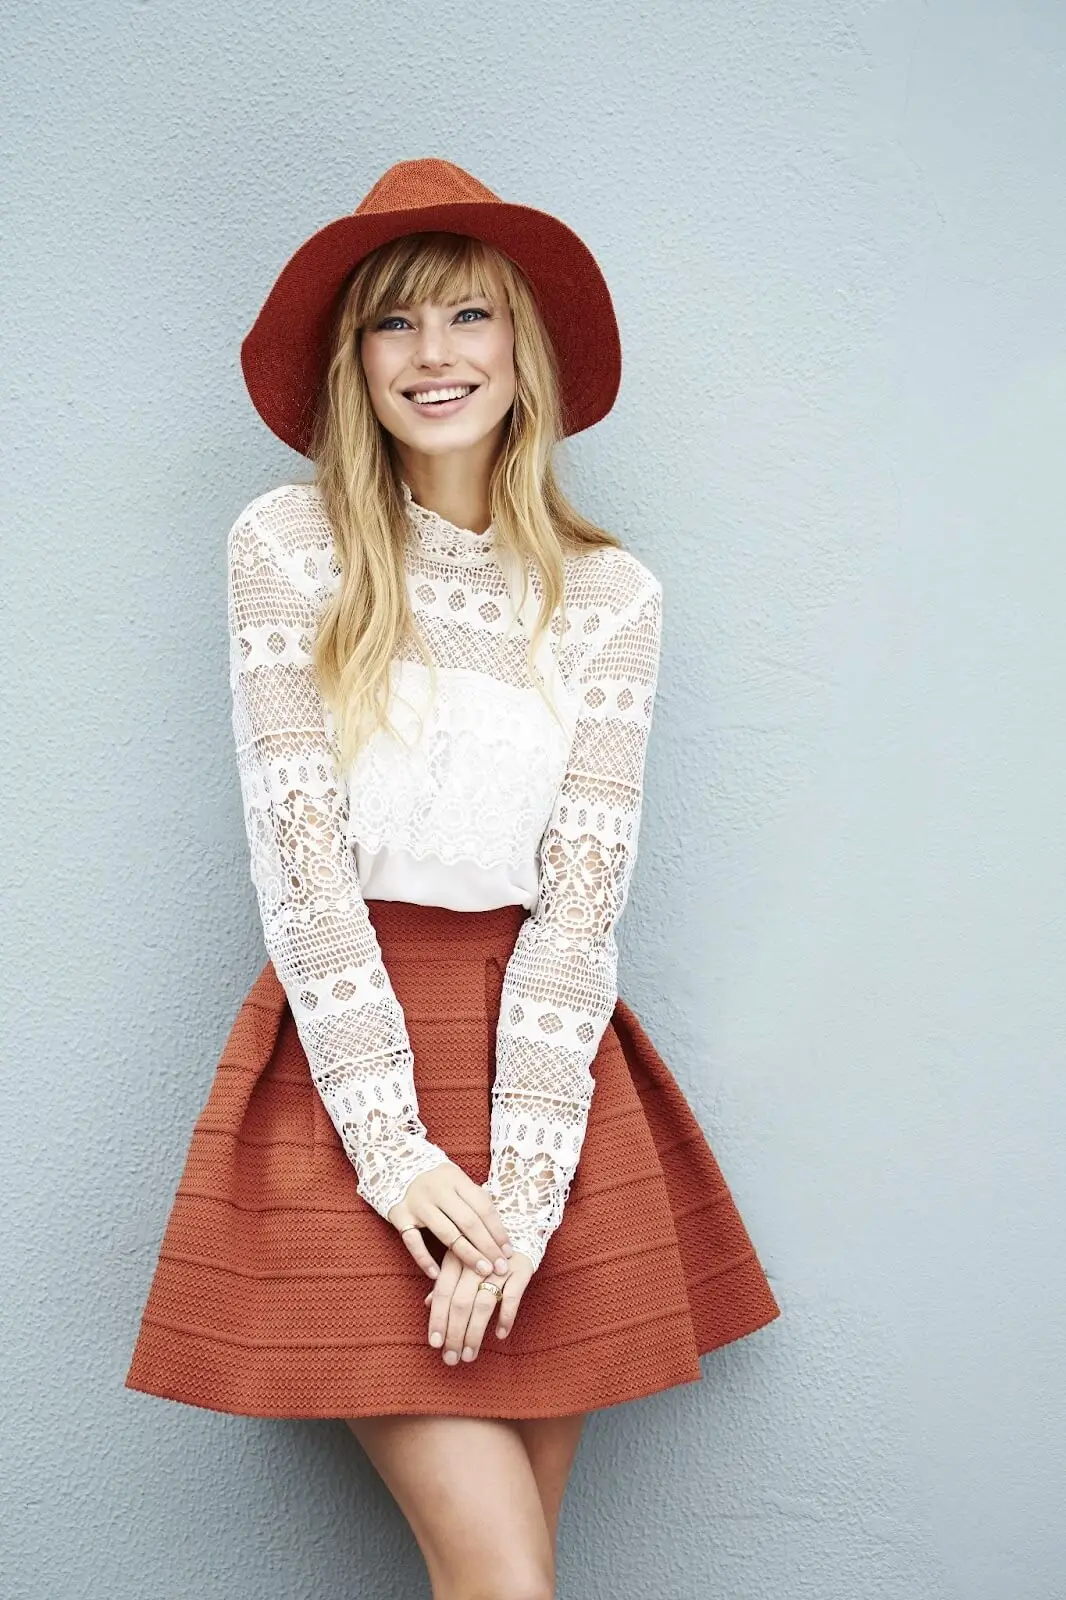
For mid-shots, you can crop right above the knees as this makes their legs look a lot longer. Compared if you crop them at their knees it makes them appear shorter and adds an awkward look to the photo.
If your subject is wearing a dress, the end of the dress also acts like a joint. If you crop right at the hemline, it can look a little bit weird, so instead crop right after the dress finishes, so you can see a little bit of their legs.
Another interesting one is the stomach area, it is not a joint but it can make your photo look strange if you crop someone right through the stomach. So instead you either want to crop just before or after.
Cropping on purpose
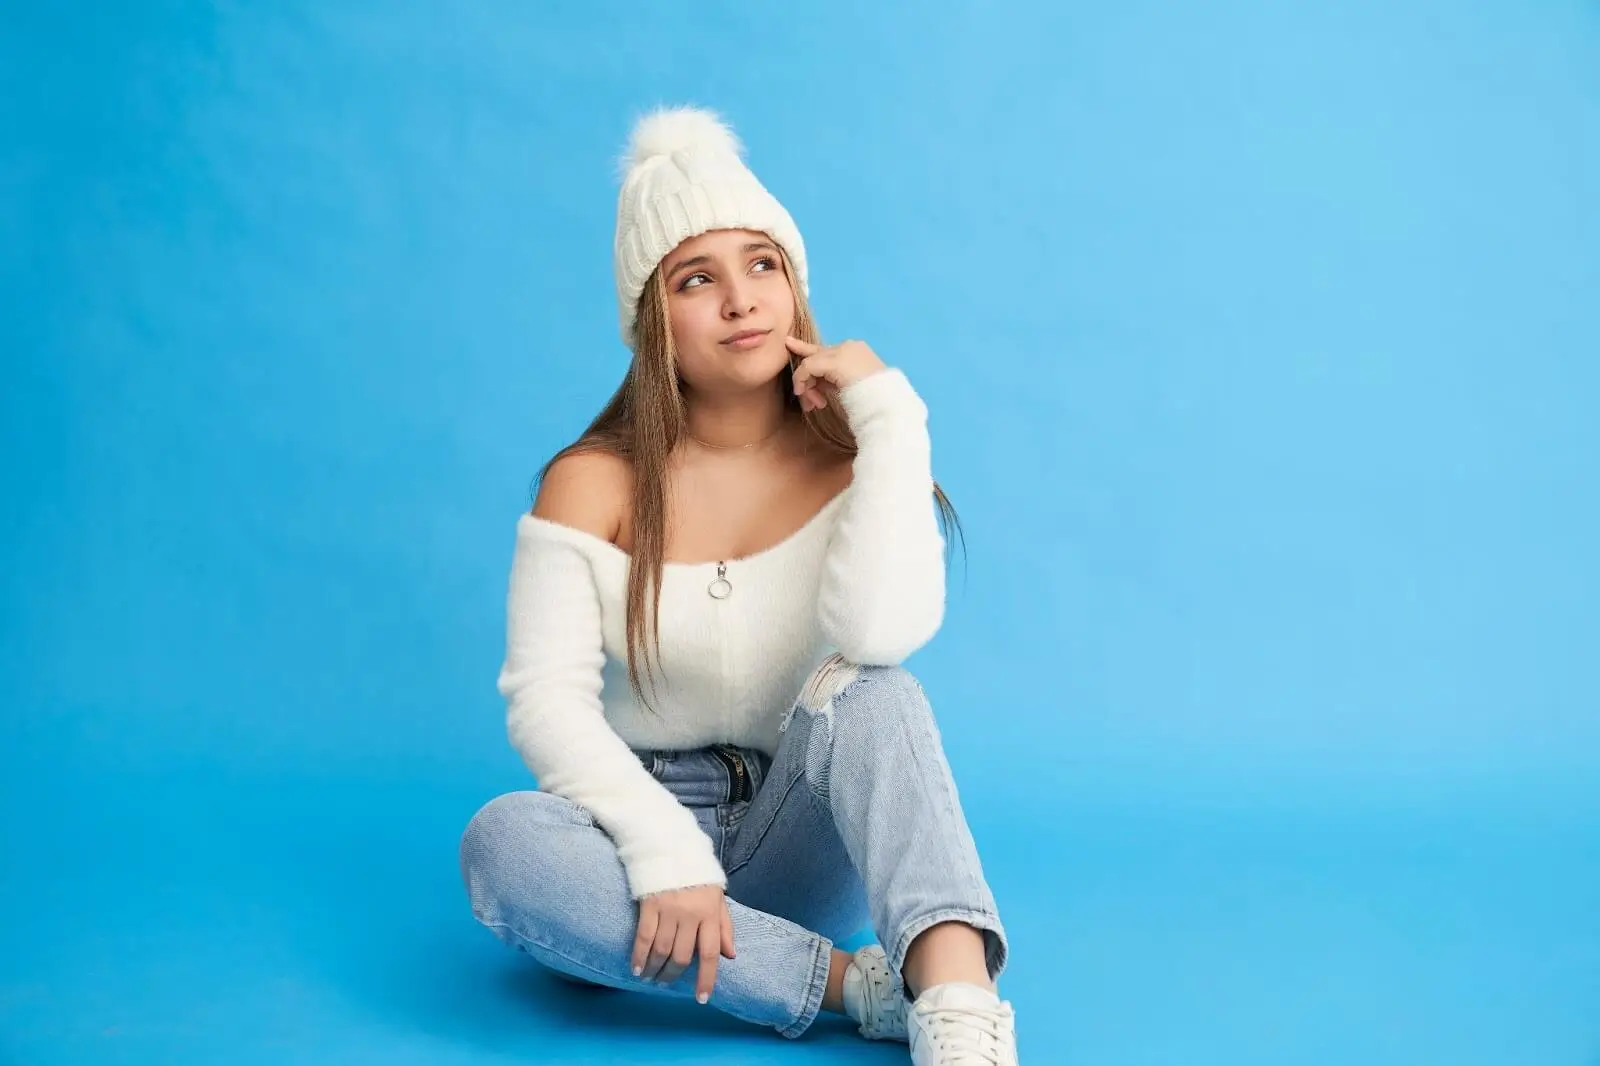
If your model is sitting with their legs sticking out the frame, it is normal to cut a bit of their shoes as they are not that much of a detail. This adds tension to an image and allows you to frame your shot just a bit closer as well. When your subject is sitting down you are also seeing the bottom of the shoe which is also not super important to frame. Hence, you can crop body parts out of a photo if you do it mindfully.
Be mindful of negative space
Negative space can be an underestimated technique for creating better images, but it can change the way your photos feel. Use negative space while creating dreamy or whimsical photos which is good in combination with long lenses. The reason for this is that a longer lens like an 85 mm or 135 mm compresses the frame and has a very smooth bokeh. When you include lots of the background in your photo it is not too distracting. Choosing to include negative space in your frame gives your image a chance to breathe and makes it feel more calming or dreamy when you look at it. Even though you make your subject smaller in the frame by stepping back to include less of them, it can do the opposite and make them stand out in the photo. Since the background is mostly just a smooth texture, your eyes are drawn directly to the person in the photo.
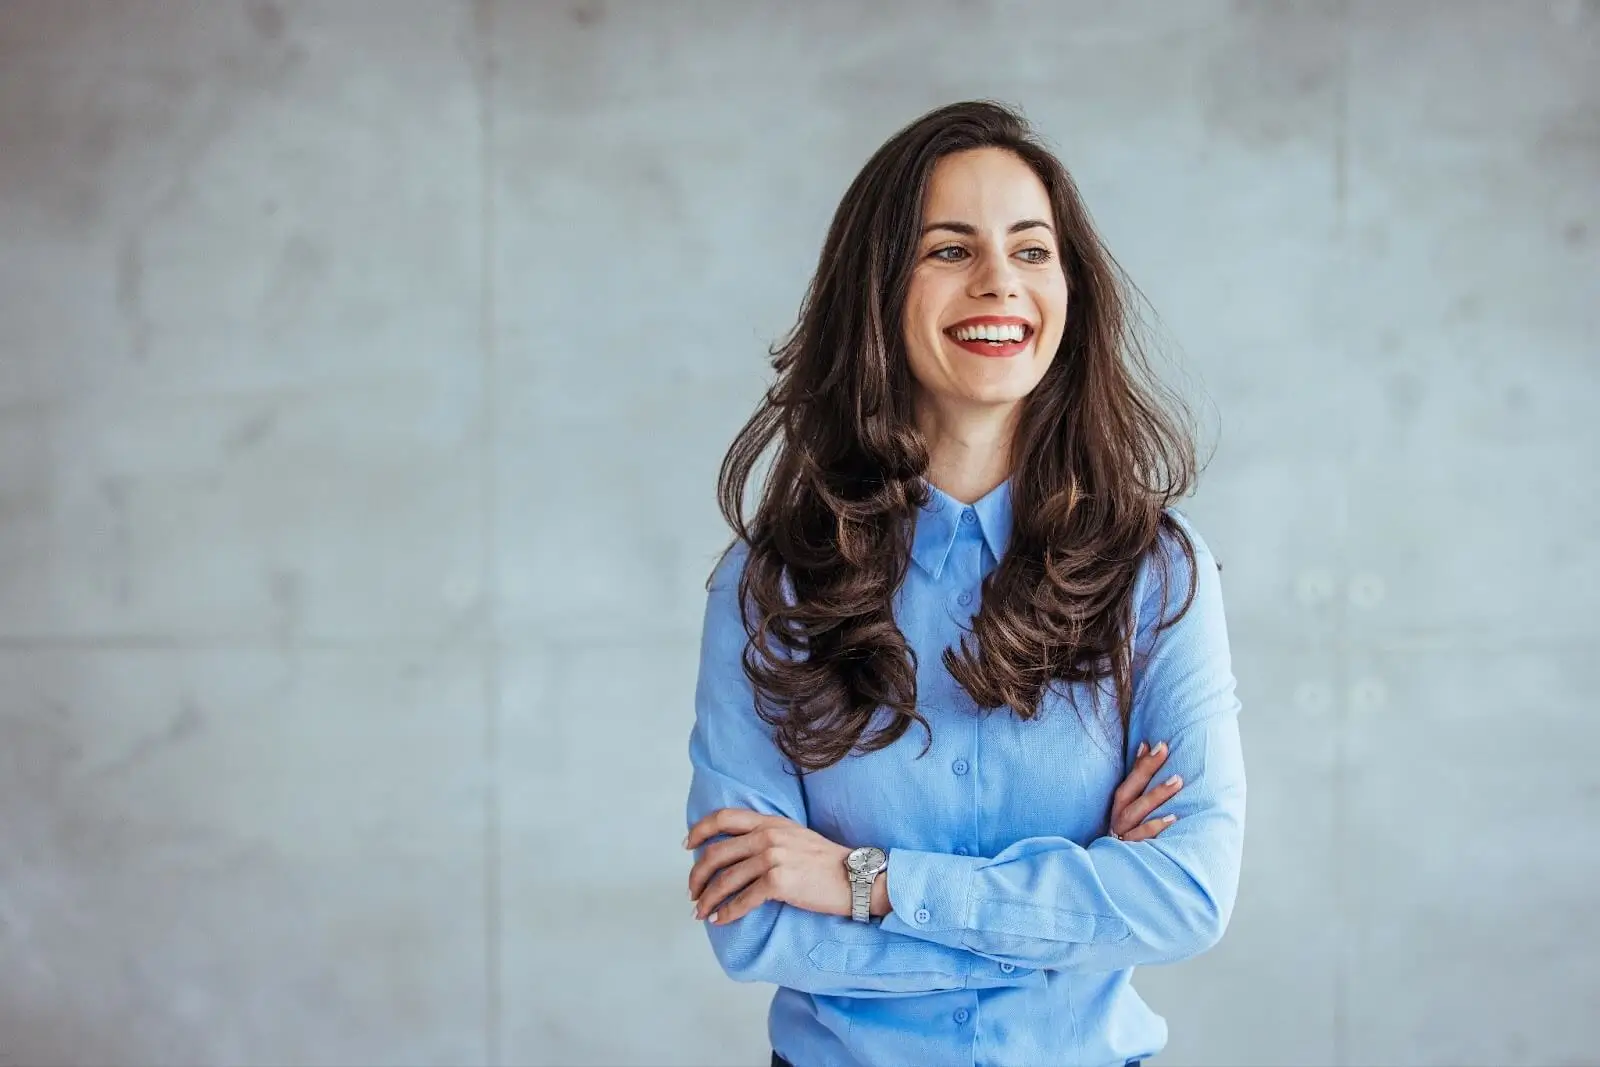
Another reason for including such portrait techniques as negative space in your photos is when you have a great location you want to show off. You can compose your photos in a way where both the subject and the location share the frame. This is especially important when doing wedding photography, for instance, where the venue the couple has chosen will have sentimental value so it is nice to capture some photos where you can really see it. On the other hand, when you decide to fill in your negative space, it can give your photos the opposite effect where they feel more intense since a lot is going on in the frame. Cropping out most of the background will make your subject fill the frame which in turn creates a striking portrait that is all about this person.
Poses and storytelling in portrait shots
For a dreamy-looking photo, shoot in landscape mode and ask your subject to pose in a constricted way to keep the edges of the frame empty. However, if you want to convey a story, use posing to fill the entire frame instead. This tech is good in combination with a wide angle or standard focal lengths like 24-35 or 50 mm.
Post-processing your portraits
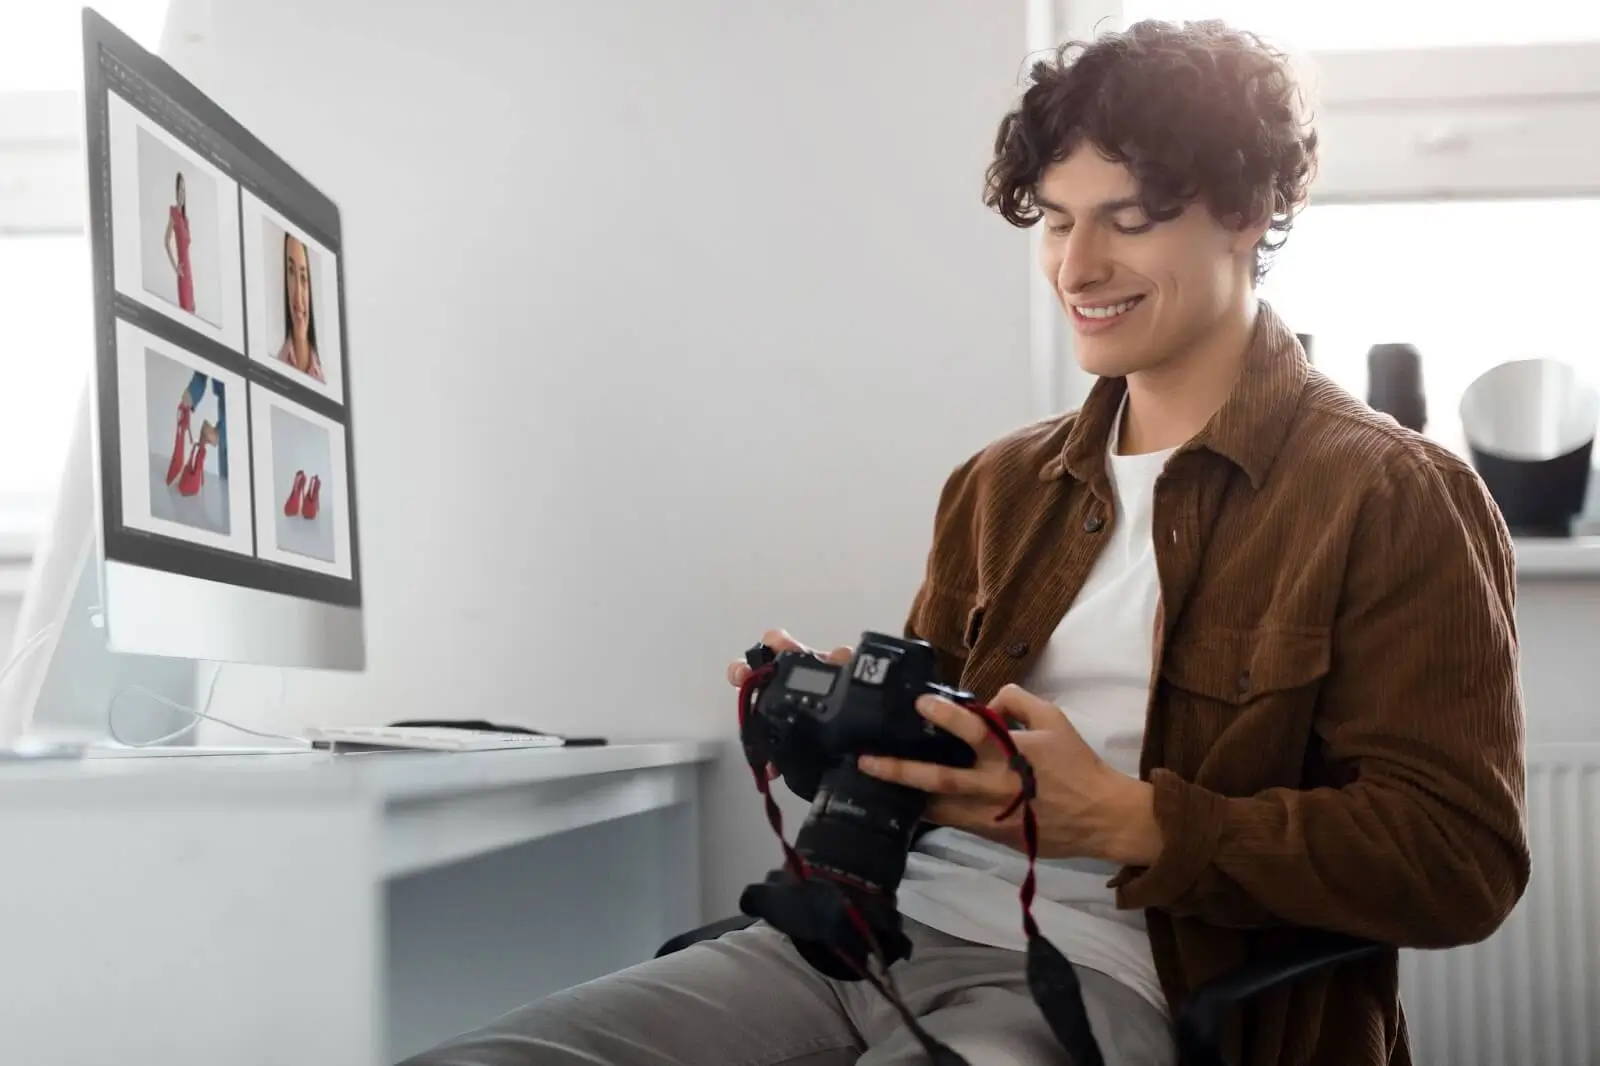
If you find a good photo after your photoshoot is done, and you see the space you do not like in a photo that distracts from your subject, you can crop the image in a better way using simple picture editing tools. If your exposure was set wrong, you may not notice that through a viewfinder or the LCD screen, which in turn will become more obvious on a big screen. That is why photo color grading is an important touch that you can perform in Lightroom or Photoshop. If you have issues learning comprehensive software for photo editing, try the professional portrait photo editor online where actual editors will manually adjust the photo to your liking.


