


Reflection Photography Ideas
May 23, 2024

In the ever-evolving landscape of digital creativity, Adobe Photoshop stands as a trailblazer, continually pushing boundaries to provide cutting-edge tools for image editing. One such revolutionary advancement is the integration of Artificial Intelligence (AI) into Photoshop, unlocking a realm of possibilities for both novice and seasoned designers. In this comprehensive guide, we explain how to use AI Photoshop and unveil its value in photo and artwork enhancement.
At its core, Photoshop AI refers to the incorporation of Artificial Intelligence technologies within Adobe Photoshop. This transformative integration empowers users with intelligent tools that automate tasks, streamline workflows, and enhance the overall image editing experience. Adobe Photoshop's AI-driven features introduction represents a significant leap forward in the software's capabilities. Over the years, Adobe has harnessed the power of AI to develop tools that go beyond conventional image editing, fostering a more intuitive and efficient creative process. Such tools are:
Photoshop AI introduces smart object recognition, enabling the software to identify and understand the elements within an image. This feature streamlines the selection process, making it more precise and less time-consuming. Utilizing AI in Photoshop brings forth automatic enhancements. From intelligent noise reduction to dynamic color correction, Adobe AI analyzes your image and suggests improvements, allowing you to apply enhancements with a single click.
Enhance your image manipulation capabilities with AI-driven content-aware features. Photoshop's AI can intelligently fill in gaps or extend the canvas seamlessly, providing a natural and visually pleasing result.
Creating complex masks can be a tedious task, but with AI in Photoshop, automated masking tools take center stage. These tools leverage machine learning algorithms to recognize and accurately mask intricate details, saving valuable time and effort.
There are plenty of web services out there related to image upscaling, some of them are paid and others are charge-free. However, we have this very option already imported in Photoshop a while ago and it works well in comparison to other services. You can enhance your old or low-resolution photographs by using this feature which is based on AI operation to save details on enhancement.
Working in Photoshop on a daily basis we may not even notice how AI eases our workflow using these tools, however, most of them would have been unable to operate without AI evolution. But these are common features that we are already used to, and they work locally on your PC. Now let us see more advanced AI features that will blow the mind!
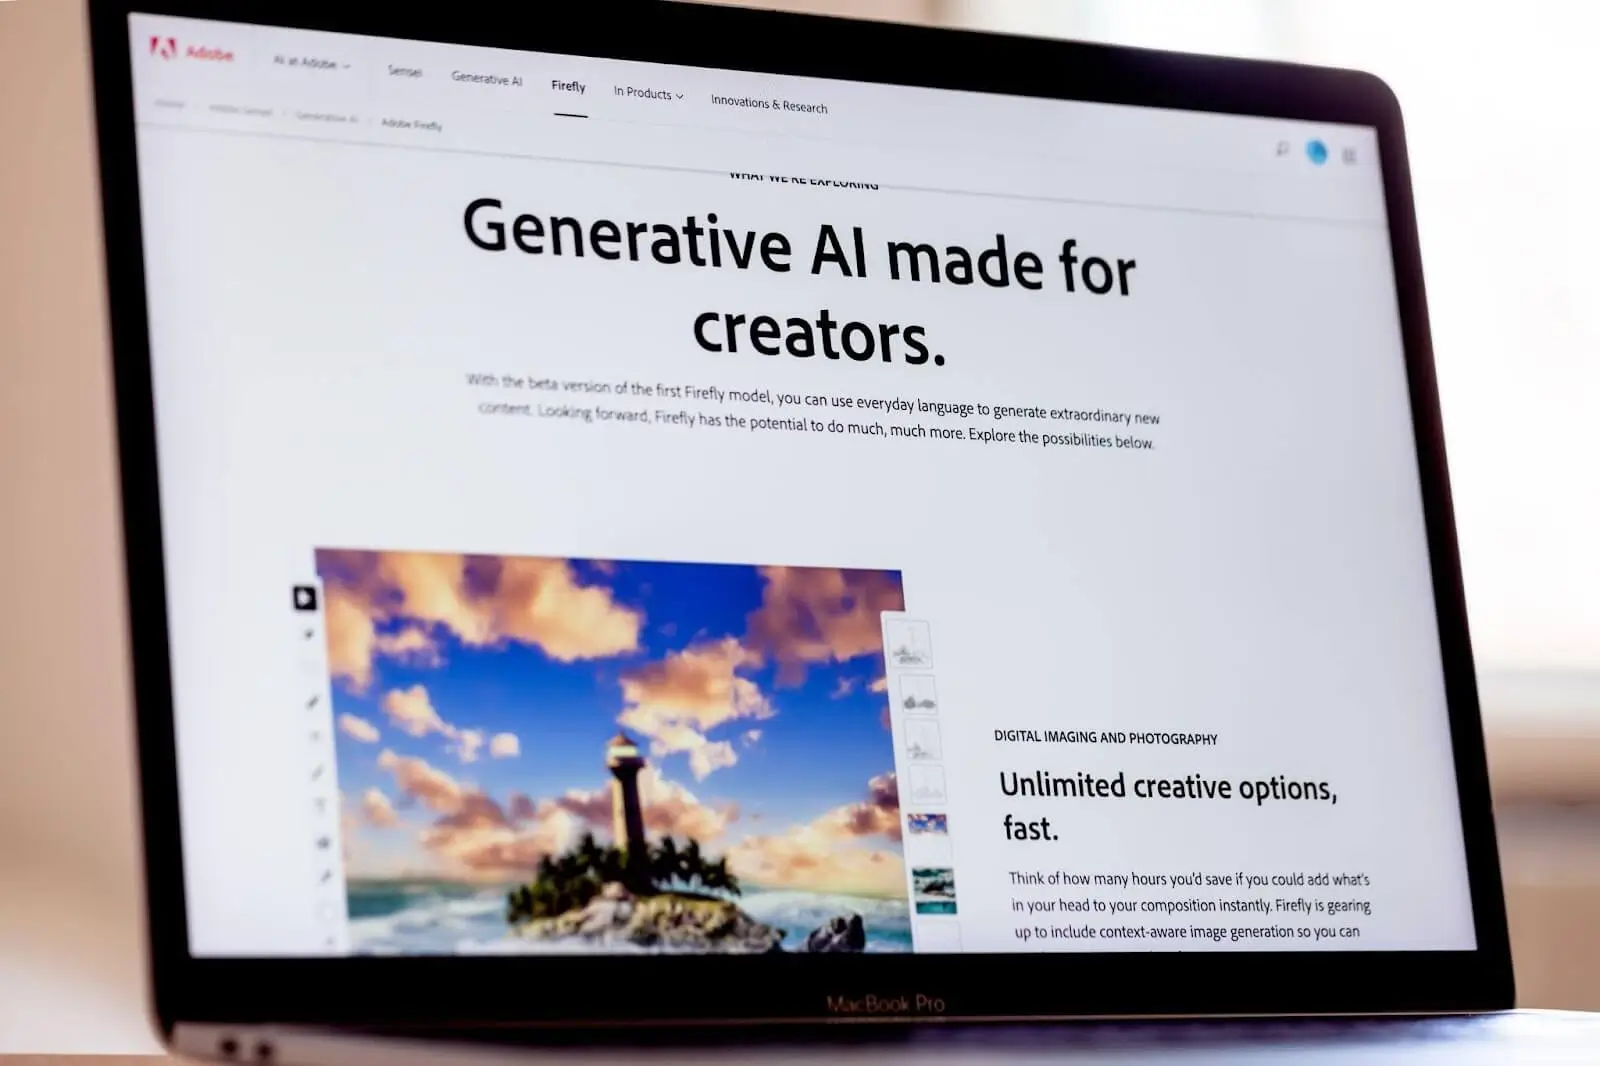
Adobe Firefly powered generative AI tools like ‘Generative Fill’, ‘Generative Recolor’, and ‘Text effects’, and now all of those Adobe AI tools are out of beta which means you can use it commercially and they are available in the general version of Photoshop 25. So all you need to do is to just update your regular version of Photoshop. To get the update on the version you are currently using, open up your Photoshop, go to ‘Help’ on top of the window and click on ‘About Photoshop’.
With this latest update, you can edit your images using only text prompts which allow you to add non-existing objects to your canvas. You can even stretch your image out and it would fill the rest for you.
Use the lasso tool and quickly select the area of your image followed by the Generative Fill to appear. Here you just add a description to fill and replace the selection in content-aware regards. If you do not see the Generative Fill bar, you need to enable it by going to Window and making sure that the ‘Contextual Task Bar’ is selected down there. Once you have this done, Photoshop will ask you to agree to a few things and now you can start generating.
The applications of this AI feature are limitless and only your imagination is the limit here.
As you apply one of these tasks, you do not have to worry about it being destructive as it adds a layer in your layers tab that you can opt in/out of as you wish. Or you can once again use the lasso tool for further adjustments and tell AI to remove or edit the generated area in its prompts bar. Generative fill also gives you options for a certain generation, as such you usually get three variations to choose from to apply to the image.

Another good way of using this particular AI tool in Adobe Photoshop is background replacement. Let’s say we have an apple on the wooden table. You can quickly select the apple, invert the selection to select the surface beneath and ask AI to change it to a marble surface for instance. The magic appears when you see ultra-realistic results as AI considers all the details such as shadow casting, lighting, details, and so on, so it is hard to tell that you have this photo edited.
If you extend your image canvas vertically or horizontally, you can fill the empty space with this AI feature. Let’s say we have a person working on a workstation but it framed just a part of the table plus the person up to the lower body. Now AI generates legs, and boots, extends the table, and adds floor.

However, this feature is not unlimited anymore because every time you press the generate button or use some generative expand there is some computer power being used on Adobe’s end. None of this is happening locally because generative AI requires you to have extremely powerful machines. Therefore it is impossible to keep it unlimited as it uses this power in the cloud. Now the question is how much would this cost you, considering that you have probably already paid for the general Photoshop.
Like many other generative AI platforms like Dall-E, you will now have credits or in Adobe’s language ‘Generative Credits’. Think of it like points, every single time you use one of these generative AI features it will cost you some of these points/credits. To get these credits, depending on what Adobe plan you are on, you get a set number of credits each month. For example, let’s say you are on the ‘Creative Cloud All Apps’ plan, so monthly you will get 1,000 credits, which is the top option.

Now we know how to use Photoshop AI-related features and with the recent update, we see that technology continues to advance from enhanced predictive editing based on user behavior to real-time collaborative features. In conclusion, embracing the power of AI in Photoshop opens a gateway to unprecedented creativity and efficiency. Whether you're a digital artist, photographer, or graphic designer, incorporating Photoshop AI into your workflow can elevate your projects to new heights. Explore the features, experiment with the tools, and witness firsthand how AI transforms the way you edit and enhance your images in Adobe Photoshop.
Co-founder of RetouchMe. In addition to business, he is passionate about travel photography and videography. His photos can be viewed on Instagram (over 1 million followers), and his films can be found on his YouTube channel.
Moreover, his profile is featured on the most popular and authoritative resource in the film industry — IMDb. He has received 51 international awards and 18 nominations at film festivals worldwide.