


Reflection Photography Ideas
May 23, 2024

Editing photos after a shoot is an essential aspect of any professional photographer's career, and Lightroom serves as an invaluable companion in this process, seamlessly enhancing your images post-production. As you delve deeper into refining your photographs, you'll come to recognize the need for streamlining and optimizing your workflow to enhance efficiency and overall satisfaction. In this article, we explore the significance of presets in your editing process, addressing why and how to create a preset in Lightroom Classic and Lightroom Mobile.
First, let's explore why you might choose to use presets for Lightroom. While there may be various reasons, we can generalize their significance into three main categories.

As you spend more time editing your photos in Lightroom, you'll likely notice a pattern emerging: you find yourself performing similar tasks repeatedly. Whether it's applying filters, correcting colors, or adjusting familiar settings, these actions become part of a routine. This is where preset filters for Lightroom come into play, which is a time saver and a convenient solution. With presets, you can streamline your workflow by eliminating the need for manual adjustments each time. Instead, you have a preconfigured set of settings ready to apply, allowing you to fine-tune your images efficiently within the preset framework.

Another aspect to consider regarding presets involves the difference between presets you create and those available for purchase. Many individuals encounter issues when using selling presets, finding that they fail to resolve their editing routine. There are a couple of reasons for this. The primary reason is that these presets are created by someone else, not tailored specifically to your needs. By the time you realize this, you may have already invested money in such experiments.
Another factor to consider is that even if you manage to find some utility in these presets, they remain pre-made, which often necessitates readjustment to suit your preferences. You might discover that not every setting within the preset aligns with your aesthetic or desired outcome. In such cases, one might question the value of paying for a product that requires additional customization before it can be effectively utilized.
Understanding your workflow is an integral aspect of the photography profession. When you have a clear vision of what you require, you're in the best position to develop it. Fortunately, Lightroom offers all the necessary tools for this task, enabling you to create custom presets that cater specifically to your needs. By crafting your own presets, you ensure optimal efficiency and effectiveness, far surpassing the benefits of using presets created by others. Adobe Lightroom presets enable you to quickly edit a bunch of photos that you do every time.
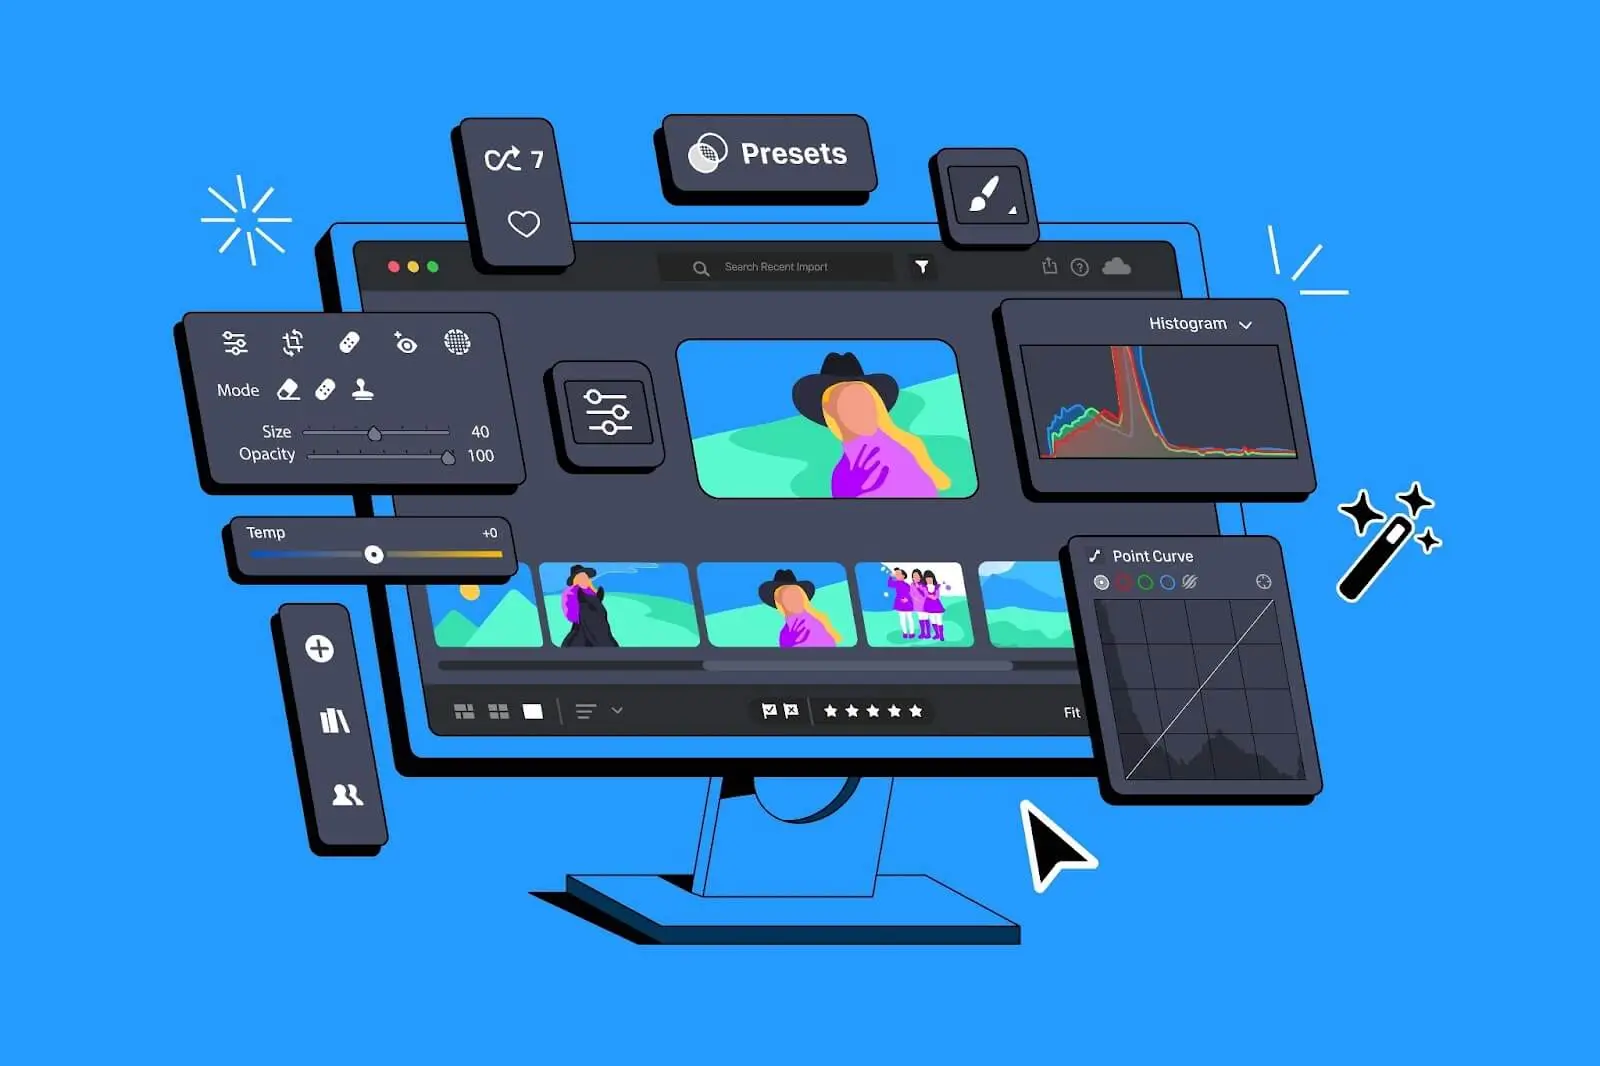
Basically, all of the adjustments you can make in Lightroom can be recorded and saved into a preset. So if you want to get those same results again, all you have to do is hit play on your preset and it is going automatically move everything for you and produce that same result.
This can be incredibly helpful for creating your own stylized looks or for creating a multitude of different options to send your clients.
So here is how to make a preset first:
Congratulations! Your Lightroom preset has been successfully saved. Now, to apply your preset, simply select the desired photo in the Library module and click on your preset in the Presets panel. Lightroom will instantly apply the preset's adjustments to the selected photo. Enjoy the enhanced editing efficiency and consistent results that your preset brings to your workflow
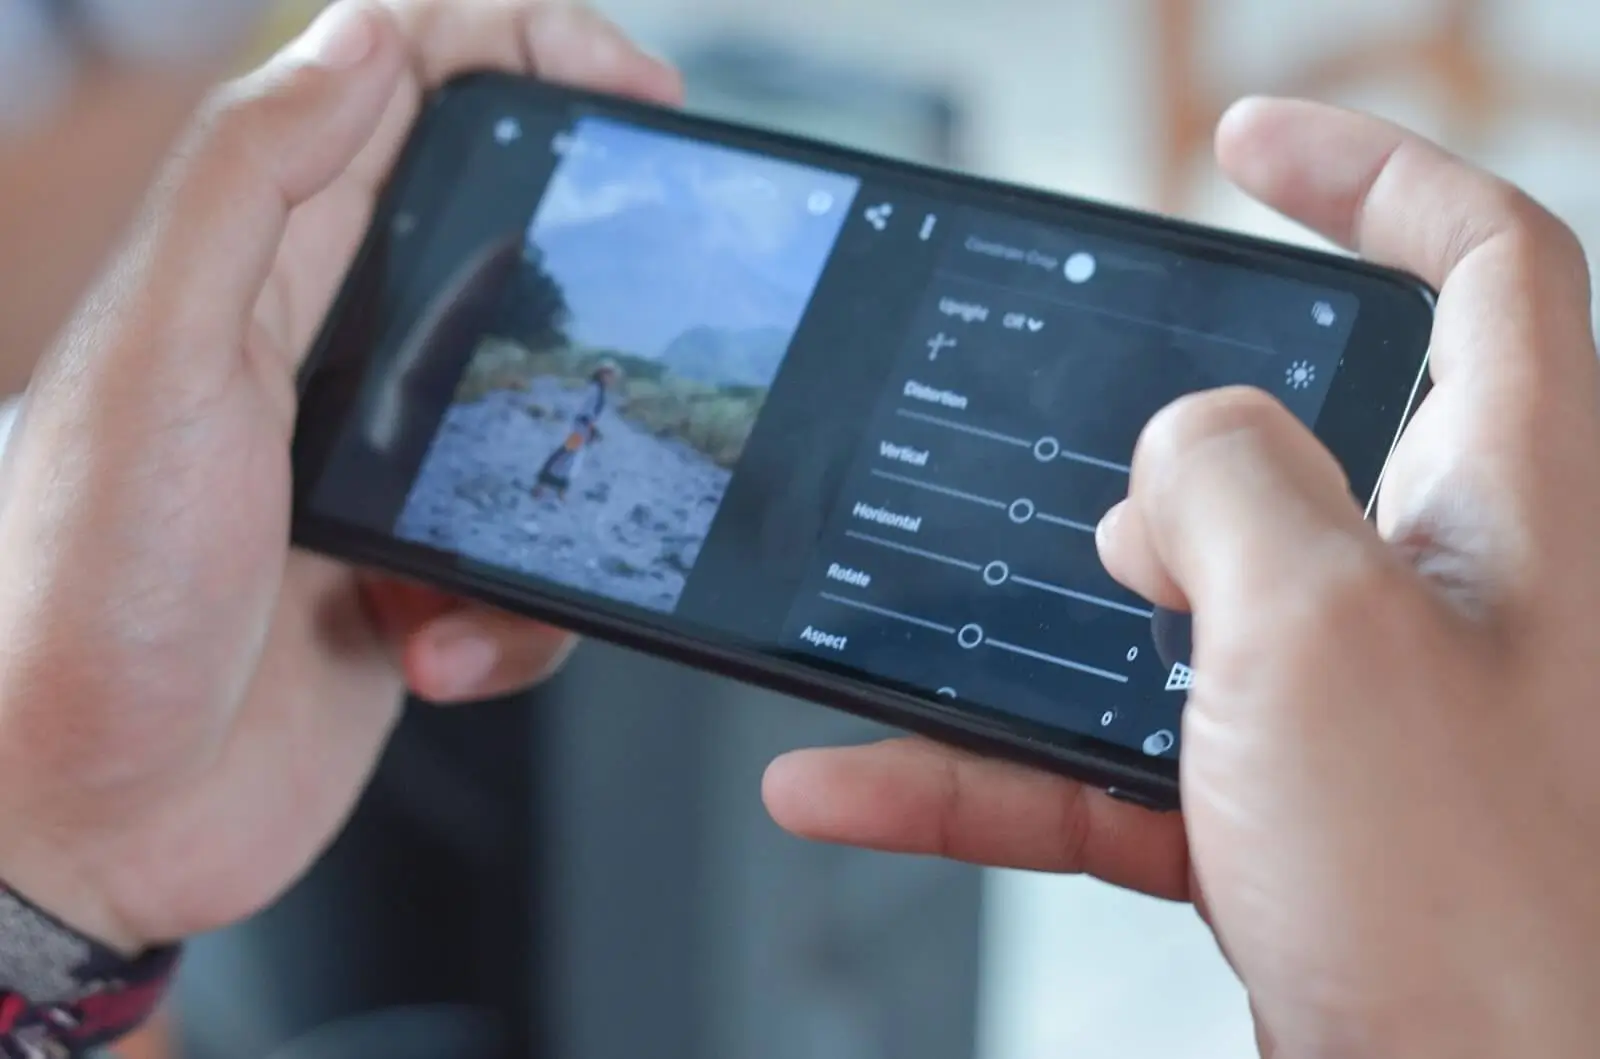
The process here is pretty much similar to a classic version with some minor differences:
With your preset now saved, applying it is a breeze. Select another photo from the Presets menu, then tap on the preset you've created to instantly apply the pre-settings. Enjoy the convenience and efficiency of your customized editing process with just a simple tap.

You can share your Lightroom presets in different ways: manually from device to device or by utilizing Creative Cloud (CC).
How to share Lightroom presets between devices:
To share presets with other people, you can repeat the same steps as sharing them among devices locally or via Flash disc but instead send them the .xmp file via e-mail, messengers, or file-sharing services like Google Drive or Dropbox.
For users of the Classic version of Lightroom, sharing presets via Creative Cloud is also possible. Simply sync your presets with the cloud by accessing settings/preferences within the Lightroom application or software. Once synced, any presets you create or import on one device will automatically transfer to other devices logged in with the same Adobe ID. This seamless synchronization ensures consistency across your editing workflow, allowing you to access your presets effortlessly across multiple devices.
Lightroom presets offer a transformative solution for photographers seeking to streamline their editing workflow. By providing preconfigured settings that can be easily applied to multiple images, presets save valuable time and effort while ensuring consistency and convenience in the editing process. Moreover, the ability to share presets across devices and with others enhances collaboration and expands creative possibilities. Whether for personal use or sharing within the photography community, Lightroom presets serve as invaluable tools for optimizing efficiency, saving time, and achieving desired aesthetic outcomes, ultimately enriching the photography experience for professionals and enthusiasts alike.
Co-founder of RetouchMe. In addition to business, he is passionate about travel photography and videography. His photos can be viewed on Instagram (over 1 million followers), and his films can be found on his YouTube channel.
Moreover, his profile is featured on the most popular and authoritative resource in the film industry — IMDb. He has received 51 international awards and 18 nominations at film festivals worldwide.