


Reflection Photography Ideas
May 23, 2024
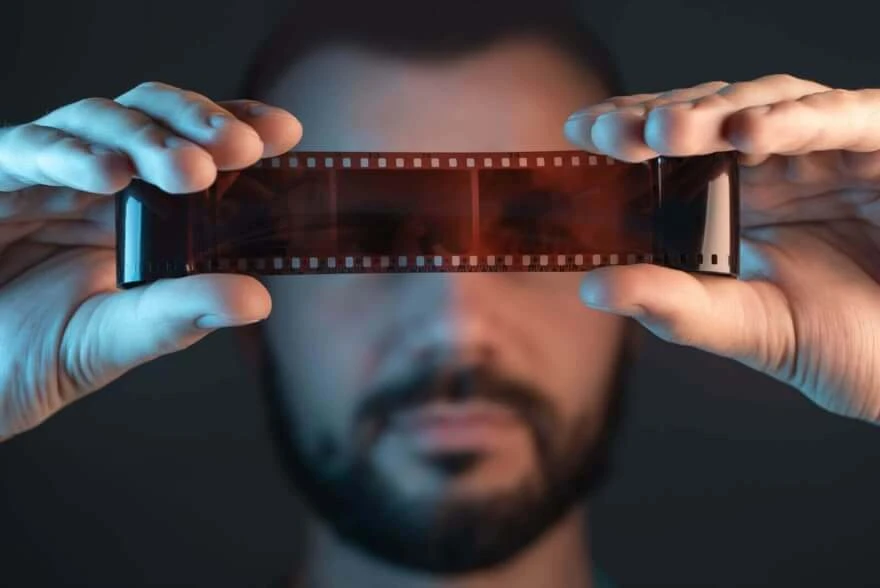
As a photographer striving for authenticity in your craft, understanding the nuances of the film-developing process is essential. While many rely on professional photography developing studios, you can take on this task yourself from the convenience of your home. This guide provides comprehensive instructions on how to process 35mm film at home independently, empowering you to fully engage with every aspect of your photographic journey.
Developing film at home is pretty easy, but you are going to need a few things to get started. You can buy fully fledged already made kits from distributors or make one your own to save costs based on references we give you.
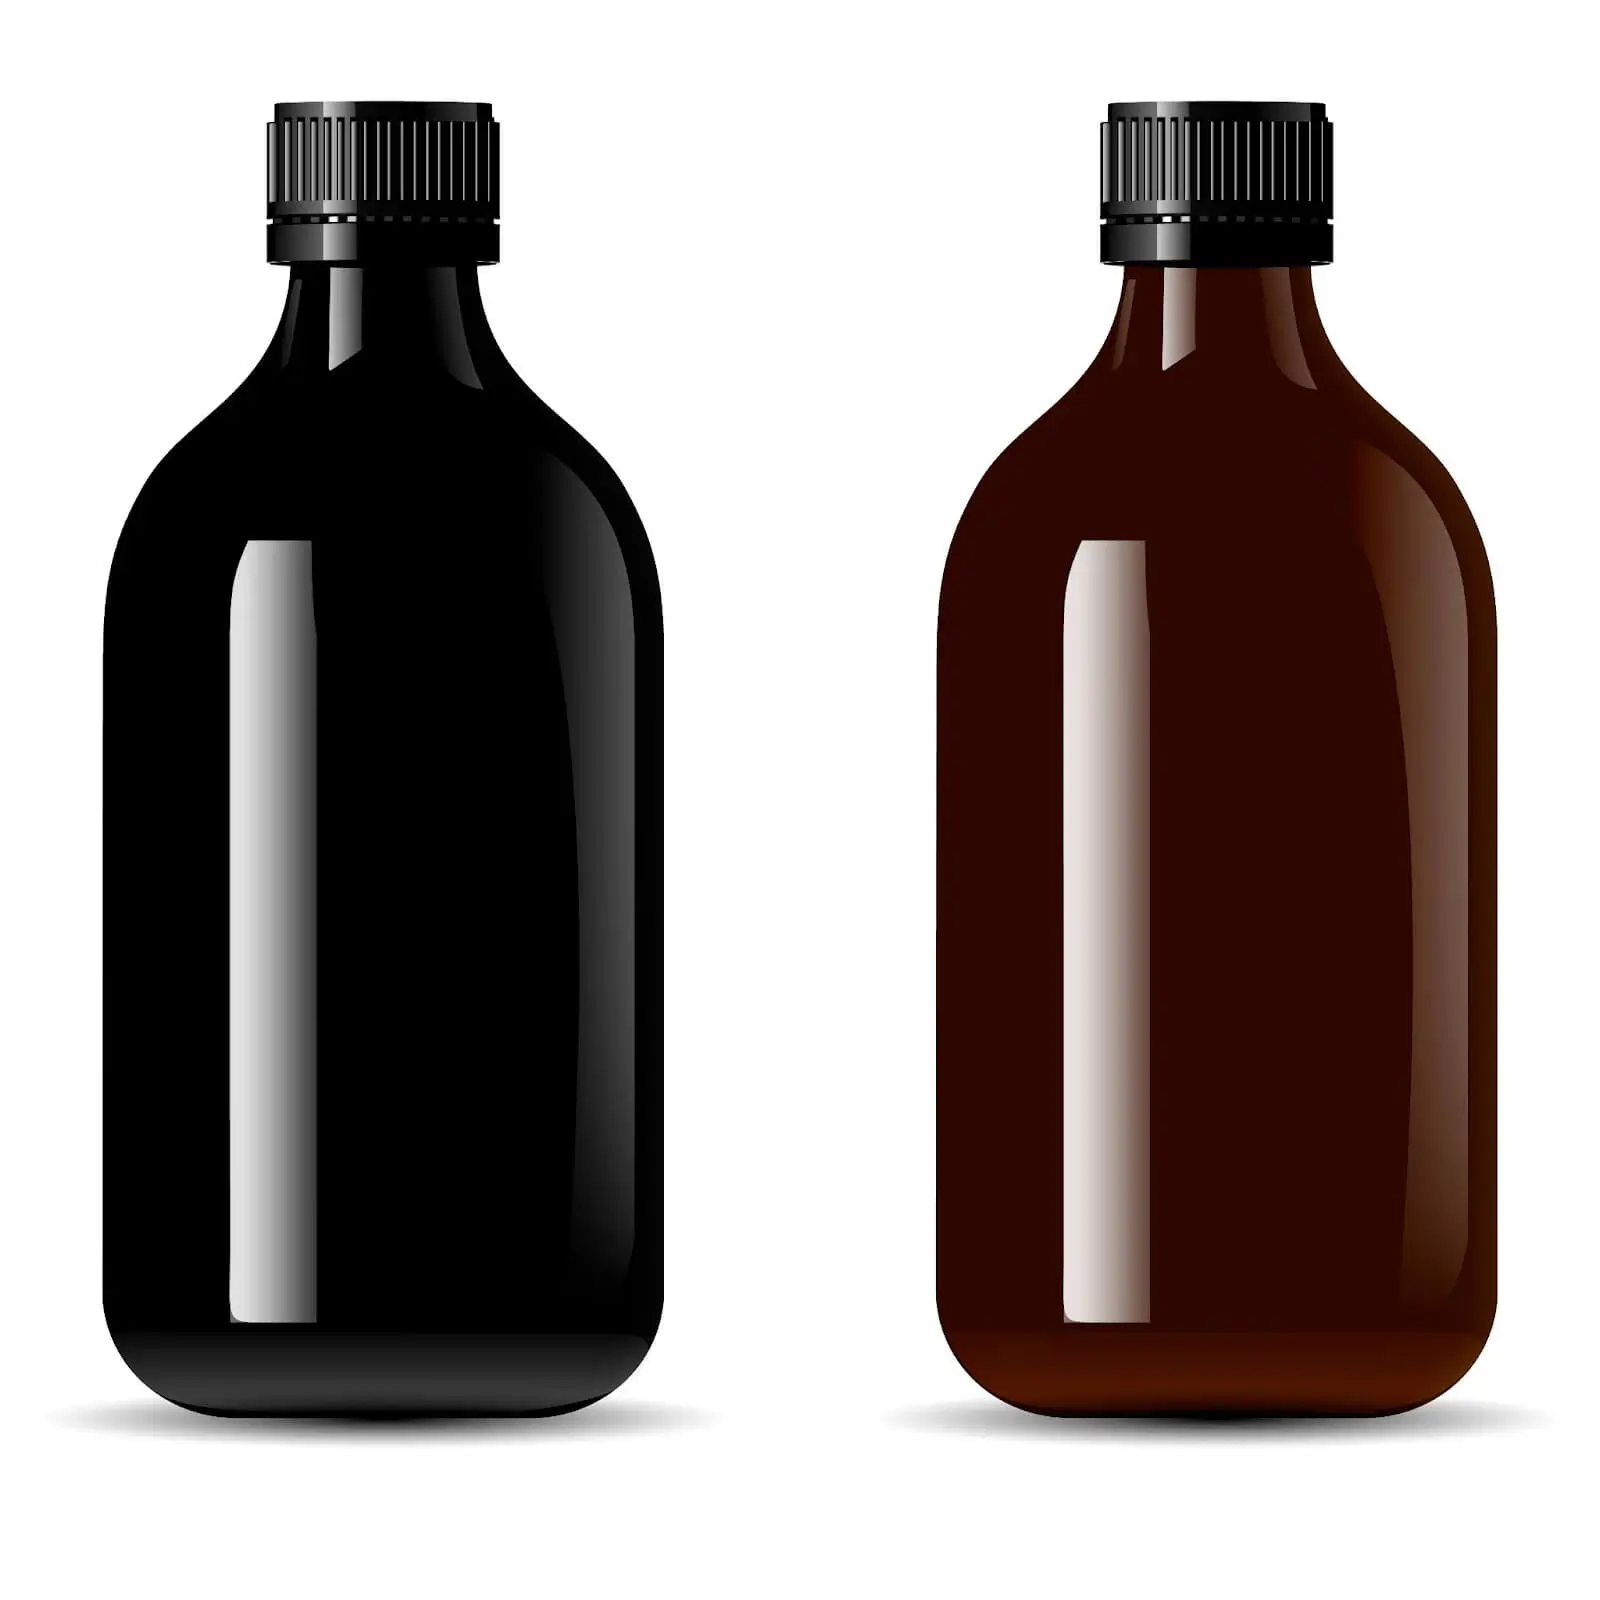
The 1st thing you need is three chemical bottles to store the chemicals in. The bottles should be light-resistant or coated in black (amber glass) to make sure the light does not spoil the chemicals' integrity. The bottles also need to have a good seal to hold the chemicals inside.
Another handy but completely optional thing is the SUV for film development that is meant for temperature control as we have a certain temperature to achieve and maintain during the development process which is 102 degrees Fahrenheit. The cheapest version can be found on Amazon for $40 (AUAG SUV).
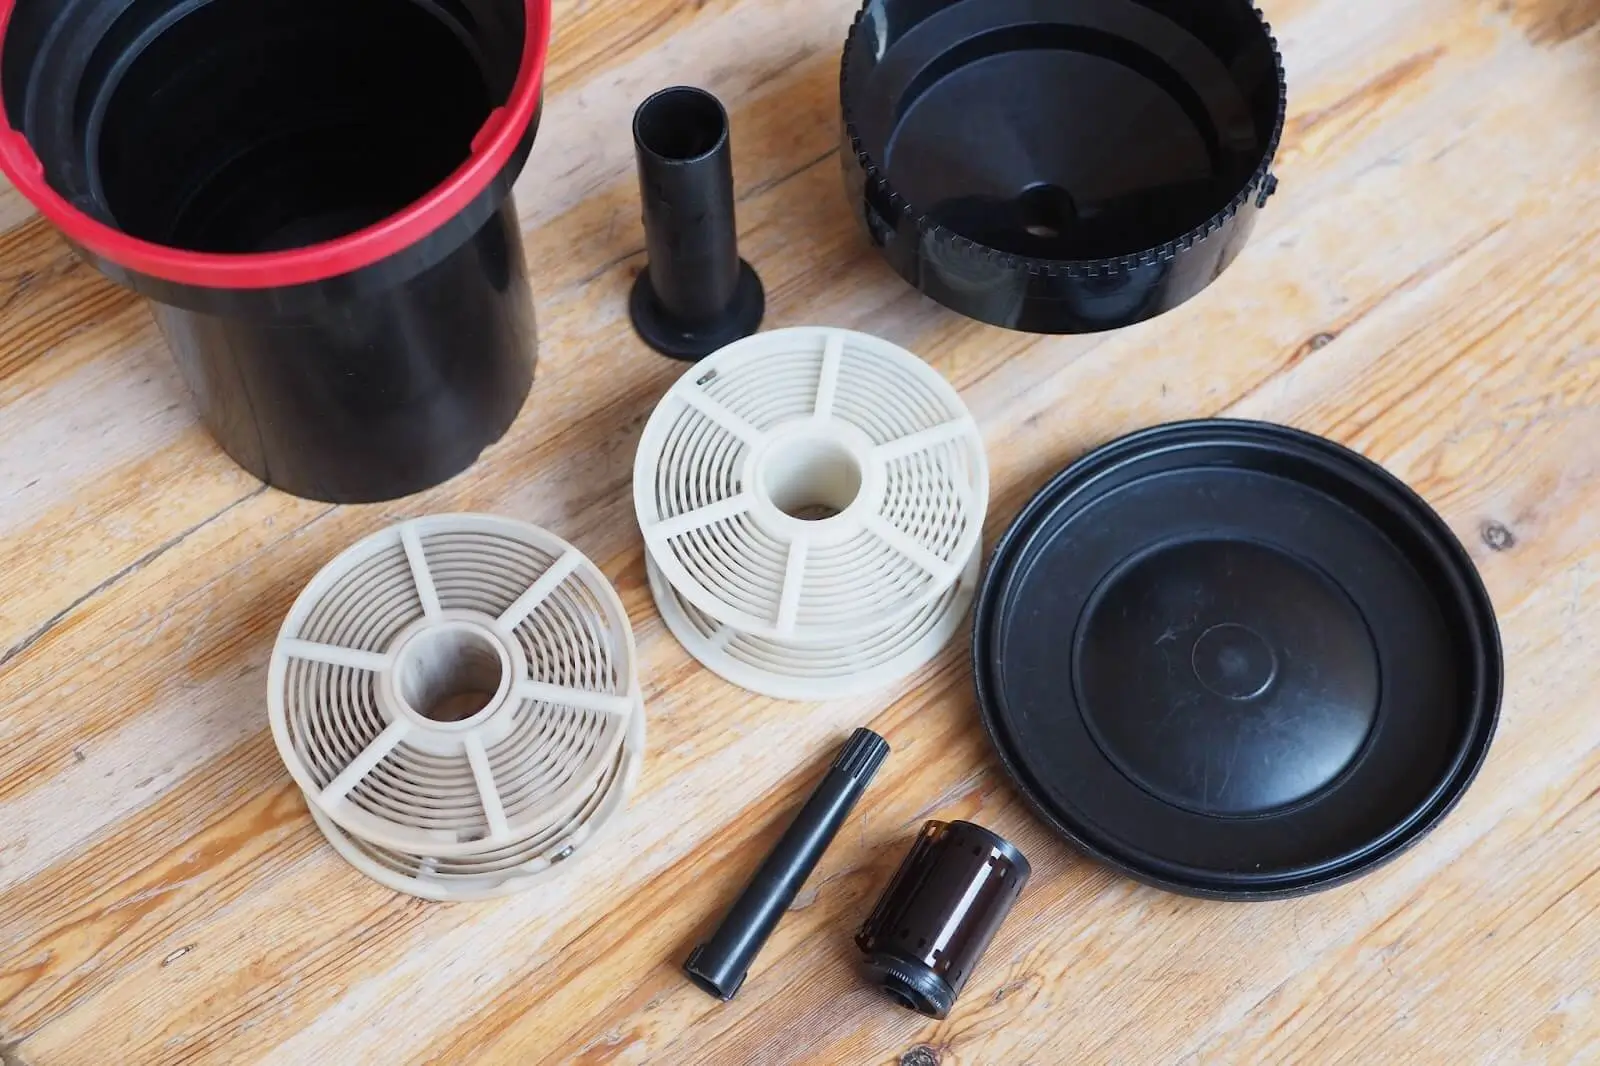
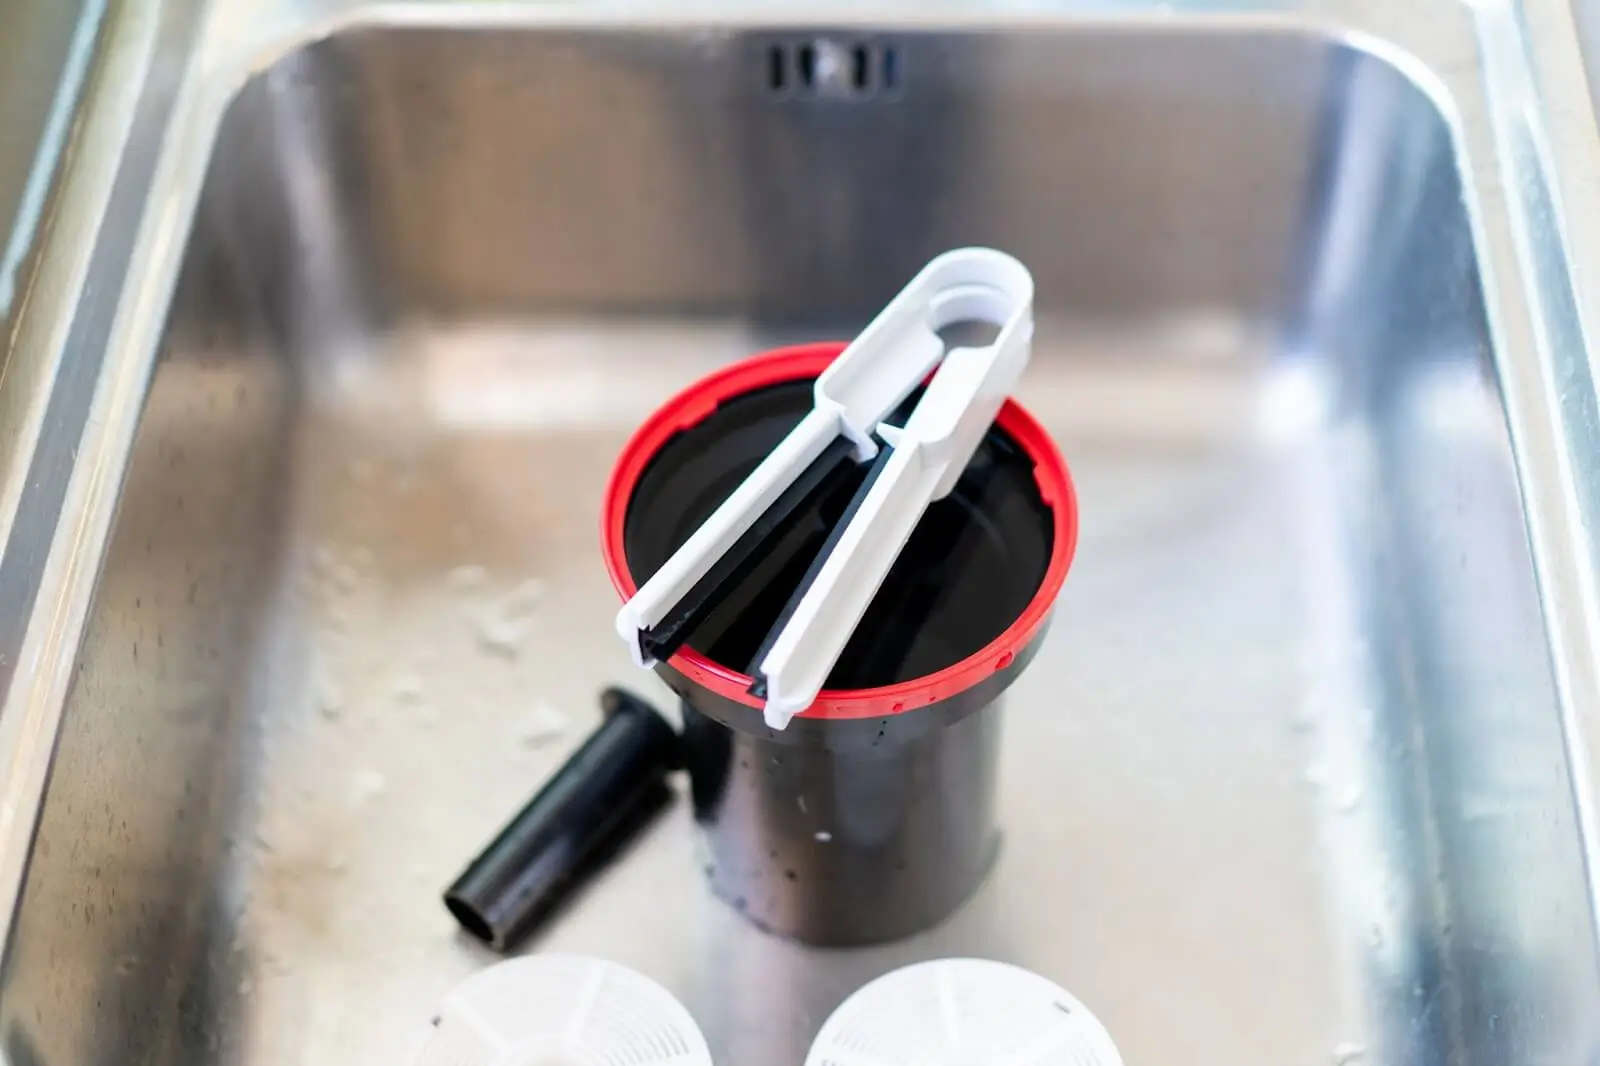
Patterson Tank of 500 milliliter which is a crucial part here that we are going to use to submerge our film and conceal it inside to apply chemicals. The Patterson Tank kit usually comes with two rolls which you can use for two 35-mm films or combine them and expand into one reel for a 120-mm film development. Besides it provides you with an agitator for mixing the chemicals. The main feature of the tank is that you can load it in the dark, put the top on, and then you can add your chemicals in daylight and develop the film without having to be in darkness as it is a light-proof tank. They cost around $32 but you can find them cheaper or more expensive in some places.
C41 kit – a set of chemicals required for film development. They usually come as powder to mix with the water but can also buy ready solutions but the powder kit is just more handy and takes less space initially. These chemicals are:
These chemicals play crucial roles in the film development process, ensuring the production of high-quality images and preserving the integrity of the processed film. Some kits come without a stabilizer as they state in their manual that most modern emulsions which is the actual film have a stabilizer built in to preserve the film. Some of the older films don’t have that, so having a stabilizer helps a lot. Unicolor kit comes with a stabilizer in the bag but Cinestill may come without it.
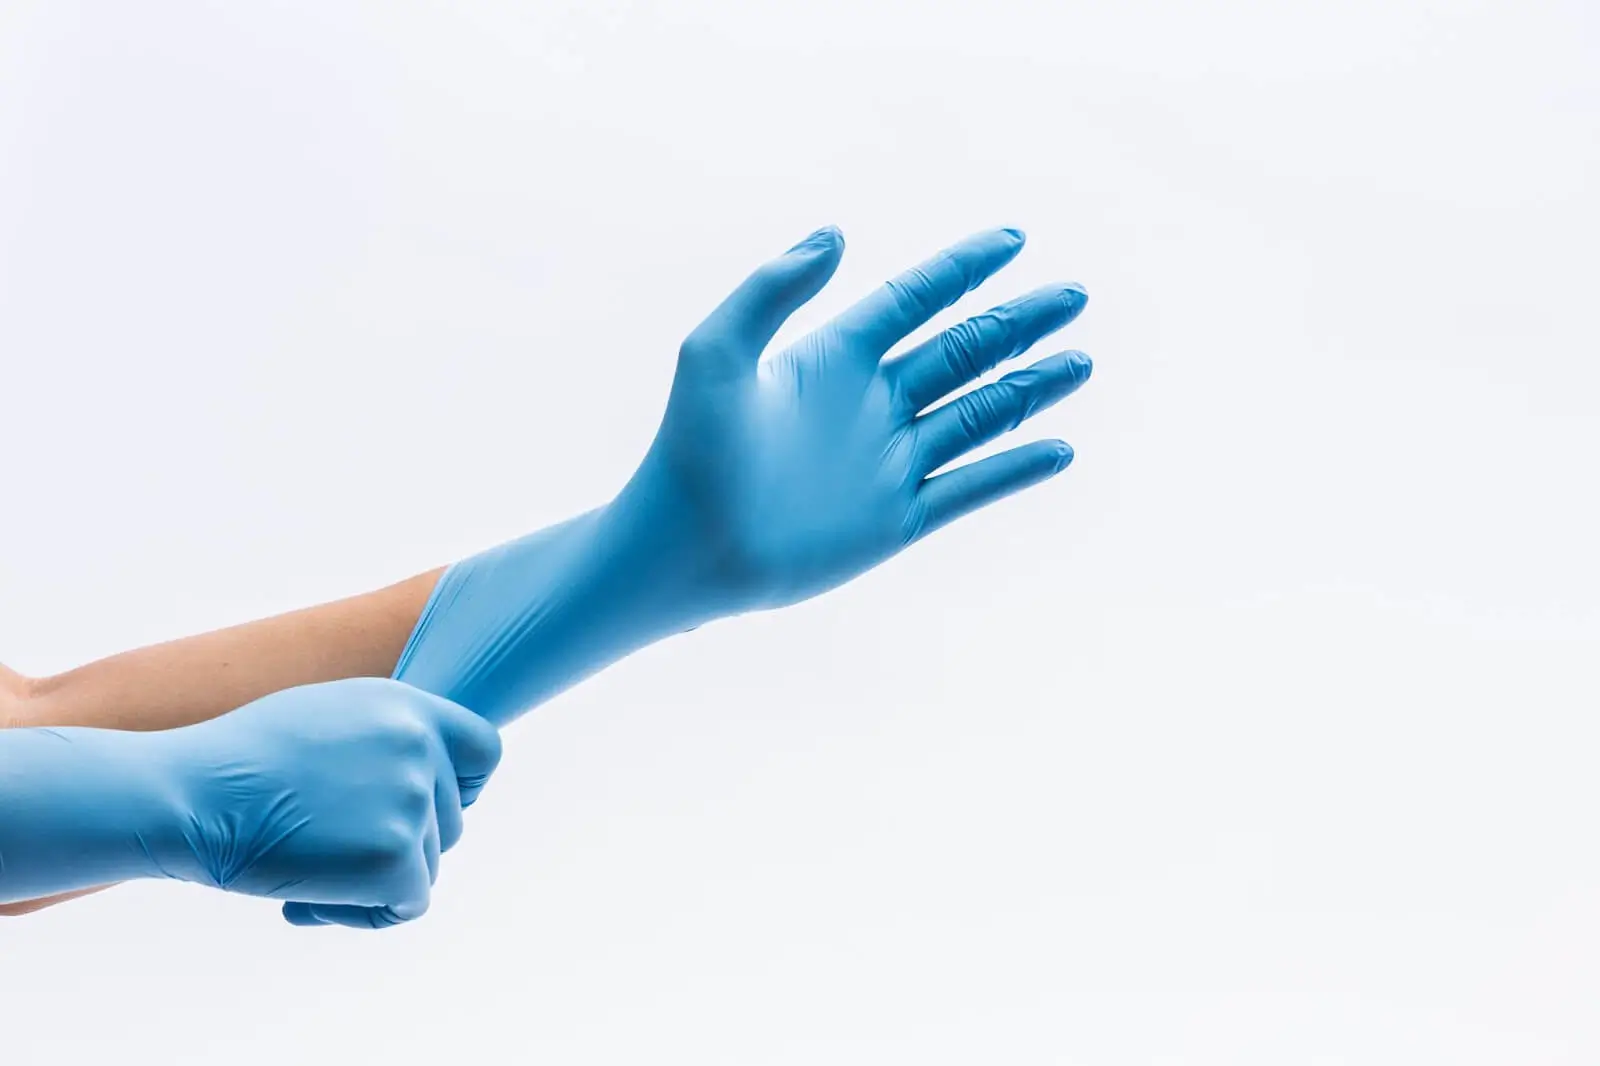
Chemicals are not recommended to touch with your hands, they are toxic to your skin, so make sure to have rubber gloves for hand protection while working with developing chemicals. Do not rub your eyes or ingest, besides, you want to have good ventilation or a respirator to protect yourself from inhaling chemicals.
Developing film usually requires a dark room, because the film is sensitive to the light and it can spoil your pictures during development if exposed. However, for developing film without a darkroom, there is a simple solution that provides you with a black fabric that has two layers of light protection to get your hands in there, which you can use to load your film inside w/o exposing it to daylight.
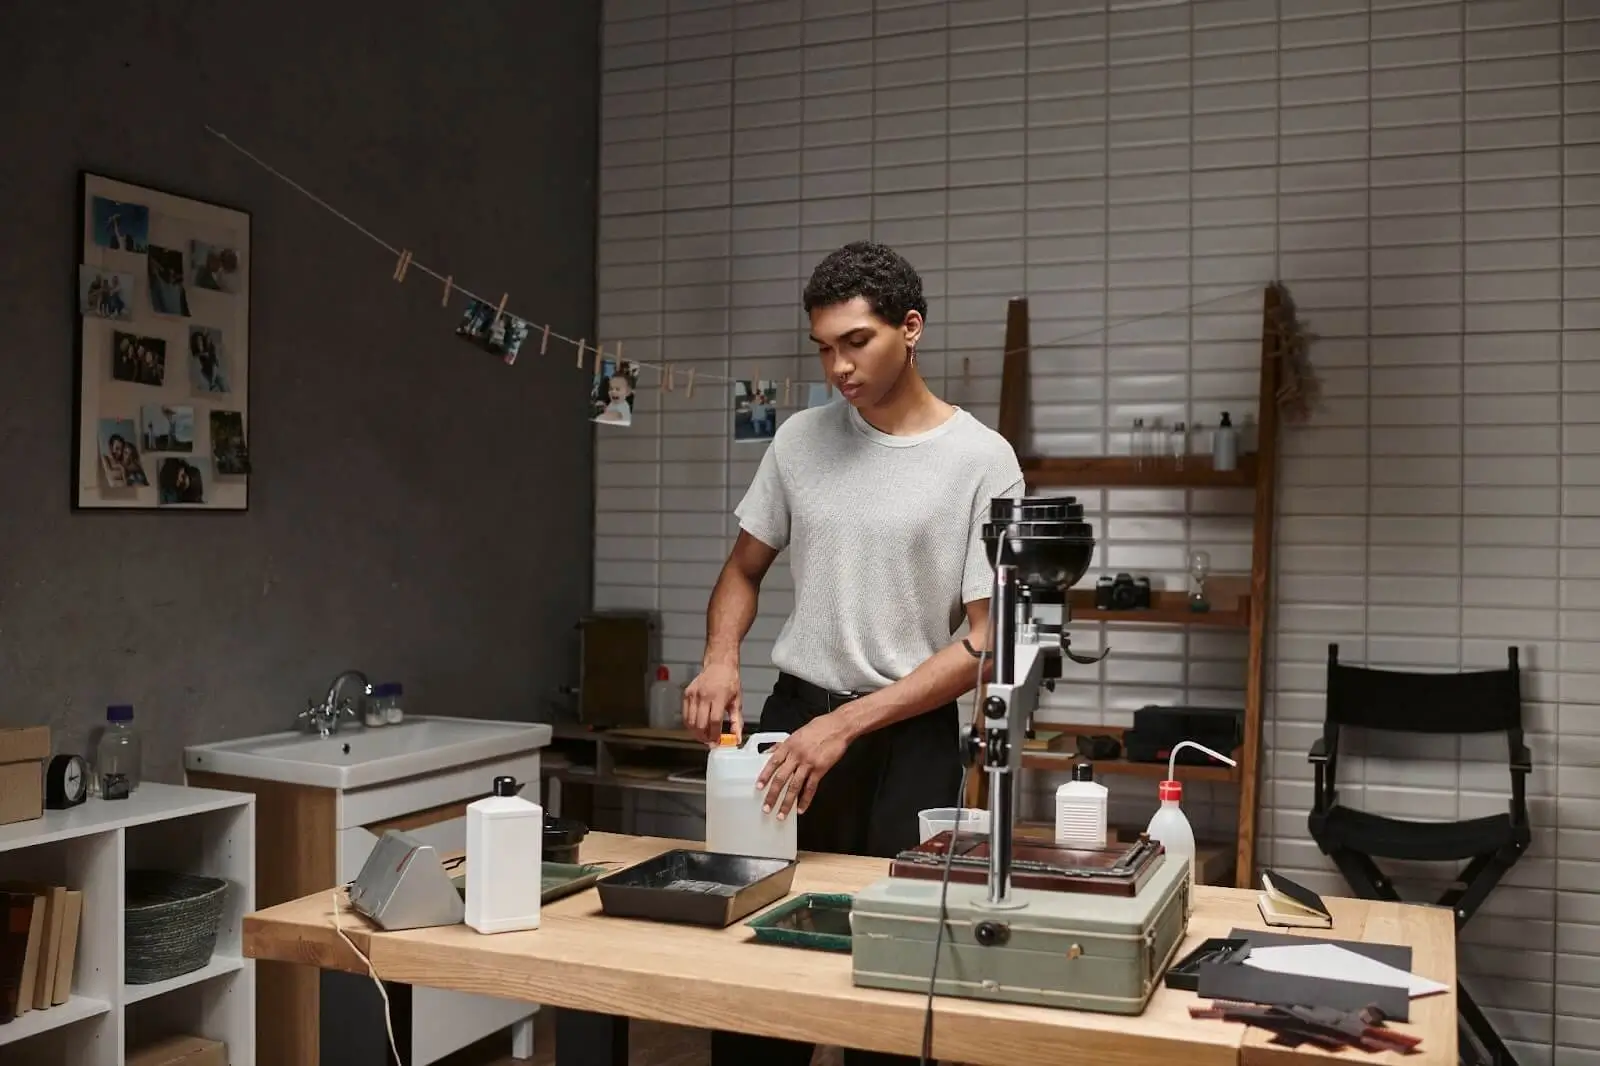
Mix your chemical powder with water inside a bottle for each. Put some tap water inside a bucket where you are going to submerge the bottles with the chemicals. The water for most chemicals should be 102 degrees Fahrenheit, use an SUV or get hot water and measure the temperature with a thermometer. Read the manual of your chemicals kit to see the temperature ranges that they require (usually it is from 68°F to 100°F).
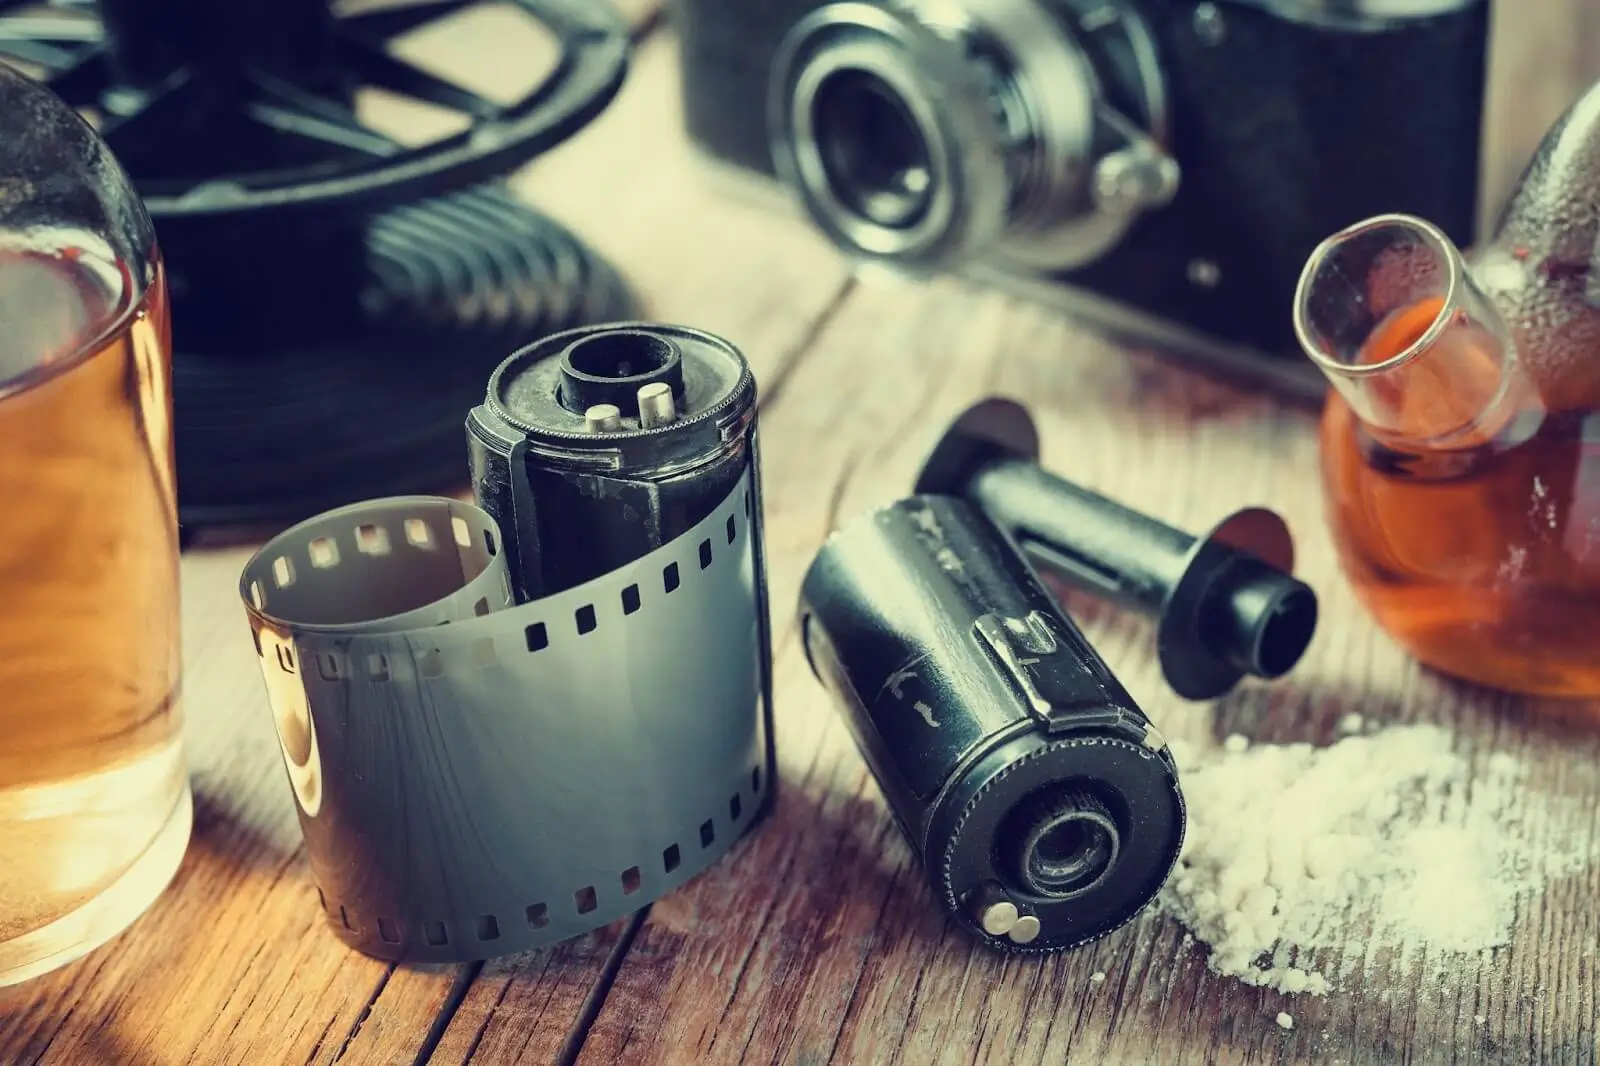
While chemicals are warming up we are going to load our film into the spools. Before you remove the film from its container, trim off the lead of the film with scissors making sure not to cut through the sprocket holes. Then pull the remaining lead back into the canister. Make sure to you load in complete darkness since the film is sensitive to light exposure.
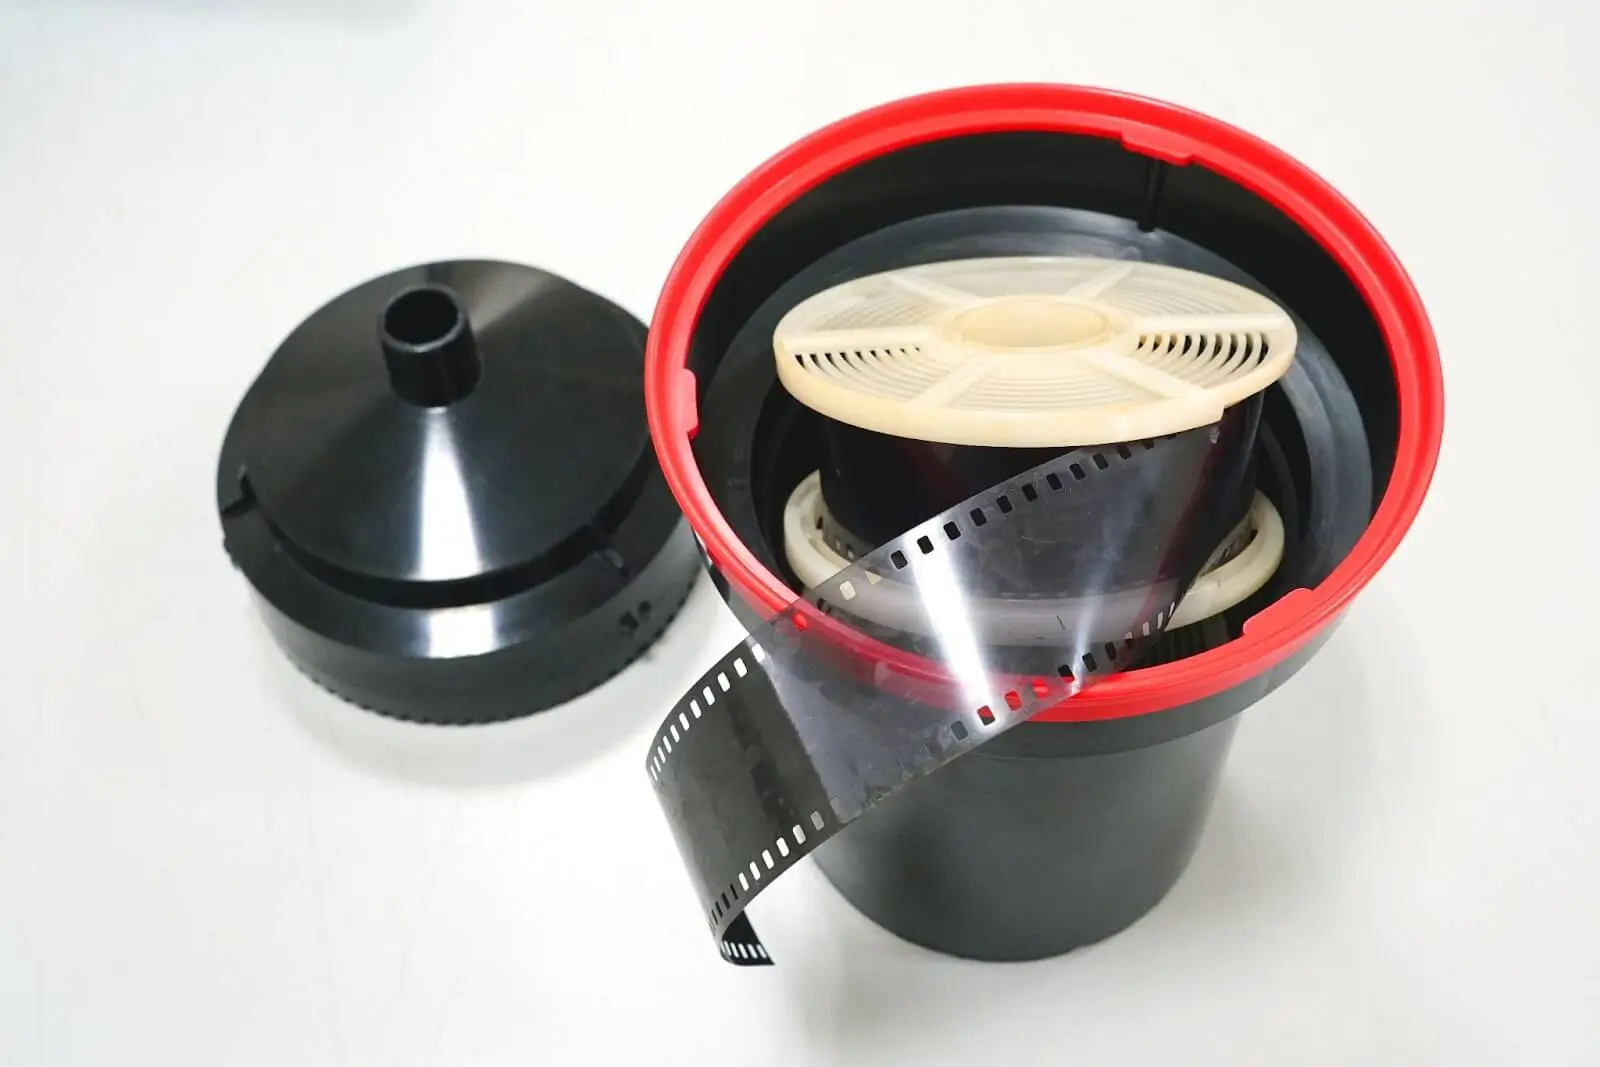
Pry open the film canister from the bottom using the bottle opener or any other useful tool, and load the film onto the spool under the two tabs. There are two little metal pieces that grab the film at the sprocket holes and you load the entire roll using a back-and-forth twisting motion. Put the reel inside the tank and put the lightproof cap on top. Once you put the lightproof lid back on you can turn on the lights. We recommend practicing loading on a blank roll of cheap film with the lights on to get used to that to not spoil the actual film in the future.
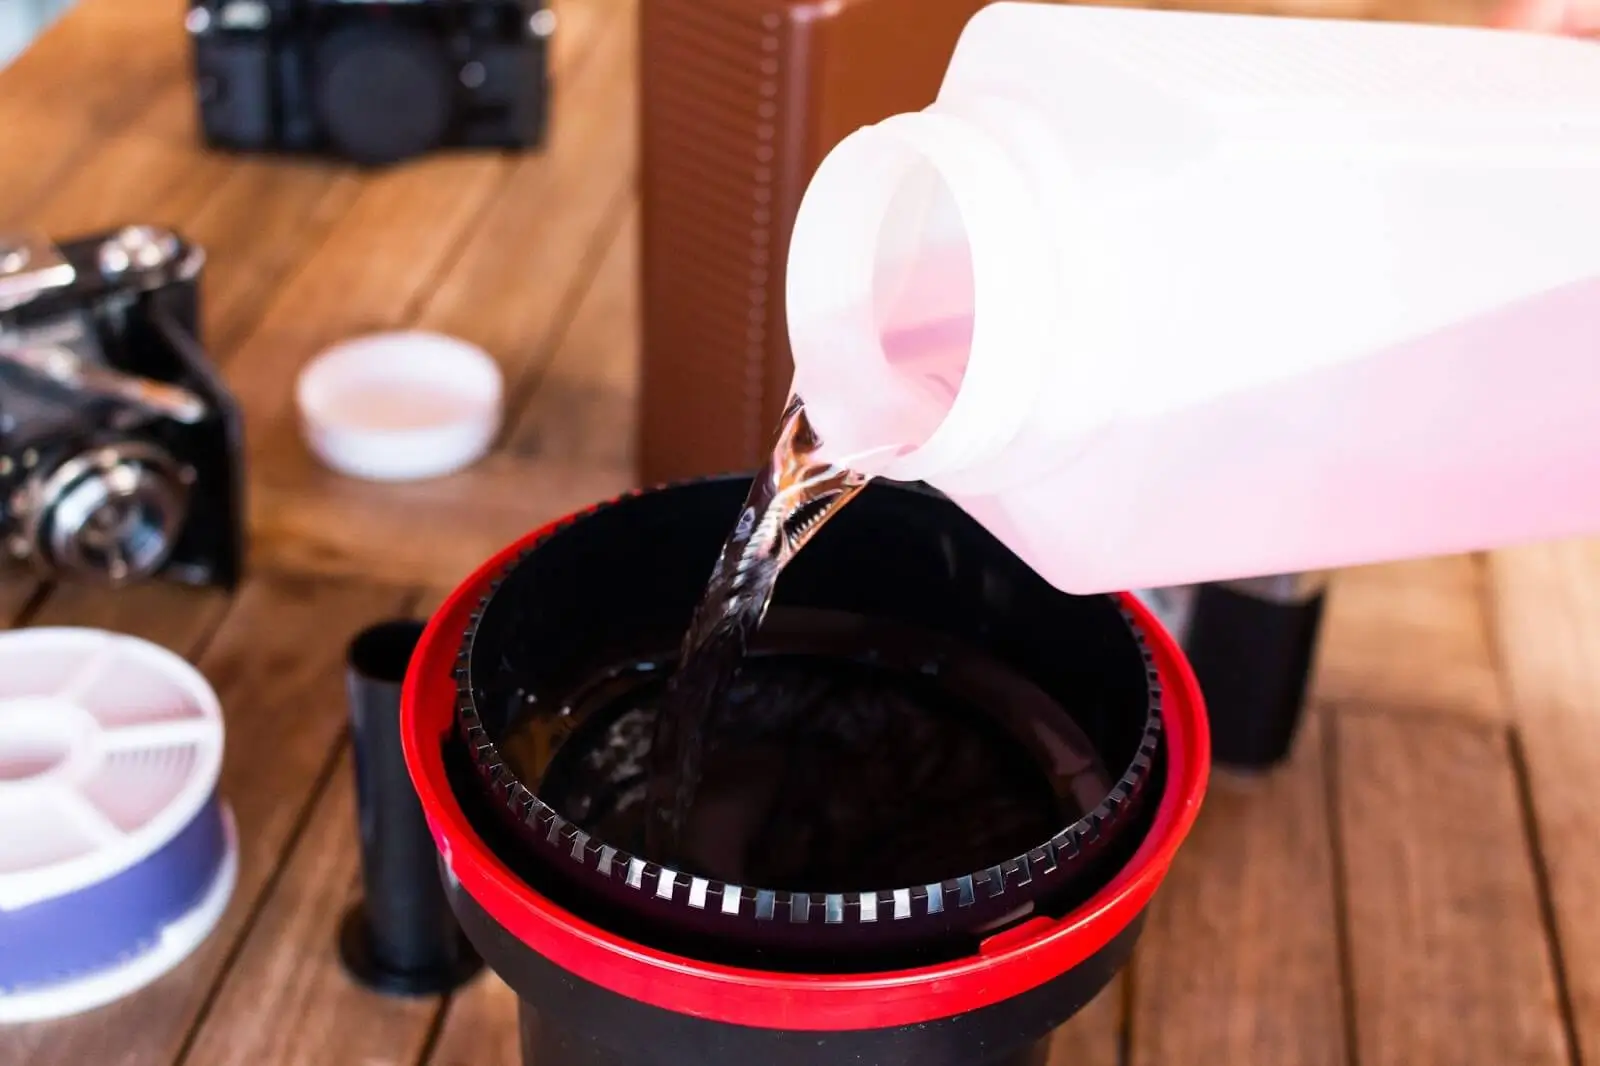
The tank has a hole to pour the warmed chemicals through without exposing the film to light. Load the developer first and use the agitator to apply the developer all over the film surface inside. Just rotate the agitator left and right for 10 seconds – that just helps get the chemicals in between all the layers around that spool for your 35 mm film. The developer is required to be there for 3.5 minutes. Every 30 seconds you need to flip the tank 4 times (inversions) with a developer and the film inside. Use the protective cap to conceal the chemicals and do not forget to use gloves just in case. After the 3.5 minutes have passed it is time for another chemical.
After the developer application is done, you can pour the developer out and back into its dedicated bottle for future use. Now it is time to replace the chemicals in the Tank with BLIX.
Bleach and Fix takes 8 min. Do the same routine as with the developer: 10 seconds of agitation and 4 inversion cycles every 30 seconds for 8 minutes. The temperature could be between room temperature and 105 degrees Fahrenheit.
As you have done with the chemicals it is time to wash our film. Use distilled water for that, as the tap water may be hard for the film. Fill the tank with water and wash the film up 3-5 times or for 5 minutes or so to make sure the chemicals dissolve and out of the film’s surface.
Stabilizer requires a one-minute application in the same way as other chemicals. Pour it inside the tank and do agitations for 15 seconds. This could be done at room temperature.
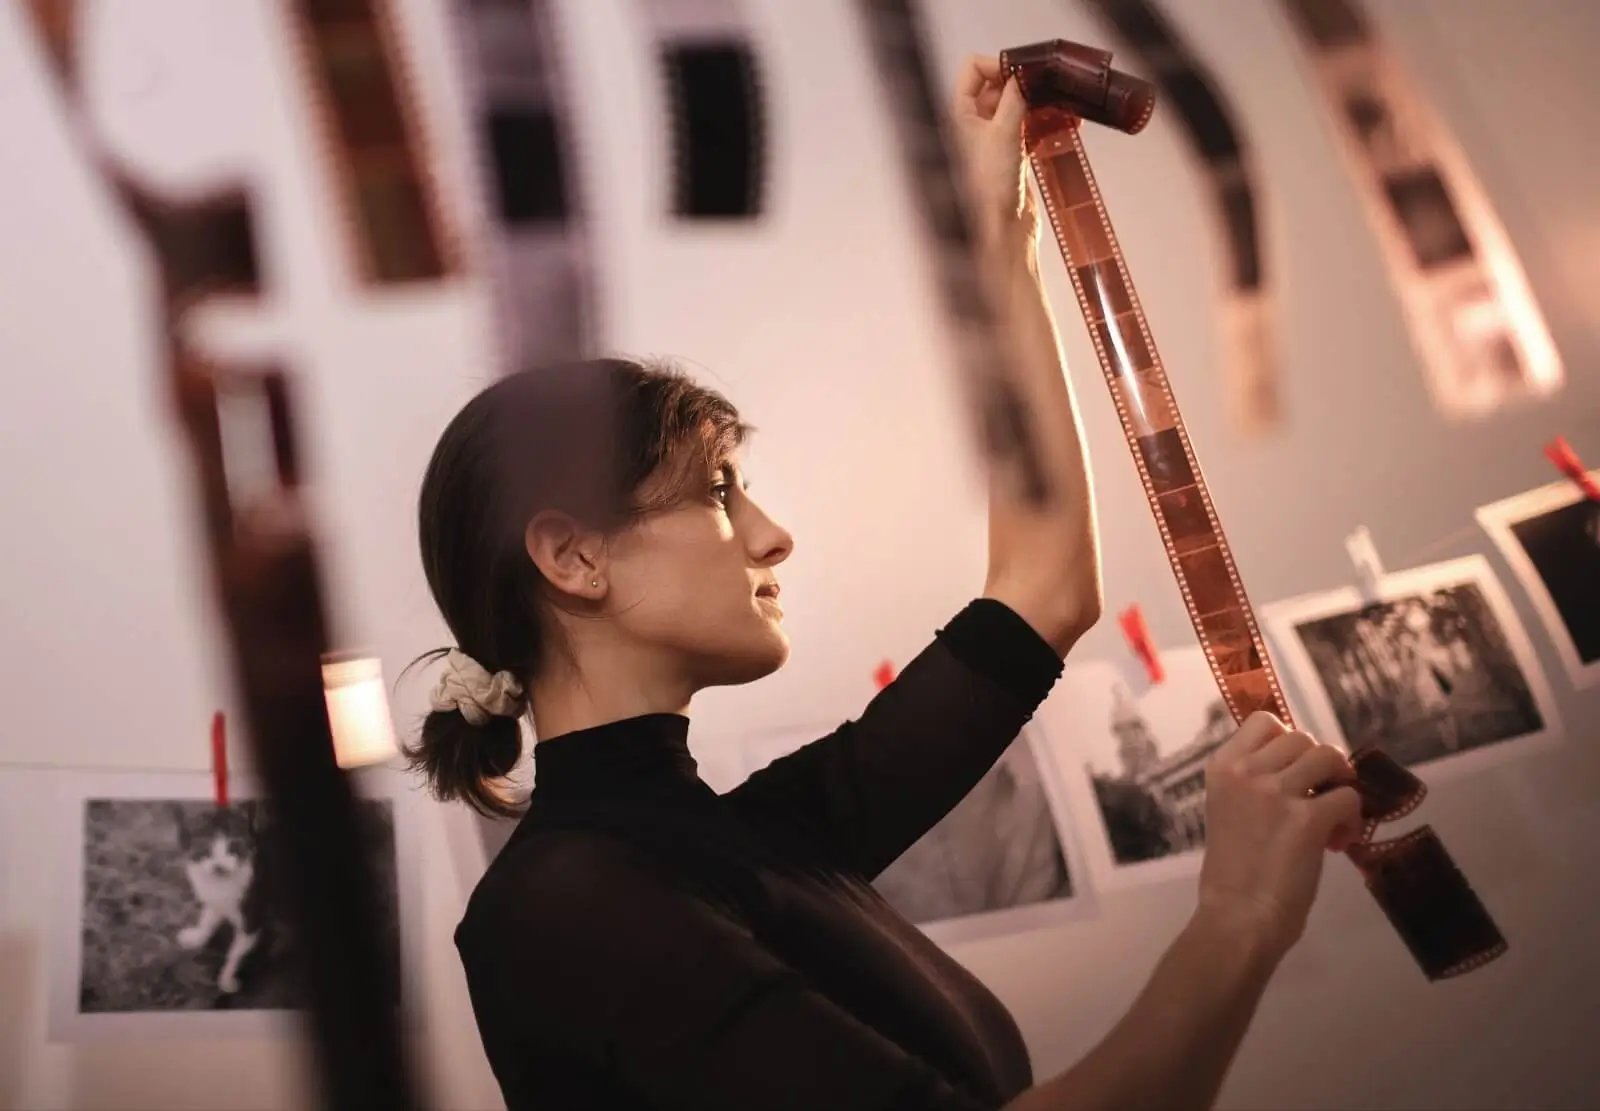
Now you can unscrew your tank and take out the film, it should be developed already. Take a squeegee or a piece of paper to remove the liquid leftovers and then use clips to hang the film to dry out which takes 2-3 hours on average, so you can just leave it for a night. Those were all the instructions on how to develop a film on your own using chemicals. But there is an alternative method as well.
There are alternative methods on how to develop 35mm color film at home without using traditional chemical solutions. One such method is called "stand development," which involves using only water and a small amount of a minimal developer solution, such as Rodinal or similar. Stand development is a less conventional approach that relies on long development times and minimal agitation to gradually develop the film.
Here's a basic overview of the stand development process:
Stand development can produce unique results, including increased shadow detail and reduced contrast, compared to traditional development methods. However, it's essential to experiment and adjust the process to achieve the desired outcomes, as stand development may not be suitable for all types of film and shooting conditions. Additionally, it's important to note that while stand development uses fewer chemicals, it still requires the use of a developer and fixer solution.
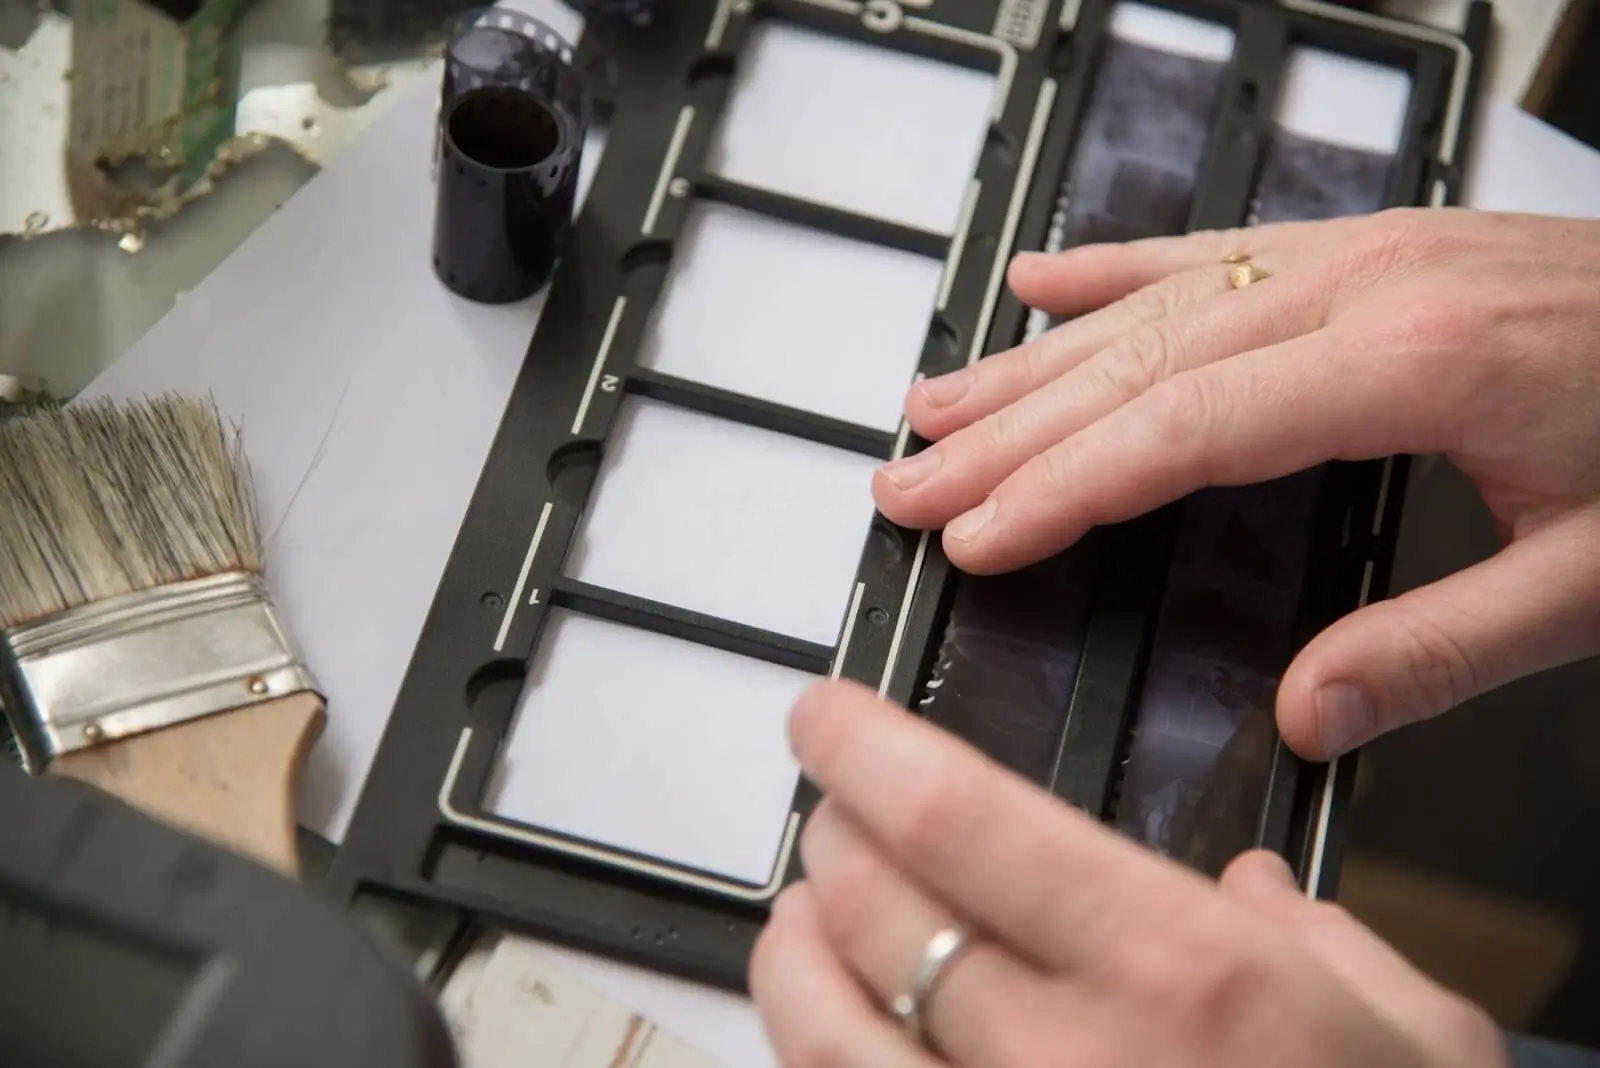
Once your film is developed, the next step is to scan the negatives to digitize them. There are two main methods for this: using a scanner or a digital camera.
Scanners offer precise scanning capabilities, allowing you to capture all the details from the negative onto your computer. However, scanners can be expensive, especially if you already own a DSLR camera. In this case, you can use your DSLR camera for scanning instead. To do this, simply turn the negatives into positives using software settings during scanning or in post-processing using software like Lightroom.
If you choose to use a digital camera for scanning, here's a step-by-step process for clarity:
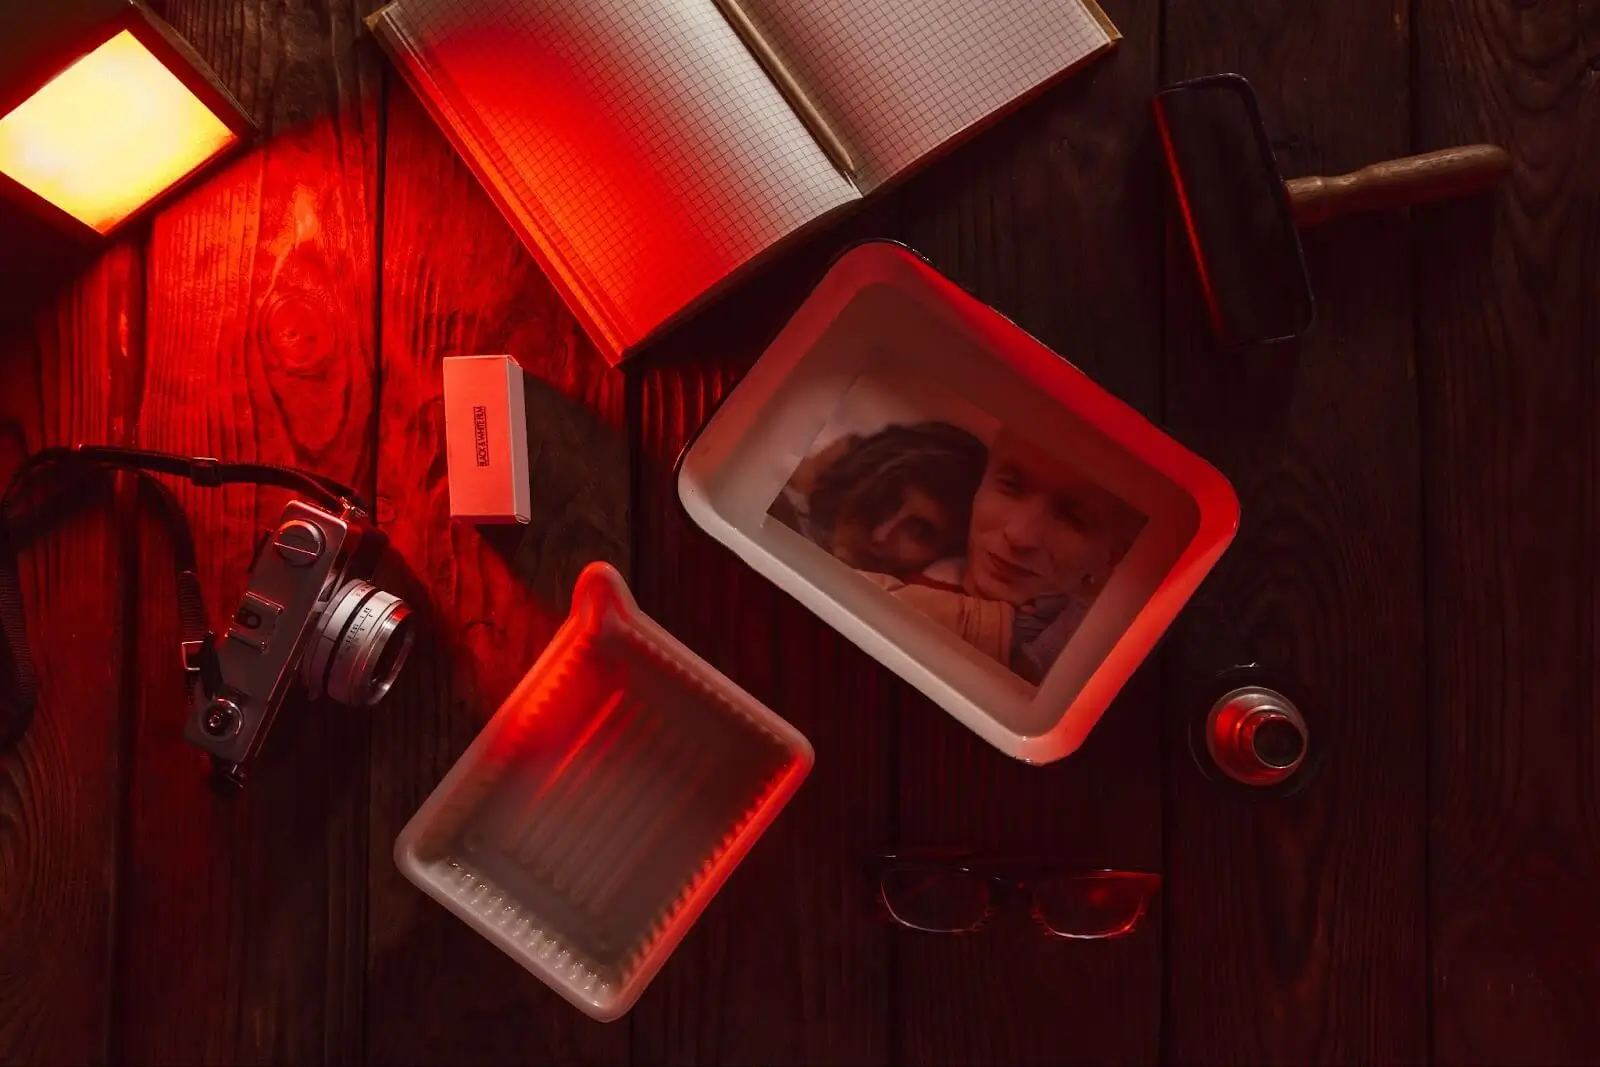
Now you can print a photo or a set of photos having everything ready for that in digital.
Co-founder of RetouchMe. In addition to business, he is passionate about travel photography and videography. His photos can be viewed on Instagram (over 1 million followers), and his films can be found on his YouTube channel.
Moreover, his profile is featured on the most popular and authoritative resource in the film industry — IMDb. He has received 51 international awards and 18 nominations at film festivals worldwide.