


Reflection Photography Ideas
May 23, 2024
If you are getting started in video and photography editing you might have heard about such terms as color correction and color grading. The vast majority of people confuse these two terms and see no difference. Today we are going to find out that difference and explain it on particular examples in theory and practice.
An essential part of any edit is to modify your piece of artwork to state it looks pleasing to your eye. Most of the time color correction and color grading are used as interchangeable terms, but there is a big difference between them. Correction and grading are just a step-by-step sequence of image/footage adjustments. Our goal is to make it look better where the color correction is our 1st step followed by grading.
Color correction literally means what it says – we work on fixing colors. When you clip or shoot something it does not always look as great when it comes straight out of the camera. Set exposure makes a lot of difference and sometimes your image looks just too warm or too green. Changing the white balance and exposure of your camera is the first step in color correction before any actual post-production manipulations of the image. Our main goal here is to ensure that our image looks as natural to the human eye as possible.
So basically what you are going for when you are shooting something – you step back from the camera and see how it looks with the naked eye, and then you want to make sure that the outcome would look the same or just as accurate after the shot. The second goal is to make sure that all your sequences, whether they be clips or consecutive images are shoot-matching. But that is going more to grading and styling the image that we will discuss further.
The color correction process is meant to normalize the colors in your art before grading. Consistent colors is a good starting point. This could also be a case when you have images from different cameras or different lighting conditions, or you want to get a stable Baseline before you start grading. For example, shooting under warm light you might use color correction to bring it back to look more like a white light.
If you skip this color correction step what is going to happen is your footage is going to look weird. The colors just seem a little bit off here and there, clips do not match, and you may lose your viewer’s attention because it is very distracting, look unnatural and not appealing to the eye. Color correction might be a very time-consuming process. In order to save time you need to adjust your camera exposure using a histogram and then set an appropriate white balance before shooting.

Color grading photos is the process of changing colors to apply creativity and style to your images after you have set colors corrected. The same works for footage. Color grading can be made a lot easier if you have color corrected the footage beforehand. In cases, you are just working on a short video or if your footage does not change very much like if it is a vlog or something like that you probably can get away with just jumping right to color grading instead of color correcting the footage beforehand. However, if you are working on any kind of substantial project it usually makes sense to do your color correction at first so that you are going to have normalized footage, and then you can apply a layer of color grading on top of that. So that is the main purpose of color correction and color grading and the difference between them at the same time. Color correction brings your footage up to a standardized starting point, so you can start working from it, and then you can make more creative choices with grading on top of that.
So the short answer is:
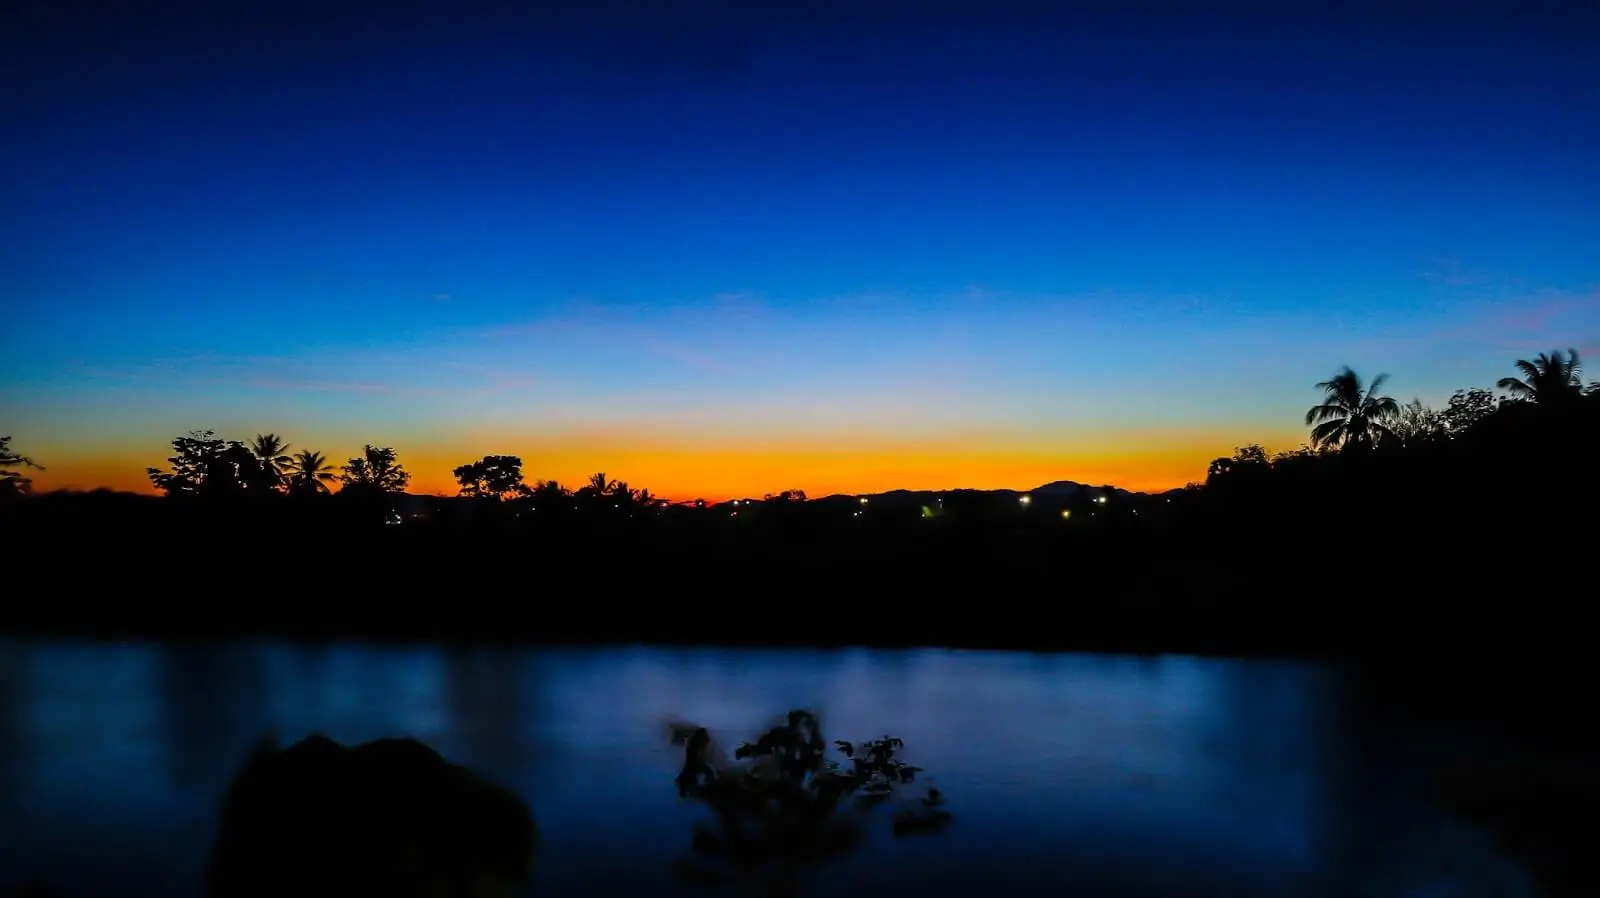
Colors set the tone or mood of your image and footage and responses for an emotional guideline. When we watch horror movies it is usually dark and blueish. When we watch comedy it is probably warm and colorful. So the main difference between color correction vs color grading is that the color correction process is to fix colors, and you do not think about the storytelling or emotions conveyed at that moment. Here we only think about making everything look natural and appealing. We think about storytelling only during color grading, and here we put more meaning into colors eventually.
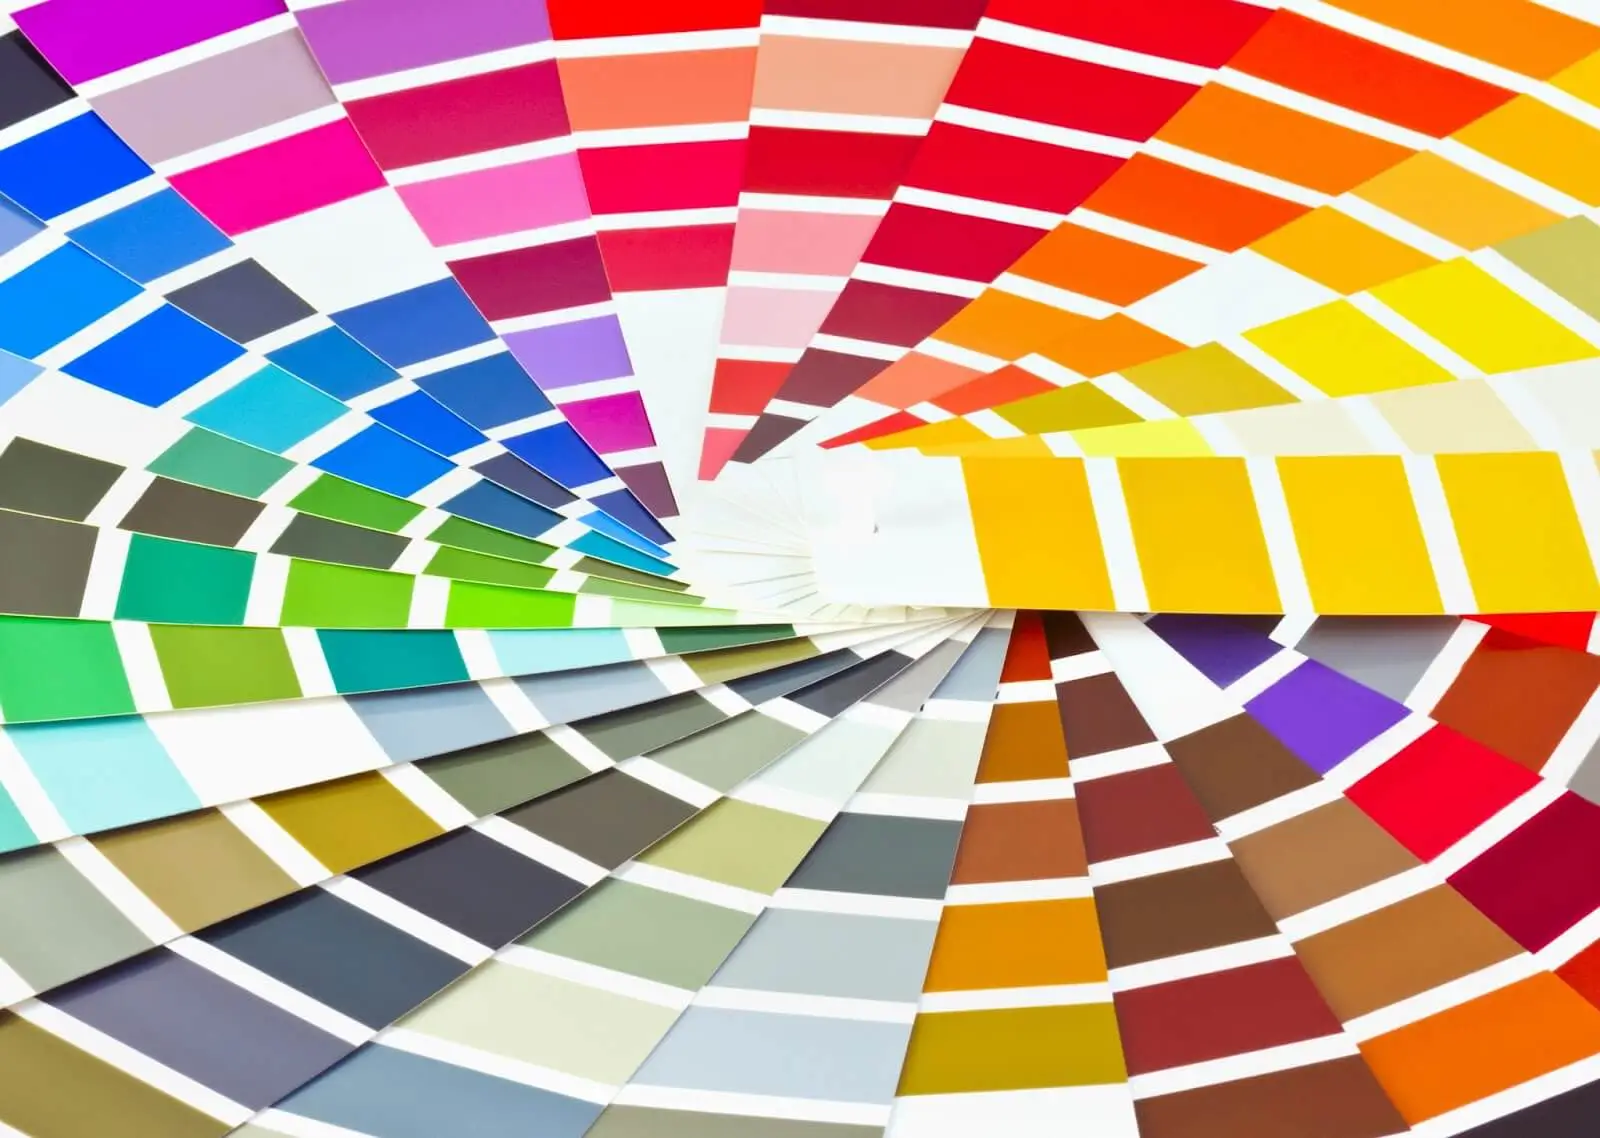
When we work with such photo editors as Adobe Photoshop in line with Lightroom, or video editors such as Premiere Pro and After Effects, we may notice there are tools to apply a color gradient. And when we take a look at the tool’s GUI we can see the rainbow in it. That is because gradient means ranging the colors with a smooth transition between them. Speaking differently color correction is to change or correct the colors. On the other hand, color grading influences the whole style of art. That way leads us to understand color harmony wheels which you can learn more about by clicking the link and looking for the color harmony paragraph it references our main topic in more depth. Understanding color palette features gives you a better hint about adjusting colors in a scene. In a couple of words color grading smooths out color’s seams which is why it is essential to have these colors corrected before grading them. However, the main point is still to change the style of all the colors in order to tell a story or emphasize certain aesthetics of an image or footage.

Back in the day color grading and color correction required certain professional editors to monitor the whole cinema in post-production programs to make that cinematic look. Nowadays using the listed software you can basically DIY easy color corrections and grading depending on what you want to convey in your clips with it. Let us gather everything together and show some examples of color resolve
The most popular software for photo and video editing contains color correction and grading tools as well:
These apps have powerful tools to do any possible video and photo editing. Most of them have their Mac/PC versions and are also IOS/Android supported. Color correction and color grading are pretty simple to use if you have a basic understanding of how color works, therefore how to adjust them. If you are unhappy with certain software tools, you can always download a plugin that will increase your palette options with LUT and magic bullet filters. Those plugins contain preset and adjustable tools to calibrate the colors of the image to your liking.
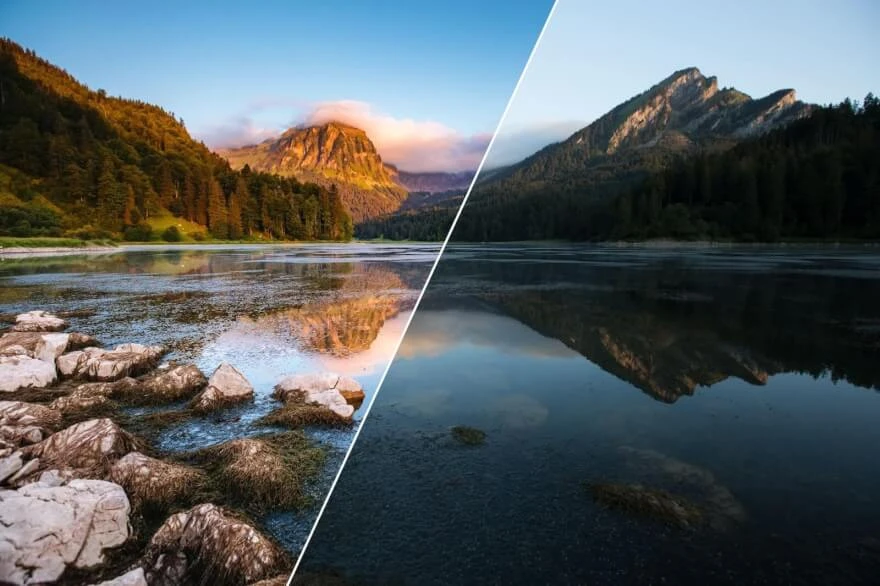
Here you can see how colors stand out after the color correction
And now we have it graded

The atmosphere is changed!
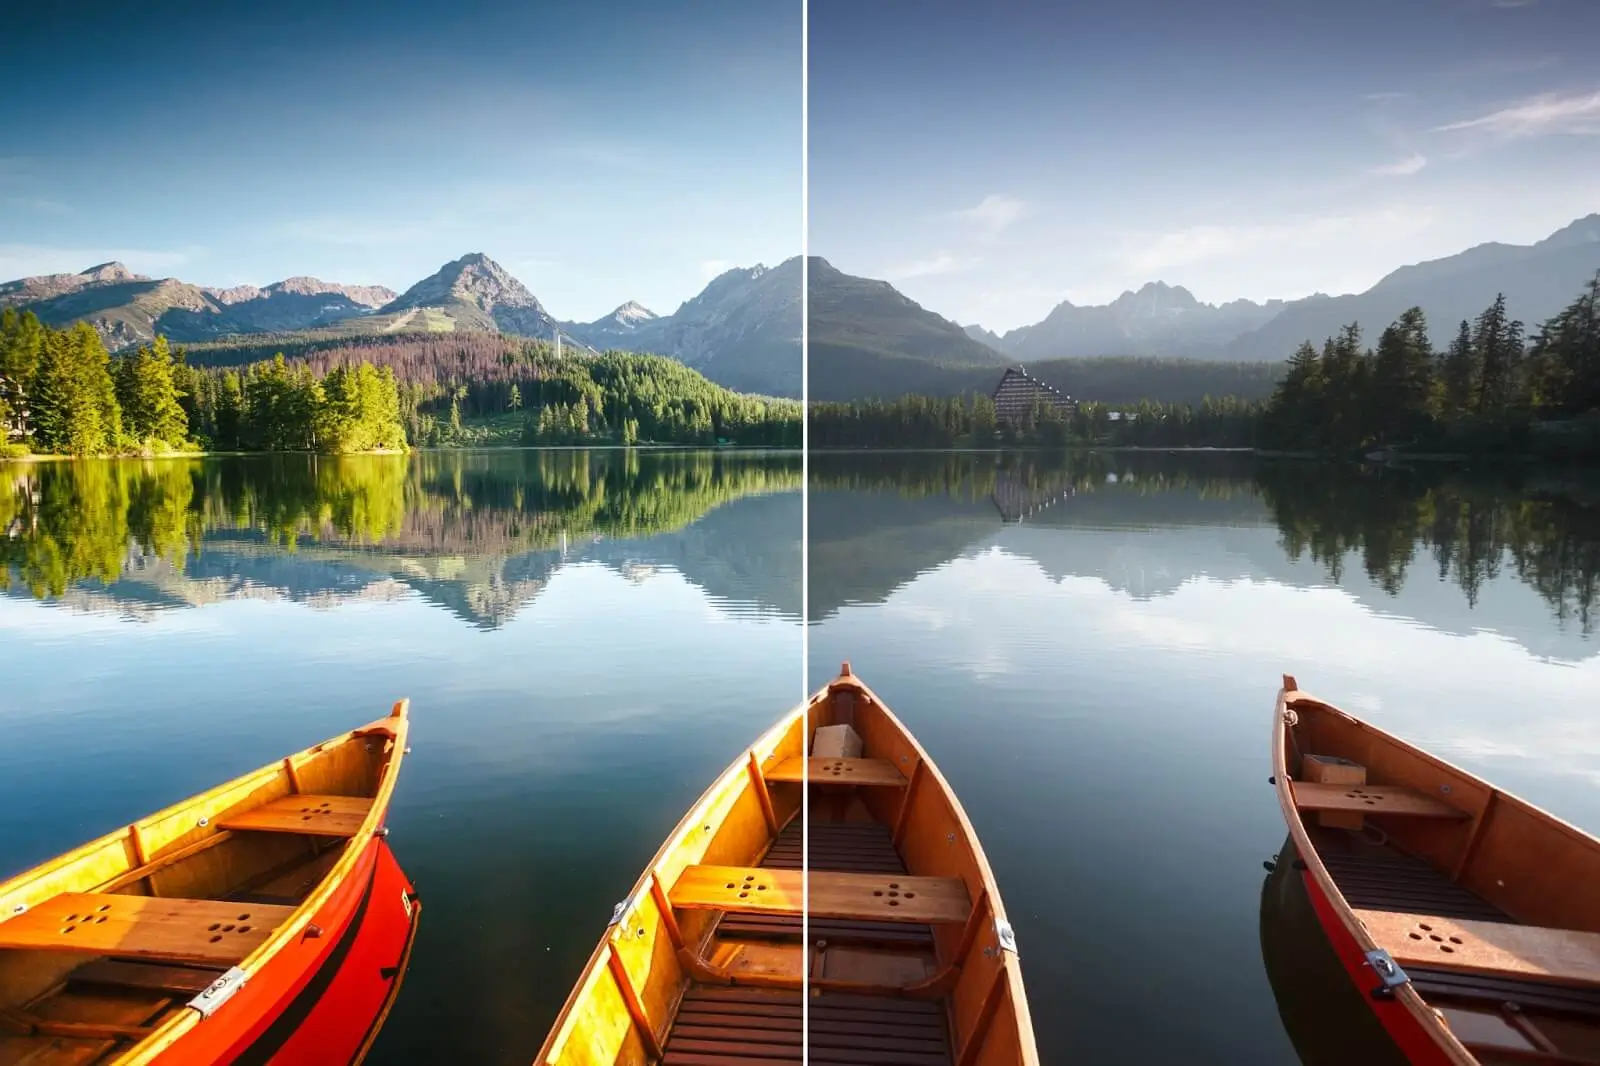
And here is an example of color grading by the nature
And here is how to color grade makes up for the cinematic look

Shadows and lights are more emphasized and the image doesn’t look flat anymore!
Notice the level of detail in the graded image.
We hope this article helped you to have a better understanding of color grading vs color correction and foremost the difference between those two.
Co-founder of RetouchMe. In addition to business, he is passionate about travel photography and videography. His photos can be viewed on Instagram (over 1 million followers), and his films can be found on his YouTube channel.
Moreover, his profile is featured on the most popular and authoritative resource in the film industry — IMDb. He has received 51 international awards and 18 nominations at film festivals worldwide.