


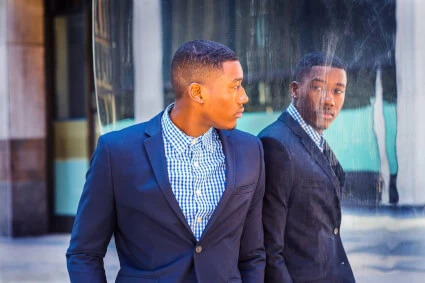
Reflection Photography Ideas
May 23, 2024
Do you have a problem with photos that come out too dark or too bright? Blown out whites or blacks crushed so dark you can not see any detail? In this article, we are going to teach you exposure compensation tips and tricks for getting the photo to come out the right brightness by mastering exposure techniques for semi-auto, and manual modes and get the exposure compensation explained as a term.
To fully understand the exposure compensation meaning let us start with exposure itself.
Exposure in photography refers to the amount of light that reaches the camera sensor or film, resulting in a properly lit image. It's a fundamental concept in photography, as achieving the right exposure is crucial for creating well-balanced and visually appealing photographs.
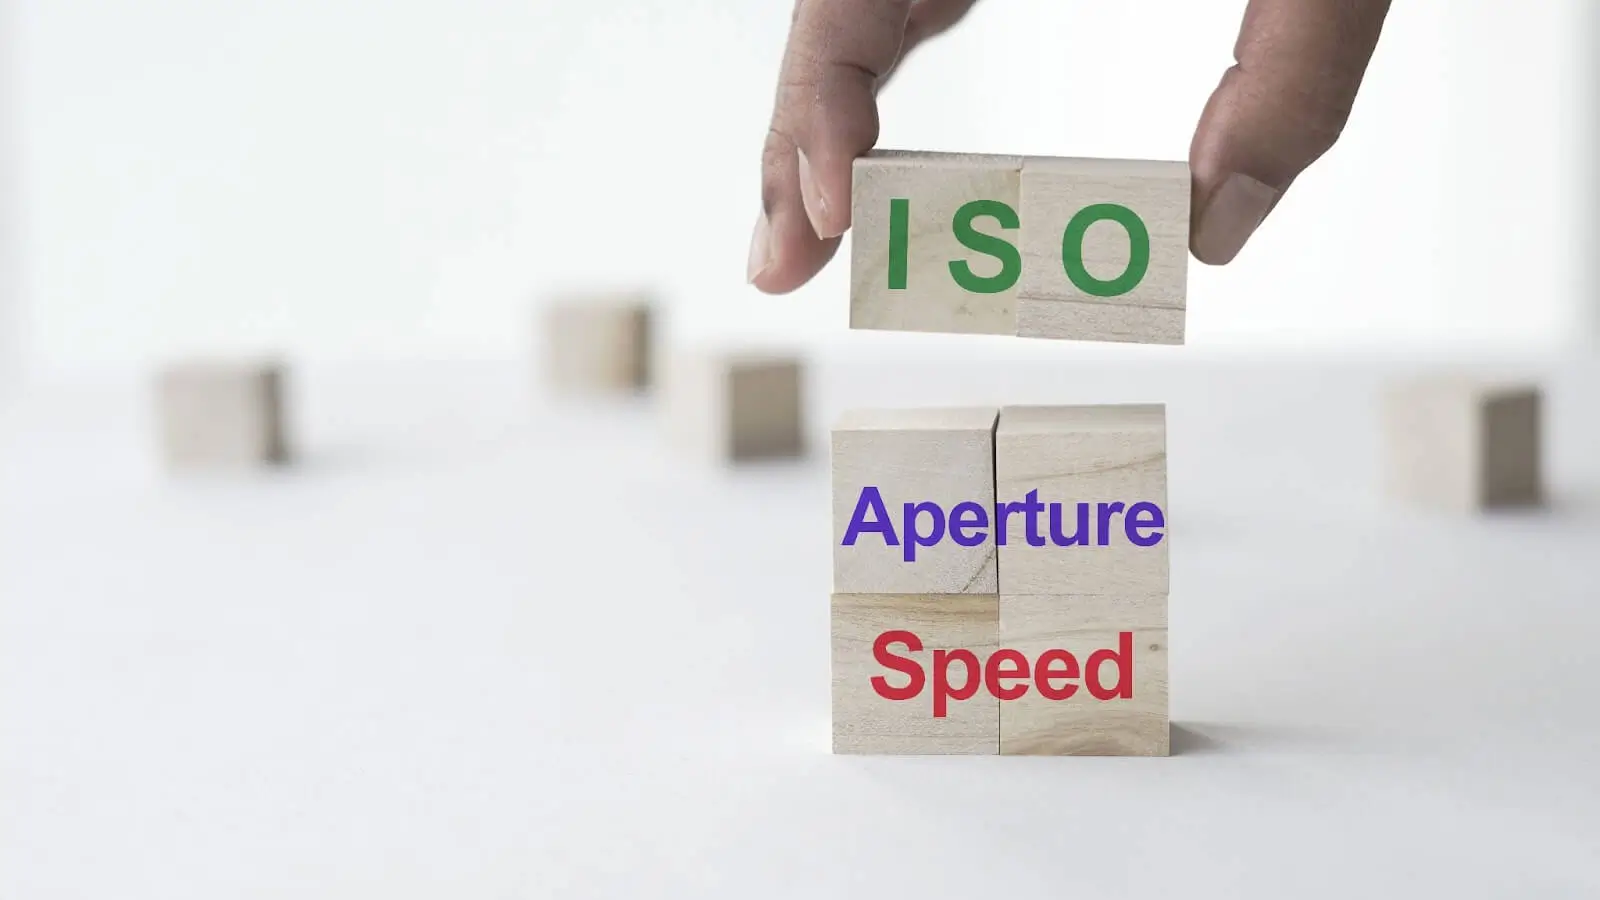
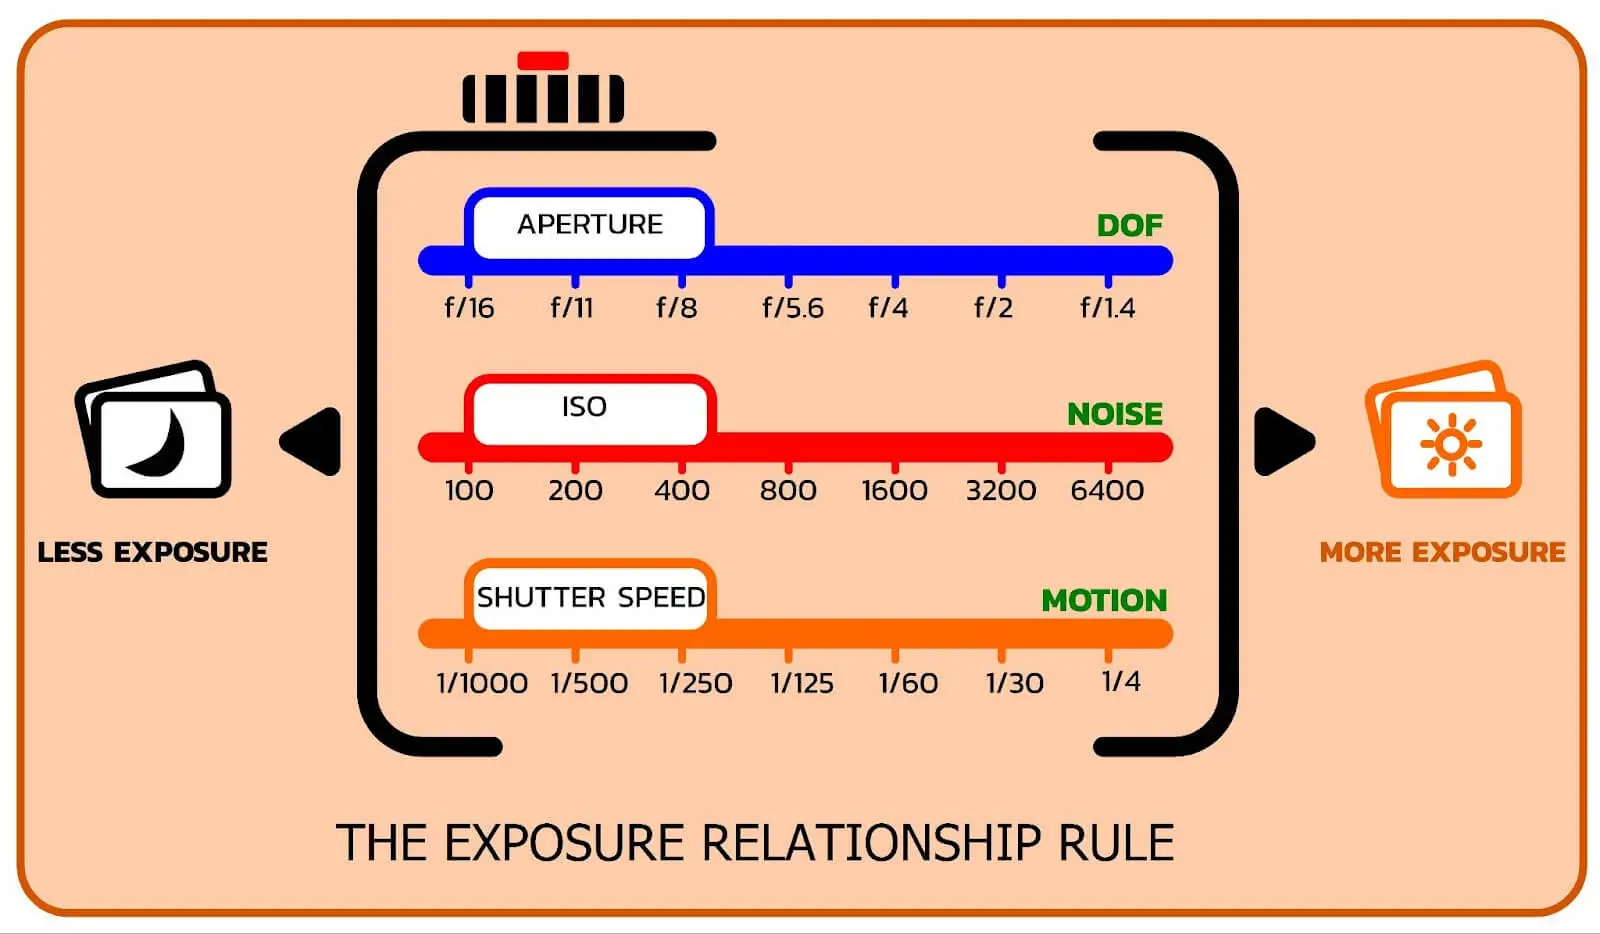
Exposure is determined by three primary factors:
Exposure is a delicate balance between these three settings. Adjusting one parameter often requires compensating with another to maintain the desired exposure level. For example, if you increase the shutter speed to freeze motion in a scene, you may need to open the aperture wider or increase the ISO to let in more light and maintain proper exposure.
Manually adjusting these parameters could be overwhelming, and this is why there is auto mode. But many say that shooting in auto means that you are not a professional photographer. When this is partially truth, shooting in manual takes a lot of time which may disrupt your workflow. Hence, using the benefits of auto when it's needed, doesn’t neglect your professionalism. Moreover, exposure compensation in photography becomes a middle ground, as it allows you to use the best of both worlds.
Exposure comp. is a feature found on many cameras that allow photographers to manually adjust the exposure set by the camera's metering system. It enables users to override the camera's automatic exposure settings to achieve a desired brightness level. Positive exposure compensation increases the exposure, resulting in a brighter image, while negative exposure compensation decreases the exposure, resulting in a darker image. This feature is particularly useful in situations where the camera's metering system may be fooled by extreme lighting conditions, such as backlighting or high-contrast scenes, allowing the photographer to fine-tune the exposure for better results.
Before compensating the exposure, we need to understand how to indicate it and if it needs any adjustments beforehand. Of course, you can eyeball how well-exposed your photos are, but one of the best means of evaluating the appropriateness of the exposure is the histogram.
Histogram graphically displays the brightness of the pixels in your image.
Dark tones are shown on the left and lighter tones on the right and the middle tones are in the middle. If your photo is too bright, you will be squished up on the right. The right edge of your histogram represents the brightest tones that your camera can record. If you touch the right edge with your photo, it’s pure white or what we call blown out. If you touch the left-hand edge, it is pure black, sometimes called having crushed your blacks. The height of the peaks is just how many pixels of a certain brightness there are.
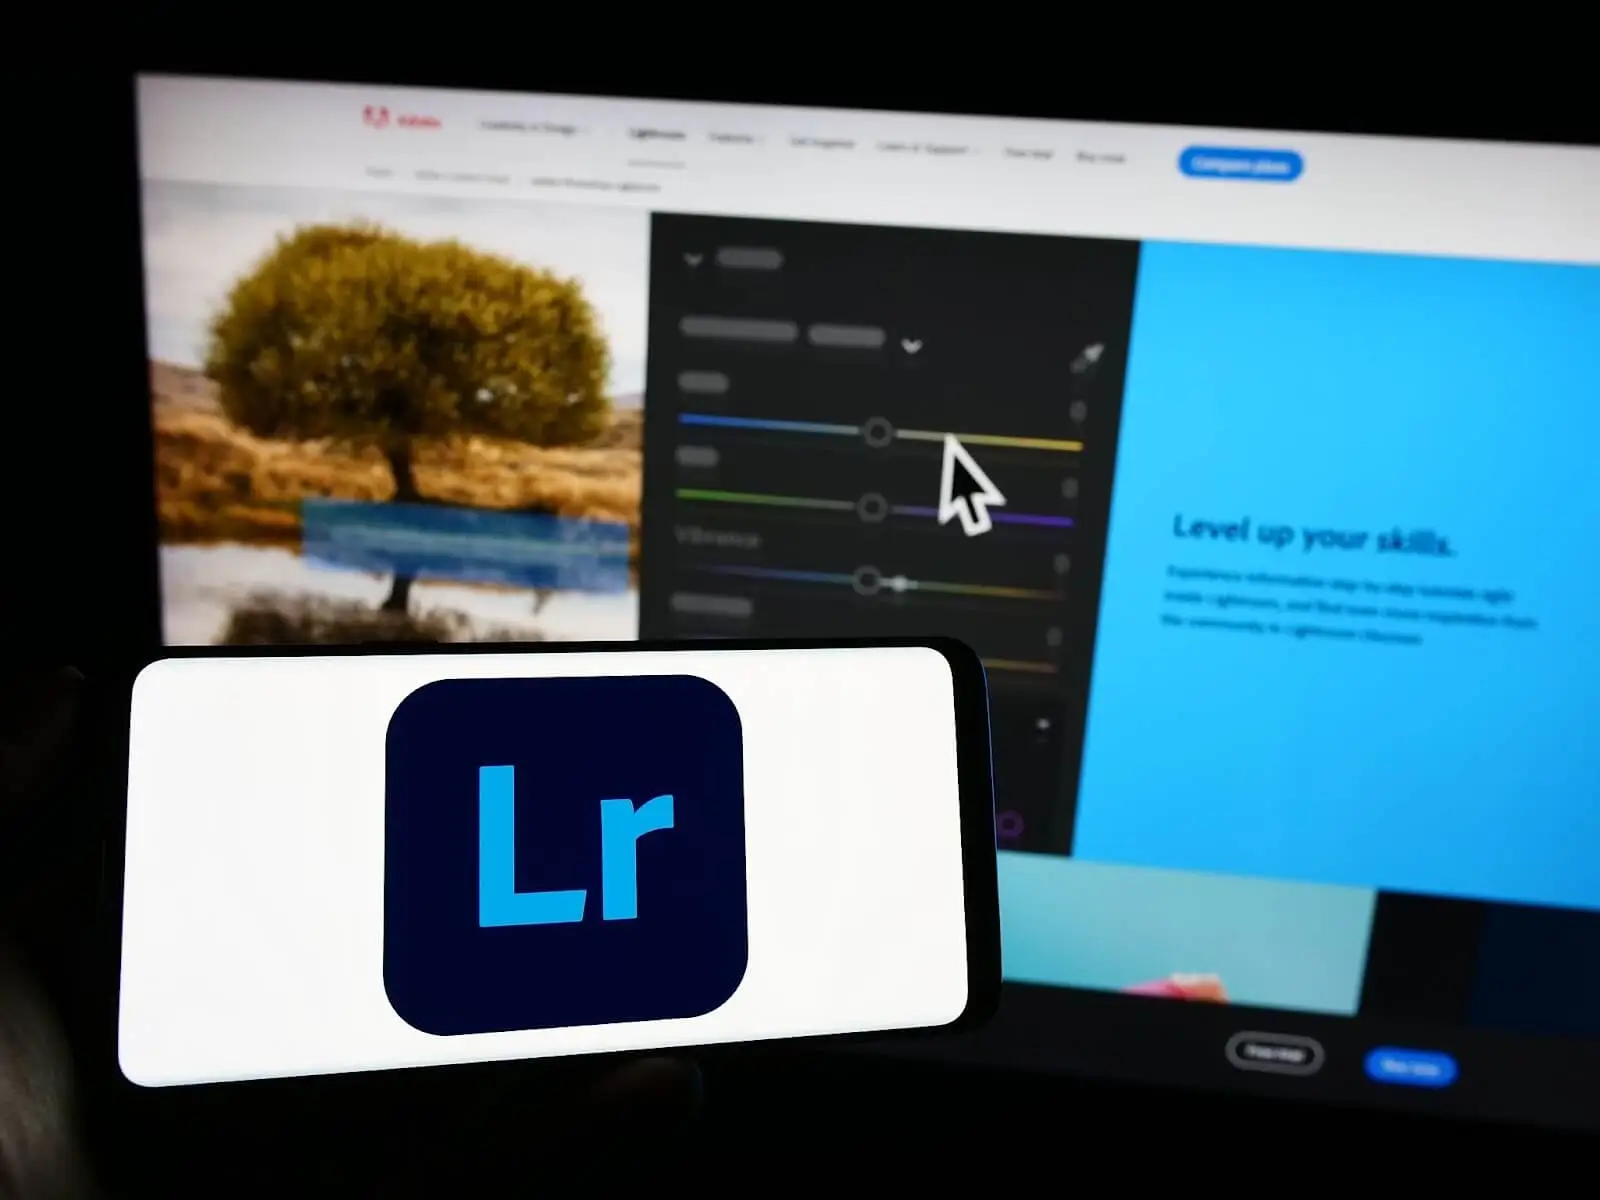
Working in post, doing color correction in Lightroom, for instance, you can also find histogram here. If you lower the brightness of a photo it moves the body of the histogram data left until you’ve crushed the darks. If you brighten the photo, you move the peaks right until they hit the right-hand side of the histogram and get blown out. However, this is post-processing, and it is better to purposely manipulate this in your camera to not lose in quality by having the right settings for exposure in advance.
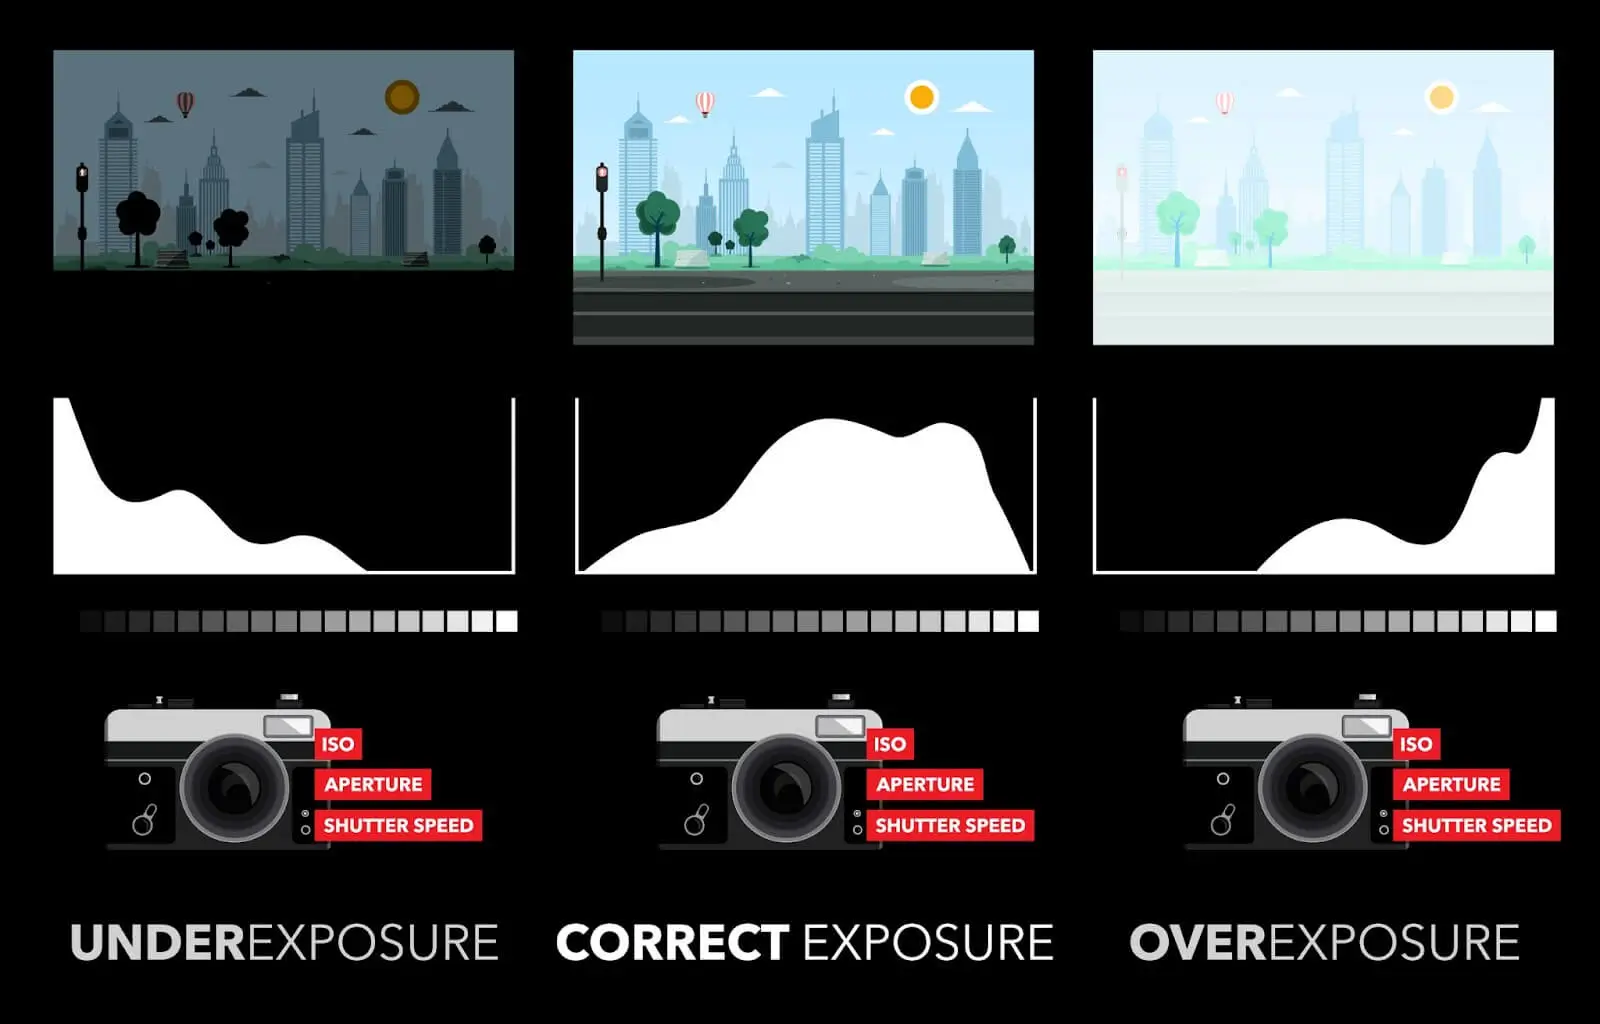
While pure blacks and pure whites can be used creatively for beautiful photos, for most photographers getting the right exposure means taking a photo without pure whites or pure blacks, that is staying between the goalposts of the histogram. A common misconception is that having a perfect histogram shape says that the histogram should look like a mountain with a peak in the middle. Dark images will have a peak to the left, and bright images a peak to the right, and that is perfectly OK.
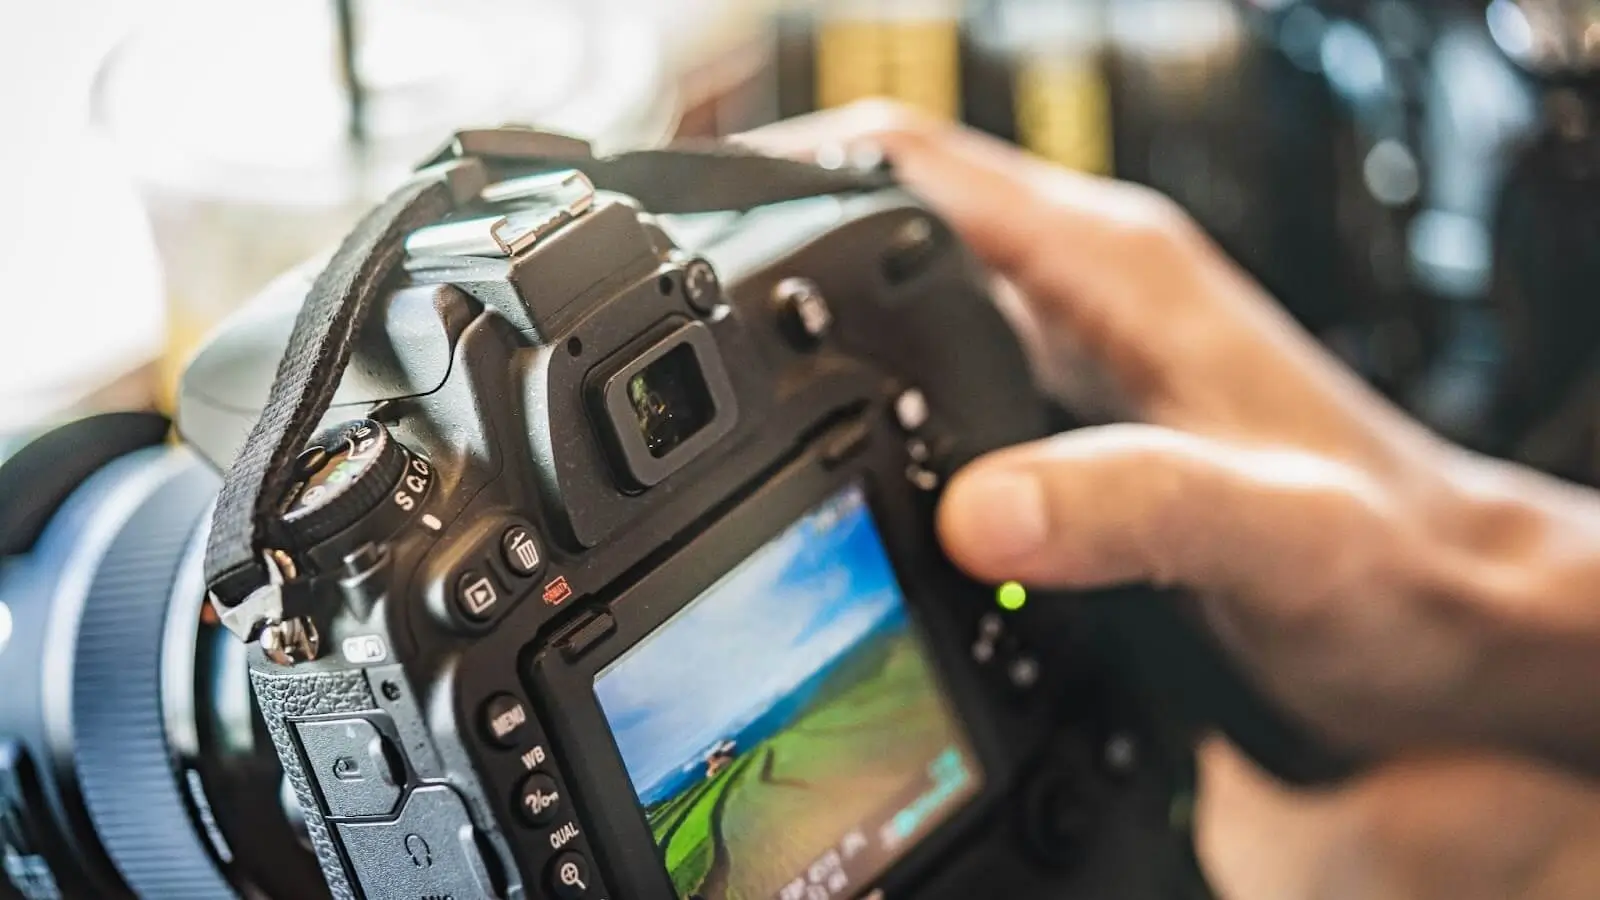
On a mirrorless camera, the histogram can be seen right in the viewfinder. Most cameras have a setting in your menus to enable this.
On a DSLR you need to put your camera into live view:
If your histogram is not showing up, you may have to enable it in your camera menu.
Manual mode is represented by the mentioned earlier shutter speed, ISO, and aperture. These are three variables to play with to affect the brightness of the photo. The trick is to have two settings that you set intentionally to get the photo you want. For example, shutter speeds to freeze the action, and fast aperture for a thin depth of field, and you use the third setting as your tweak setting to change the brightness of the photo without affecting your creative choices. Let us see three cases where we prioritize one setting and use the rest for tweaking.
So, let’s say the light is generous and our subject is not moving. That way, a low ISO of 100 is possible, and getting a thin depth of field is what you want to have in your image, so we set it to F/2.8. Now we have left shutter speed as our tweaking variable. Changing it will not affect the creative look of the photo, only its brightness. So the shutter speed dial is now the dial that we are going to play with to get the exposure right. If your image is dark with the current settings, you need to lengthen the shutter speed to get more light on the sensor. Do that until the histogram shows peaks between the goalposts. We do not care what the shutter speed is in this scenario, we make it whatever is needed. There is rarely a penalty for too much shutter speed, you can set it high like 1 / 4,000 of a second if you need to.
Let’s say shooting at 1 / 100th of a second was the minimum we needed to get a sharp photo, but we do not care about the depth of field and the blurriness of the background. As such, we can use the Aperture setting to be our tweak setting. Larger F numbers will make the image darker and larger apertures will make it brighter. Adjust the aperture until the data on the histogram is between the goalposts.
Now, with the shutter speed and the aperture both critical to the shot that you want, then use the ISO to be your tweak setting. For instance, when shooting wildlife, you need minimum shutter speeds to freeze your subjects and you would shoot at a large aperture for a shallow depth of field. In this case, we use ISO for the tweak.
Things are different with semi-auto. There are three semi-auto modes in cameras:
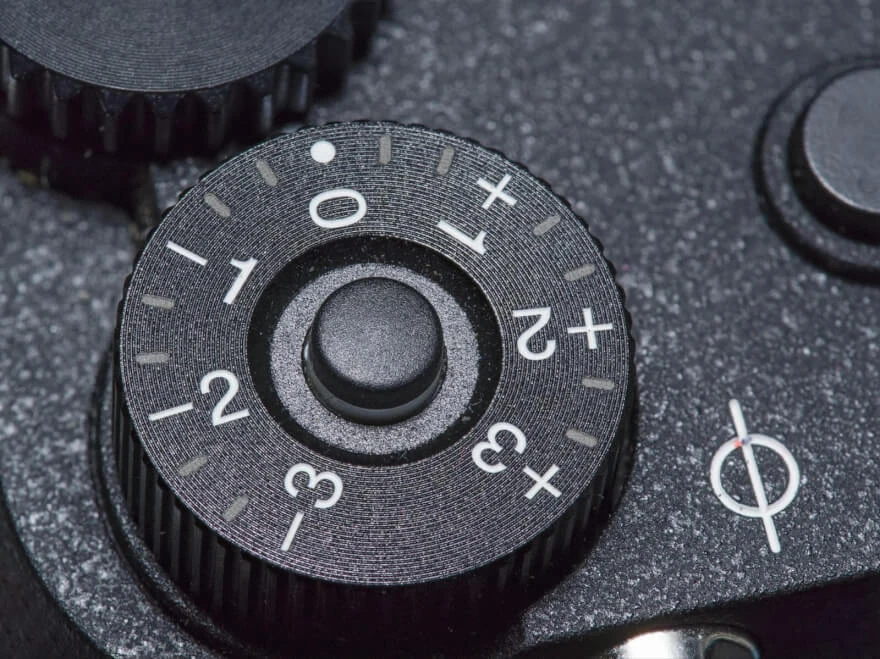
You will control two settings and the camera will adjust the third automatically to try to get the exposure right for you between the goalposts. It will do this by trying to get the middle of your histogram at what is called 18% gray, a gray that reflects 18% of light. But it may not always get this right. To the rescue comes exposure compensation. This is the dial that we will be using to adjust and tweak the exposure to get it where we want it.
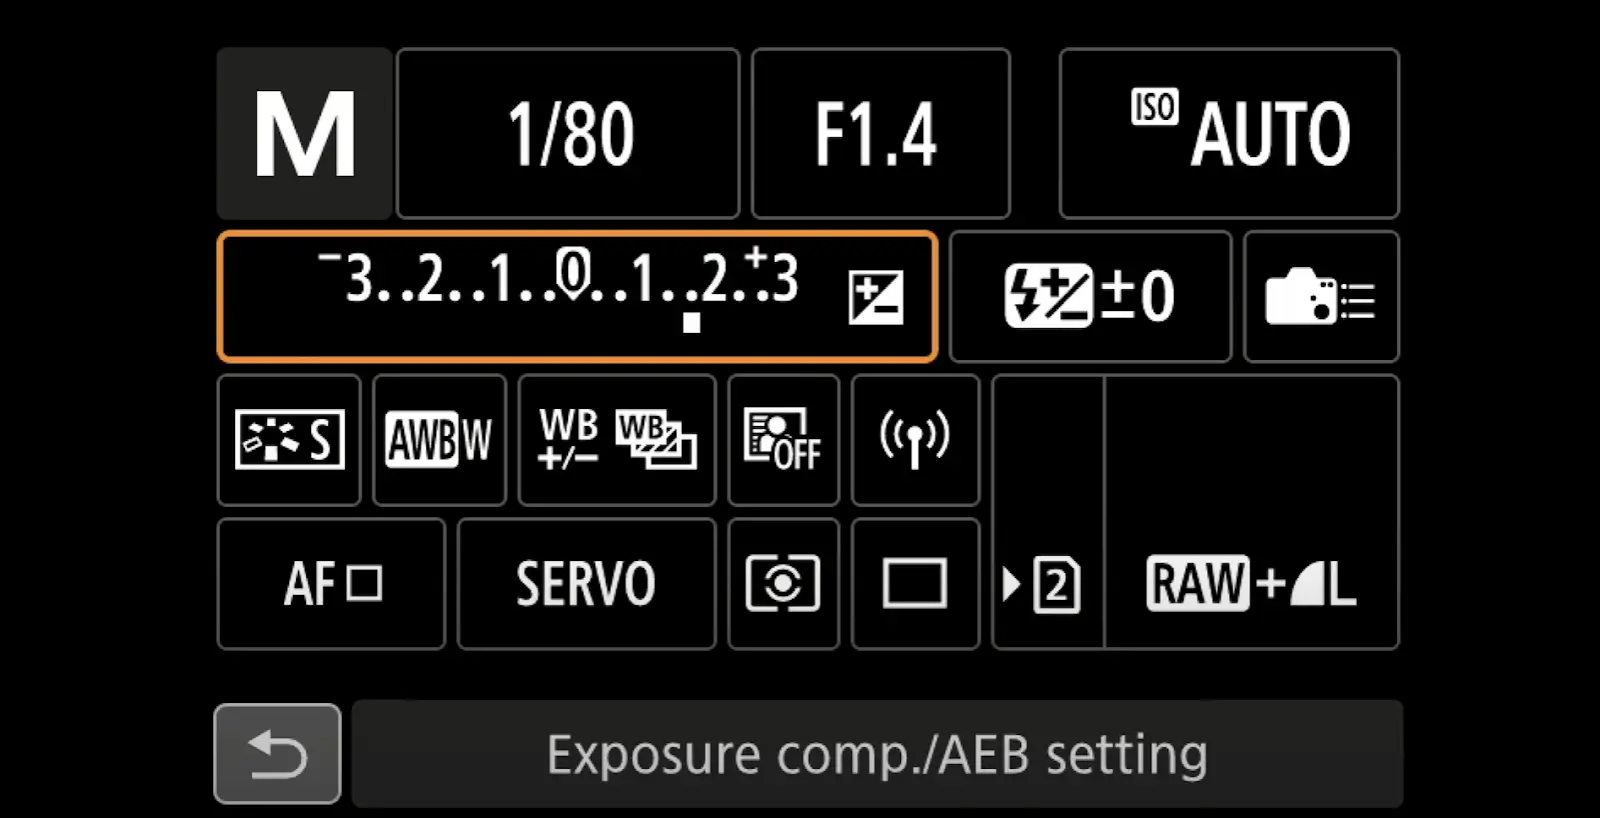
If you shoot in shutter priority - TV, that means you have decided that getting the shutter speed right is what is critical. So you pick the shutter speed and ISO and the camera will pick the aperture for you. If you do not think it’s done a good enough job automatically, use the Exposure Compensation dial to move the brightness lighter and darker.
The adjustable parameter in shutter priority is the aperture. So that’s what will be adjusted when you move the exposure compensation dial. 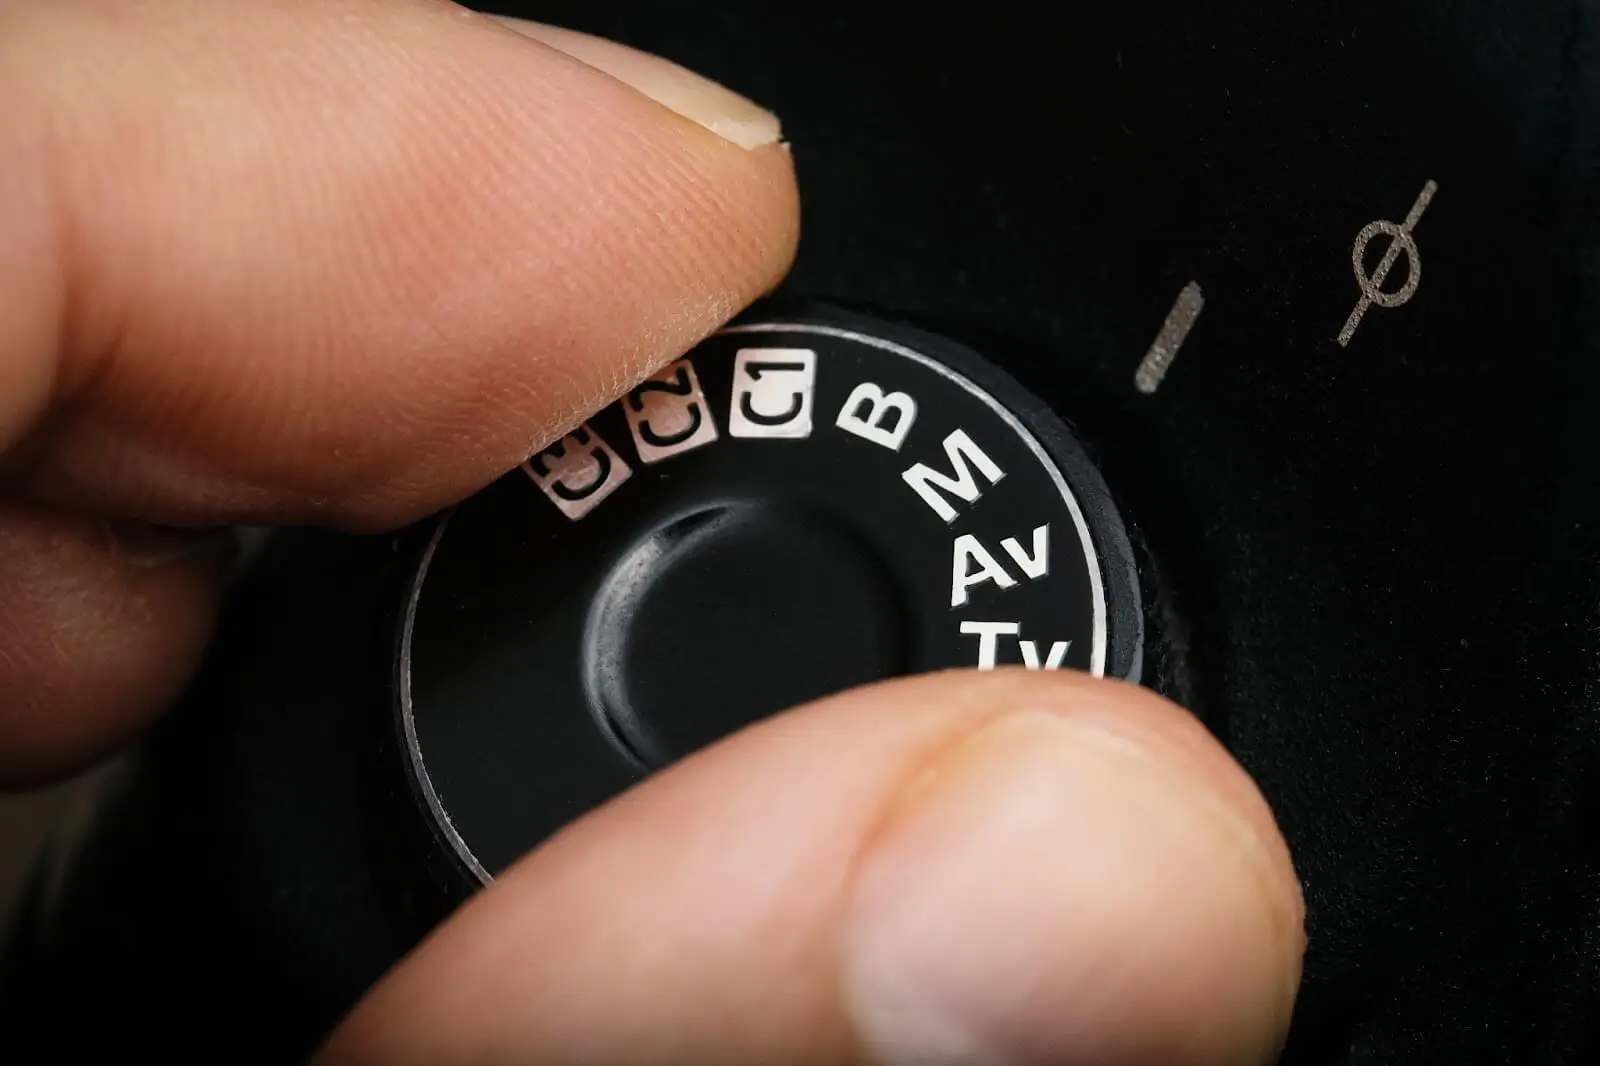
If you shoot an aperture priority - Av, that means that the aperture you are setting is the critical piece you want to control, and that is okay for the camera to play with the shutter speed to get the exposure right. Again, if it does not get it just right use the exposure compensation dial to set it properly. It will adjust the shutter speed accordingly.
And if you shoot in manual - M with auto ISO, you set the shutter speed and the aperture which are both important in this case, and let the camera set the ISO in accordance. If it doesn’t get it just right, we are going to use the dial to get the best exposure compensation setting once again.
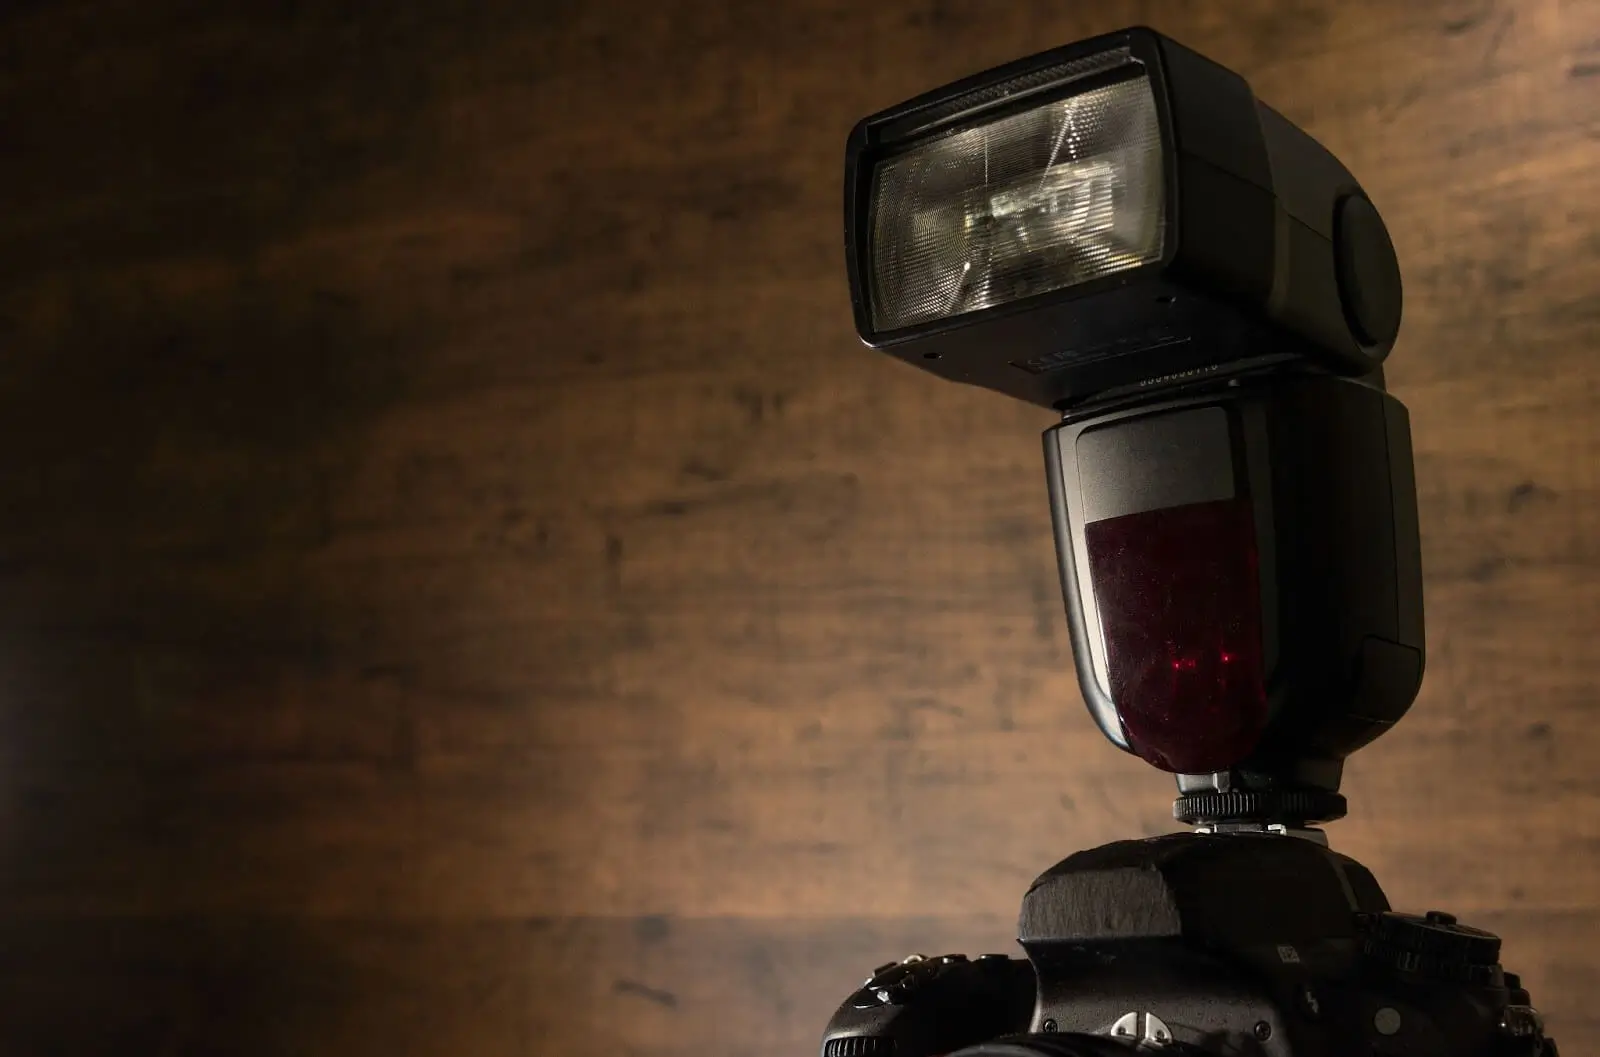
Another way to compensate for the exposure is to use FEC - short for flash compensation. It allows photographers to manually adjust the power output of the camera's built-in flash or external flash units when using TTL (Through-The-Lens) metering.
When you take a photograph with a flash, the camera's metering system assesses the scene's ambient light and sets an exposure accordingly, including the flash output to properly illuminate the subject. However, there are situations where the automatic flash exposure may not produce the desired results. For example, the subject may appear too brightly lit or too dark against the background.
Flash exposure compensation allows you to override the camera's automatic flash settings to achieve the desired level of flash illumination. You can increase or decrease the flash output power by a certain amount (usually in fractions of stops) to brighten or darken the subject, respectively.
Here's how flash exposure compensation works:
Positive FEC: Increasing the flash exposure compensation value (+1, +2, etc.) increases the flash output power, resulting in a brighter illumination of the subject. This can be useful when the subject is underexposed or needs more light to stand out against a bright background.
Negative FEC: Decreasing the flash exposure compensation value (-1, -2, etc.) decreases the flash output power, resulting in a darker illumination of the subject. This can be helpful when the subject is overexposed or when you want a more subtle fill-flash effect.
Flash exposure compensation is particularly useful in situations where the ambient light levels vary or when you want to creatively control the balance between ambient light and flash illumination. It provides photographers with greater flexibility and control over the final look of their images when using flash photography.
Co-founder of RetouchMe. In addition to business, he is passionate about travel photography and videography. His photos can be viewed on Instagram (over 1 million followers), and his films can be found on his YouTube channel.
Moreover, his profile is featured on the most popular and authoritative resource in the film industry — IMDb. He has received 51 international awards and 18 nominations at film festivals worldwide.