


Family beach photo ideas
Sep 24, 2018
When we are just getting to know our camera as novice photographers, we rarely think about what are these settings inside the camera. We get excited about the images we take and how they turn out on their own being passionate in the process. Most beginners shoot in the auto mode set by default, which allows the camera's internal algorithms to adjust the shooting conditions by themselves, varying the exposure settings to average values. Auto mode is not that bad itself, but it is unlikely to give you the level of pictures that professional photographers achieve. If you want to raise the bar and take your hobby to a higher level, you will need to learn the manual mode camera settings and how to them in order to achieve outstanding results. In today's article, we are going to show you what are these settings and other modes, and how to adjust them for specific conditions and break it all down with examples.
Now, what is manual mode photography even? There are 3 main settings available for any camera representing manual mode:
Those are complicated photography terms for beginners because it requires experience to get a better understanding of each of them.
When you are shooting in auto, these settings adjust themselves in accordance with your shooting conditions. Auto does a good job, but that is not a professional use. When we switch to manual mode, these settings are unlocked and with the right combination of values for ISO, Aperture, and Shutter speed we can improve our photography significantly! To get a better understanding of manual photography definition, let us define each of these settings separately, and find dependencies between them!

Before shooting manual, It is very important to get an understanding of each of the settings and how to apply them appropriately for certain shooting conditions. As we mentioned earlier these settings have dependencies, and we can not just adjust one without affecting another, and it comes down to a rule called exposure triangle which we will discuss later. Let us define the manual camera settings chart first, presented by the ISO, Aperture, and Shutter speed.

Shutter speed – is the setting responsible for the length of time a camera shutter is open to expose light into the camera sensor or the moment when you press the shutter button times between its opening and closing. It is measured in seconds or in a fraction of seconds. With a fast shutter speed, you freeze the movement in your shot. A slower shutter speed causes motion blur in your image.
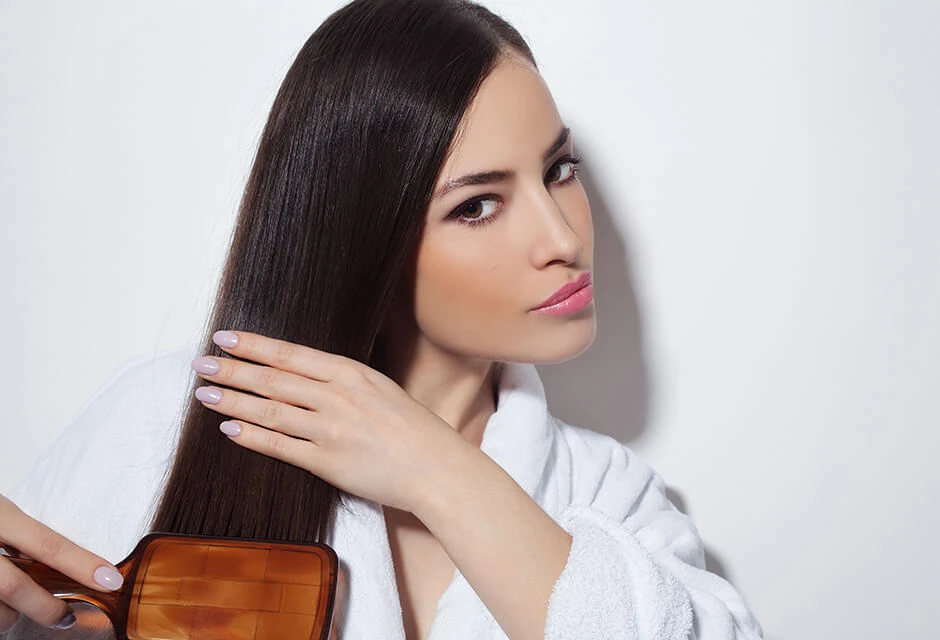
Let us imagine we portray a woman whose hair is flowing in the wind. To freeze hair, we need a fast shutter speed. The opposite case is when we want to make a shot of a racing motorcyclist, we can slower our shutter speed to be able just to fixate on the cyclist, but the surrounding environment would be blurred in motion.
So the higher or faster the shutter speed, the more likely you would be able to freeze action. The lower or slower the shutter speed, the blurry your image become.

Aperture – This setting controls the amount of light that passes through a lens. Or speaking in a more simplistic way – a size of a hole that lets light into the camera. By changing our aperture we are able to specify how much our subject stays in focus. Shooting at a larger aperture like f 2.8 creates a very narrow area of focus. A smaller number means a wider hole That way doing a portrait we will see the bokeh effect with the blurred background behind and around our model. Lowering the aperture to let’s say f 20 gives us a greater depth of field with more of the subject and the background to stay in focus. The larger the f-stop, the more shallow the depth of field. The smaller the aperture the more overall focus we get in the image.
And this way controls the background and foreground blur of a photo.

ISO – This is the camera setting that will basically darken or brighten your images. It is a chosen light sensitivity for your film or the sensor. ISO camera settings for outdoor photography could be set at value of a 100, because there is enough light outside, thus giving you a lot cleaner images. If we shoot in a darker room with limited light, we can raise the ISO value to 10 000 and your camera will gain more light from what exists even if you can not see it with the naked eye yourself. Typically, the higher you go with the setting, the more grain and the more noise you will see in your photos. ISO does not affect other settings itself but has this grain and noise issue as its major con. So use low ISO for good-lit situations and higher ISO for low-light conditions.
A photograph is a delicate balance between ISO, Aperture, and Shutter speed. These are the three camera settings that come together to emphasize photo aesthetics, creativity, and style to make an image. They are equally important, but you can only start with one. If you photograph fast-moving objects, in order to freeze the action, you need to raise your shutter speed – Aperture and ISO are to follow. To achieve shallow depth of field, we open the aperture up, shutter speed and ISO come later. Shooting in a dark place, we raise ISO up, and then set the aperture and shutter speed in accordance. And here is the exposure triangle we promised.

This Exposure Triangle of Photography needs to be learned by heart in the beginning. Then, with the experience, manual camera mode becomes native, and you will do your shots not even looking at this camera settings cheat sheet.
Manual exposure mode is a good way to learn camera settings and the way they interact with each other, but that is not an absolute panacea and not a must way to use your camera.
Most of the time when you are shooting in manual mode you are actually doing something that a priority mode could have easily done for you. So it really pays to learn about these and other modes.
Now before we dive into all the different handy modes that your camera has to offer, let us understand what is the difference between manual focus mode and manual shooting mode. Because a lot of beginner photographers get confused between these two terms because they sound very similar, but they do not do the same thing.
Manual mode is one of the five main shooting modes on your camera. When your camera is set in manual mode you have to set all three pieces of the camera exposure settings of the triangle shown in the image above. Manual focus on the other hand is all about setting the focus or where the sharpness in your image is going to be.

Digital cameras have two focus options. The first one is autofocus mode. In this case, your camera will try to focus for you, it usually does a pretty good job if the settings were chosen the right way. The other option is manual focus. This means you have to turn the focus ring on the lens to set the sharpness or Focus.
Now that we understand that important difference let us talk about all the other different shooting modes when is the good time to use them and what you should look out for.
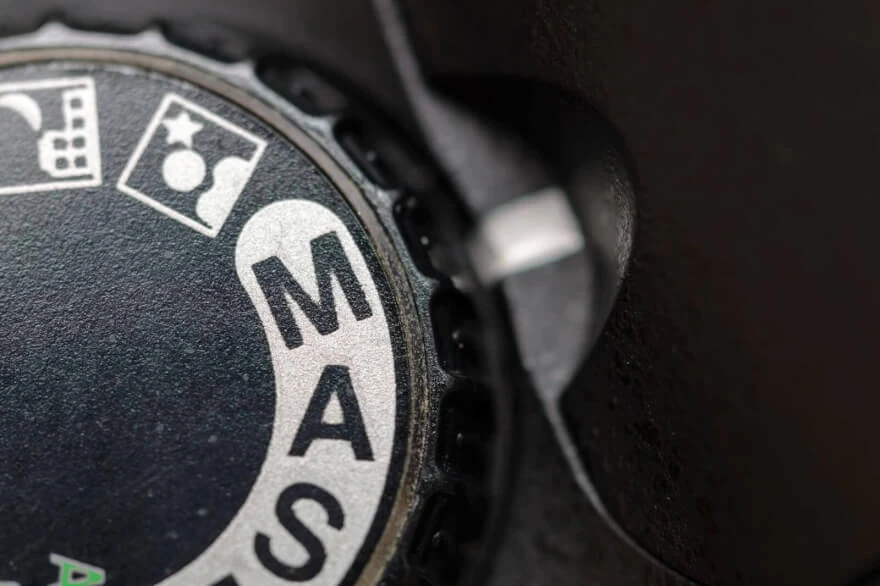
As we mentioned earlier, most cameras have five different shooting modes. We believe that learning each of them, their cons and pros is a good way to understand manual mode better because all these modes have intersections.
Basically, the difference between these modes is how much work your camera is doing for you and how many settings you are adjusting yourself. Some cameras have a few extra modes, but we cover only these modes that you will most likely find on every camera.

In full-auto mode all you have to do is to press the shutter button and the camera will do all the hard work to adjust your settings accordingly. The camera will apply the best exposure setting and make sure you have a well-exposed image. But it also sets things like white balance and focus area. So you have little to no options to choose from, options that you may need to achieve specific artistic results. That is why this mode is OK for beginners. In certain conditions, your camera may be overwhelmed with auto settings producing low-quality images. If that is the case, this is when you may switch to another mode.
This mode gives you more control, and it is the next step after using auto. Contrary to full auto, program mode gives you control over ISO, white balance, Focus area, and one new setting called exposure compensation. The shutter speed and aperture will be set to get a good exposure, but if you are not good with this you can always use the dial. However, if you are changing the shutter speed the camera will always keep the same exposure, and it will also change the aperture and vice versa. The program mode is good practice for beginners because you can see how your camera adjusts all the settings whenever you change one. For example, if the aperture is set to let’s say f 2.8 value, you will notice that your camera starts changing all the other settings. You can learn from that and copy that behavior using manual mode if you recognize the same shooting conditions. But if you need to get the shot fast, for example when the light is changing or if your subject is moving very quickly, and you might miss the shot if you are taking too long with your settings, it is great to be able to switch back to program mode.
This is another setting we have already mentioned, and you need to know how to use it. On some cameras, you will have an additional dial with the plus and minus on it. Or it can be accessed via just one ± button instead. If you feel like the camera did not get the exposure quite right, the compensation dial allows you to overwrite these settings your way.
There are certain downsides to the program mode. For example, when you want to change one setting, or you want to compensate for the exposure with the dial, your device will force change both the aperture and the shutter speed. That is the case when you are already at your minimum shutter speed shooting handheld, and you can not lower it anymore. The program mode won’t allow you to circumvent that. And here is why priority modes come in very handy.

The mode allows you to prioritize the chosen aperture setting and lets your device adjust the shutter speed to get the correct exposure. As we already know, the aperture setting determines the sharpness/blurriness of the background in the photo. This is also referred to as depth of field. A large aperture such as F 1.4 for example, will make your background look very blurry or out of focus. A small aperture such as F 16 will capture more details in your background. Furthermore, the aperture also determines how much light is reaching your camera’s sensor. That large F 1.4 aperture will let a lot of light into your camera. Whereas that small F 16 aperture will reduce the amount of light entering your camera. Aperture priority mode allows you to adjust your ISO. But you can leave your ISO on Auto as well, then your camera will combine shutter speed and ISO settings to accompany the selected aperture in order to get the image exposed correctly. Aperture priority is great to use when want to have a fixed depth of field. This means that your photos will have a more consistent look, which can be very important in certain situations. Let’s say you are a portrait or wedding photographer, and you regularly shoot at a large aperture of F 2.8. When the light is inconsistent you’d be forced to correct your settings all the time which can get very annoying and even result in bad exposures. To prevent that from happening, you can switch to aperture priority mode, select your F 2.8 aperture and not have to worry about anything else. Your camera will make sure that your shutter speed and ISO are properly adjusted. When you are a beginner, using this mode allows you to figure out how the aperture works and introduce you to all the different settings for it and what effect they produce on your image.

It is another semi-auto mode, and it is also very similar in terms of behavior to aperture priority. But instead of the aperture setting, It gives you control over your camera’s shutter speed. The camera will automatically change the aperture setting that compliments your priority to expose the photo appropriately. Being the time length for the shutter to open and close, the shutter speed setting also determines how much light will go into the sensor. In this mode, you are still allowed to adjust your ISO or let it be in Auto. If you left it on auto, then your device will select the best values for the aperture and ISO to complement your selected shutter speed for the best exposure. The mode becomes best to use when the shutter speed is your priority for a certain photo shoot. And the most obvious example is photographing things in motion. Sometimes you want to freeze, and sometimes you want to emphasize the motion by manipulating the shutter speed. Also shooting handheld with a shutter speed set too slow, your images might end up blurry w/o a tripod.
The rule of thumb for shooting handheld is to have your shutter speed set to double your lens's focal length. So if you are photographing with a 50 mm lens, shoot at a minimum shutter speed of 1 over 100.
An important note about using both priority modes is that you are able to use exposure compensation in both cases if you notice that your camera does not keep up in auto mode for the exposure.

Co-founder of RetouchMe. In addition to business, he is passionate about travel photography and videography. His photos can be viewed on Instagram (over 1 million followers), and his films can be found on his YouTube channel.
Moreover, his profile is featured on the most popular and authoritative resource in the film industry — IMDb. He has received 51 international awards and 18 nominations at film festivals worldwide.


