


Reflection Photography Ideas
May 23, 2024

There are millions of people who are still not sure what LinkedIn is or how to use it. LinkedIn started well over two decades ago, launched in 2002 in California USA it supposes to become a place for recruiters to list jobs and individuals to put their resumes online. Both of those have like-minded opportunities would meet in the middle and were very effective in finding people jobs and everything else that went along with that. In a span of time, LinkedIn evolved into being the biggest and the best business networking platform in the world and a social media platform at the same time. It is an amazing place for you to go online to meet like-minded business people and help your brand to grow. Therefore, having a place where you show your personality for business recruiters it is important to not just have a well-made portfolio but also to have a nice image of yourself. A profile picture is your face, so we are going to give you tips in this article on how to take professional photos for LinkedIn.
Many will think that you need a professional photographer for LinkedIn but in fact, a profile photo can be done beautifully using only your smartphone camera and a couple of photo editors. Therefore, we decided to divide this article into two main chapters, in the first one we will consider the DIY method, which fits the most people, and in the second one we will talk about a more creative approach.
As we are going to edit our photo, stretching and cropping it, it is basal to have it shot in a high-resolution, so the final image would keep all the details and features that matter despite how hard the editing is going to be.
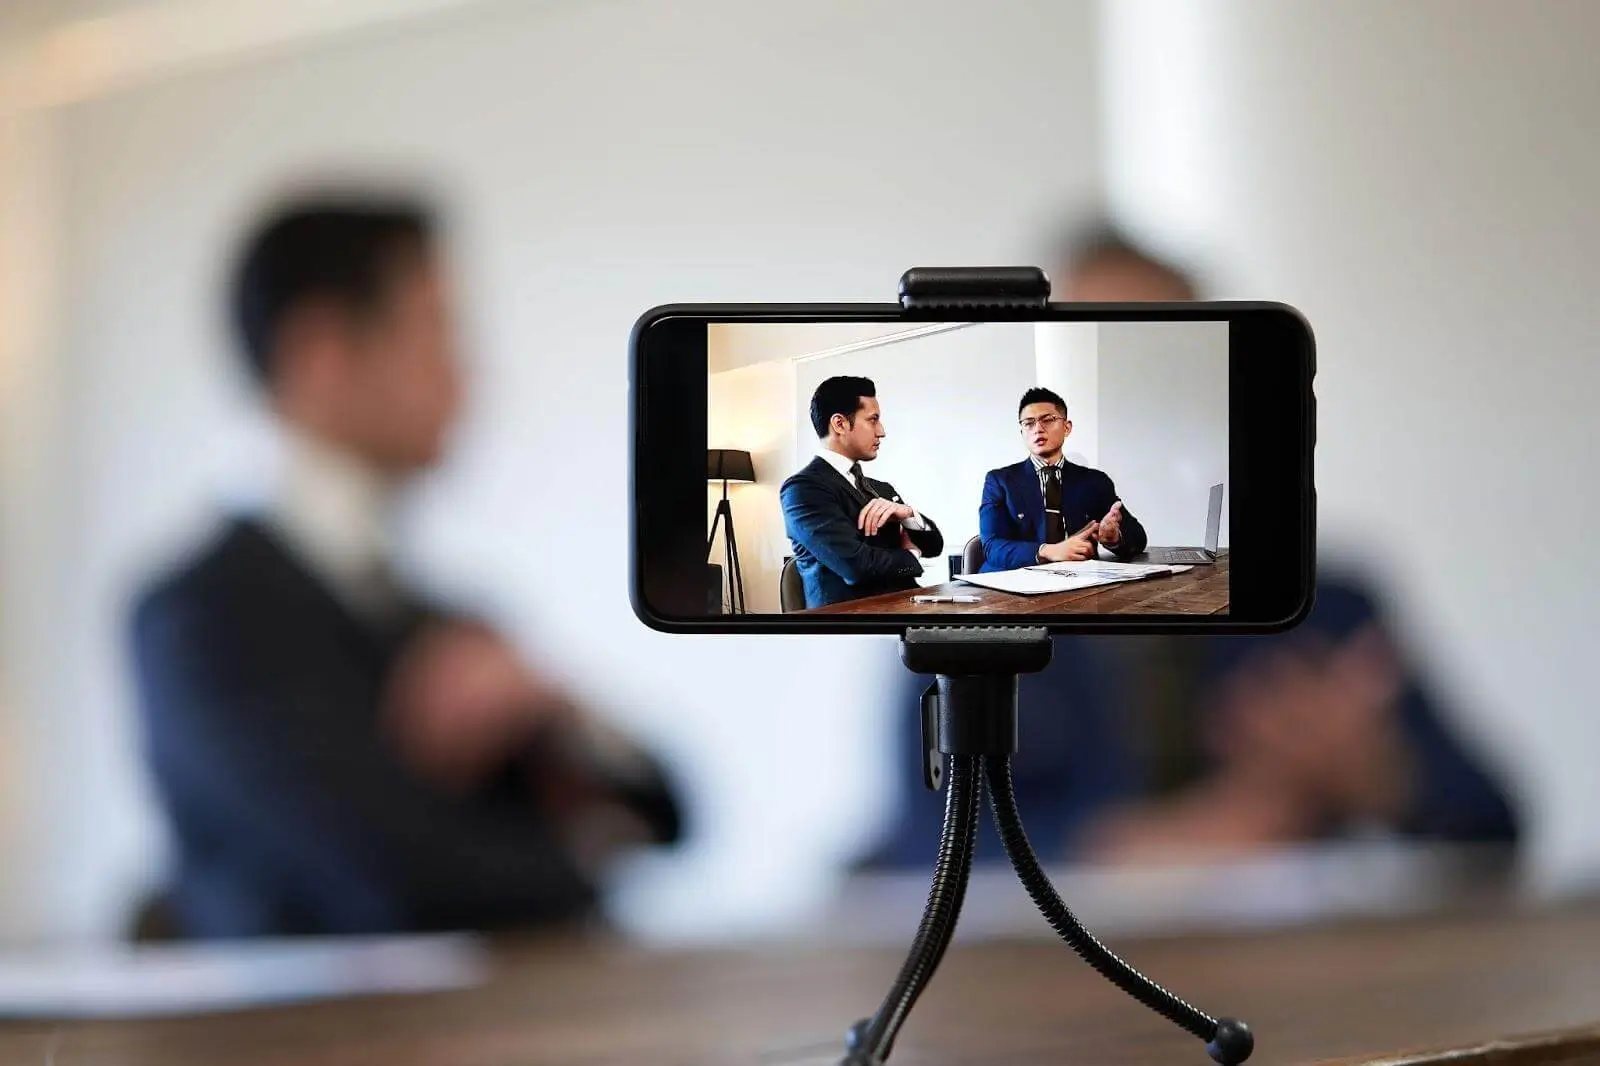
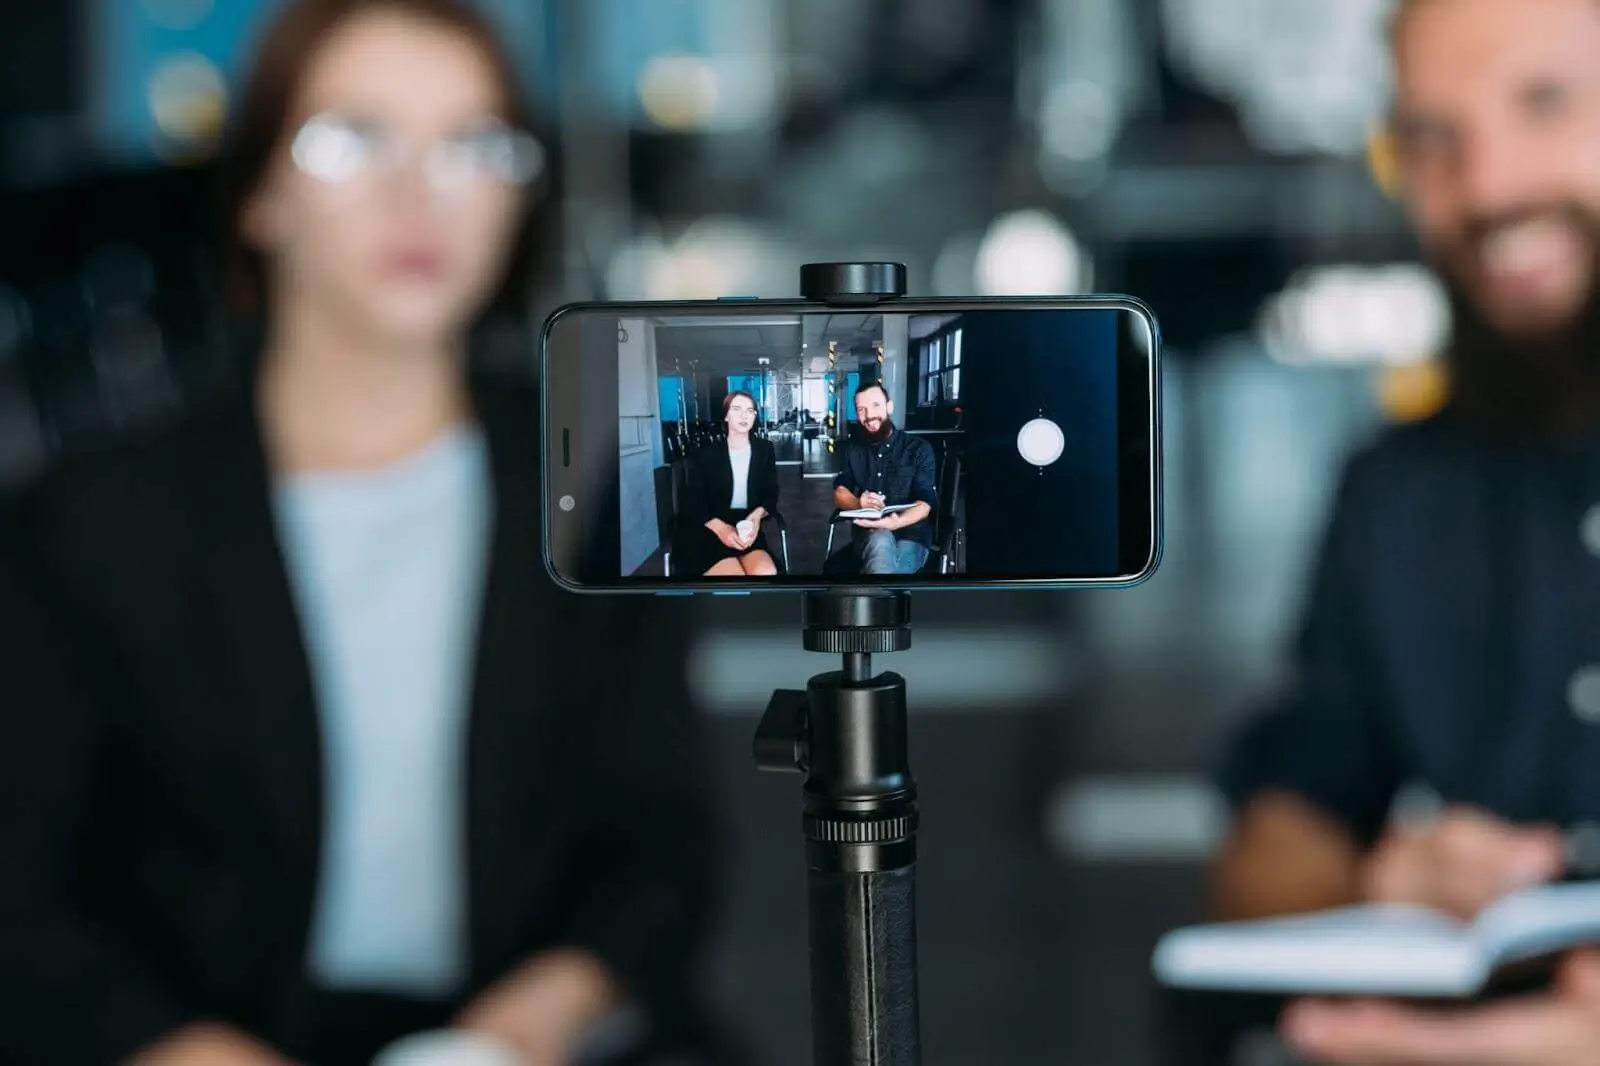
When we take pictures with a smartphone camera, it is significant to remember that the distance to the lens matters. Indeed, everyone has faced the problem that taking selfies, we see that our face looks wrong, unattractive, or different from what we see in the mirror. And all this is because smartphone cameras have a wide-angle lens. Therefore, you need to move at least one or two meters away from the smartphone. For this purpose, it is best if you have a tripod for your camera and a remote control for the shutter so that you do not get a blurry photo in case you ask your friend to help you take a picture.

It is essential to be who you are and not try to look like someone else just for the sake of a good photo. You can experiment with different outfits but do not go overboard with business concepts, as this can drive employers away instead of being interested in reading your profile. Keep in mind that you will have to go for a job application and talk with them, that is what makes LinkedIn profile image different from any other social media platforms. You do not have to be in a business suit, however, that is a good formal outfit for that. You can also wear a white casual T-shirt, your face is going to be in the middle of your photo anyway, so mostly nobody will look at your outfit unless it is something super eye-catching which is unnecessary in our case.

Smiling or being serious in the frame is a personal choice of each person. It is recommended to make at least one good shot for both cases and see which one gives the best result after placing these photos in your LinkedIn profile. Maybe the image that you thought suits you better turns out to be different and instead of matching the image of a serious person your smile will give you a couple of extra points!
If you can not find a good place to shoot with a nice background, then there is nothing bad in editing your photo. To do this, we need to initially cut ourselves out of the background. If you have experience in Photoshop there would be no problem at all. However, you can also use various online services for this purpose or use such applications as RetouchMe in which you will find a wide range of tools for professional photo editing in a couple of clicks.
Having cut ourselves out of the background, we now need to find a replacement for it. Perhaps the most banal but at the same time effective will be the background of a business center with a couple of skyscrapers between which you will place yourself. Keep in mind that the artificial replacement of the background implies that the lighting of the background and the lighting of the subject may have an inherently bad combination. So we are going to work with colors, highlights, and shadows to ensure that our subject does not blend in with the background. The easiest thing to do is to blur the background and tone down saturation, but do not forget about the saturation on our subject at the same time. Adjust colors and shadows using sliders to make the image look as natural as possible.

Now we just need to crop our photo using the same editors and see how this image will fit on LinkedIn because it also puts images in a circle cutter. The main disadvantage of this method, despite the advantages of an independent approach, is the fact that there are a lot of similar images on the platform, and it will be very problematic to stand out. Therefore, we decided to also consider a more professional method, which may require you to spend on a professional photographer for LinkedIn. Of course, you can buy all the equipment for this yourself and enlist the support of a friend who will photograph you in your personally equipped studio.
If you go through LinkedIn profiles you will notice that everybody has the same cookie-cutter template for a headshot. It is like the standard lighting with a building in the background and it is the same over and over again. Having a unique headshot is going to benefit you in more than one way.

Firstly, if you have a unique picture, right away you are going to stand out from the other profiles. If it is the same cookie-cutter thing and yours is way different – that is eye-catching.
Secondly, if you are in a creative field, you are already flexing your creative muscles before anybody is even looked at your profile. However, there is a bit of a line that you can not really cross. You can not go into LinkedIn and have a Picasso-like painting profile picture, because instead of being eye-catching and flexing your creative muscles, whoever is looking at your profile will be thinking that there is something wrong with your approach to the business platform, and you might be not an employee they are looking for.

So let us do more dramatic style shots using contrasts and shadows to make the subject’s face pop. For that, we are going to use key light going from above, which is commonly used for spotlight photography. This will create a dim light and cast shadows below. Make sure to move the subject a bit forward or backward because that may drastically change the final image and even a couple of inches matter. This will do a professional-looking image already, but let us not stop just on that example and add some filling light and color variety.
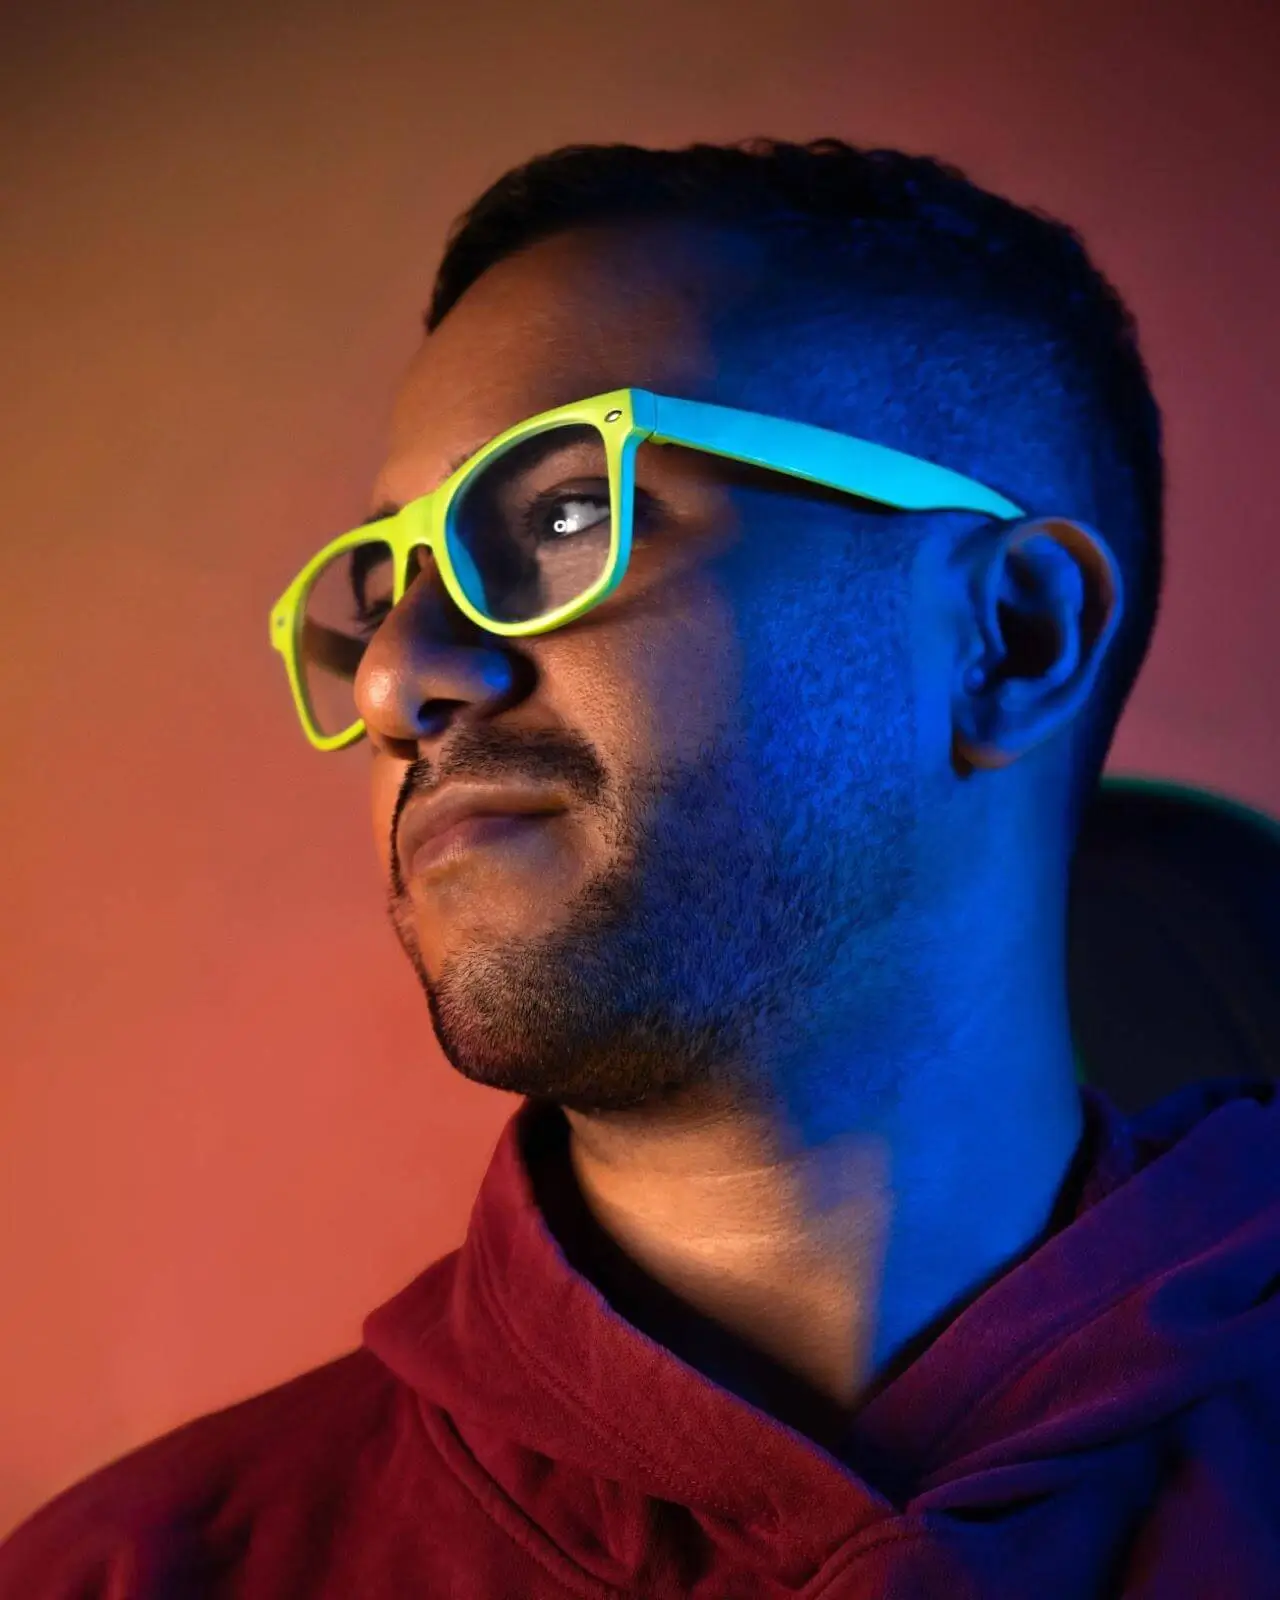
For this case, we add some LED lights or any other source of light type that fits and can cast colors. For the LinkedIn profile picture, we choose using blue and orange colors as they have a good harmony with shadows combined. But you can also try blue and red and see how it works. The goal is to try to get a 50/50 effect on the subject’s face which gives you an artistic kind of shot. For the orange light source, you can use the tungsten normal light which produces an orange tint, the colors should not be distinguished or pop a lot, remember we are looking for just an artistic look, and we do not want to have our subject become secondary here. So, position your subject to get the lights to cross in the middle using his nose as a pinpoint for that, and the more colors blend the better it is, and we do not want them to be harsh or accurately emphasized still.
You can try different positioning variations. Your subject should not be just frontal, but you can also take profile-sided images and see how colors will affect the appearance.
For this type of photo shoot, we need our background to stay dark. Using some black backdrop is a good idea, however, the way light works you can basically have your light source a couple of feet away from it, so the light can not reach it out, and you will have distinctive shadows and only necessary colors around.
We have broken down two different ways of creating a professional portfolio image for LinkedIn. Choose one that suits you the best but remember to be yourself in these images is also a factor that matters as you probably will have to work with the people who review your profile. If you have a hard time editing your image manually you can always use RetouchMe pro services for advanced photo retouching for any reason these pictures are going to be. We have a professional team of designers and an app that makes life easier working as your pocket photo assistant where you make your photo outstanding just in a couple of clicks. Learning how to edit pictures yourself might be a valuable skill, but if the time is precious for you – use RetouchMe.
Co-founder of RetouchMe. In addition to business, he is passionate about travel photography and videography. His photos can be viewed on Instagram (over 1 million followers), and his films can be found on his YouTube channel.
Moreover, his profile is featured on the most popular and authoritative resource in the film industry — IMDb. He has received 51 international awards and 18 nominations at film festivals worldwide.