


Reflection Photography Ideas
May 23, 2024
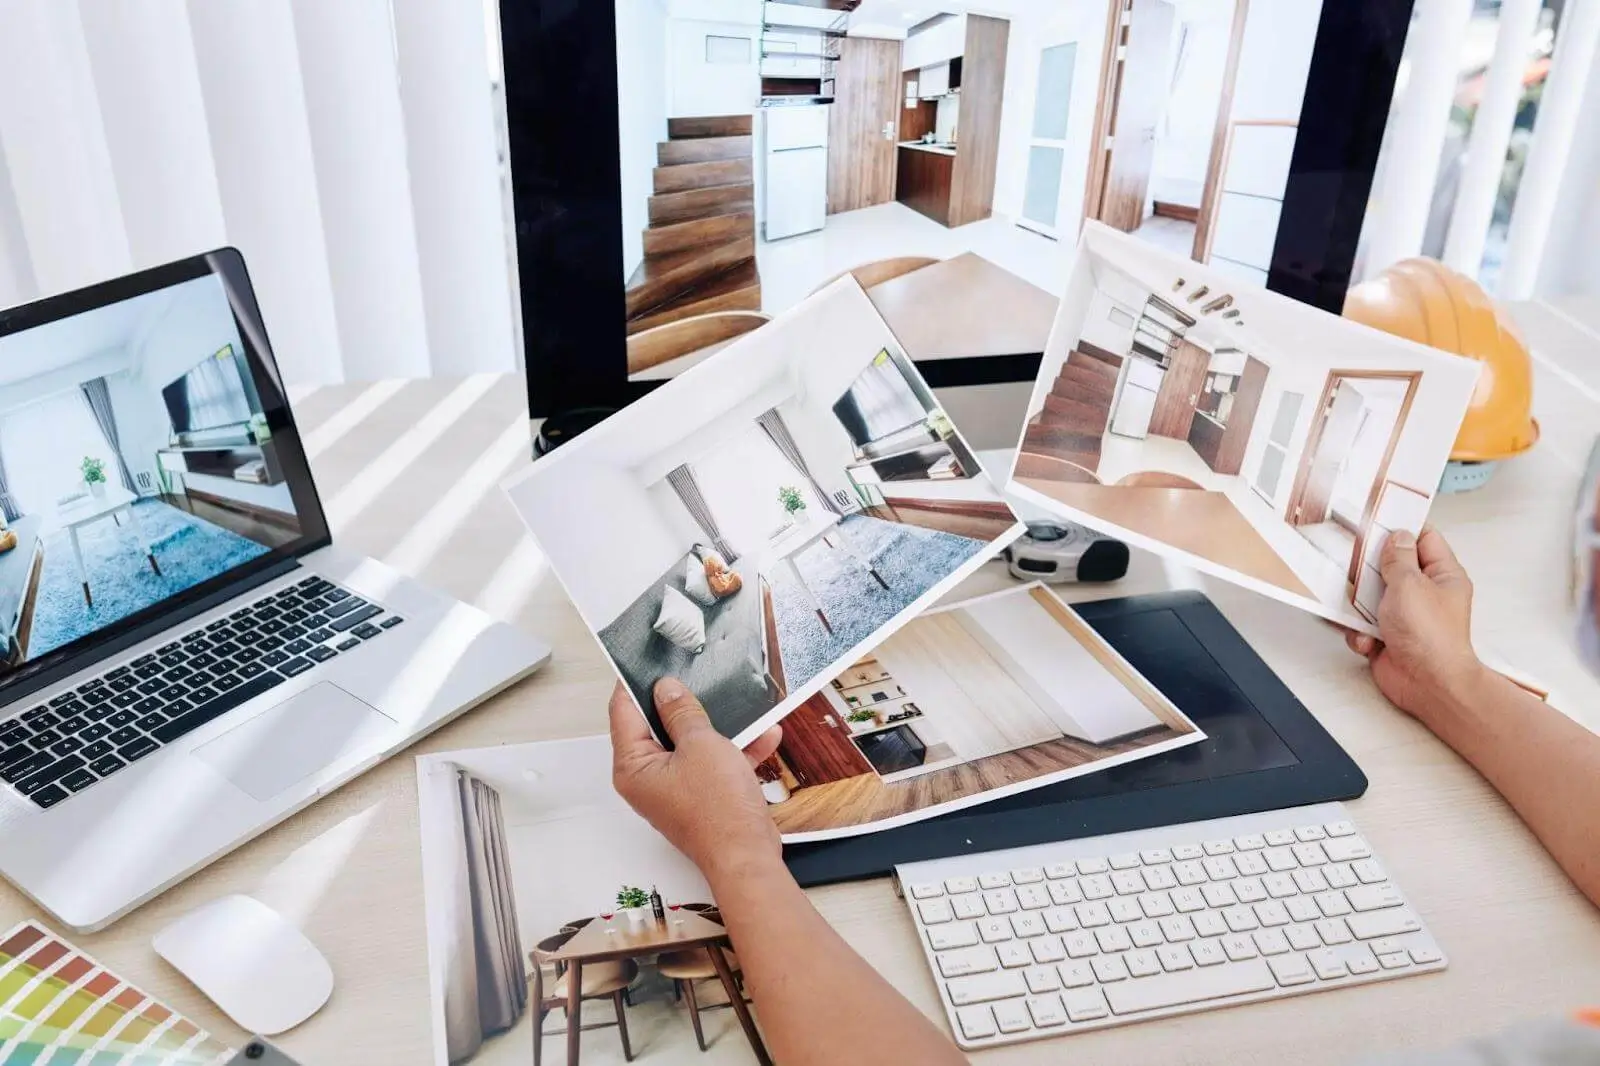
Usually, we first review our photos on a camera display then we do it on a wider screen and place the photo on social media. But the most rewarding feeling for a photographer is an opportunity to see their photo printed on a piece of paper or any other media in real life.
But how often do you print a photo and notice that it does not look the same as it does on your monitor screen? In this article, we will tell you why that happens, and how do professional photographers print their pictures, so they almost match the image on a screen.
First of all, a little disclaimer, because it is impossible to get a 100% match on paper with what your monitor displays. This is where the physics of light comes into play, your display produces transmitted light, while on canvas it is reflected light.
Without further ado let us delve right into the main factors that influence your printing quality.
We need to make sure that the monitor is calibrated for photography. Old TFT-based monitors represent colors incorrectly. Nowadays, there are TN, VA, and IPS matrixes for monitors are available. Considering user's and professional’s experiences we estimate that IPS has a great and precise color representation. To measure that you can use either of those: colorimeters or spectrophotometers devices. It is a tool that you attach to your display and play a sequence of colors that the device captures and gives you results saying color matches or not. Not for promotion but for instance you can check out Xrite color checker if you have no idea which one to choose, It does a great job.
Having your monitor calibrated you will not get caught by a surprise of the color change on the canvas.
Images consist of pixels and these pixels would be drawn on the paper eventually. For printing, there is such term as PPI which stands for pixels per inch, or DPI for dots per inch which is pretty same as PPI. So that is basically a resolution that your printer is going to work in drawing that image. The difference between PPI and DPI is that PPI is the resolution for digital images whereas DPI is the ink dots density amount of the image you are printing. That way using PPI you refer to screen display and it also takes an effect on the print size of your canvas, unlike DPI which concerns print only. Printers have their own native values for DPI. 300 is the standard but it could be higher for different models, which we will discuss after. So the higher your printer’s DPI the better image quality you will get printed.
The higher resolution your image is the better it looks while printed. And there is an essential interplay between dpi and resolution referred canvas size.
Let us say we have an image of 1200×1600 resolution, and we print in 300 dpi. We can estimate canvas size for printing to have a good quality image. This is calculated by the formula: we divide the image width by 300 dpi, and then we divide the image height by 300.
So that we get 1200/300 × 1600/300 = 4 × 5,33 canvas size. This is the physical paper dimensions where you will have this image resolution printed in acceptable quality and everything will be crisp. If we set our printer to a larger canvas size we will start seeing the image artifacts on the canvas as it spreads over it. For that, you need to recapture the image by setting up your camera for a higher resolution. Upscaling will not work because it creates blurriness to increase DPI artificially. Upsampling also creates weird colors, blocks, and contrasts.
To calculate this and many other things you can use this site where you will see more formulas for various specifications.
Dpi and text
As we already recommended to use 300 DPI, for the images with text you want to use 400 DPI at the final size in the layout.
Avoid printing from the web
Our display monitors have 72 to 96 dots per inch, thus, low dpi images may not look that bad on it but the print will be blurry. That is why we need to avoid printing web images because they are matching display's DPI of 72-96 as it is good for transmission purposes. Thus, we avoid using these images for our projects.
Avoid upscaling
You can improve image resolution by either making it smaller or by recapturing it with better settings, Upscaling usually does not work that well for printing and you may not notice the difference on your monitor for the same reason we described above. But you will see images jagged on paper most of the time.
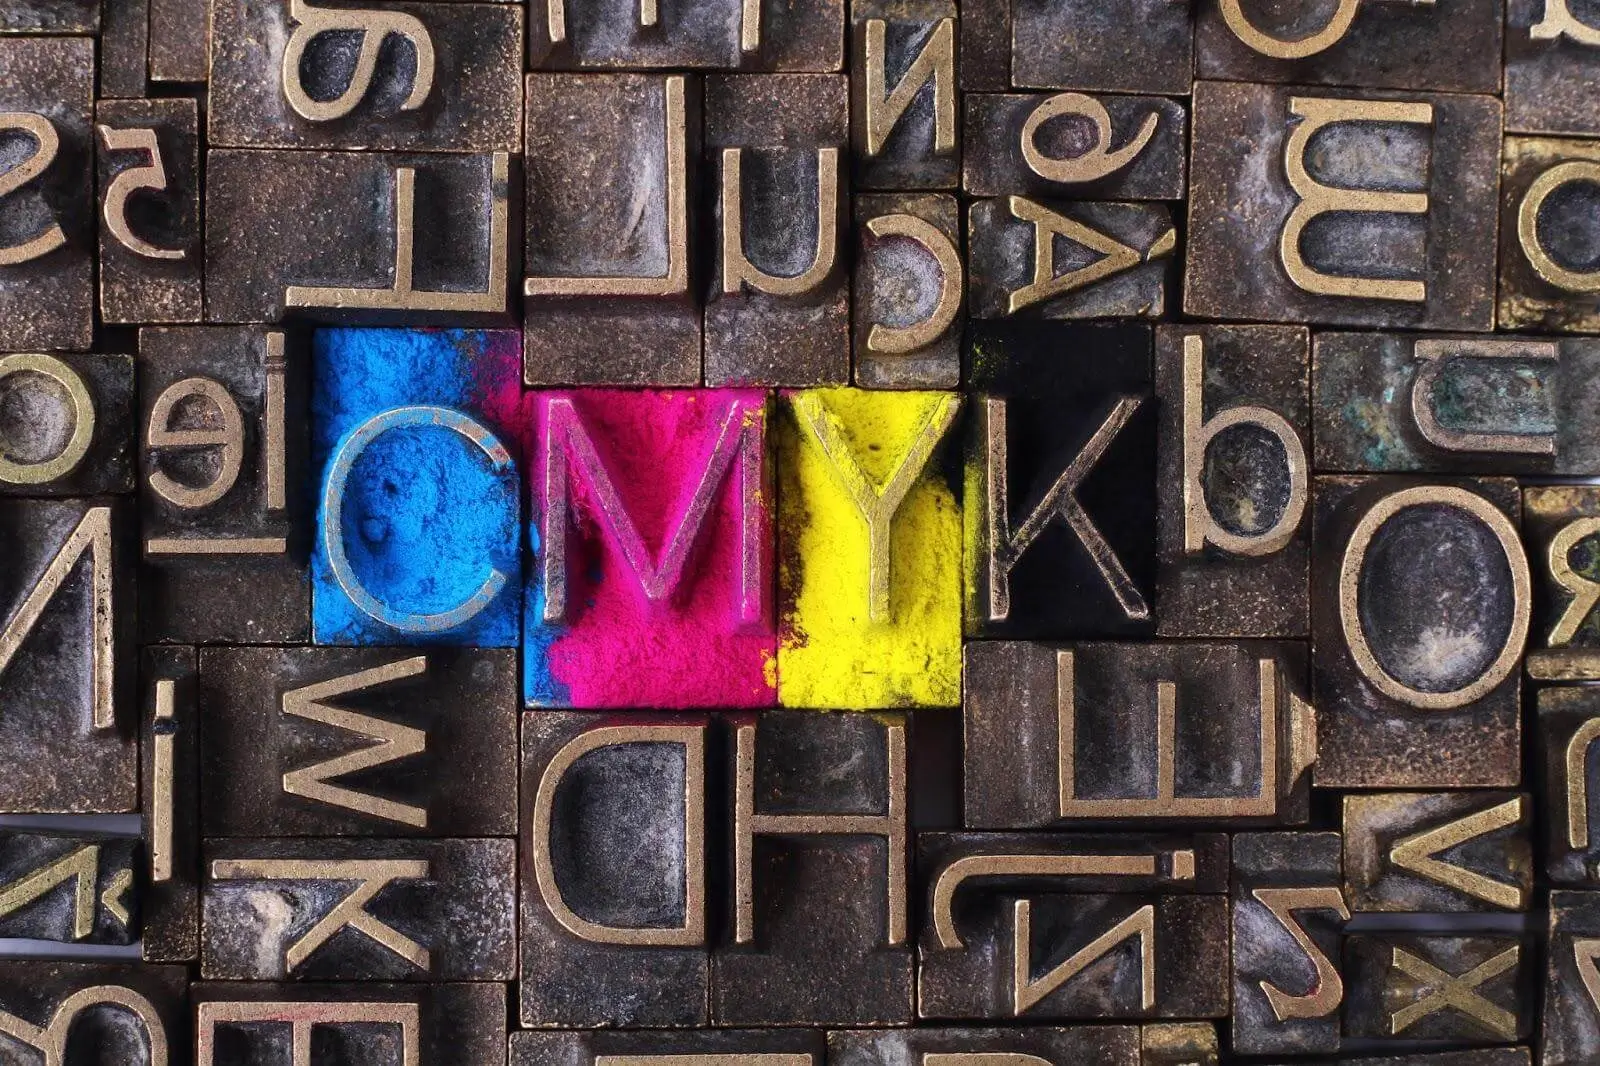
What color profiles should you embed in your digital file? Often images we have in Photoshop are sRGB, and they are in RGB right off the camera. Printers use CMYK color model which stands for cyan, magenta, yellow, and key (black). This model allows colors to be masked for a white background, which is essentially paper. The reflected light will be reduced by the ink, because it is a substrate model that subtracts the RGB values that are also contained in the white color. So if you subtract red from white, you get cyan, white minus blue = yellow, by subtracting green from white we get magenta. Therefore, to get a quality print, we need to translate our image into the CMYK color space in advance, so our printer will create a more native image. This color model is designed to absorb color, that is how the paper as a physical medium interacts with the ink and will reflect colors to your eyes. RGB, on the other hand, focuses on light emission.
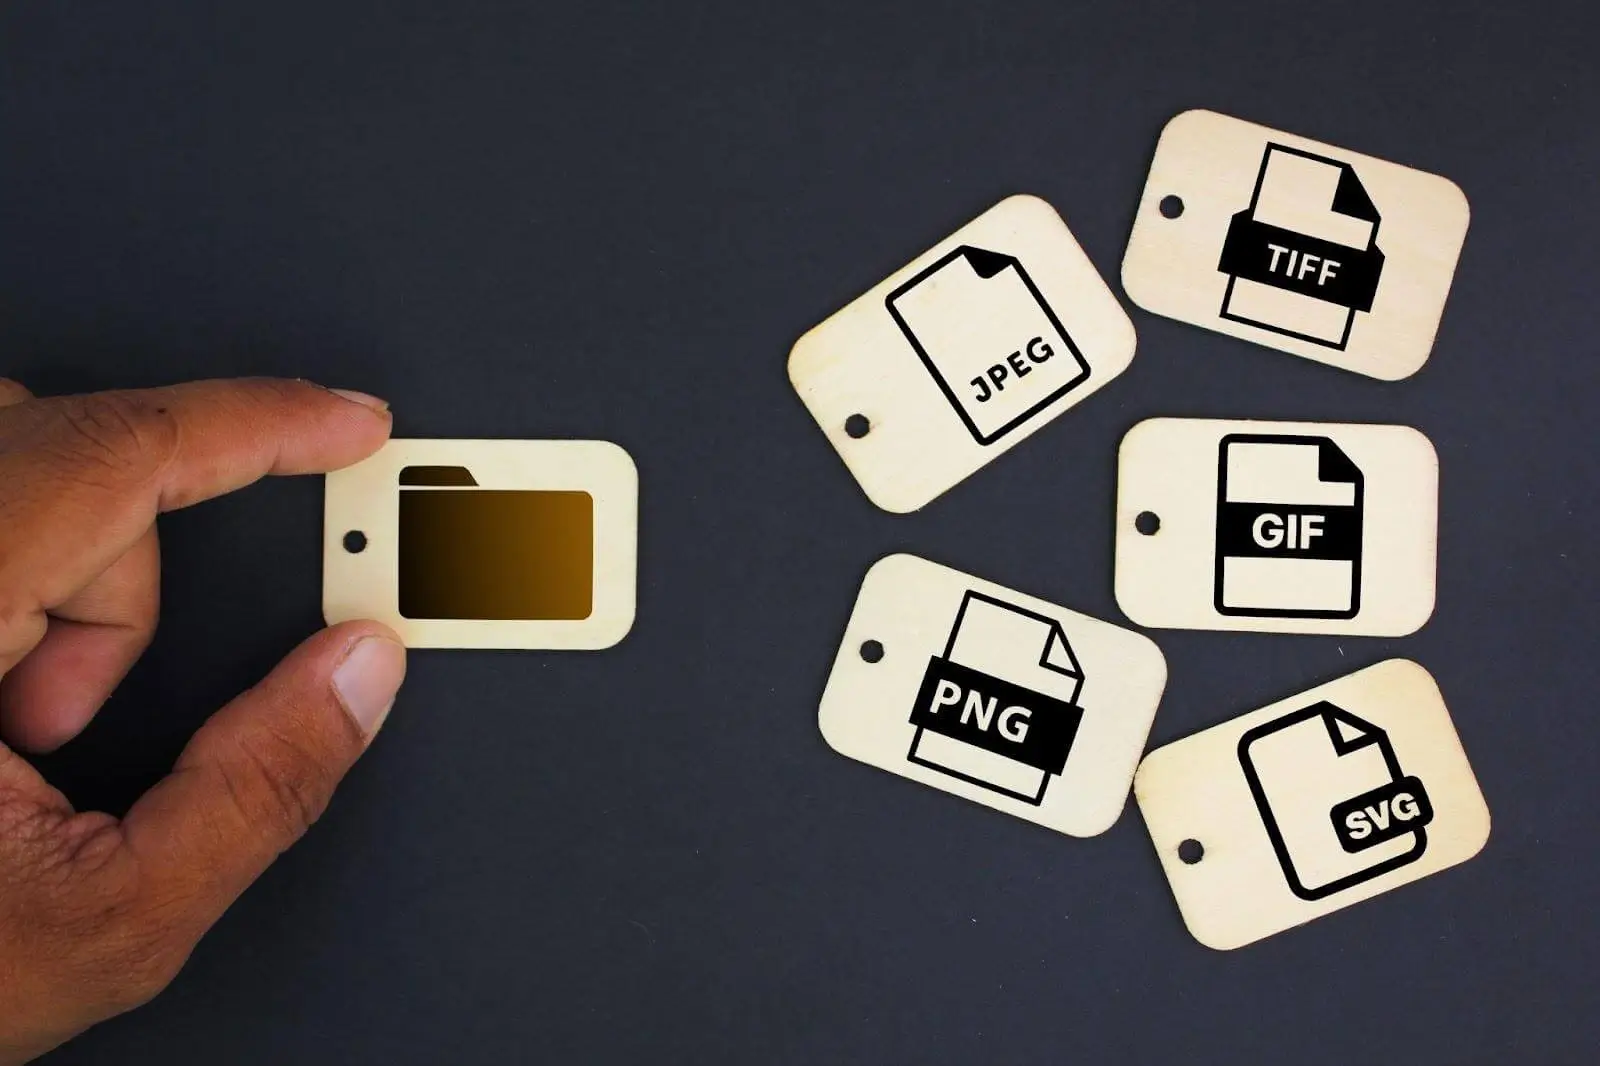
So, what file format should we use to save a well-edited image? The golden standard for printing is TIFF file extension. It allows you to not lose in quality and avoid any fuzziness on the print. But many people say that high-quality JPEG would have the same quality corresponding to level 10 in Photoshop’s save option. If you are conservative, use TIFF and you will lose nothing even compared to RAW, or you can also experiment with JPEG on the level 10 quality setting.
To avoid wasting money on photo paper and ink, it is best to print a small-dimension version of your future print. This way we will see if the printer adds unnecessary tints. As we found out earlier, printers use the CMYK model and if we see that there are shades of this color space on the paper, we can compensate for them by adding a contrasting color during editing.
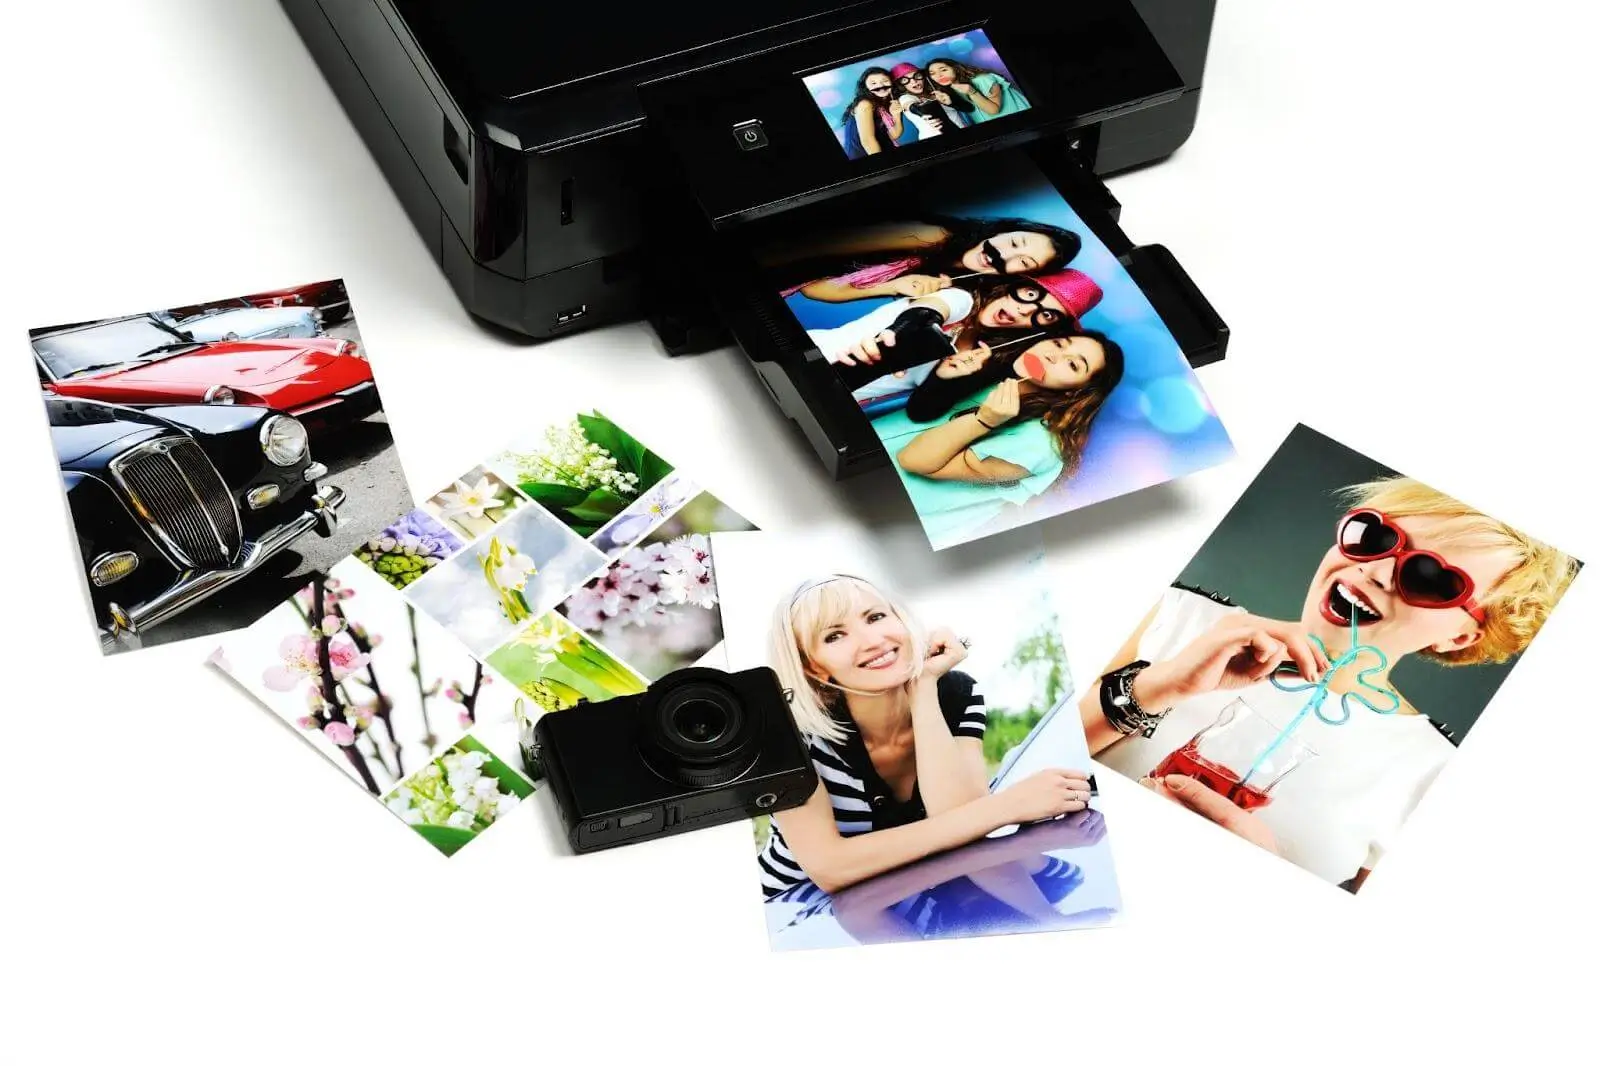
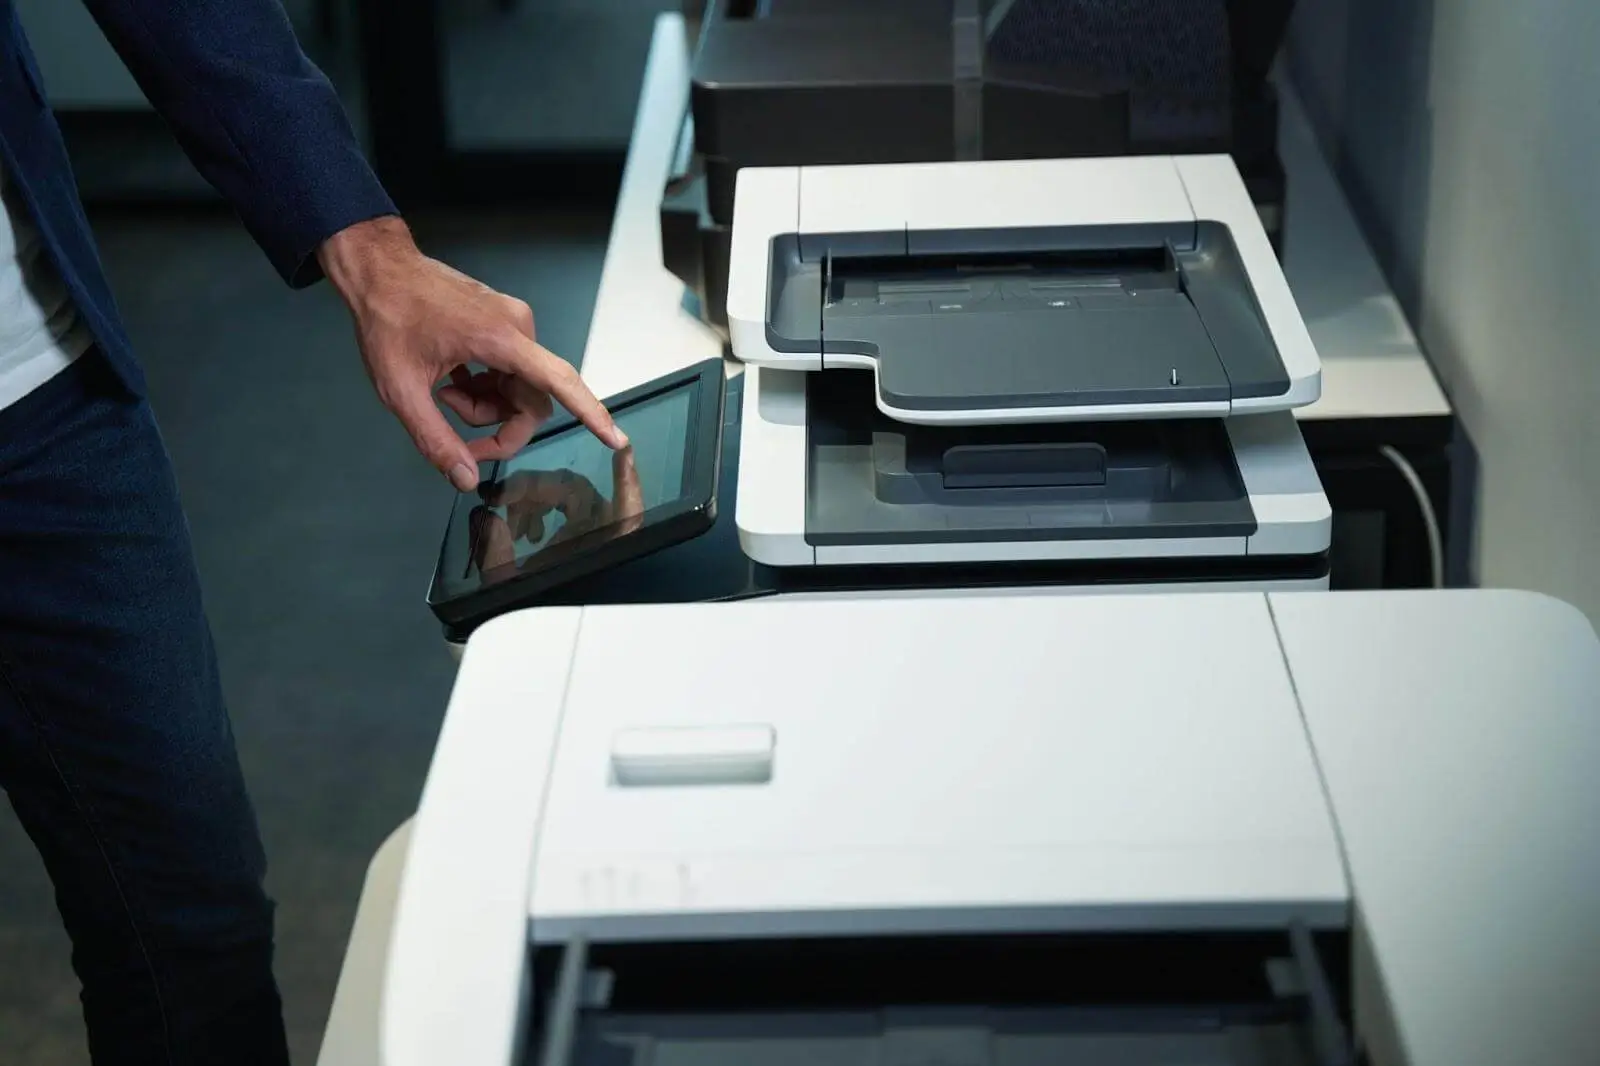
Now we know how to print professional photos but we also need appropriate hardware for digital printing. The title of best photo printer is essentially a dogfight between Canon and Epson. While there are other manufacturers in the portable printer space, these two are really the only game in town when it comes to desktop printers for photos of top quality. If you are looking to frame, mount, or display your photos, this is where you want to be. The good news is that despite having just these two manufacturers we still have plenty of choices. So we wanted to list the top 5 photo printers and their key features to help you choose the best one.
It is a stylish all-in-one inkjet printer with a solid print performance across the board. Besides being a good photo printer it has a lot of features such as faxing, and scanning. It can handle small wallet-sized photos to borderless 8x10. Photo samples offer accurate and well-saturated colors with clear detail. It is not the fastest printer out there but still a good choice for quality and cost purposes.
This is a very big professional photography printer that weighs 71.2 pounds (32.3 kg) and is dedicated to professional studios. It has 10 pigment-based inks and a chroma-optimizer to reduce bronzing and gloss discrepancies. With that printer, you can expect exhibition-class prints. One clever feature is that paper is held firm on the platen by a vacuum system which overcomes any slight curl in the medium. On the downside, it can not produce longer landscape prints. A complete set will come to more than six hundred dollars. This printer is not the best choice to use for a large number of smaller prints considering its dimensions and that it uses a small amount of ink for maintenance tasks after each print.
Having 6-ink cartridges it is a step up from previous models from Canon. Along with the usual mix of pigment-based black and dye-based CMYK, it features an additional photo blue ink for more vivid photo output with even smoother graduations. For the money, it is the best letter-size photo printer on the market but it is equally adept at document printing. Wi-Fi and Bluetooth connectivity is included along with a memory slot and a facility for printing on white face CDs and DVDs. Mono and color print speeds are fast. Auto-paper width detection can save setup time when using different types of paper. Controlled by the phone or the tablet you can use copy and scan functions linking to the cloud via the Canon print app. Overall print performance is outstanding.
A good choice for casual home printing. The main difference between this printer and the IMAGEPROGRAPH 300 is color accuracy. ET-8550 slightly oversaturate the colors and make them appear more vibrant. Printed photos still look visually pleasing just not as color accurate. It is a great option for printing posters considering the supported print sizes up to 13 × 19 inches. Wi-Fi, USB, and ethernet connectivity are included and it can also print directly from an SD card. As the name hints it is ecotank model which means it has a refillable ink tank instead of cartridges. Ink bottles are cheap and provide a large number of prints so there would be no high maintenance costs. It has a flatbed scanner with dimensions of 8.5 × 14 inches supported producing high-quality scans which is great to digitize your old photos. It is compatible with Epson smart panel mobile companion app compatible for Android and iOS which allows you to perform scan/copy tasks remotely.
If you are looking for a high-end quality printer without any add-ons – this is your choice. Printed pictures are incredibly detailed, vibrant, and colorful with no banding or artifacts. Supports borderless printing and wide format paper sizes up to 13 × 19 inches. Printing speed is slow, it takes nearly two minutes to print a 4 x 6 photo but this is part of the cost of HQ photos. Wi-Fi, USB, and ethernet are included, but it does not print directly from USB flash drives and SD cards which might be inconvenient. It uses 9 specific cartridges that work only on glossy-paper type and produces about 400 color prints and they are expensive. As we mentioned earlier it is a print-only model without such add-ons as a scanner. So this is the best printer for professional photographers but quite costly in maintenance.
People often ask what printing media does the better job, canvas, metal or paper, or acrylic surfaces. In general, it is a matter of personal taste. But If we look at certain print media they all have different features. Most photographers that print their photos prefer using semi-gloss texture as it represents colors most accurately. However, if you aim at hiding the imperfections of your image, the canvas will do a good job considering its surface texture. For that matter, dye sublimation prints can soften or obscure some imperfections because the production process involves heat transfer from a solid to a gaseous state without first passing through a liquid phase, and it is all very organic.

If you are thoughtful about the principles we just went over before making your prints, you will be much happier with the quality of your images.
Co-founder of RetouchMe. In addition to business, he is passionate about travel photography and videography. His photos can be viewed on Instagram (over 1 million followers), and his films can be found on his YouTube channel.
Moreover, his profile is featured on the most popular and authoritative resource in the film industry — IMDb. He has received 51 international awards and 18 nominations at film festivals worldwide.